
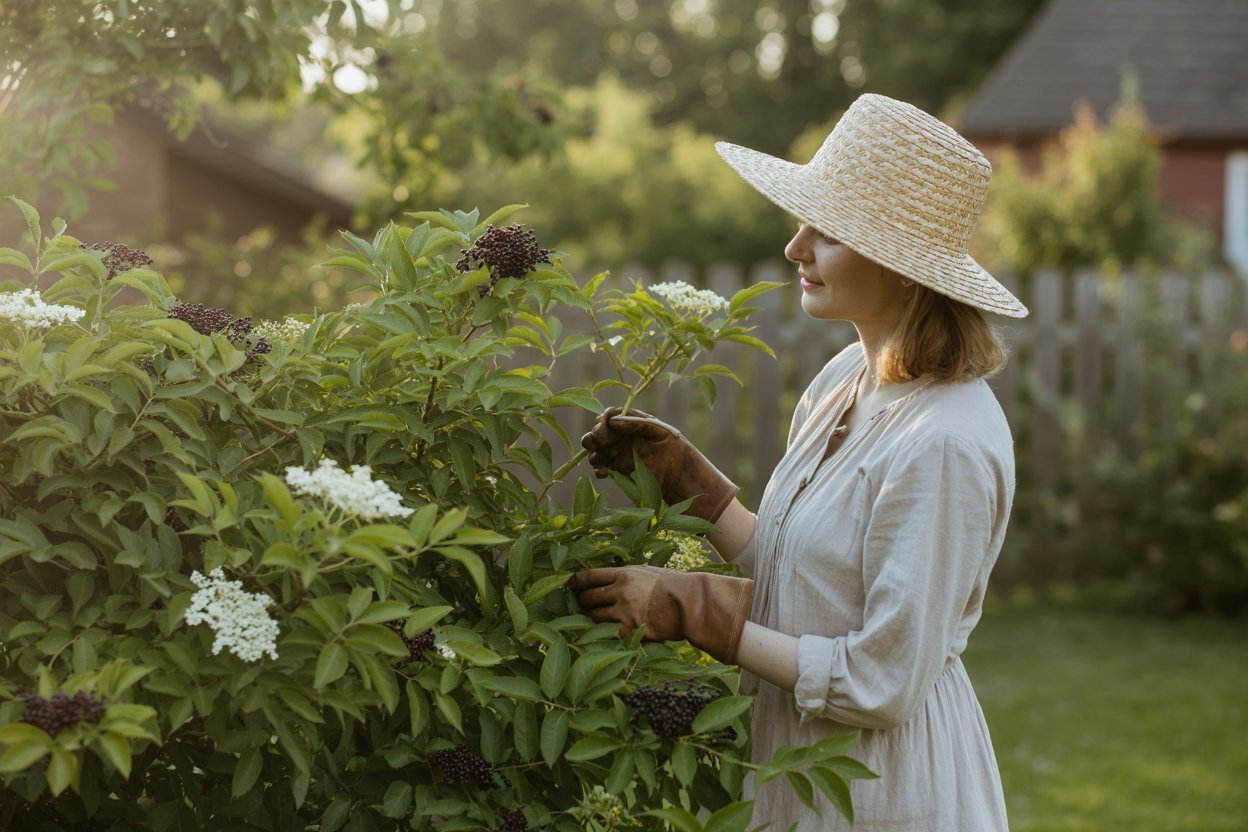
I still remember the first elderberry bush I planted in my garden. It didn’t look like much at first just a slender stick with a few hopeful buds but I had a quiet faith in it.
Elderberries teach you patience. They don’t rush, they don’t shout, and they don’t demand constant attention. Instead, they grow steadily, rewarding care with abundance year after year.
If you’ve been dreaming of growing elderberries at home whether for syrup, jam, wine, or simply to reconnect with traditional garden wisdom you’re in the right place.
This guide will walk you through everything you need to know, step by step, with clarity and care. No rushing, no overwhelm just practical knowledge and encouragement.
Why Grow Elderberries at Home?
Growing elderberries at home is one of the most rewarding decisions a gardener can make.
These shrubs are hardy, productive, long-lived, and deeply useful. Once established, they can produce large harvests with relatively little effort.
Homegrown elderberries offer:
- A reliable source of berries for food and herbal preparations
- Beautiful spring flowers and lush summer foliage
- Support for pollinators and birds
- A sense of self-reliance and seasonal rhythm
Unlike many fruit plants, elderberries are forgiving. They tolerate imperfect soil, variable weather, and beginner mistakes with grace.
Understanding the Elderberry Plant
Elderberries belong to the Sambucus genus and grow as large shrubs or small trees, often reaching 6–12 feet tall and wide.
They are deciduous, meaning they lose their leaves in winter and return stronger each spring.
Elderberry plants are known for:
- Fast growth once established
- Shallow but spreading root systems
- Heavy fruit production on second-year wood and older
When cared for properly, an elderberry plant can produce fruit for decades.
Different Elderberry Varieties (And Which Ones to Grow)
Choosing the right variety is one of the most important steps in growing elderberries successfully.
Best Elderberry Varieties for Home Gardens
Sambucus canadensis (American Elderberry)
- Ideal for North American gardens
- Cold-hardy and very productive
- Excellent for syrup, jam, and wine
- Popular varieties: Adams, York, Johns
Sambucus nigra (European Elderberry)
- Traditionally used for medicinal purposes
- Slightly more compact growth
- Popular varieties: Black Lace, Black Beauty
Varieties to Avoid
- Red elderberry (Sambucus racemosa) – produces red berries and is considered toxic
- Ornamental-only varieties that do not produce usable fruit
For beginners, I always recommend starting with American elderberry varieties because they are resilient and generous producers.
How to Identify a Proper Elderberry Plant
Correct identification is essential both for safety and success.
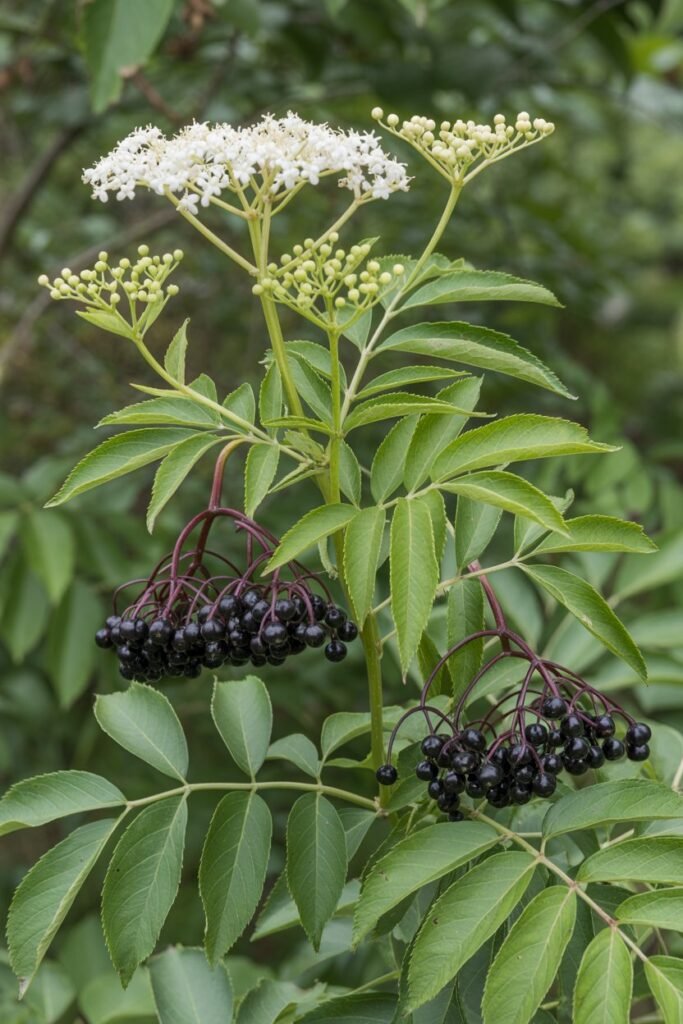
Key Identification Features
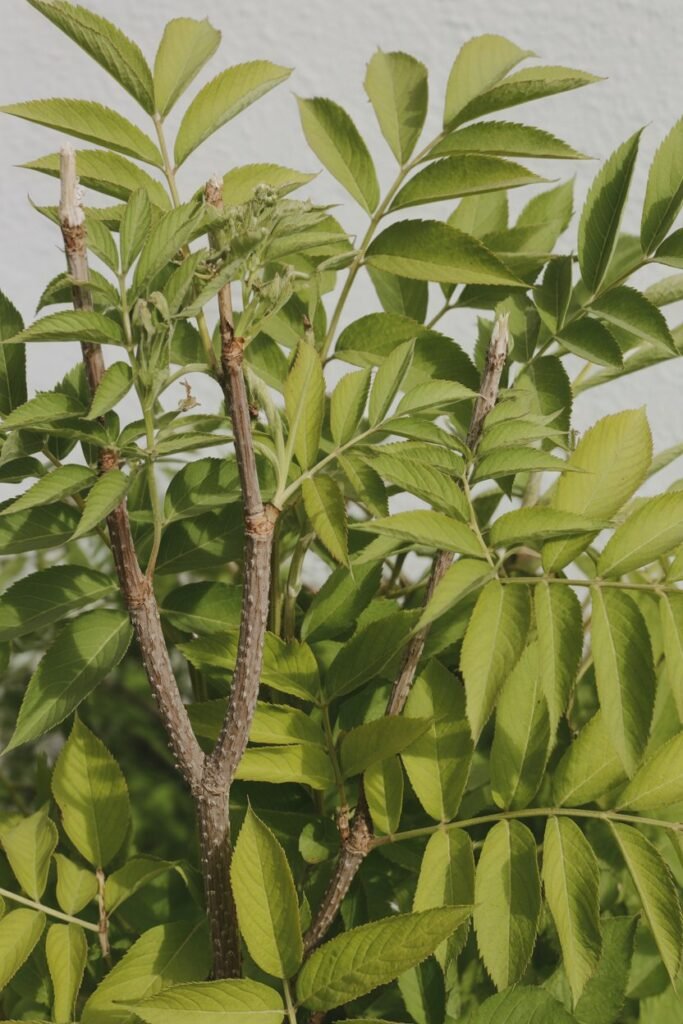
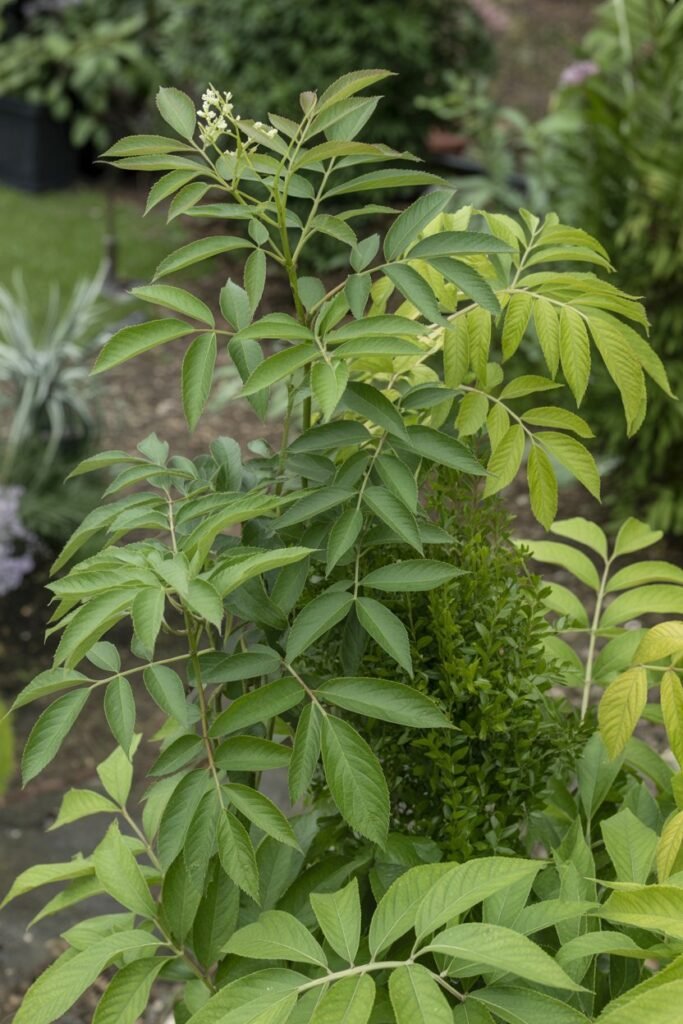
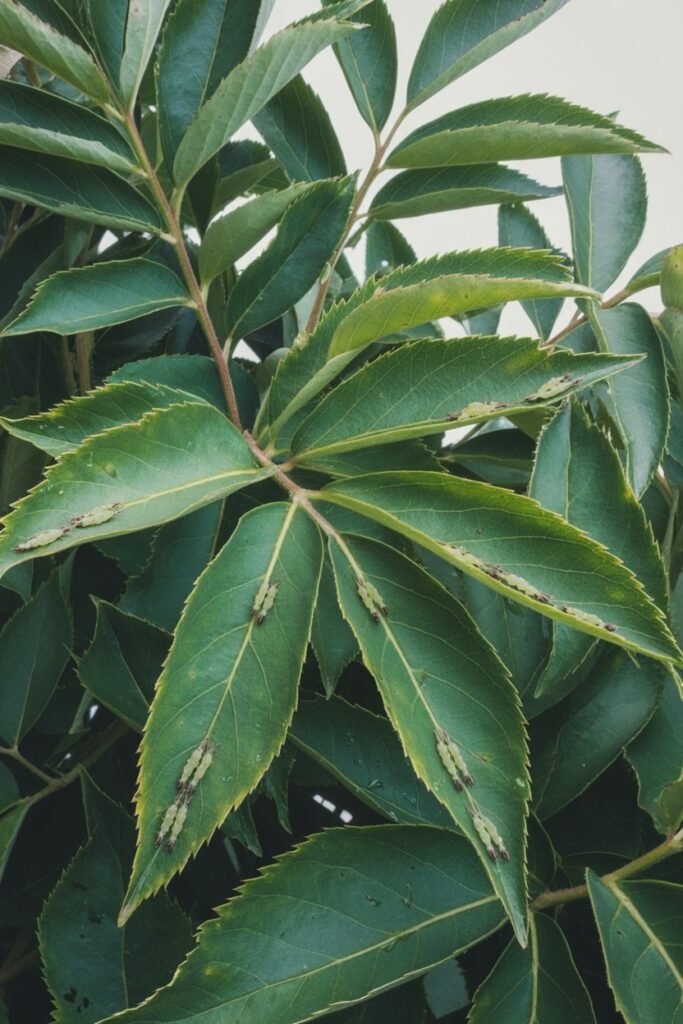
- Leaves: Opposite arrangement, elongated with serrated edges
- Stems: Woody with a soft, pale pith inside
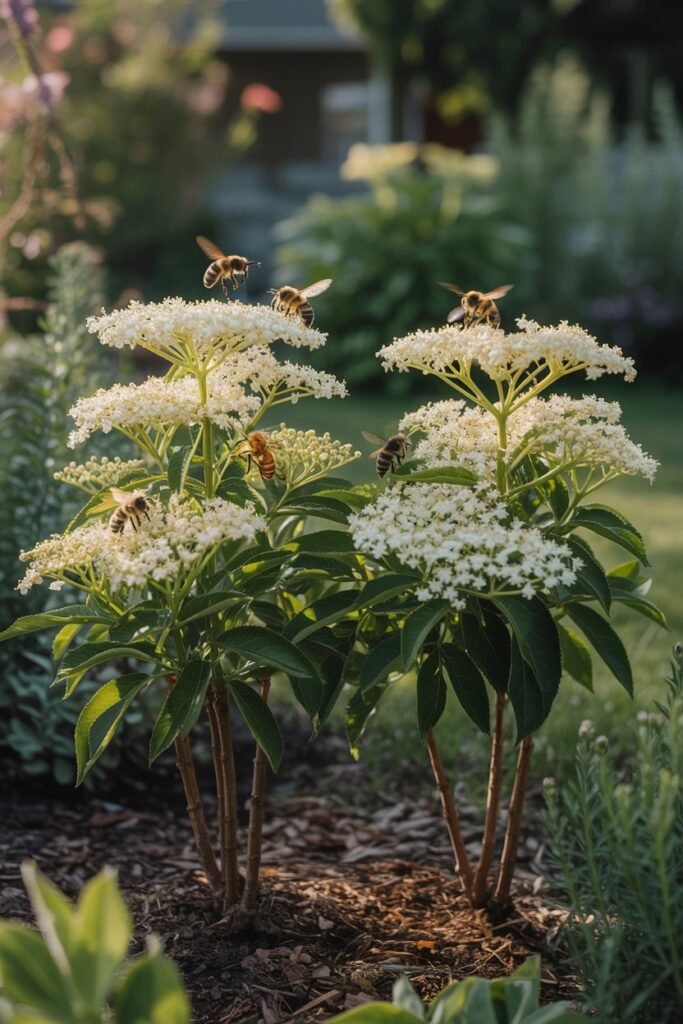
- Flowers: Flat clusters of small white or cream flowers in spring
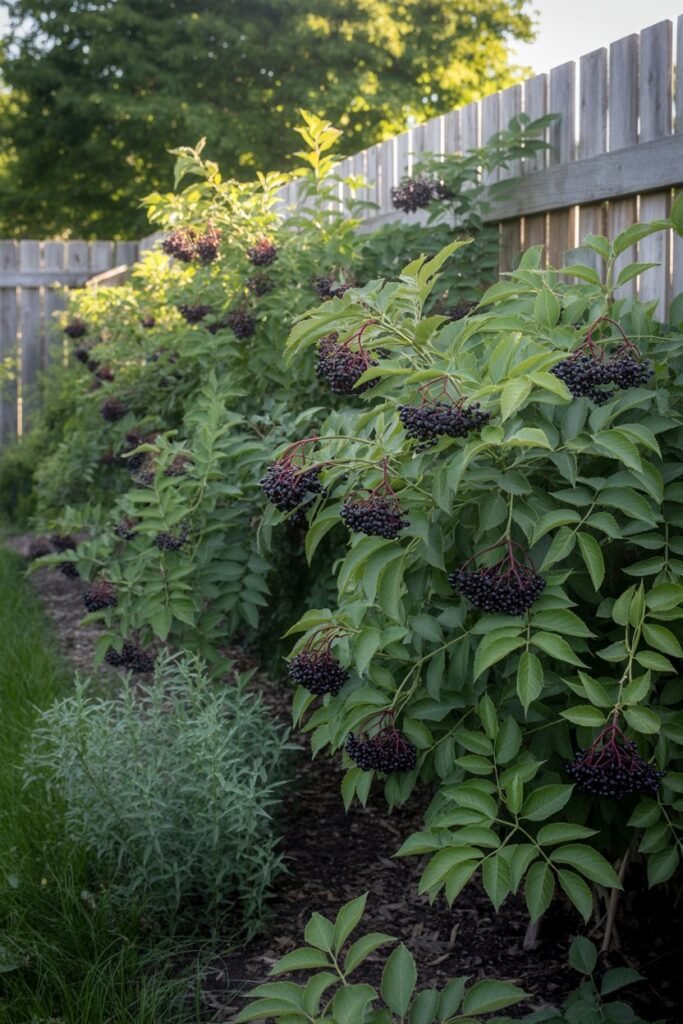
- Berries: Dark purple to black berries growing in drooping clusters
True elderberries grow on woody shrubs not soft green stems. If the berries are red, upright, or growing on herb-like plants, they are not the right kind.
Where to Plant Elderberries at Home

Elderberries are adaptable, but they thrive best when their basic needs are met.
Ideal Growing Conditions
- Sun: Full sun to partial shade (at least 6 hours of sunlight)
- Soil: Moist, well-draining soil rich in organic matter
- Location: Sheltered from harsh winds, with room to spread
They grow especially well near:
- Fences or property borders
- Low areas with good moisture
- Garden edges and food forest designs
Avoid planting elderberries in extremely dry or compacted soil without improvement.
Tools Needed to Plant Elderberries
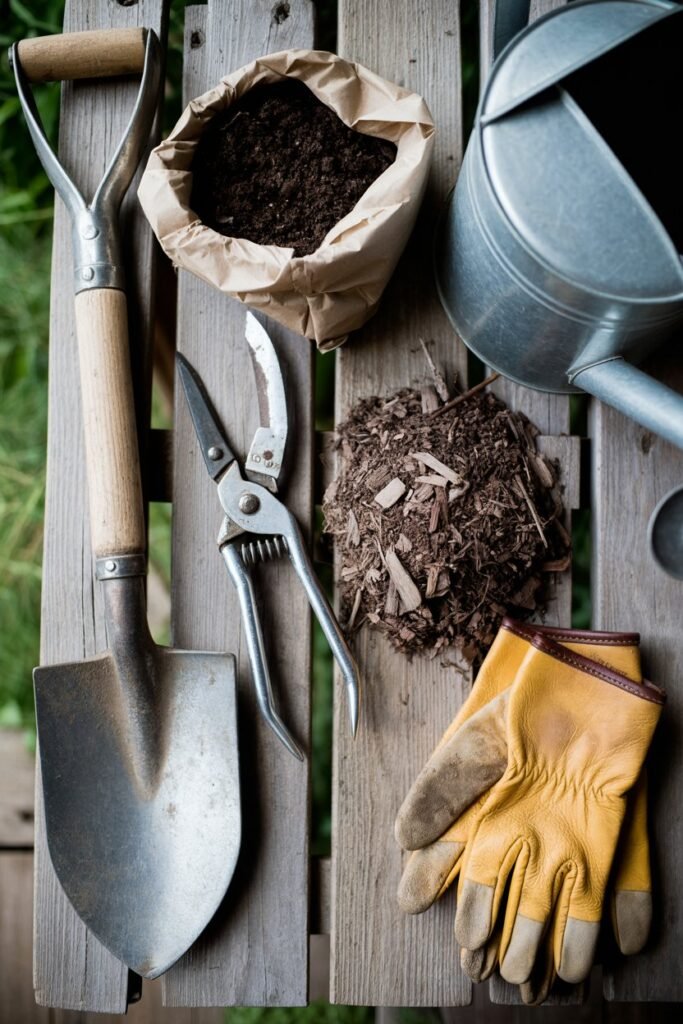
You don’t need fancy equipment to plant elderberries, just a few reliable tools.
Essential Tools
- Garden shovel or spade
- Compost or well-rotted manure
- Mulch (straw, wood chips, or leaves)
- Watering can or hose
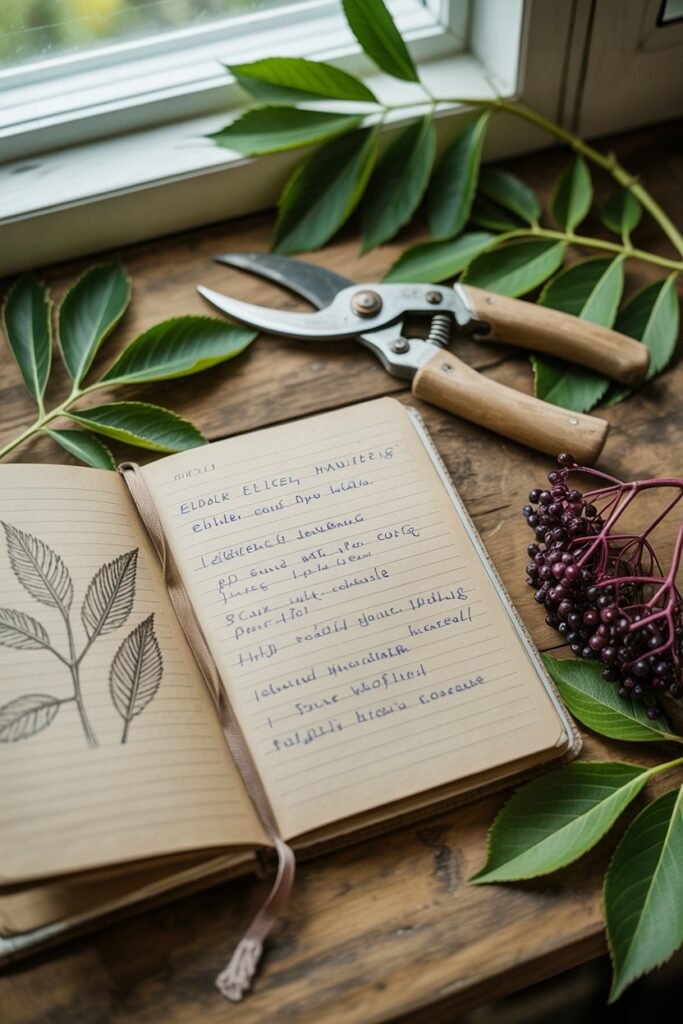
- Pruning shears
Optional but helpful:
- Gardening gloves
- Soil pH tester (elderberries prefer slightly acidic to neutral soil)
How to Plant Elderberries Step by Step
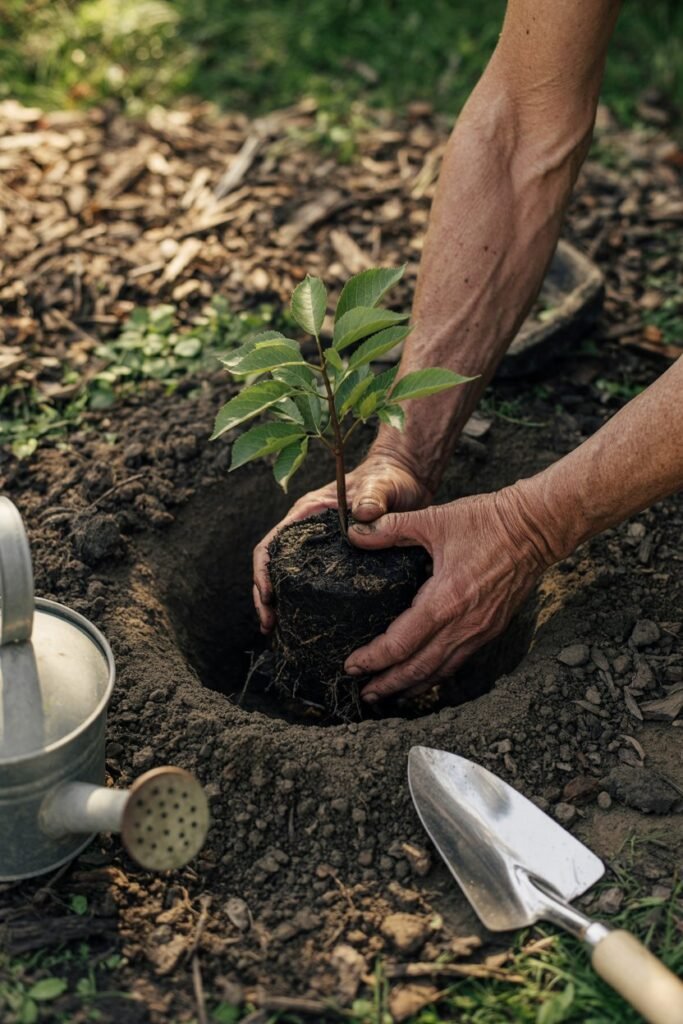
Planting elderberries properly gives them the best possible start.
Step 1: Prepare the Soil
Loosen the soil at least 12–18 inches deep and mix in compost. Elderberries love rich, living soil.
Step 2: Dig the Hole
Dig a hole twice as wide and just as deep as the root ball.
Step 3: Plant at the Correct Depth
Place the plant so the crown sits at soil level. Do not bury the stem too deeply.
Step 4: Water Thoroughly
Water deeply after planting to eliminate air pockets.
Step 5: Mulch Generously
Apply 2–4 inches of mulch around the base, keeping it a few inches away from the stem.
Space plants 6–10 feet apart to allow for mature growth.
How to Care for Elderberries Properly
Once planted, elderberries are fairly low-maintenance, but thoughtful care makes a big difference.
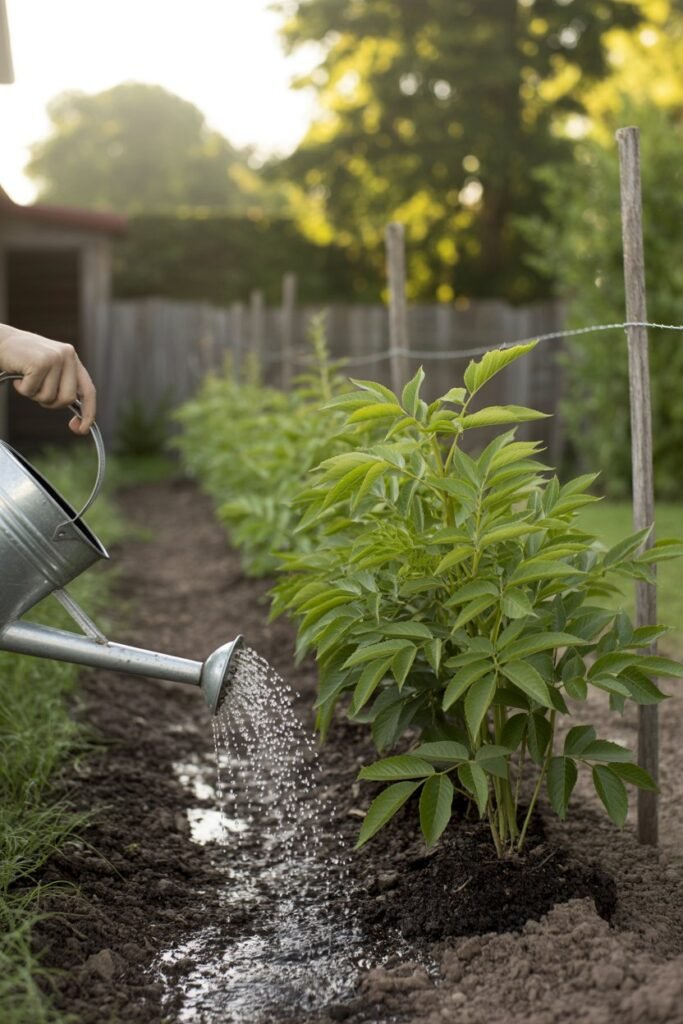
Watering
- Water regularly during the first year
- Mature plants prefer consistent moisture
- Avoid letting soil dry out completely
Elderberries are shallow-rooted, so deep, infrequent watering is better than light daily watering.
Fertilizing
Elderberries don’t need heavy feeding.
Best options:
- Compost in early spring
- A balanced organic fertilizer if soil is poor
Avoid high-nitrogen fertilizers, which encourage leaves at the expense of fruit.
Pruning Elderberries

Pruning keeps plants productive and manageable.
When to Prune
- Late winter or early spring, while dormant
How to Prune
- Remove dead, weak, or damaged canes
- Cut out canes older than 3–4 years
- Encourage airflow and sunlight
Elderberries fruit best on second-year wood, so balanced pruning is key.
Pollination and Planting More Than One Bush
While some elderberries are self-fertile, planting two or more varieties improves pollination and yields significantly.
Benefits of multiple plants:
- Larger berry clusters
- Better fruit set
- Increased resilience
If space allows, always plant at least two elderberry bushes.
Common Pests and Problems
Elderberries are relatively pest-resistant, but a few issues can arise.
Common Problems
- Aphids on new growth
- Birds eating ripe berries
- Powdery mildew in humid conditions
Natural Solutions
- Strong water spray for aphids
- Netting to protect berries
- Proper spacing and pruning for airflow
Avoid chemical sprays, especially if growing elderberries for food or medicine.
Helpful Tips for Growing Elderberries Successfully
- Be patient fruit production improves after year two
- Mulch yearly to protect roots and retain moisture
- Harvest berries only when fully ripe and dark
- Always remove stems before processing berries
One of the best tips I can share is this: observe your plants often. Elderberries quietly show you what they need if you’re willing to look.
Harvesting Elderberries (Brief Overview)

Most elderberries begin producing fruit in their second or third year.
Harvest when:
- Berries are deep purple to black
- Clusters droop under their own weight
- No green or red berries remain
Always cook elderberries before consuming.
Final Thoughts: Growing Elderberries as a Long-Term Gift
Growing elderberries at home isn’t just about the harvest it’s about building a relationship with a plant that gives back year after year.
They remind us that abundance doesn’t have to be complicated, and that some of the most powerful plants grow quietly at the edges of our gardens.
If you plant elderberries with care, patience, and respect, they will reward you generously for decades to come.
