
I still remember the first time I realized my plants were struggling because of dry air.
Their leaves curled softly at the edges, some tips turned brown, and my once-lush tropical beauties looked tired no matter how much I watered them.
At first, I thought I was doing something wrong with watering. But after a little research (and a lot of observation), I learned the real issue wasn’t the soil it was the air.
Many houseplants, especially tropical ones like ferns, calatheas, orchids, and peace lilies, crave moisture in the air just as much as they love moist soil.
And when indoor air gets too dry (which happens easily in warm climates, during dry seasons, or with air conditioning), plants can struggle.
That’s when I discovered humidity trays.
The best part?
You don’t need fancy gardening tools or expensive plant accessories to make them.
With a few simple household items, you can create beautiful, effective humidity trays that gently increase moisture around your plants keeping them happier, greener, and thriving.
In this post, I’ll walk you through:
• Why humidity trays work
• How to make them properly
• 3 easy DIY humidity tray ideas using things you already have
• Helpful tips to get the best results
Let’s create a cozy, moisture-loving environment for your plants.
Why Humidity Trays Are So Helpful for Houseplants
Before we dive into the DIY ideas, let’s talk briefly about how humidity trays actually work.
A humidity tray is simply a shallow container filled with water and some type of base (like stones or pebbles). When you place your plant pot on top (not directly sitting in the water), the water slowly evaporates.
As it evaporates, it increases moisture in the air immediately around your plant.
This creates a tiny humid zone that mimics the natural tropical environment many plants love.
Benefits of using humidity trays:
• Prevents brown leaf tips
• Helps leaves stay soft and vibrant
• Encourages healthy growth
• Reduces stress in dry conditions
• Great for indoor spaces with low humidity
They’re especially helpful for:
- Ferns
- Calatheas
- Orchids
- Peace lilies
- Pothos
- Monsteras
- Prayer plants
Now let’s move into the fun part easy DIY ideas you can make in minutes.
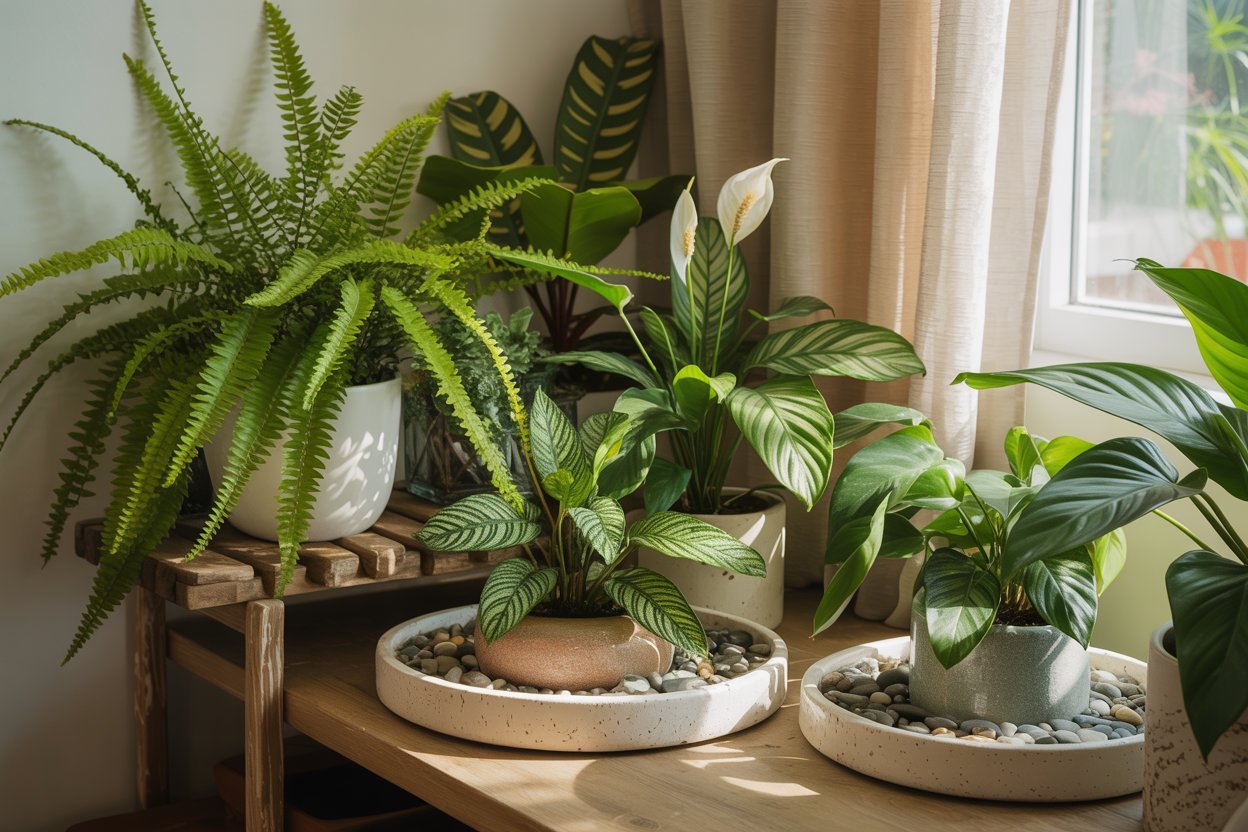
1. The Pebble & Plate Tray (Classic and Beautiful)
This is the very first humidity tray I ever made, and honestly, it’s still my favorite.
It’s simple, elegant, and works wonderfully.
What You’ll Need:
• A shallow plate, bowl, or baking tray
• Small stones, pebbles, or gravel
• Water
• Your plant pot
(You can even use decorative stones from your garden or leftover aquarium gravel.)
How to Make It:
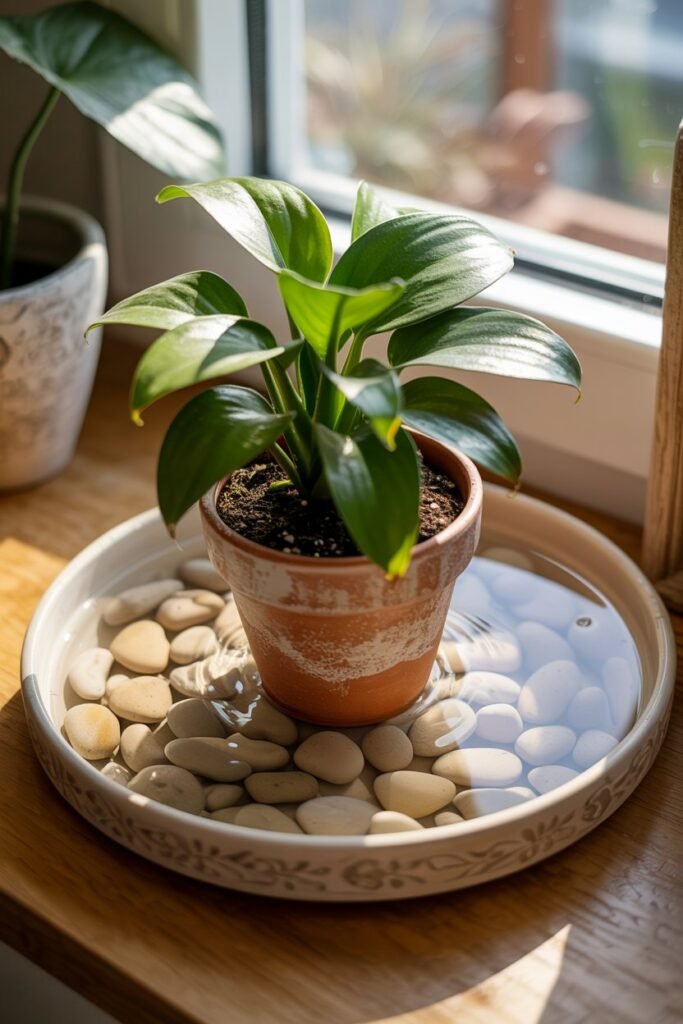
- Spread a layer of pebbles across the bottom of the plate or tray.
- Pour water into the tray until it reaches just below the top of the stones.
- Place your plant pot on top of the pebbles, making sure the pot is not sitting directly in water.
- Set it in a bright spot where your plant normally lives.
Why This Works So Well:
The pebbles lift the plant pot above the water level. As the water slowly evaporates, moisture rises around the leaves.
It’s gentle, consistent, and perfect for daily plant care.
Personal Tip
I like using pretty ceramic plates or shallow glass bowls for this one it makes the whole setup look decorative instead of just functional.
It’s a lovely way to combine plant care with home décor.
Best For:
- Medium houseplants
- Windowsill plants
- Decorative plant corners
2. The Recycled Container Tray (Budget-Friendly & Practical)
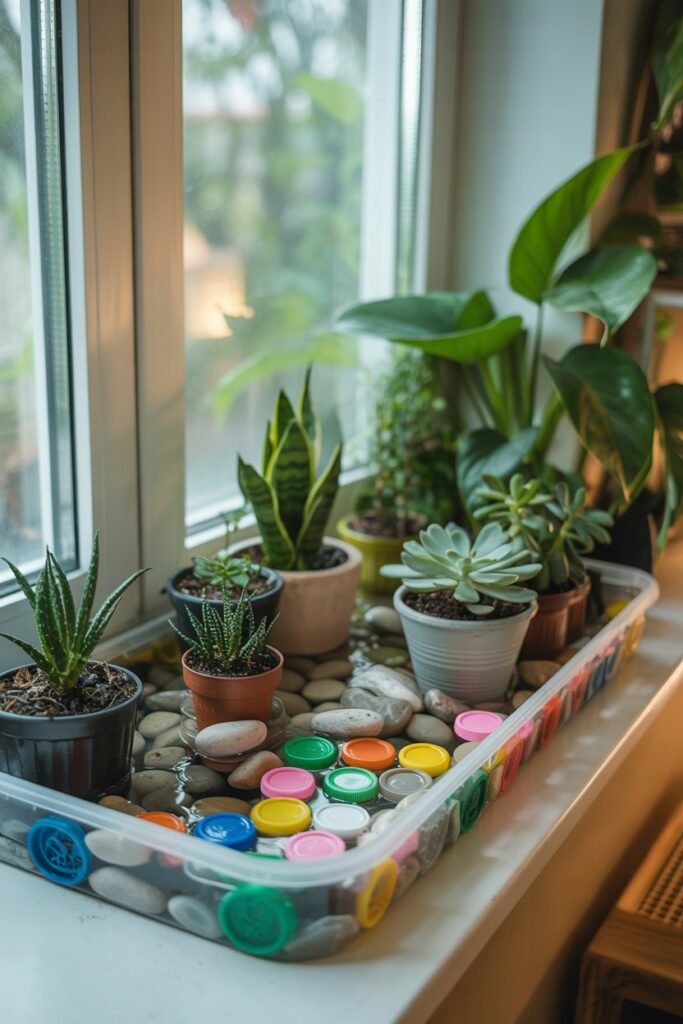
If you’re anything like me, you probably have empty food containers sitting around yogurt tubs, plastic takeaway trays, or shallow storage containers.
Don’t throw them away!
They make excellent humidity trays.
What You’ll Need:
• A shallow plastic or glass container
• Bottle caps, small stones, or upside-down jar lids
• Water
• Your plant pot
How to Make It:
- Place bottle caps, small lids, or stones across the bottom of the container.
- Add water until it reaches just below the top of your supports.
- Set your plant pot on top so it rests on the raised pieces.
- Keep it near your plant’s usual spot.
Why This Works:
The supports lift the pot above water, allowing evaporation to happen safely without soaking roots.
It’s the same concept as a pebble tray just using recycled items.
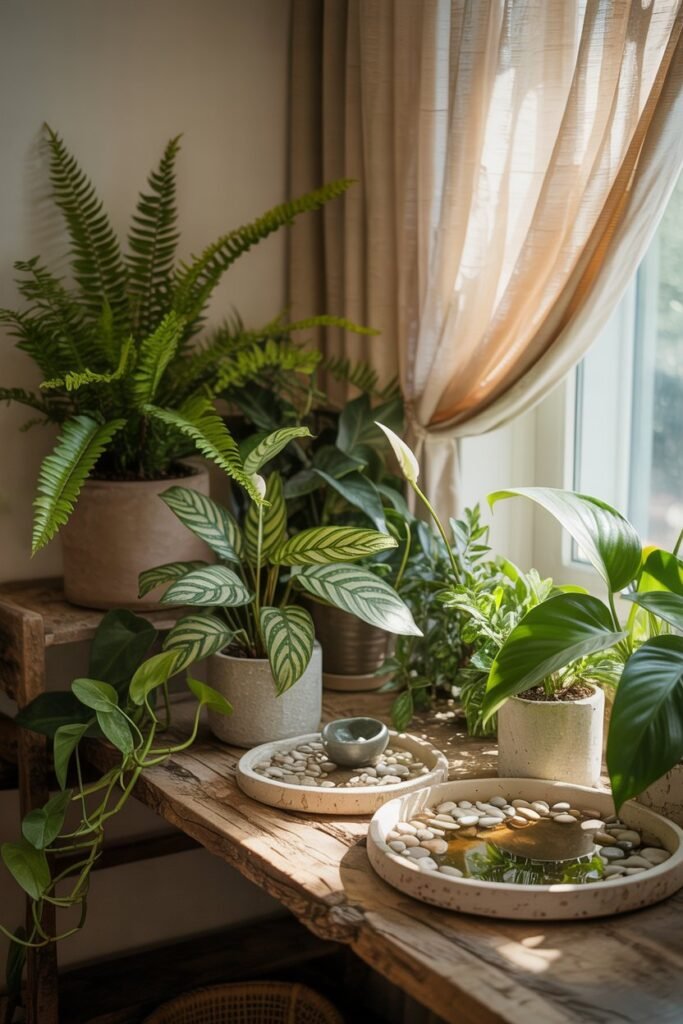
Personal Tip
I love this method for grouping smaller plants together.
You can place several pots on one larger container tray and create a mini humid zone for all of them.
It feels like a tiny indoor garden oasis.
Best For:
- Small potted plants
- Plant clusters
- Budget gardening
3. The Baking Pan & Sponge Tray (Extra Moisture Boost)

This one surprised me the most.
Sponges hold water really well and slowly release moisture into the air making them perfect for boosting humidity.
What You’ll Need:
• A shallow baking pan or tray
• Clean kitchen sponges (natural sponges are best)
• Water
• A small rack, stones, or upside-down lids
• Your plant pot
How to Make It:
- Place wet sponges across the bottom of the tray.
- Add a little water to keep them soaked but not floating.
- Set stones, lids, or a small rack above the sponges to raise the plant pot.
- Place your plant on top.
Why This Works So Well:
The sponges slowly release moisture as they dry, creating steady humidity around your plant.
It’s perfect for especially dry rooms or very humidity-loving plants.
Personal Tip
I use this method near my air-conditioned rooms where the air gets extra dry.
It has made such a big difference in my ferns their leaves stay soft and full instead of crispy.
Best For:
- Ferns
- Tropical plants
- Dry indoor spaces
Helpful Tips to Get the Most Out of Your Humidity Trays
Here are a few gentle reminders I’ve learned along the way:
Keep the water level below the pot
Roots sitting in water can cause root rot. Always make sure the pot is lifted above water.
Refill regularly
As water evaporates, refill the tray every few days (or when it looks low).
Place in warm bright areas
Humidity evaporates better in warm, bright spaces just avoid harsh direct sunlight.
Clean occasionally
Every few weeks, rinse stones and trays to prevent algae or buildup.
Combine with misting if needed
For plants that love extra moisture, light misting plus humidity trays works beautifully.
Signs Your Plants Are Loving the Extra Humidity
After adding humidity trays, you may notice:
✔ Leaves looking softer and brighter
✔ Less browning on edges
✔ New healthy growth
✔ Happier, fuller plants
It’s such a rewarding feeling seeing your plants respond with fresh, vibrant leaves.
Final Thoughts: Simple Care Makes a Big Difference
Creating humidity trays doesn’t require fancy tools or extra money.
With a few household items and a little love, you can completely change the environment around your plants helping them thrive instead of just survive.
What I love most about these DIY humidity trays is how easy they are.
They remind me that plant care doesn’t have to be complicated. Sometimes, the simplest solutions make the biggest difference.
If your plants have been looking dry, droopy, or stressed — try one of these humidity tray ideas today.
Your plants will thank you with lush growth and beautiful leaves
