
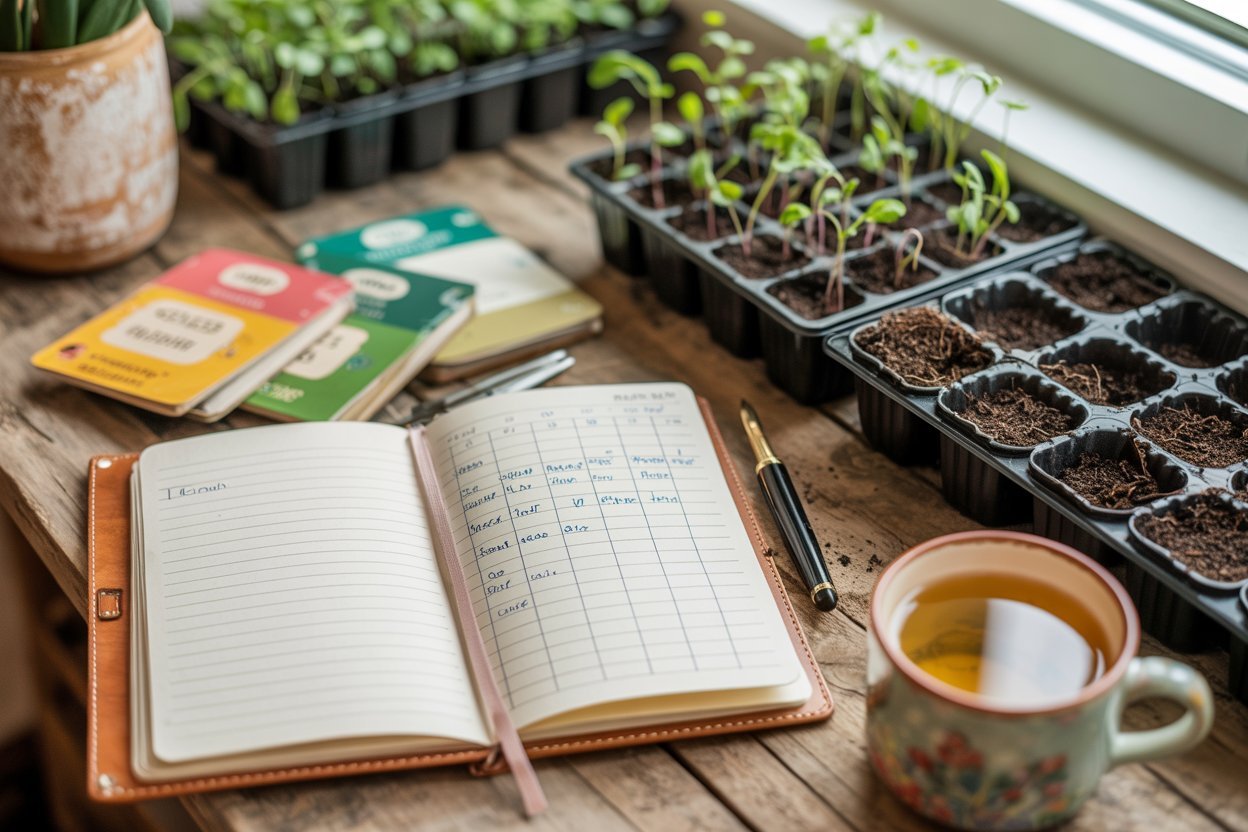
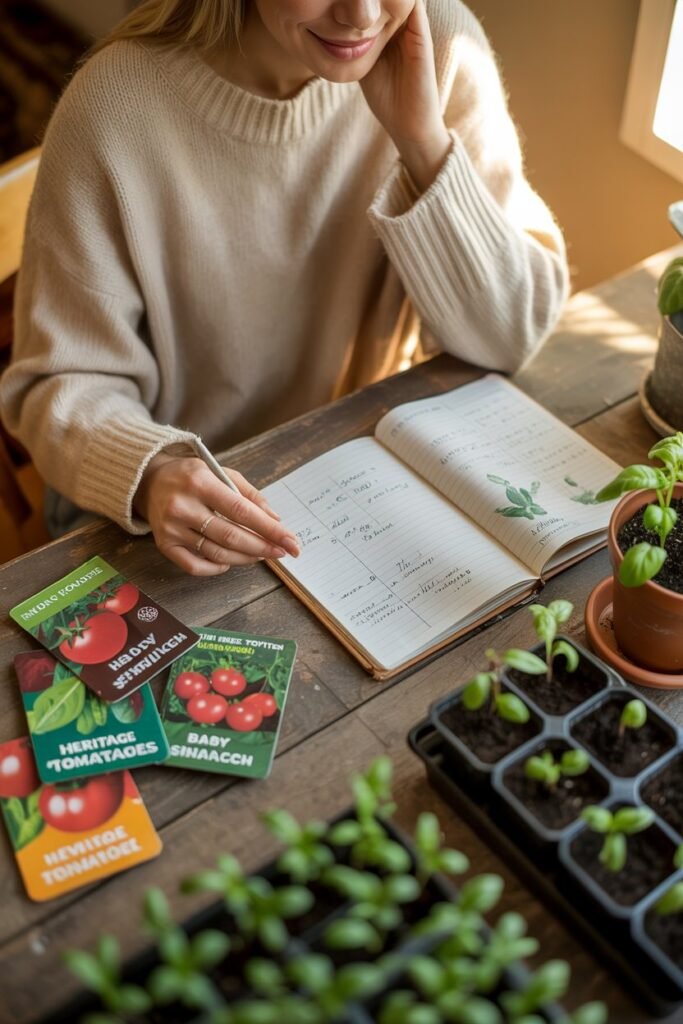
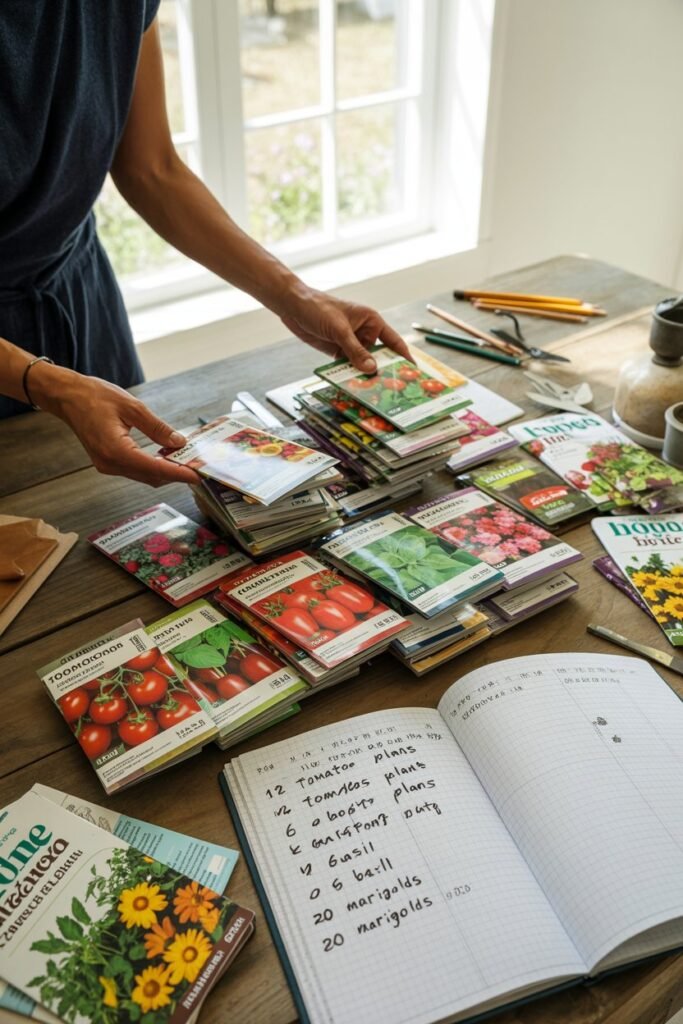
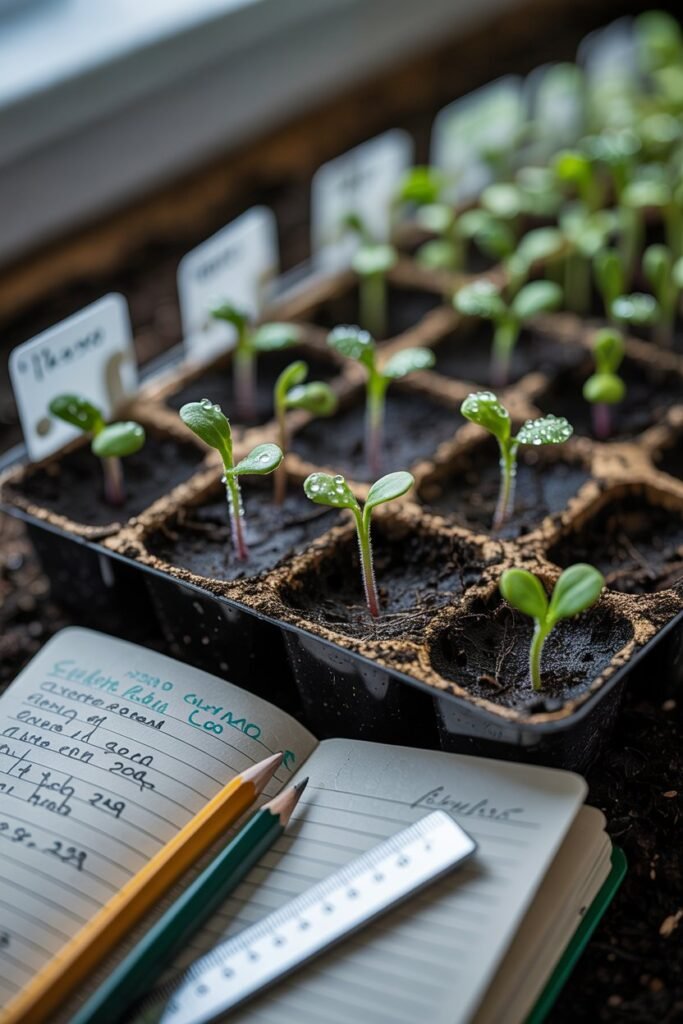
Early every gardening season, I sit down with a warm cup of tea, a stack of seed packets, and a notebook. It’s one of my favorite quiet rituals.
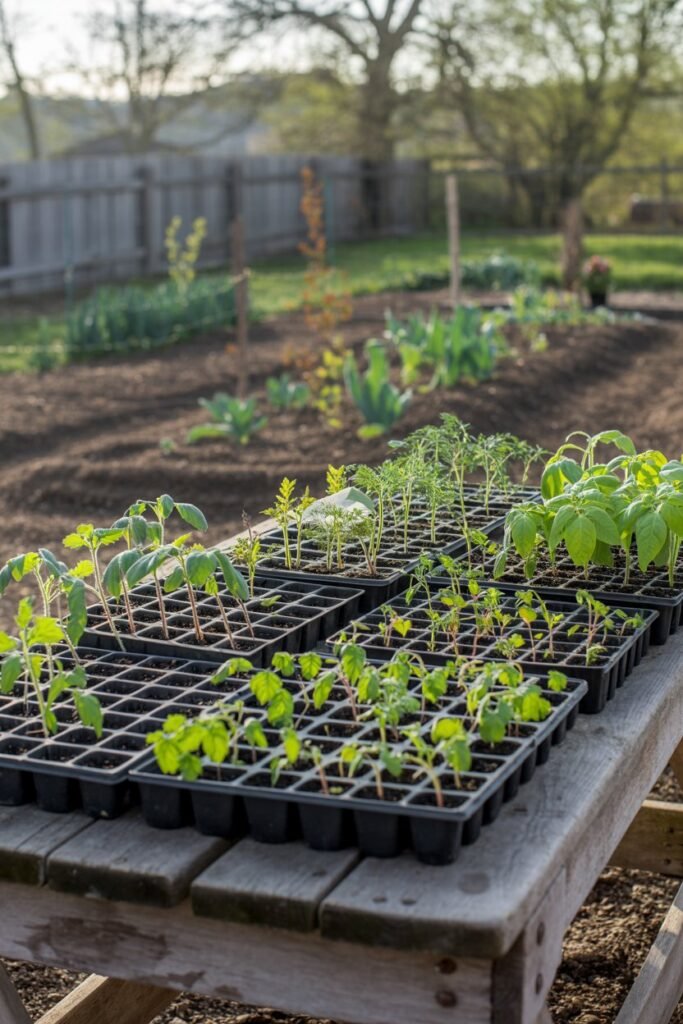
Those tiny envelopes hold months of possibility tomatoes for summer salads, crisp lettuce for lunch bowls, sweet peppers for roasting, and carrots pulled fresh from the soil.
But one thing I learned the hard way in my early gardening days is that enthusiasm alone doesn’t grow a successful vegetable garden.
Without a plan, seeds get started too early, seedlings become leggy, and some plants miss the perfect transplant window entirely.
Creating a seed starting schedule changed everything for me.
A good schedule keeps your planting organized, ensures your seedlings are ready at the right time, and helps you grow healthier plants with less stress.
Instead of guessing when to plant, you’ll have a simple system that guides you from the first seed you sow all the way to transplanting your young plants into the garden.
In this guide, I’ll walk you through exactly how to create your own seed starting schedule step-by-step, including:
- How to determine the right planting dates
- Which vegetables should start indoors and which should not
- The supplies you need for successful seed starting
- A practical way to organize your planting timeline
- A seed starting schedule table template you can use every season
If you’ve ever felt overwhelmed trying to figure out when to plant everything, this guide will help you turn seed starting into a calm, organized, and joyful part of your gardening routine.
Why a Seed Starting Schedule Is So Important
When I first started gardening, I planted seeds whenever I felt like it. Some weeks I started everything at once, and other times I forgot to start seeds until it was almost too late.
The results were predictable:
- Seedlings growing too large indoors
- Plants transplanted too early or too late
- Crops maturing at inconvenient times
- Empty garden space where plants should have been
A seed starting schedule solves these problems beautifully.
It Prevents Starting Seeds Too Early
Many gardeners get excited and start seeds months before they should. This often leads to:
- Tall, weak seedlings
- Root-bound plants
- Plants stressed before transplanting
A schedule ensures seeds are started at the correct time for your climate.
It Keeps Your Garden Organized
When you grow multiple crops, keeping track of planting times can quickly become confusing.
A schedule helps you track:
- When seeds are sown
- When they germinate
- When they should be transplanted
- How many plants you actually need
It Improves Your Harvest
Timing matters in gardening.
Planting at the correct time helps crops:
- Grow stronger
- Mature properly
- Produce better yields
It Reduces Gardening Stress
One of the most peaceful things about having a schedule is knowing exactly what needs to be done and when. Instead of feeling rushed or overwhelmed, you simply follow the plan.
Understanding Frost Dates (The Key to Scheduling Seeds)
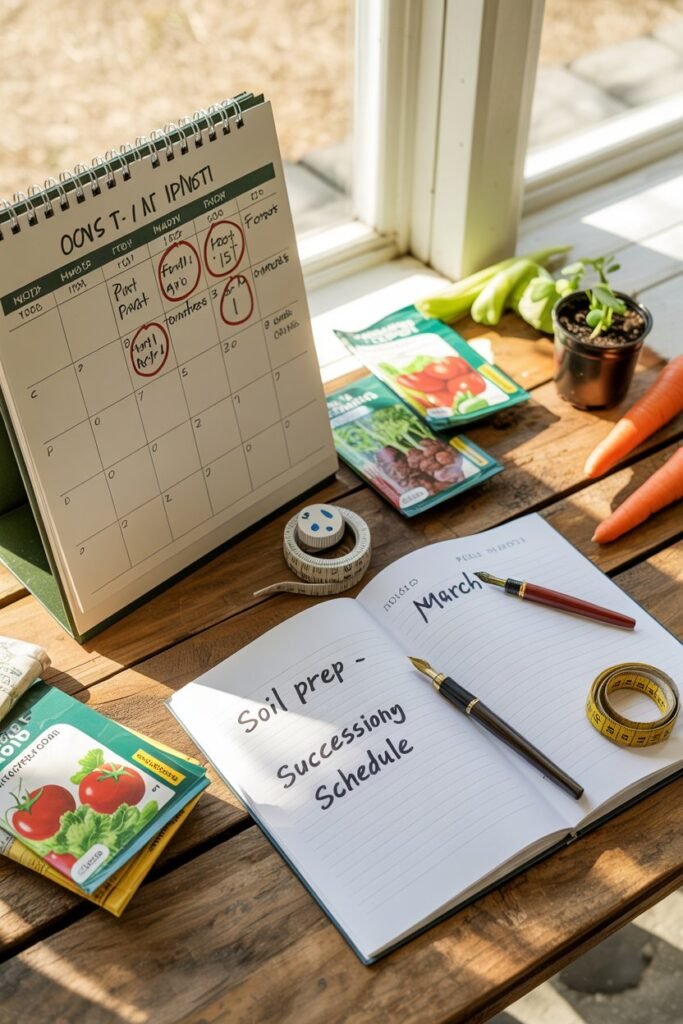
Before creating your schedule, you need to know one important piece of information: your last spring frost date.
This date is the foundation of every seed starting plan.
What Is a Frost Date?
The last frost date is the average date when the final frost of spring occurs in your region.
Gardeners use this date to determine when it is safe to plant crops outdoors.
Many vegetables cannot survive frost, including:
- Tomatoes
- Peppers
- Cucumbers
- Zucchini
- Beans
Starting seeds too early or transplanting too soon can damage or kill young plants.
How Frost Dates Affect Seed Starting
Most seed packets list instructions such as:
- Start seeds 6–8 weeks before last frost
- Start seeds 4 weeks before last frost
- Direct sow after last frost
Your schedule simply converts those instructions into actual calendar dates.
For example:
Last frost date: April 20
Tomatoes: Start 6 weeks before frost
Indoor sowing date: March 9
Once you calculate this for each crop, you’ll have the framework for your seed starting calendar.
Supplies You Need to Start Seeds Successfully
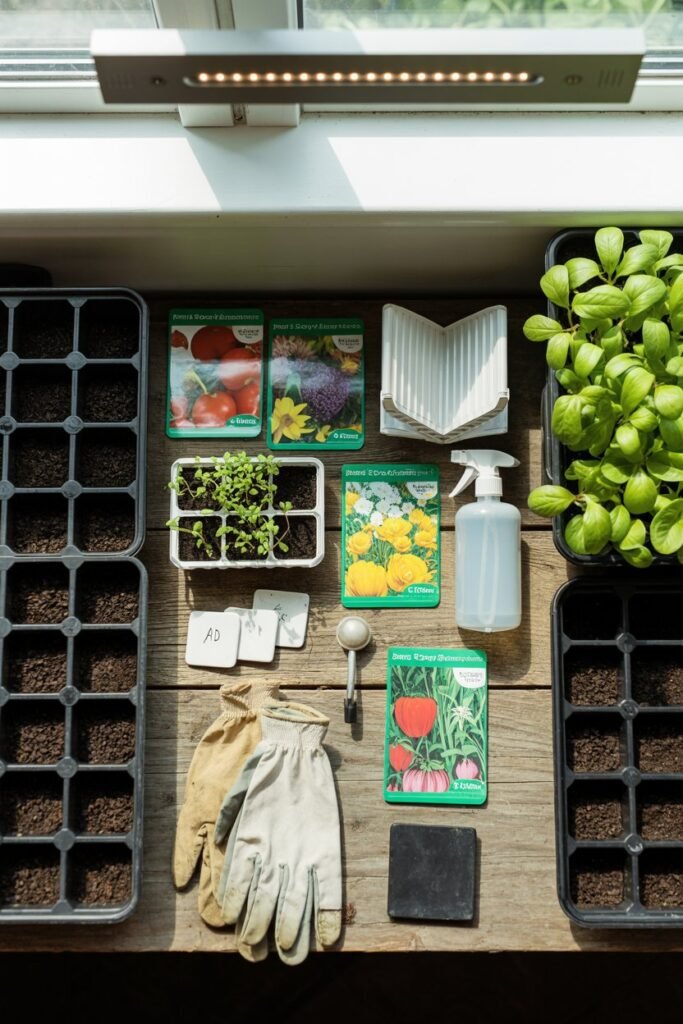
Before creating your schedule, it helps to gather the tools you’ll need for seed starting.
Seedlings grow best when they have the right environment.
Seed Starting Supplies
Here are the basic items that make seed starting easier and more successful.
Seed Starting Trays
Seed trays allow you to grow many plants in a small space.
You can use:
- Plastic seed trays
- Cell trays
- Biodegradable pots
- Soil blocks
Cell trays are especially helpful because they keep seedlings organized.
Seed Starting Mix
Regular garden soil is too heavy for seedlings.
A seed starting mix is lighter and designed for delicate roots.
Look for mixes that contain:
- Coconut coir or peat moss
- Vermiculite
- Perlite
These ingredients help retain moisture while allowing proper drainage.
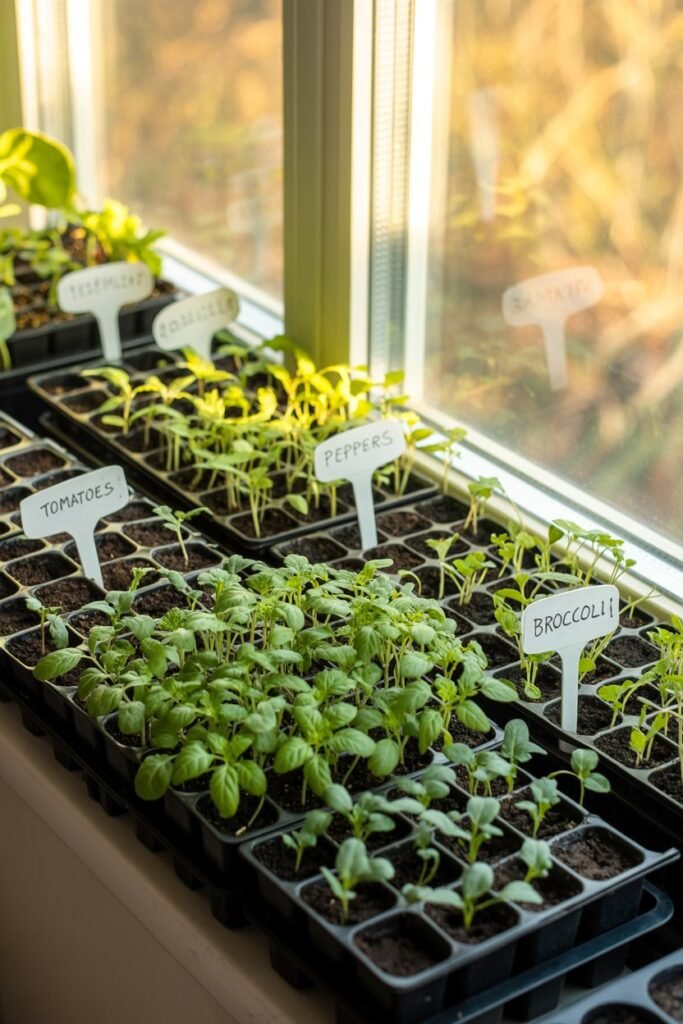
Plant Labels
Trust me once seeds sprout, everything starts looking similar.
Labels help you keep track of each crop.
Good labeling options include:
- Plastic plant markers
- Wooden sticks
- Waterproof markers
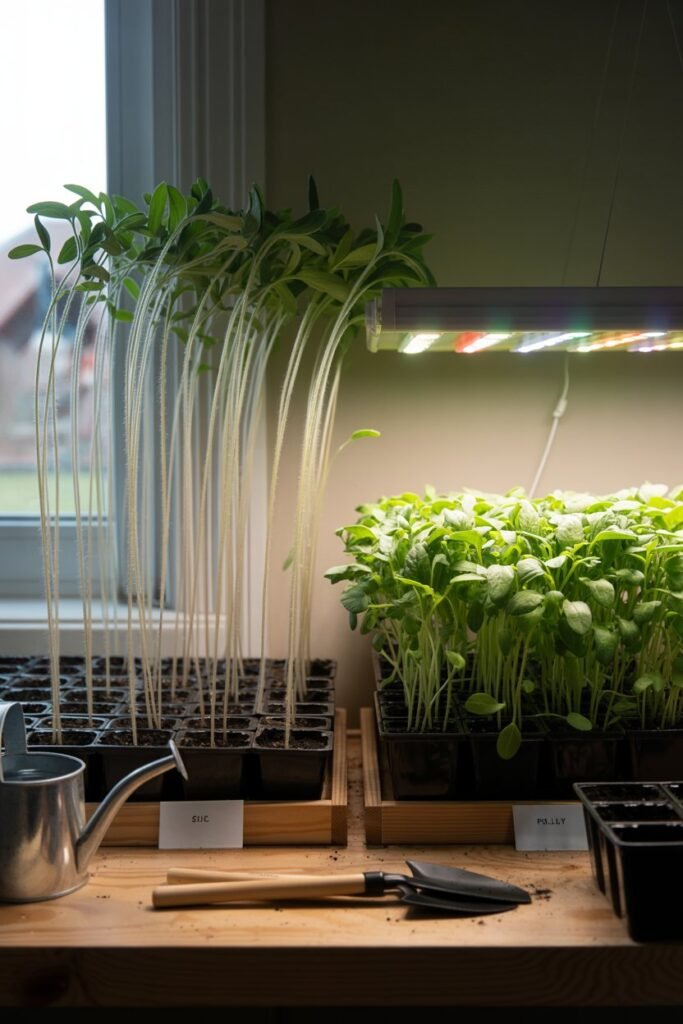
Grow Lights
If you start seeds indoors, good lighting is essential.
Without enough light, seedlings become weak and leggy.
Simple LED grow lights work perfectly for most home gardeners.
Spray Bottle or Watering Can
Young seedlings need gentle watering.
A spray bottle or small watering can prevents disturbing delicate roots.
Which Vegetables Should Be Started Indoors
Not every vegetable needs to be started indoors.
Some crops grow better when planted directly in the garden.
Starting the right plants indoors helps you maximize your growing season.
Best Vegetables to Start Indoors
These crops benefit from early indoor sowing.
Warm-season crops
- Tomatoes
- Peppers
- Eggplant
- Broccoli
- Cauliflower
- Cabbage
These plants grow slowly and need extra time before being transplanted.
Vegetables That Prefer Direct Sowing
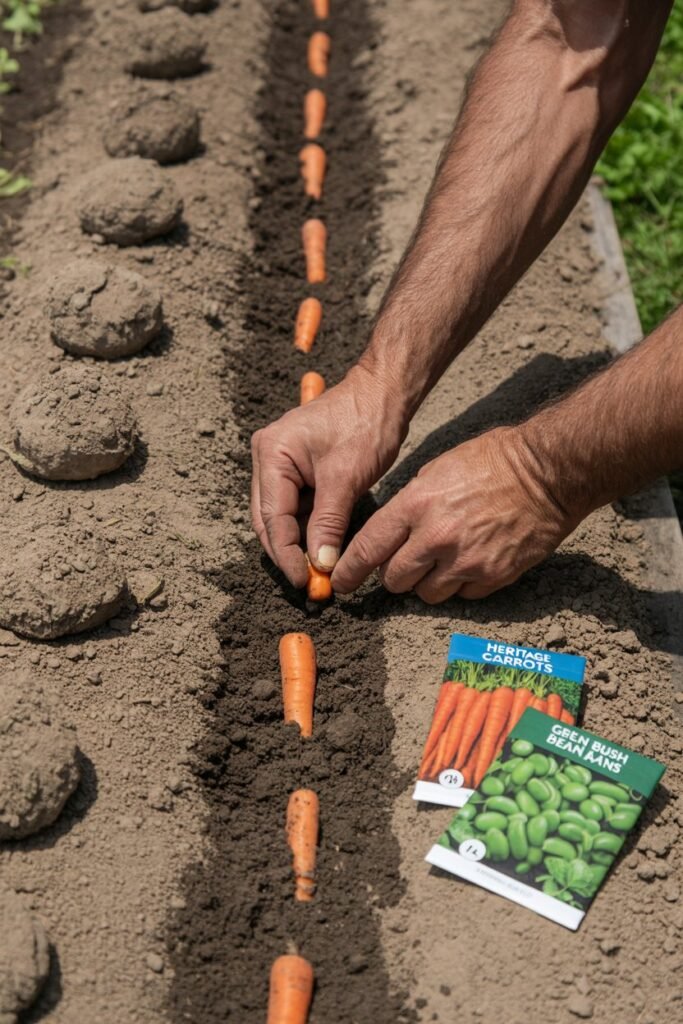
Some plants dislike root disturbance and grow better when planted directly outdoors.
Examples include:
- Carrots
- Radishes
- Beans
- Peas
- Corn
- Cucumbers
- Squash
Your schedule should include both indoor sowing dates and outdoor planting dates.
Step-by-Step Guide to Creating a Seed Starting Schedule
Creating a seed starting schedule may sound complicated, but once you break it down into simple steps, it becomes surprisingly easy.
I like to sit down with my seed packets and a notebook and work through this process slowly.
Step 1: Make a List of Crops You Want to Grow

Start by writing down every vegetable you plan to grow.
For example:
- Tomatoes
- Peppers
- Lettuce
- Spinach
- Cucumbers
- Carrots
- Beans
- Zucchini
- Broccoli
This becomes the foundation of your schedule.
Step 2: Determine How Many Plants You Need
Next, estimate how many plants you actually need.
This prevents overcrowding and wasted seedlings.
Example planning:
| Crop | Plants Needed |
|---|---|
| Tomatoes | 6 |
| Peppers | 6 |
| Lettuce | 12 |
| Cucumbers | 4 |
| Zucchini | 2 |
Some crops require succession planting, which means planting multiple batches over time.
Step 3: Check Seed Packet Instructions
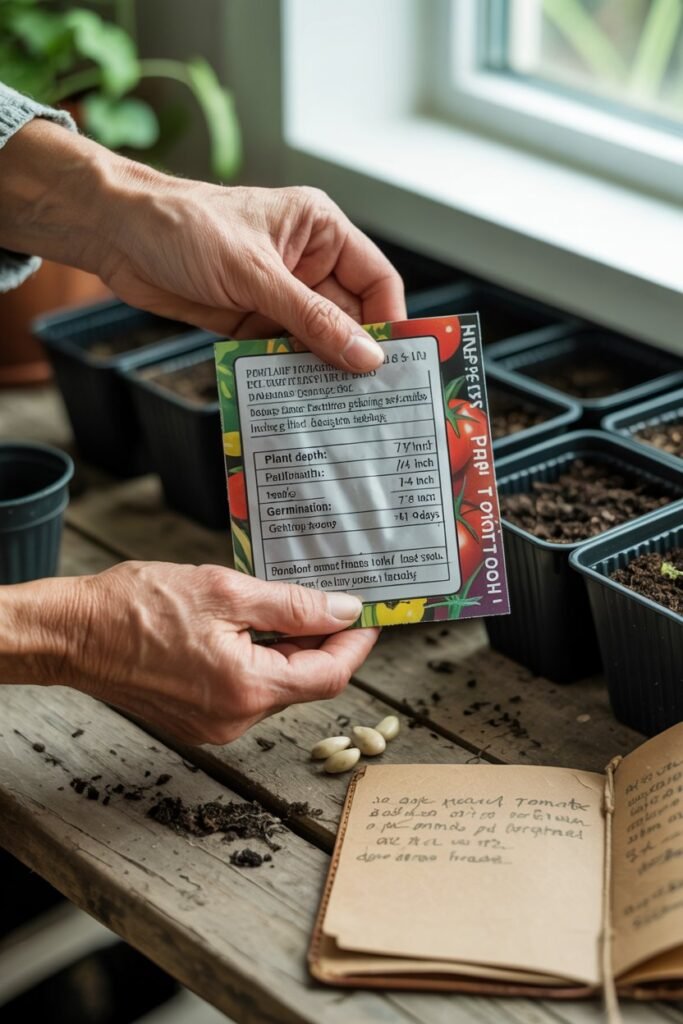
Seed packets contain valuable information such as:
- Germination time
- Indoor starting instructions
- Transplant timing
- Plant spacing
Example instruction:
“Start seeds indoors 6–8 weeks before last frost.”
Use this information to calculate your planting dates.
Step 4: Calculate Indoor Sowing Dates
Now convert the seed packet timing into real calendar dates.
Example:
Last frost: April 20
Tomatoes: 6 weeks before frost
Indoor sowing date: March 9
Write these dates in your schedule.
Step 5: Plan Transplant Dates
Most seedlings are transplanted after the last frost once the soil warms.
For warm-season crops:
- Tomatoes
- Peppers
- Cucumbers
Transplant 1–2 weeks after the last frost.
Cool-season crops may be transplanted earlier.
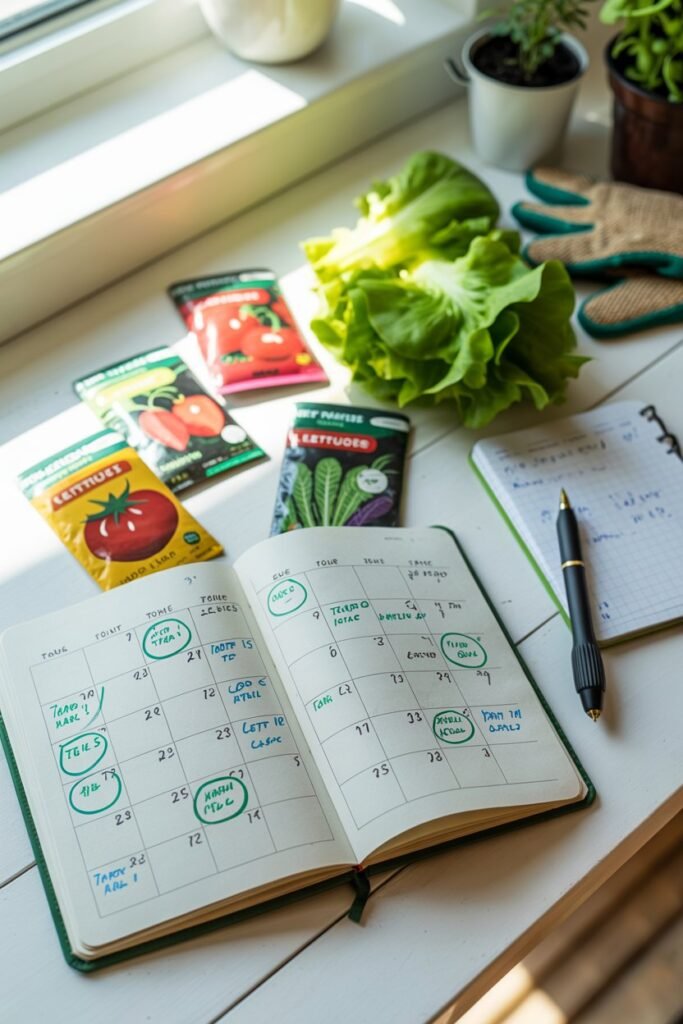
Seed Starting Schedule Table Template
Below is a practical seed starting schedule you can copy and use each gardening season.
| Crop Name | Number of Plants Needed | Indoor Sowing Date | Actual Sowing Date | Germination Date | Transplant Date | Actual Transplant Date |
|---|---|---|---|---|---|---|
| Tomatoes | 6 | March 9 | April 25 | |||
| Peppers | 6 | March 1 | April 25 | |||
| Broccoli | 4 | February 20 | April 10 | |||
| Lettuce | 12 | March 10 | April 5 | |||
| Cucumbers | 4 | April 5 | April 30 | |||
| Zucchini | 2 | April 5 | May 1 | |||
| Cabbage | 4 | February 20 | April 5 |
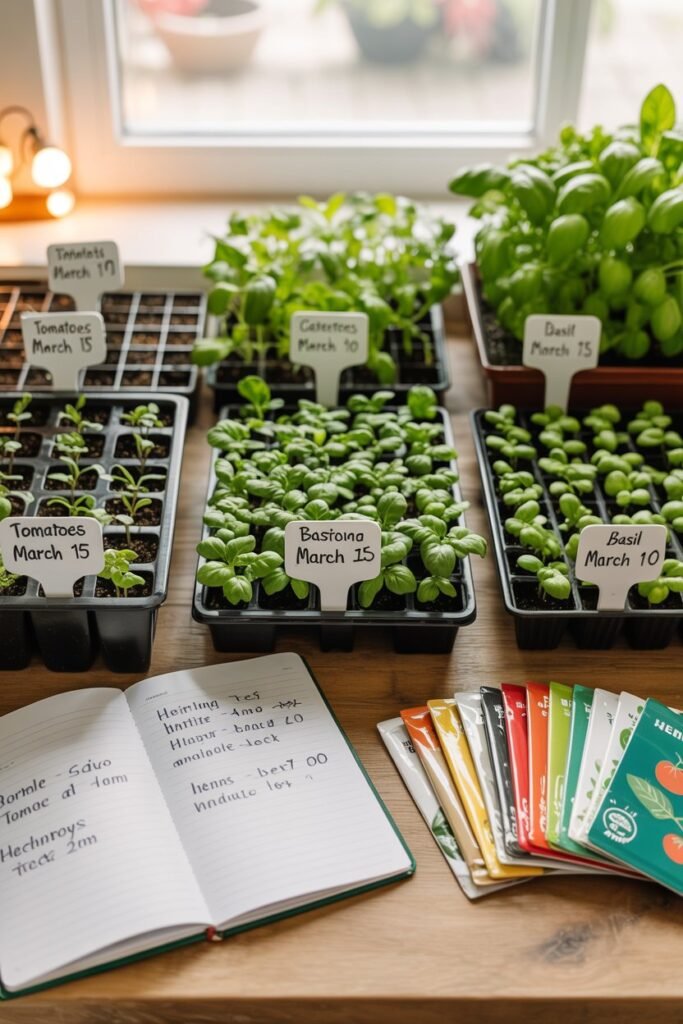
You’ll fill in the actual dates as you garden.
This makes it easier to improve your schedule every year.
Example Weekly Seed Starting Timeline
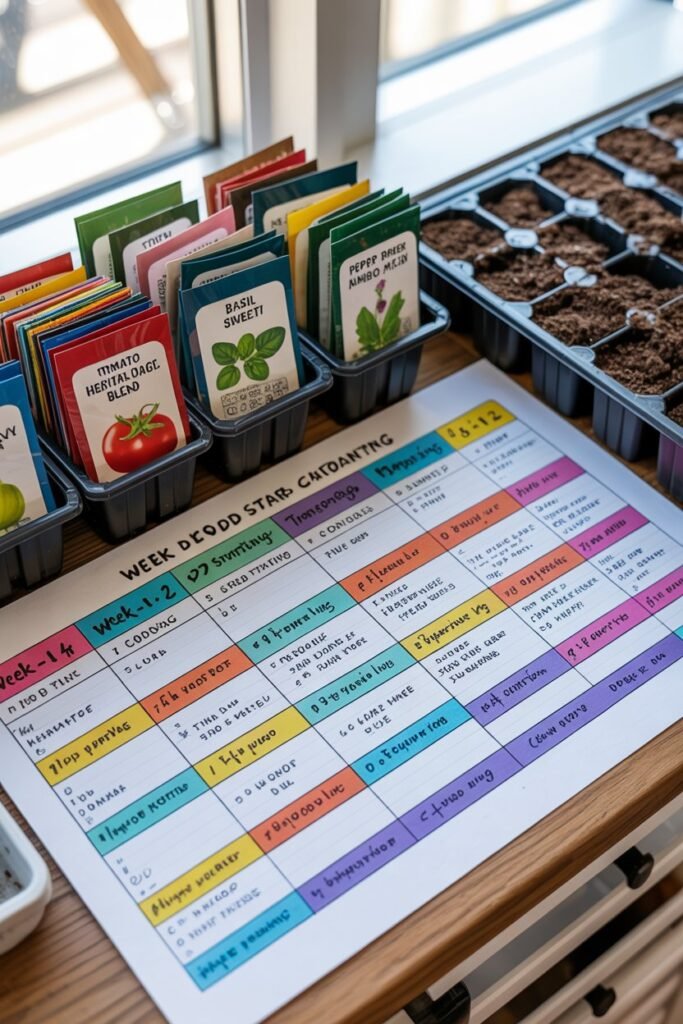
Another helpful way to organize your schedule is by week.
8 Weeks Before Last Frost
Start indoors:
- Peppers
- Eggplant
- Celery
6 Weeks Before Last Frost
Start indoors:
- Tomatoes
- Broccoli
- Cabbage
- Cauliflower
4 Weeks Before Last Frost
Start indoors:
- Lettuce
- Kale
- Swiss chard
2 Weeks Before Last Frost
Start indoors:
- Cucumbers
- Squash
- Zucchini
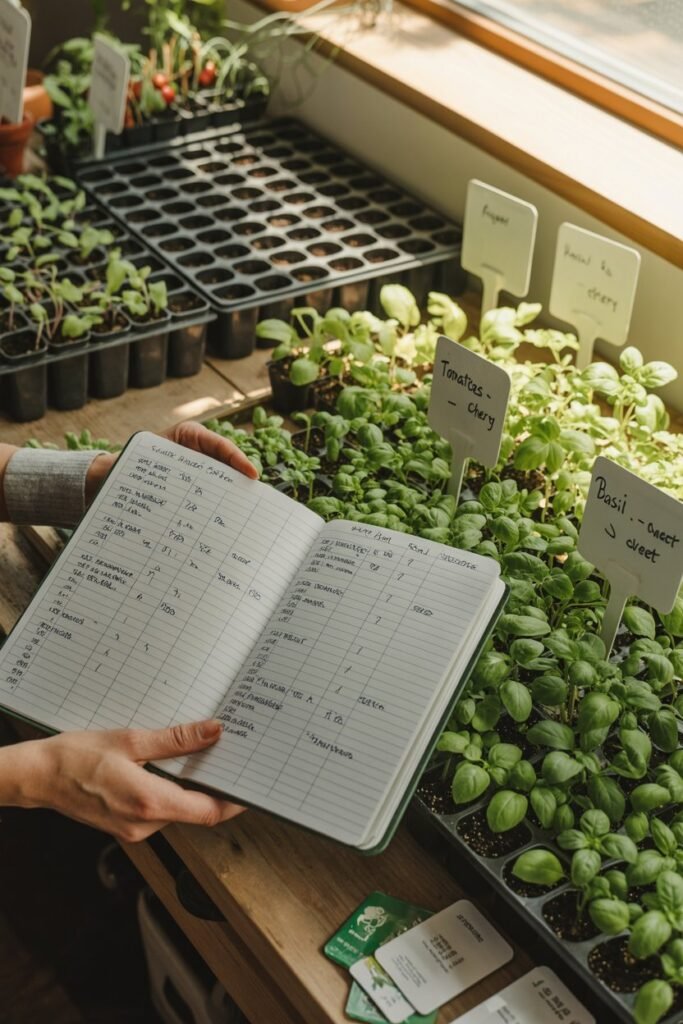
Tracking Germination for Better Planning
Recording germination dates is incredibly useful.
This information helps you:
- Learn how long seeds take to sprout
- Identify poor seed viability
- Improve your schedule next year
Example:
| Crop | Days to Germinate |
|---|---|
| Tomatoes | 5–10 days |
| Peppers | 7–14 days |
| Lettuce | 2–7 days |
| Cucumbers | 3–7 days |
Keeping track of this information helps you become a more confident gardener each season.
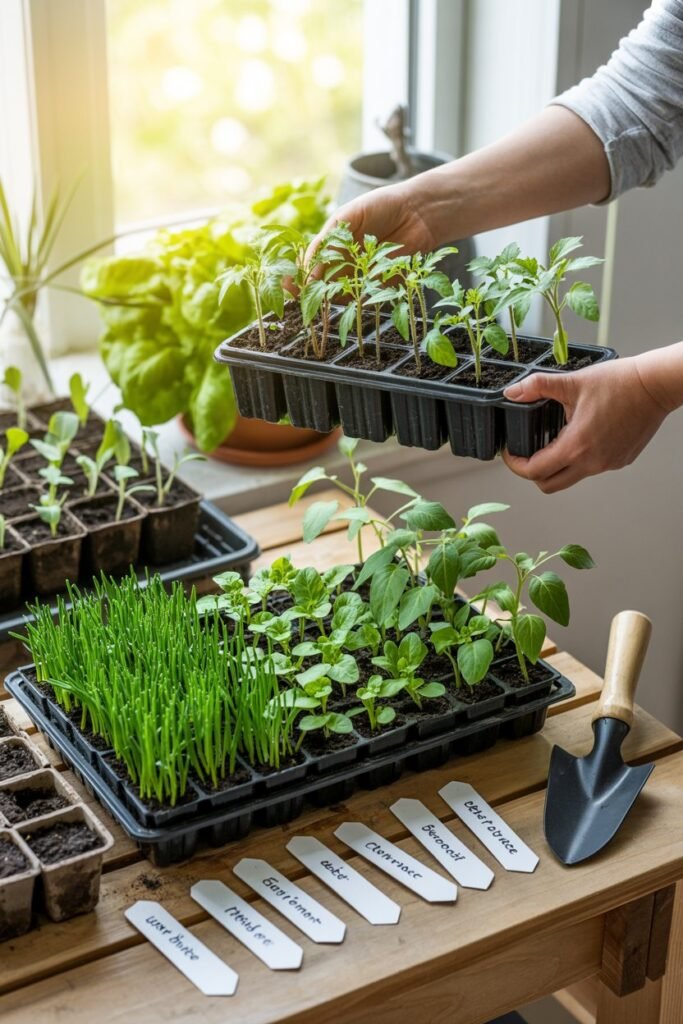
Hardening Off Seedlings Before Transplanting
One of the most important steps in the seed starting process is hardening off.
Seedlings grown indoors are delicate. Moving them directly into outdoor conditions can shock the plants.
Hardening off gradually exposes seedlings to outdoor elements.
Simple Hardening Off Schedule
Day 1–2
Place seedlings outdoors in shade for 1–2 hours.
Day 3–4
Increase exposure to 3–4 hours.
Day 5–6
Allow morning sunlight.
Day 7
Seedlings can stay outside most of the day.
After a week, plants are ready for transplanting.
Common Seed Starting Mistakes to Avoid
Even experienced gardeners make mistakes when starting seeds.
Here are a few common issues to watch for.
Starting Seeds Too Early
This often results in:
- Leggy plants
- Root-bound seedlings
- Stress before transplanting
A schedule prevents this problem.
Overwatering
Seedlings need moisture but not soggy soil.
Too much water can cause:
- Root rot
- Damping-off disease
Not Providing Enough Light
Insufficient light leads to weak seedlings.
Keep lights close to plants for best results.
Tips for Maintaining Your Seed Starting Schedule
Once you create your schedule, maintaining it becomes simple.
Here are a few habits that make the process easier.
Check Your Schedule Weekly
A quick weekly review helps you stay on track.
Label Everything
Always label trays immediately after planting.
Record Results
Write down:
- Germination success
- Plant health
- Harvest dates
This information improves future garden planning.
Final Thoughts
Creating a seed starting schedule transformed my gardening seasons from chaotic to beautifully organized.
Instead of guessing when to plant or rushing to start seeds at the last minute, everything now follows a calm, predictable rhythm. Each week has its own small tasks sowing a tray of tomatoes, checking for sprouts, preparing seedlings for the garden.
The real magic of a seed schedule isn’t just organization. It’s confidence.
You begin to understand your plants, your climate, and the natural pace of the growing season. Seeds sprout when they should, seedlings grow strong and healthy, and transplanting becomes smooth and successful.
Once you create your first schedule, you’ll likely refine it every year. Each season teaches something new, and over time your seed starting plan becomes a personalized guide perfectly suited to your garden.
So gather your seed packets, make your planting list, and start building your schedule. Those tiny seeds are the beginning of months of fresh harvests, and with a thoughtful plan in place, your vegetable garden will be off to a wonderful start.
