
The first time something came back in my garden without me lifting a finger, I remember pausing really pausing to take it in. It wasn’t just growth it felt like trust.
Like the soil had quietly decided to keep giving, even when I wasn’t starting from scratch again. That’s the beauty of perennial vegetables. They soften the rhythm of gardening.
They remove that constant pressure to replant and instead invite you into something slower, steadier, and deeply rewarding. Over time, they become anchors in your garden reliable, generous, and full of life.
If you’ve ever longed for a garden that feels less demanding and more like a partnership, these are the plants that will carry you there.
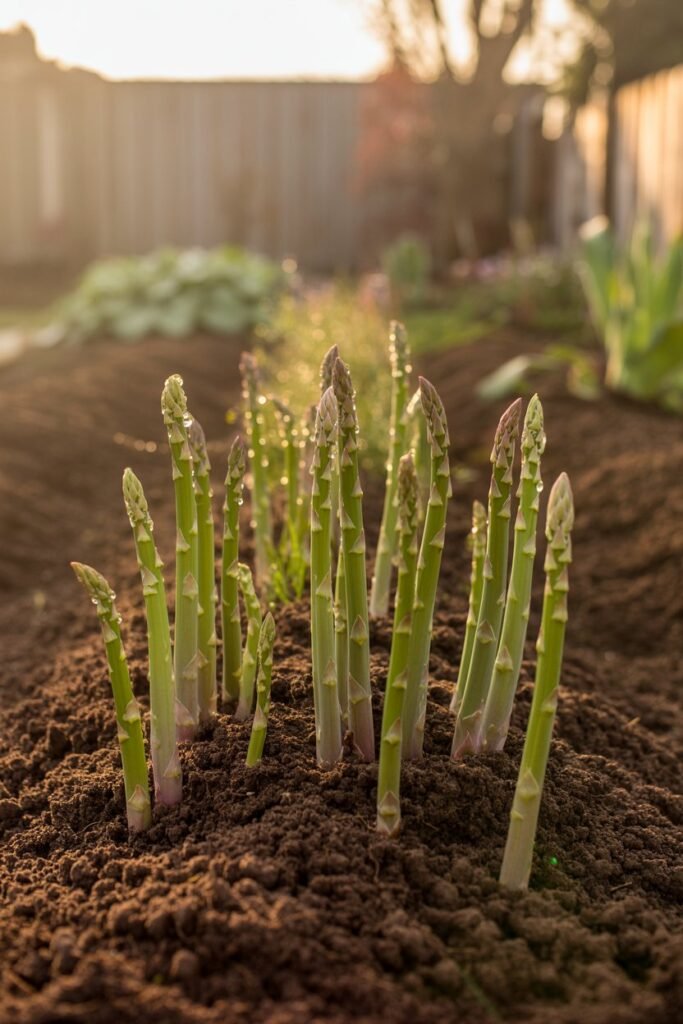
1. Asparagus (Asparagus officinalis)
Why It Thrives
Asparagus is built for longevity. Once its root system (called crowns) settles in, it sends energy deep into the soil, storing nutrients and strength year after year.
This deep-rooted nature makes it drought-tolerant and incredibly resilient once established.
What Makes It Special
Asparagus teaches patience in the most beautiful way. You nurture it for a couple of seasons before harvesting and then it rewards you every spring for up to 20 years.
It’s one of the earliest vegetables to appear, often when your garden still feels sleepy.
Step-by-Step Planting Guide
- Choose your forever spot carefully
Asparagus doesn’t like being moved. Pick a place with full sun and space to grow long-term. - Prepare deeply, not just widely
Loosen soil at least 12–15 inches deep. Mix in compost, aged manure, or organic matter. - Dig trenches (6–8 inches deep)
Think of this as tucking your crowns into a comfortable bed. - Place crowns gently
Spread the roots out like a fan. This helps them establish evenly. - Cover lightly at first
Add only a few inches of soil. As shoots grow, gradually fill in the trench. - Water consistently
Moist not soggy soil is key during the first year.
Extra Growing Tips
- Mulch heavily to suppress weeds
- Never harvest the first year
- Light harvest in year two, full harvest from year three
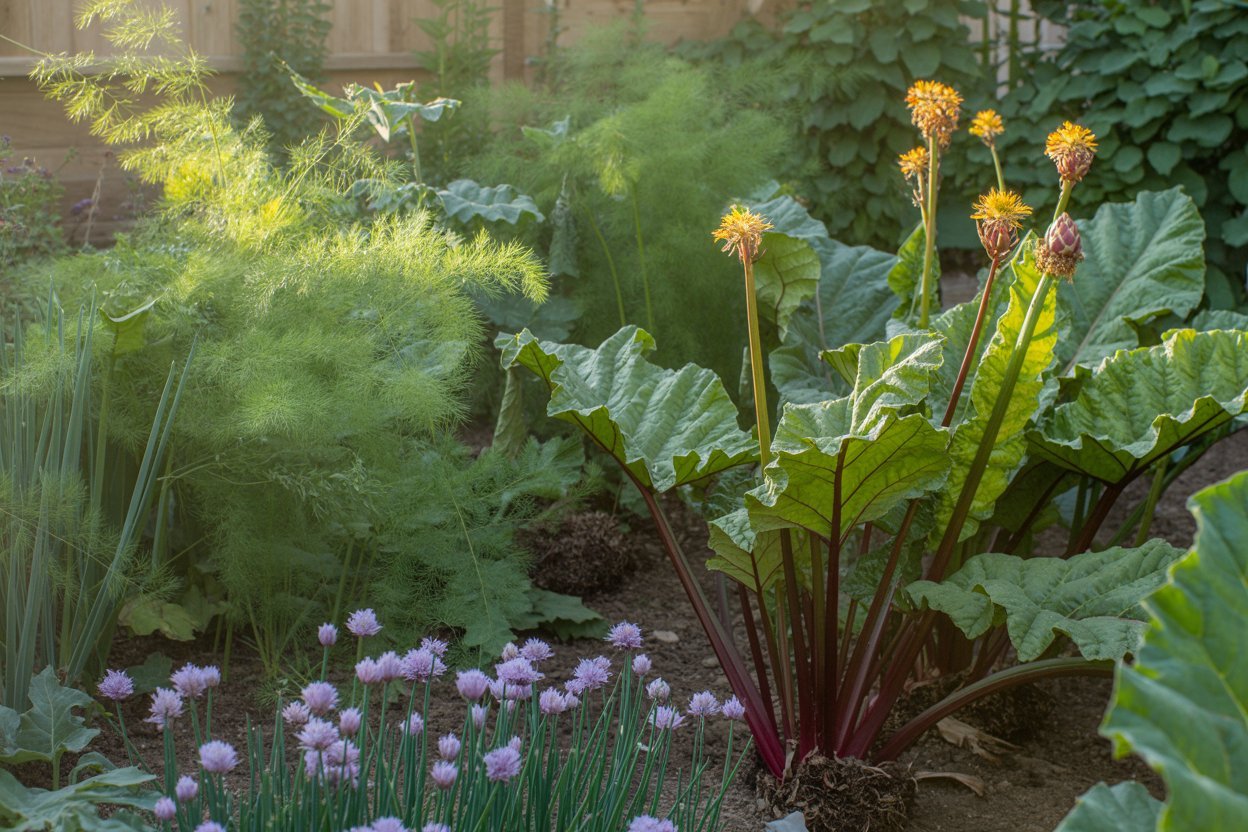
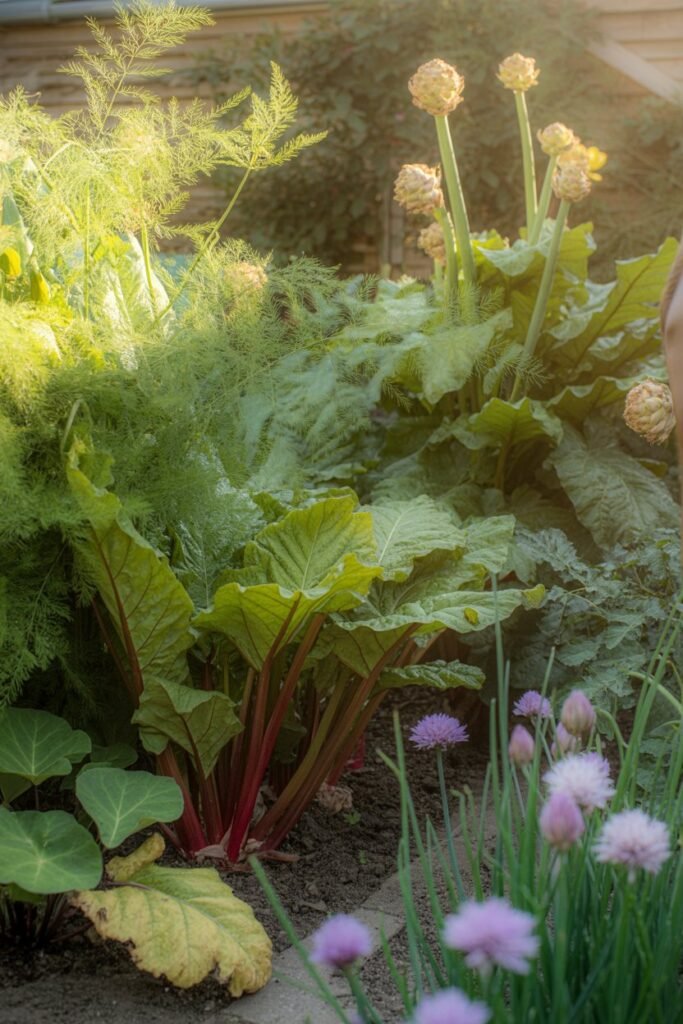
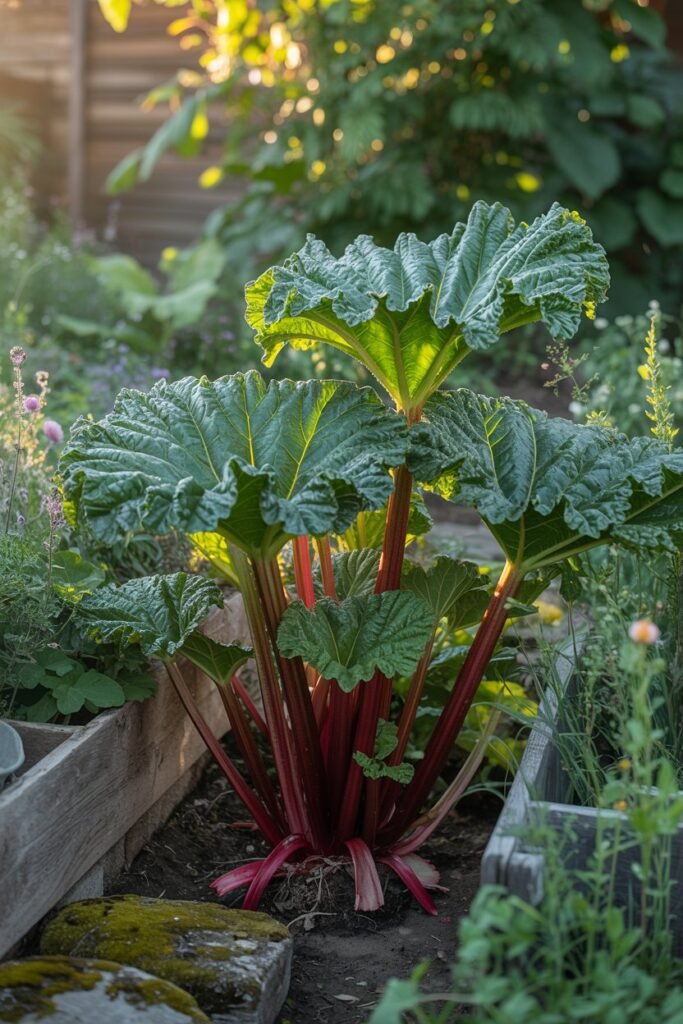
2. Rhubarb
Why It Thrives
Rhubarb thrives on consistency rich soil, steady moisture, and a little space to stretch. Once established, it becomes incredibly hardy and dependable.
What Makes It Special
It’s bold. From its large leaves to its bright stalks, rhubarb adds personality to your garden. And in the kitchen, it transforms into something comforting and nostalgic.
Step-by-Step Planting Guide
- Pick a cool, sunny location
It can tolerate some shade, especially in warmer climates. - Prepare nutrient-rich soil
Add plenty of compost rhubarb is a heavy feeder. - Plant crowns shallowly
Buds should sit just below the soil surface. - Give it room
Space plants 3–4 feet apart—they grow big. - Water deeply
Especially during dry periods.
Extra Growing Tips
- Remove flower stalks to boost leaf growth
- Mulch yearly with compost
- Never harvest more than one-third of the plant at a time
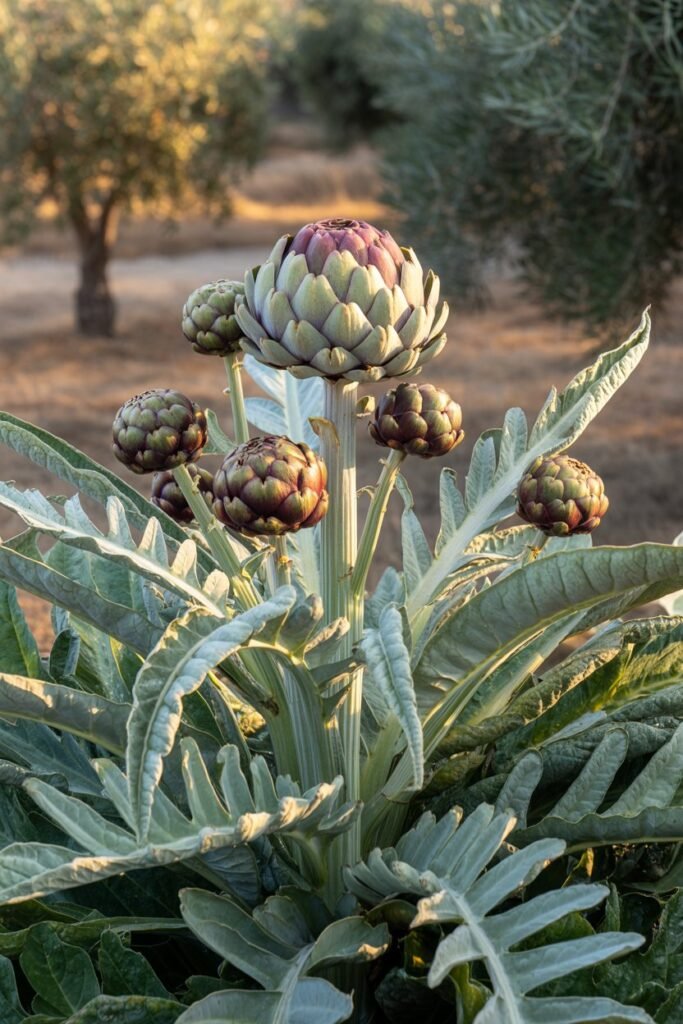
3. Artichokes
Why They Thrive
Artichokes love warmth, sunshine, and rich soil. In the right environment, they return year after year with even stronger growth.
What Makes Them Special
They blur the line between ornamental and edible. Their silvery leaves and dramatic buds make them feel almost sculptural in the garden.
Step-by-Step Planting Guide
- Start with strong seedlings or divisions
- Choose a sheltered, sunny location
- Prepare deeply fertile soil
- Space generously (3–4 feet apart)
- Water deeply and consistently
Extra Growing Tips
- Add compost throughout the season
- Protect crowns in colder climates with mulch
- Harvest buds before they open
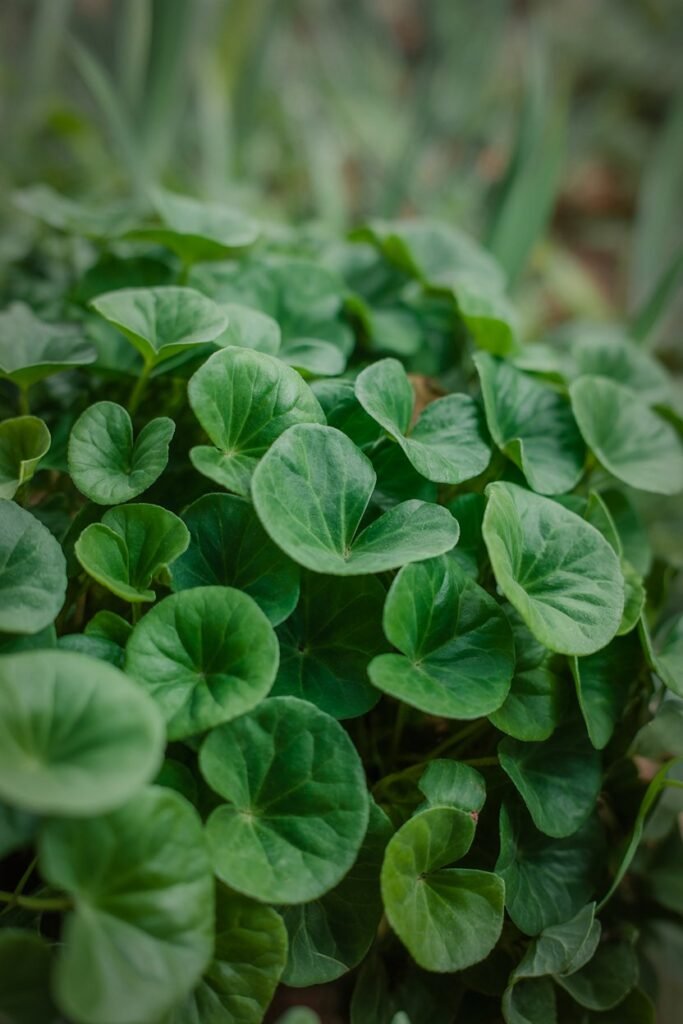
4. Sorrel
Why It Thrives
Sorrel is one of those quietly reliable plants. It tolerates different soils and grows quickly once established.
What Makes It Special
Its lemony tang brightens meals in a way few greens can. It’s also one of the first greens to appear in early spring.
Step-by-Step Planting Guide
- Choose sun or partial shade
- Sow seeds directly or transplant seedlings
- Keep soil lightly moist
- Harvest often
Extra Growing Tips
- Remove flower stalks to keep leaves tender
- Divide plants every few years
5. Jerusalem Artichokes (Sunchokes)
Why They Thrive
Jerusalem artichokes are one of the most forgiving plants I’ve ever grown. They don’t demand perfect soil, they don’t complain about weather swings, and once they settle in, they grow with an almost wild kind of confidence.
Their deep-growing tubers store energy efficiently, allowing them to return stronger each year. Even in less-than-ideal conditions, they’ll still find a way to thrive.
What Makes Them Special
They feel like a hidden treasure. Above ground, you get tall, cheerful sunflower-like plants that brighten your space.
Below ground, clusters of nutty, slightly sweet tubers develop quietly, waiting to be harvested. It’s like planting once and uncovering a surprise every season.
Step-by-Step Planting Guide
- Choose your location carefully
These plants grow tall (up to 6–10 feet), so place them where they won’t shade smaller crops. - Prepare the soil lightly
They aren’t picky, but loosening the soil helps tubers develop more evenly. - Plant tubers in early spring
As soon as the soil is workable. - Plant 4–6 inches deep
Cover well and firm the soil gently. - Space 12–18 inches apart
Give them room they multiply quickly. - Water moderately
Keep soil slightly moist during establishment.
Extra Growing Tips
- Harvest after the first frost for sweeter flavor
- Leave some tubers in the ground for next year
- Consider planting in a contained area they spread easily
6. Chives
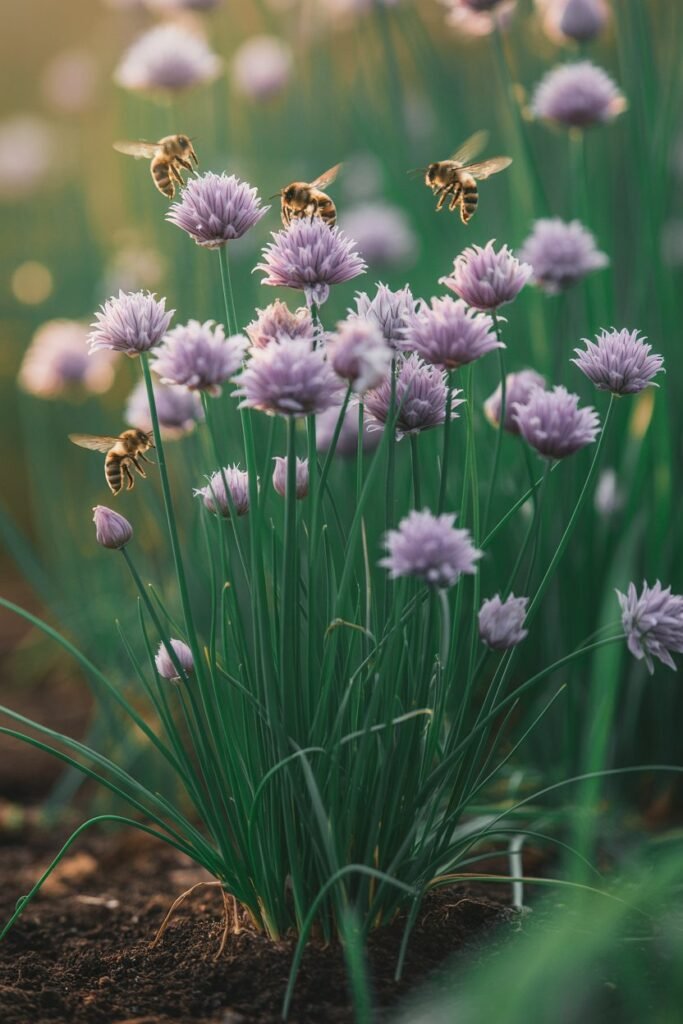
Why They Thrive
Chives are incredibly resilient. Once planted, they settle in and quietly multiply, forming thicker clumps each year.
Their ability to tolerate different soil types and conditions makes them one of the easiest perennials to rely on.
What Makes Them Special
Chives bring softness to the garden both visually and in flavor. Their delicate purple flowers attract pollinators, while their mild onion taste enhances everyday meals without overpowering them.
Step-by-Step Planting Guide
- Choose a sunny or lightly shaded spot
They adapt well but produce best in full sun. - Prepare well-drained soil
Mix in compost for steady growth. - Plant seeds or divisions
Dividing an existing plant gives quicker results. - Space plants 8–12 inches apart
They’ll fill in over time. - Water lightly but consistently
Avoid overwatering. - Begin harvesting once established
Snip leaves about 1–2 inches above soil level.
Extra Growing Tips
- Let flowers bloom for pollinators
- Cut back regularly to encourage fresh growth
- Divide clumps every 2–3 years to keep them vigorous
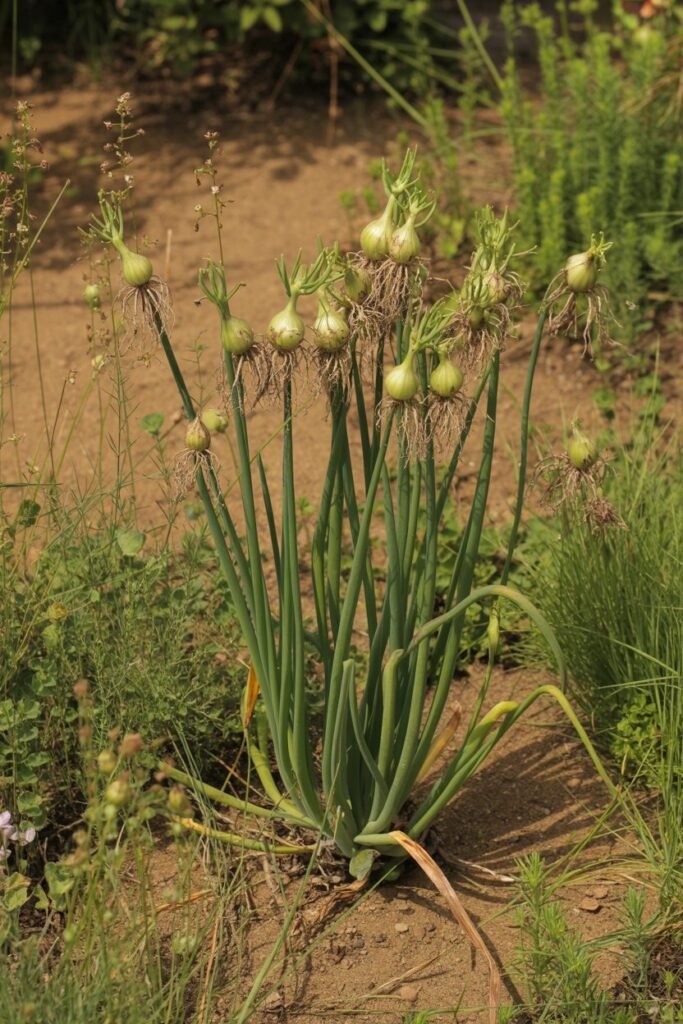
7. Walking Onions (Egyptian Onions)
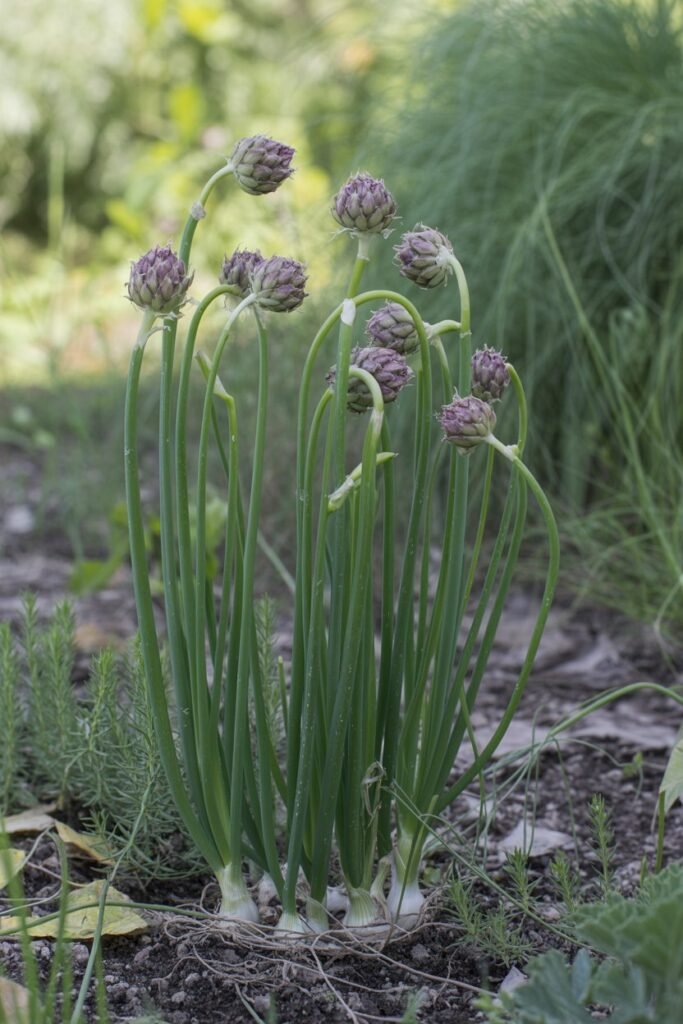
Why They Thrive
Walking onions practically take care of themselves. Instead of relying on seeds, they reproduce through bulbils that form at the top of the plant. When these fall, they root and grow creating a self-sustaining cycle.
What Makes Them Special
They bring movement into your garden. Over time, you’ll notice them slowly “walking” across the space, creating new clusters without any effort from you.
Step-by-Step Planting Guide
- Choose a sunny location
Full sun helps them produce strong growth. - Plant bulbils or small bulbs
Place them just below the soil surface. - Space 6–12 inches apart
They’ll naturally spread. - Water moderately
They don’t need much once established. - Allow natural propagation
Let the top bulbils fall and replant themselves.
Extra Growing Tips
- Harvest green shoots like spring onions
- Use bulbils for replanting or cooking
- Great for low-maintenance garden areas
8. Perennial Kale
Why It Thrives
Unlike annual kale, perennial varieties develop woody stems and deep roots that allow them to survive beyond one season. They become more resilient over time, especially in mild climates.
What Makes It Special
It’s a steady source of leafy greens without the need to replant. Once it settles in, you’ll have fresh leaves available almost year-round.
Step-by-Step Planting Guide
- Start from cuttings or young plants
Seeds are less common for perennial types. - Choose a sunny, sheltered spot
Protection from harsh winds helps longevity. - Prepare rich, fertile soil
Add compost before planting. - Plant at the same depth as the pot
Firm soil gently around the base. - Water regularly during establishment
Keep soil evenly moist. - Harvest outer leaves first
This encourages continuous growth.
Extra Growing Tips
- Stake taller plants if needed
- Prune occasionally to maintain shape
- Protect from extreme heat or frost
9. Lovage
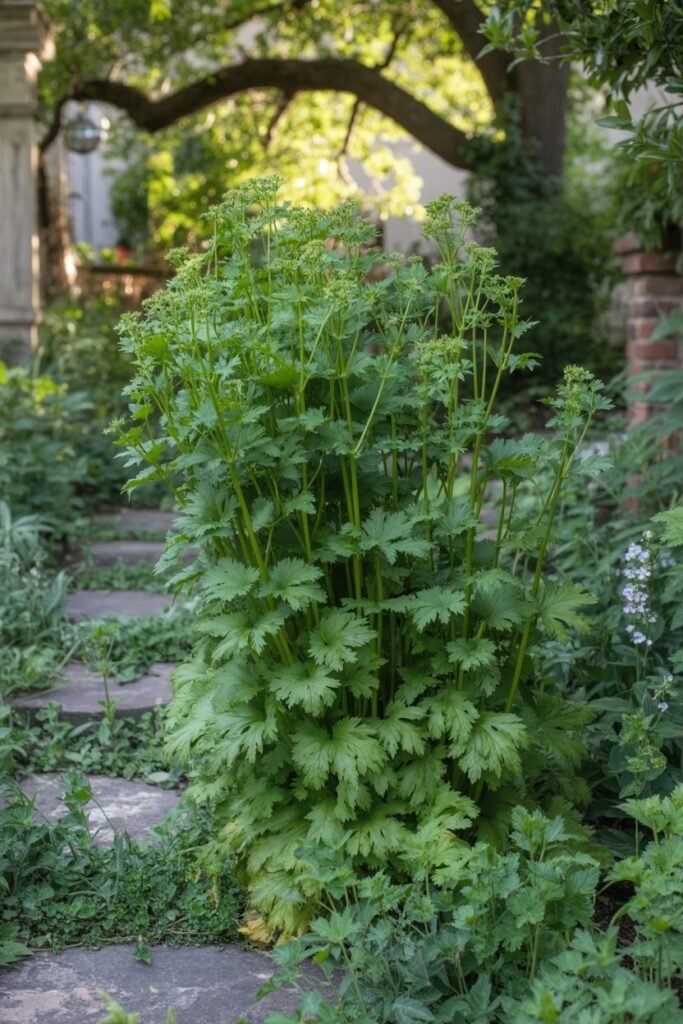
Why It Thrives
Lovage grows vigorously once established, sending roots deep into the soil. It handles partial shade well and doesn’t demand constant attention, making it wonderfully dependable.
What Makes It Special
Everything about lovage feels generous from its height to its flavor. It offers a strong celery-like taste, and every part of the plant can be used, from leaves to seeds.
Step-by-Step Planting Guide
- Choose a spacious location
Lovage can grow up to 6 feet tall. - Prepare rich, moisture-retentive soil
Compost helps support its size. - Plant seeds or seedlings
Seeds may take time, so patience helps. - Space plants 2–3 feet apart
Allow room for full growth. - Water consistently
Especially during dry periods. - Harvest leaves as needed
Regular harvesting encourages fresh growth.
Extra Growing Tips
- Cut back in late season to refresh growth
- Use stems and seeds in cooking
- Mulch to retain moisture
10. Sea Kale
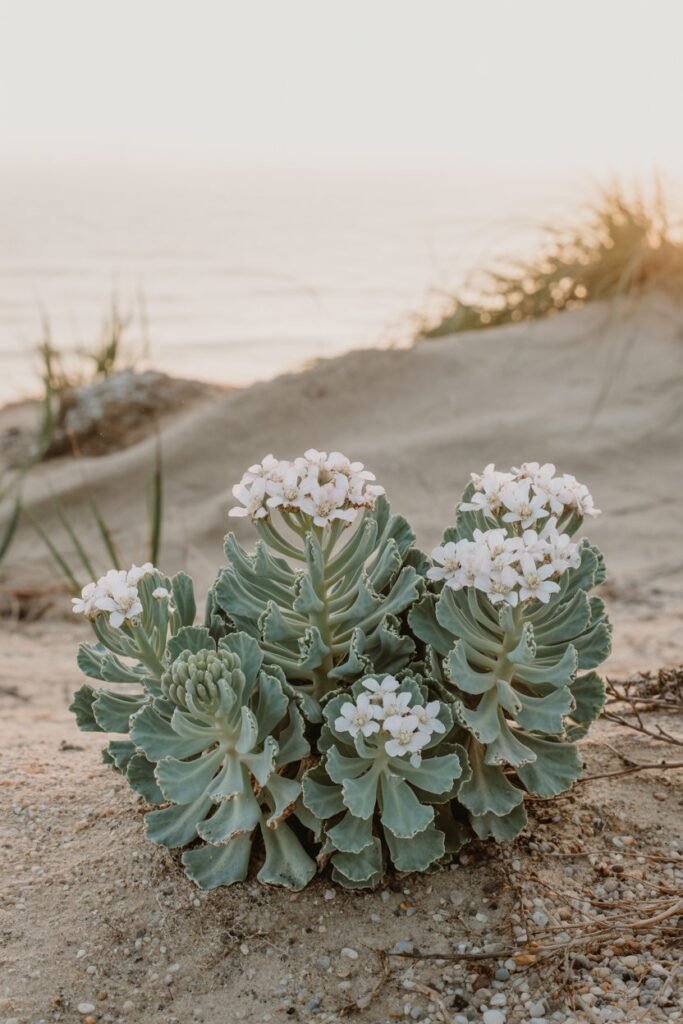
Why It Thrives
Sea kale is naturally adapted to coastal conditions, which means it tolerates poor, sandy soils and drought better than most vegetables.
What Makes It Special
It’s incredibly versatile. You can eat the shoots, leaves, and even the flowers. It also has a soft, ornamental beauty that adds texture to your garden.
Step-by-Step Planting Guide
- Choose a sunny location
It thrives with plenty of light. - Ensure excellent drainage
Sandy or loose soil works best. - Plant root cuttings or seeds
Root cuttings establish faster. - Space plants generously
About 2–3 feet apart. - Water until established
Then reduce watering. - Blanch shoots (optional)
Cover early shoots to make them tender.
Extra Growing Tips
- Avoid heavy, waterlogged soil
- Mulch lightly to control weeds
- Harvest gently to avoid stressing the plant
11. Horseradish
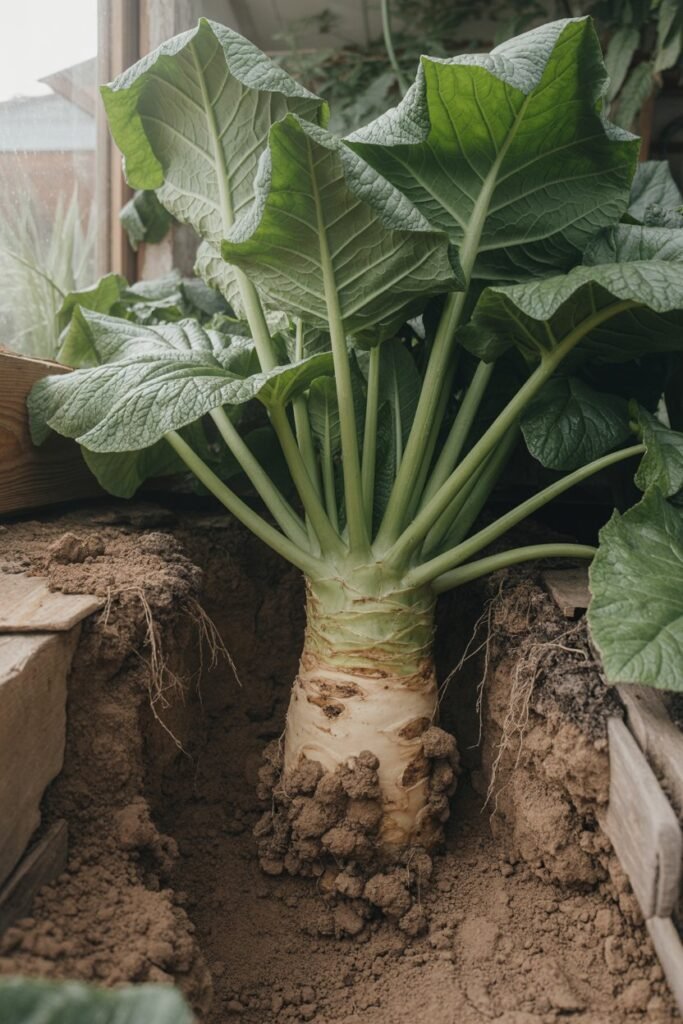
Why It Thrives
Horseradish is one of the toughest plants you can grow. It tolerates poor soil, fluctuating weather, and minimal care yet still produces vigorously.
What Makes It Special
Its roots pack a bold, spicy punch that transforms simple meals. Once planted, it becomes a lasting part of your garden.
Step-by-Step Planting Guide
- Choose a contained area
It spreads aggressively if left unchecked. - Plant root cuttings at an angle
About 2–3 inches below the soil surface. - Select full sun or partial shade
- Water occasionally
It doesn’t need constant moisture. - Allow a full growing season
Before harvesting. - Harvest roots in late fall or early spring
Extra Growing Tips
- Replant small root pieces for continuous growth
- Use containers if space is limited
- Harvest regularly to control spread
12. Good King Henry

Why It Thrives
Good King Henry is slow to establish, but once it does, it becomes a steady and reliable presence in the garden. Its deep roots help it return year after year with minimal care.
What Makes It Special
It’s often called a “perennial spinach,” offering nutritious greens without the need for constant replanting. It feels like a quiet, dependable companion in the garden.
Step-by-Step Planting Guide
- Soak seeds overnight before planting
This improves germination. - Choose partial shade or gentle sun
It prefers cooler conditions. - Prepare rich, fertile soil
Compost is essential. - Plant seeds shallowly
Lightly cover with soil. - Water consistently
Keep soil moist but not soggy. - Be patient during establishment
It may take a season to settle in.
Extra Growing Tips
- Harvest lightly in the first year
- Mulch to maintain soil moisture
- Divide plants every few years
Creating Your Own “Forever Garden”
Once you begin adding perennials, something shifts. You stop seeing your garden as something you must rebuild every season and instead as something you’re growing into.
Practical Tips to Get Started
- Start small (2–3 perennials first)
- Place long-term crops carefully
- Mix perennials with annuals
- Mulch generously
- Feed soil yearly with compost
Why This Approach Works
Perennials build strong root systems, improve soil structure, and require less effort over time. They also create a more stable, resilient garden ecosystem.
Final Thoughts
Perennial vegetables don’t just feed you they change your relationship with gardening. They remind you that not everything needs to be rushed, replanted, or restarted. Some things are meant to stay, to deepen, and to return.
And honestly, that’s what I love most.
Walking into the garden and seeing familiar plants rising again without asking, without effort feels like a quiet kind of abundance.
Start with one. Nurture it well. And let your garden slowly become a place that gives back, season after season.
