
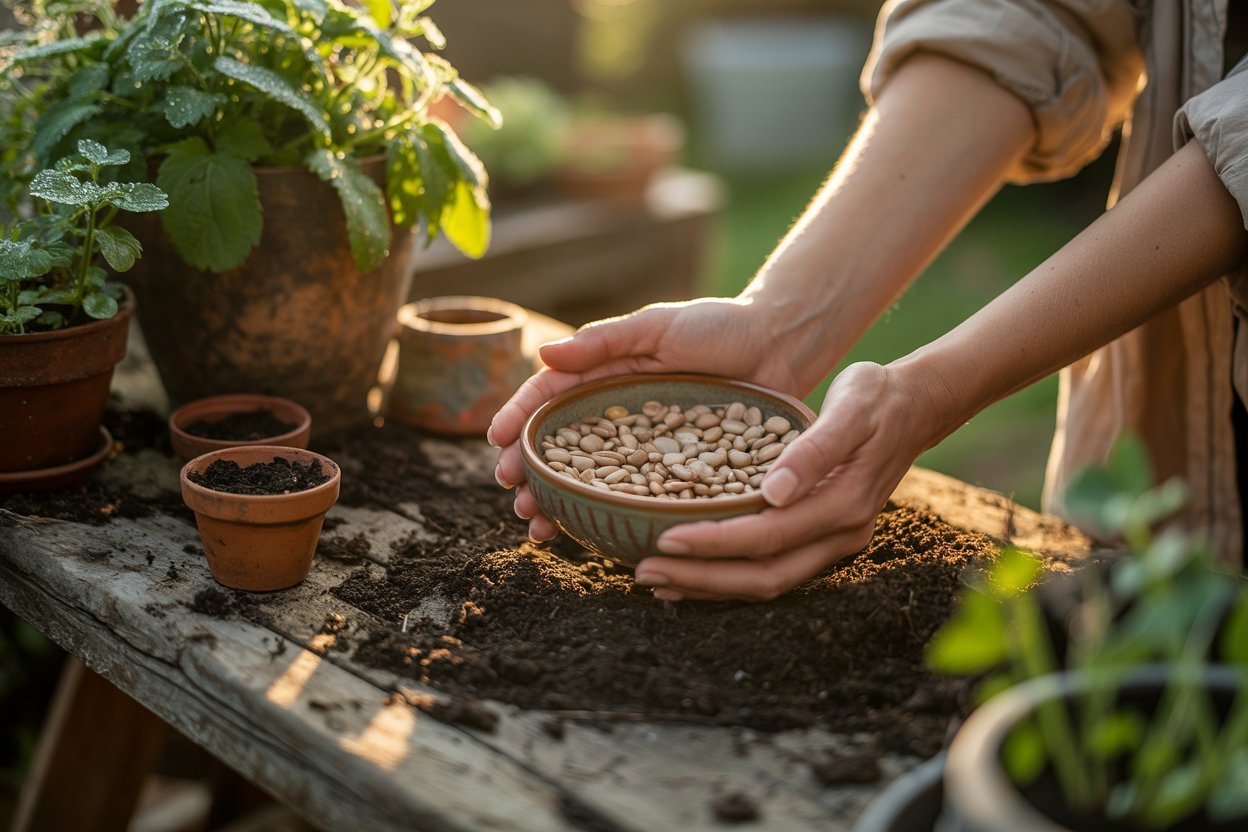
I still remember the first time I soaked seeds before planting it felt almost too simple to make a difference. A small bowl, a bit of water, and a handful of dry, lifeless-looking seeds.
But by the next morning, something had changed. They had swollen, softened, and somehow felt awake.
That season, my germination was faster, stronger, and far more reliable than anything I had experienced before. Since then, seed soaking has become one of those quiet rituals I never skip.
It’s not complicated, it doesn’t cost anything, and yet it transforms the way your garden begins. If you’ve ever struggled with slow sprouting or patchy growth, this simple step might be exactly what your garden has been missing.
Shop my amazon essentials
- Seed soaking bowl
- Seed starting kit
- Fine mesh strainer
- Spray bottle for misting soil
- Seed starting trays
- Waterproof plant labels
- Measuring cup
- Gardening gloves
- Small hand trowel
- Clean paper towels
- Watering can with a gentle spout
What Does It Mean to Soak Seeds Before Planting?
Soaking seeds is exactly what it sounds like placing seeds in water for a period of time before planting them in soil. But beneath that simple act lies a powerful biological process.
Seeds are designed to wait. Their outer shell, often hard and protective, keeps moisture out until the conditions are right. In nature, this might mean waiting for rain, warmth, or even passing through an animal’s digestive system.
When you soak seeds, you’re gently telling them:
“It’s time. You can begin.”
Water penetrates the seed coat, activating enzymes inside. This begins the process of germination before the seed even touches the soil.
Why Soaking Seeds Is Important
1. It Speeds Up Germination
One of the most noticeable benefits is how quickly seeds sprout after soaking. Dry seeds must absorb moisture from the soil first, which can take days.
When you soak them beforehand, that process is already underway. The result?
- Faster sprouting
- More predictable timing
- Less waiting and wondering
In my own garden, seeds that normally took 7–10 days began sprouting in just 3–5 days after soaking.
2. It Improves Germination Rates
Not every seed you plant will grow but soaking increases your chances significantly.
Some seeds fail because:
- Their outer shell is too hard
- They don’t absorb enough moisture in time
- Soil conditions aren’t ideal
Soaking helps overcome these barriers by ensuring each seed gets a strong, hydrated start.
3. It Softens Tough Seed Coats
Certain seeds like beans, peas, okra, and corn have thick outer shells that can slow down germination.
Soaking:
- Softens the seed coat
- Makes it easier for the sprout to break through
- Reduces the energy needed for germination
This is especially helpful if your soil tends to dry out quickly.
4. It Gives Seeds a Head Start
Think of soaking as pre-germination.
Instead of planting dormant seeds and hoping conditions are right, you’re planting seeds that are already activated and ready to grow.
This leads to:
- Stronger seedlings
- More uniform growth
- Better early development
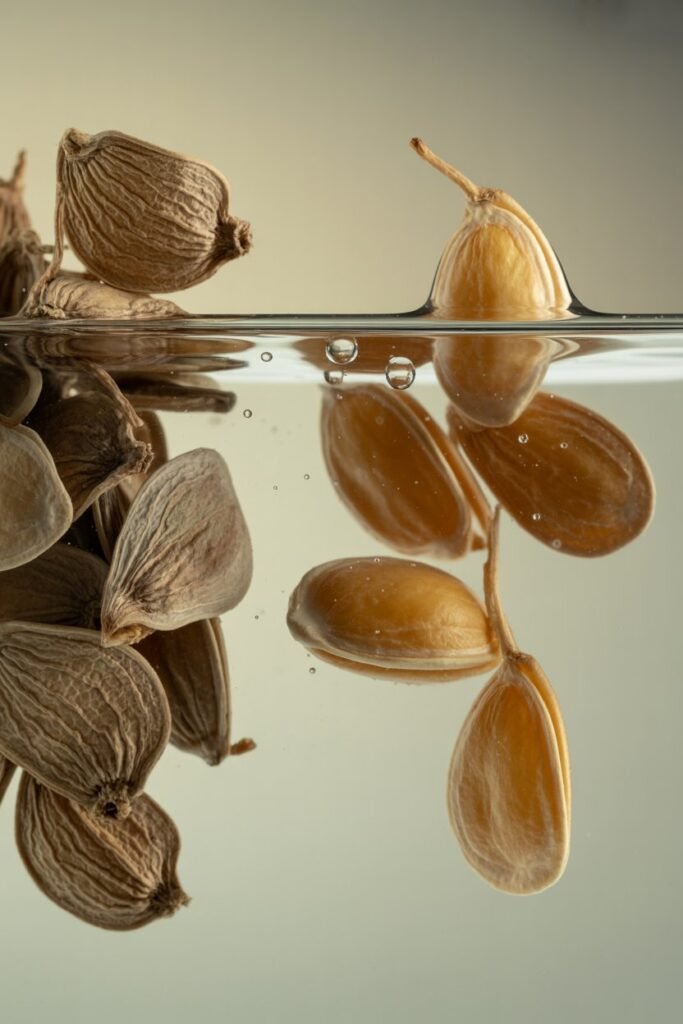
5. It Helps Identify Viable Seeds
Here’s a simple gardener’s trick I’ve come to rely on:
- Good seeds usually sink
- Bad or empty seeds often float
While it’s not a perfect test, it can help you avoid wasting space on seeds that won’t grow.
Read Best Vegetables for Hanging Baskets (From My Own Small-Space Garden)
Benefits of Soaking Seeds (At a Glance)

- Faster germination
- Higher success rates
- Stronger seedlings
- More even growth
- Better use of garden space
- Reduced risk of seed failure
It’s one of the simplest ways to improve your garden without spending a single extra coin.
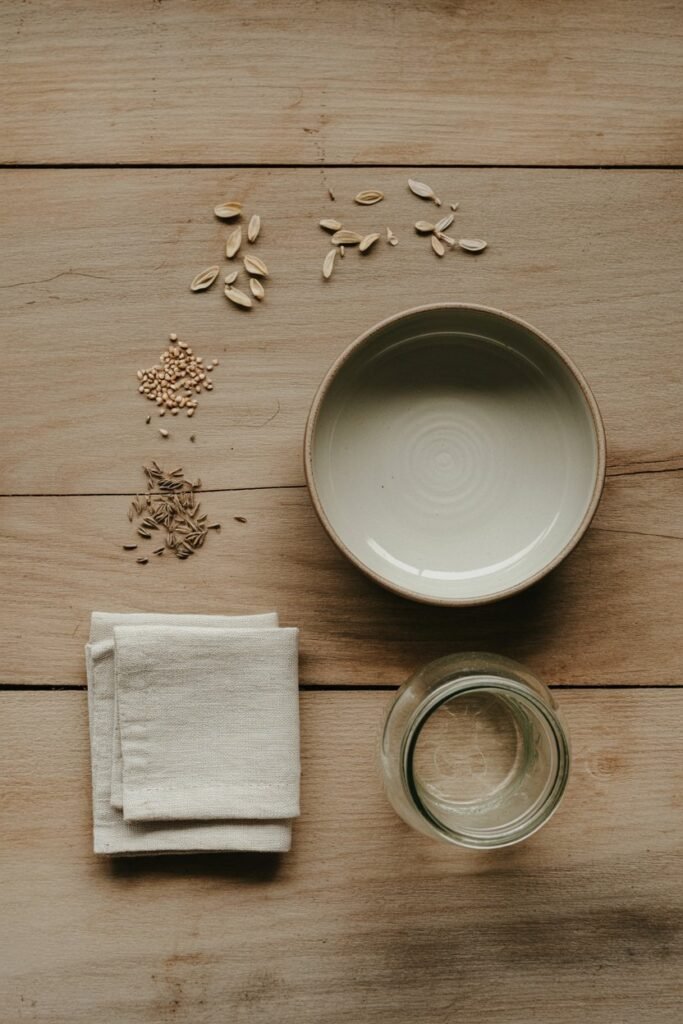
What You Need to Soak Seeds
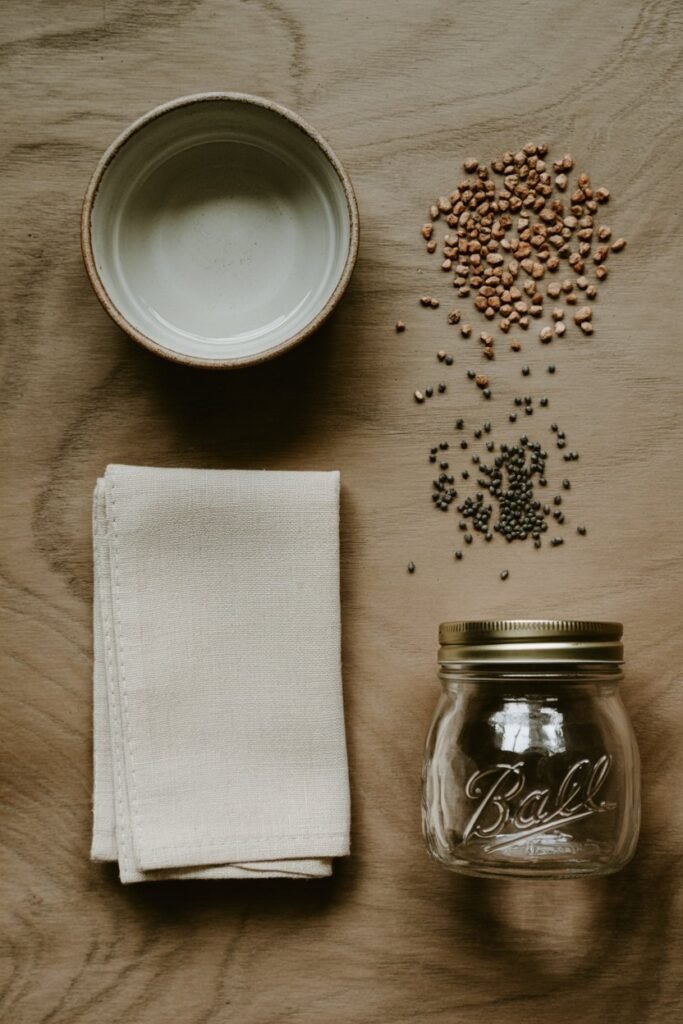
You don’t need anything fancy just a few basic items you likely already have:
Essential Supplies
- A clean bowl, jar, or cup
- Fresh water (preferably room temperature)
- Seeds
- A strainer or cloth (for draining)
Optional (But Helpful)
- Paper towels
- Labels (if soaking multiple seed types)
- Warm spot (like a kitchen counter)
The Right Amount of Water to Use
This is where many beginners go wrong too little water or too much crowding.
Simple Rule:
Use 3–5 times more water than seeds
For example:
- 1 tablespoon of seeds → 3–5 tablespoons of water
Why This Matters
Seeds absorb water and expand. If there isn’t enough water:
- Some seeds won’t hydrate properly
- Germination becomes uneven
Too much water isn’t usually harmful, but overcrowding seeds can reduce oxygen, which they still need even while soaking.
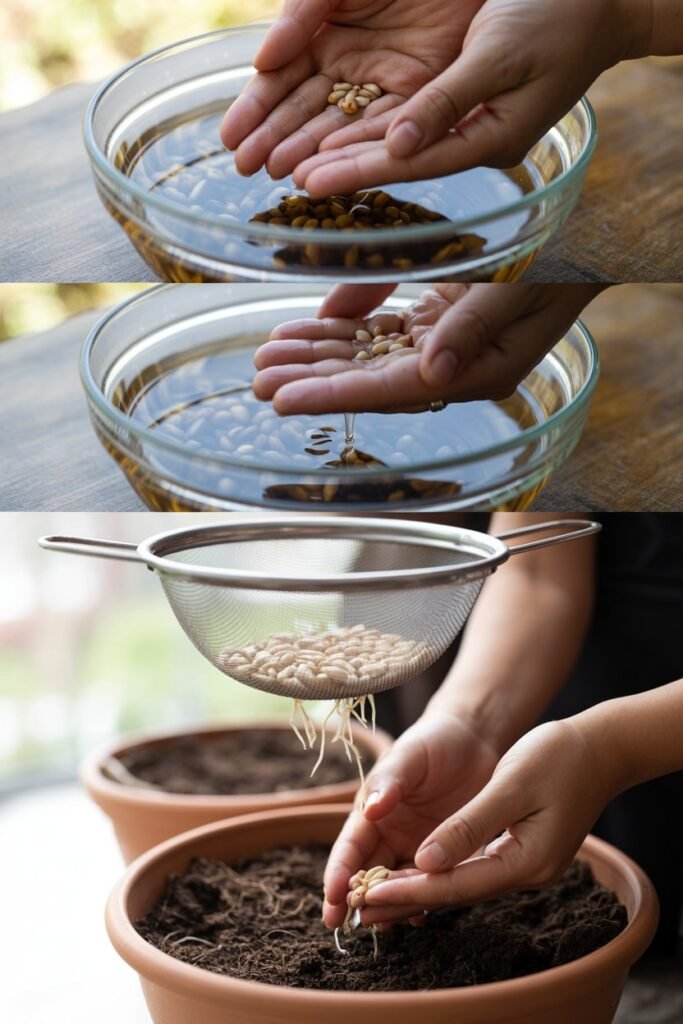
How to Soak Seeds Properly (Step-by-Step)
Step 1: Choose the Right Seeds
Not all seeds need soaking. Focus on:
- Beans
- Peas
- Corn
- Okra
- Pumpkin
- Squash
- Sunflower
Avoid soaking very small seeds like:
- Lettuce
- Carrots
- Basil
These can become mushy or difficult to handle.
Step 2: Place Seeds in a Container
Use a clean bowl or jar and spread seeds out so they’re not tightly packed.
Step 3: Add Water
Pour in enough water to fully cover the seeds about 3–5 times their volume.
Use:
- Room temperature water
- Or slightly warm (not hot)
Hot water can damage seeds.
Step 4: Let Them Soak
Soaking time depends on the seed type:
| Seed Type | Soaking Time |
|---|---|
| Beans & peas | 8–12 hours |
| Corn | 6–10 hours |
| Okra | 12–24 hours |
| Large seeds | 12–24 hours |
Important Tip
Never soak seeds longer than 24 hours.
After that, they can:
- Rot
- Lose oxygen
- Begin to break down
Step 5: Drain and Plant Immediately
Once soaking is done:
- Drain the water
- Plant seeds right away
Don’t let them dry out again they’re already activated and ready to grow.
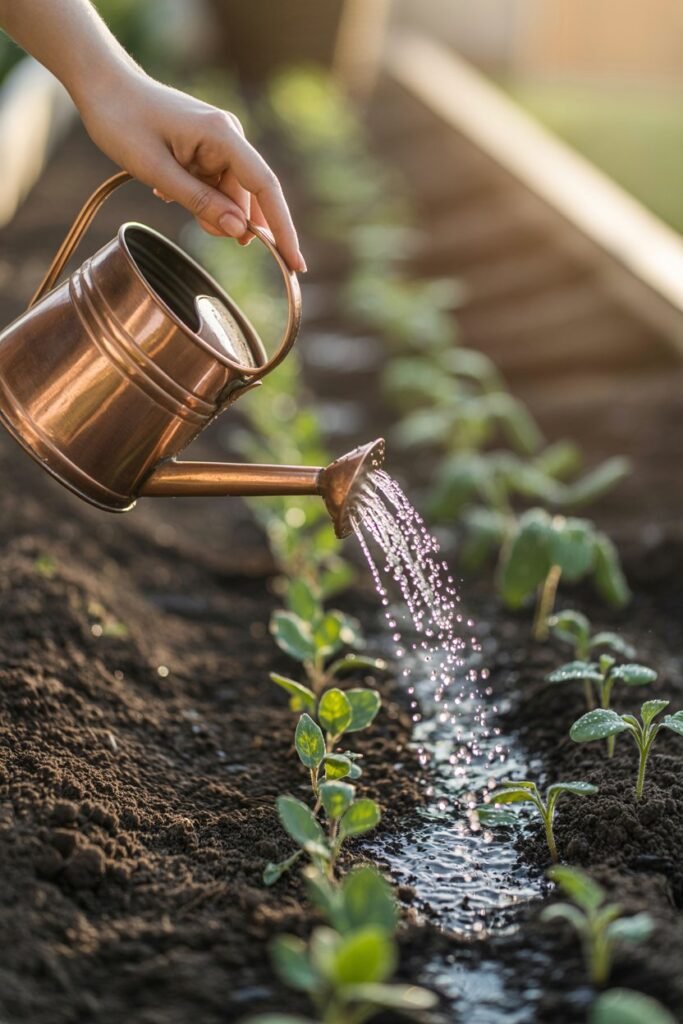
Care Tips After Soaking
This is where your seeds need a little extra attention.
1. Keep Soil Moist (Not Waterlogged)
Soaked seeds are already hydrated, so:
- They need consistent moisture
- But not soggy soil
Too much water can cause rot.
2. Plant at the Right Depth
Follow the general rule:
- Plant seeds at a depth 2–3 times their size
3. Provide Warmth
Most seeds germinate best in warm soil.
If your environment is cool:
- Consider planting during warmer hours
- Or covering with mulch
4. Handle Gently
Soaked seeds are softer and more delicate.
Avoid:
- Squeezing
- Dropping roughly
- Letting them stick together
5. Don’t Delay Planting
Once soaked, seeds shouldn’t sit around.
Plant them:
- Immediately after draining
- Within a few hours at most
Common Mistakes to Avoid
1. Over-Soaking Seeds
Leaving seeds in water too long can:
- Suffocate them
- Cause rotting
Stick to recommended times.
2. Using Hot Water
Heat can damage the embryo inside the seed.
Always use:
- Room temperature
- Or slightly warm water
3. Soaking Every Seed Type
Not all seeds benefit from soaking. Some are too delicate.
4. Forgetting to Label
If soaking multiple seeds, label them once wet, they can look very similar.
5. Planting in Dry Soil
This is a big one.
If you plant soaked seeds into dry soil:
- They lose moisture quickly
- Germination can fail
Always plant into moist soil.
Which Seeds Benefit the Most from Soaking?
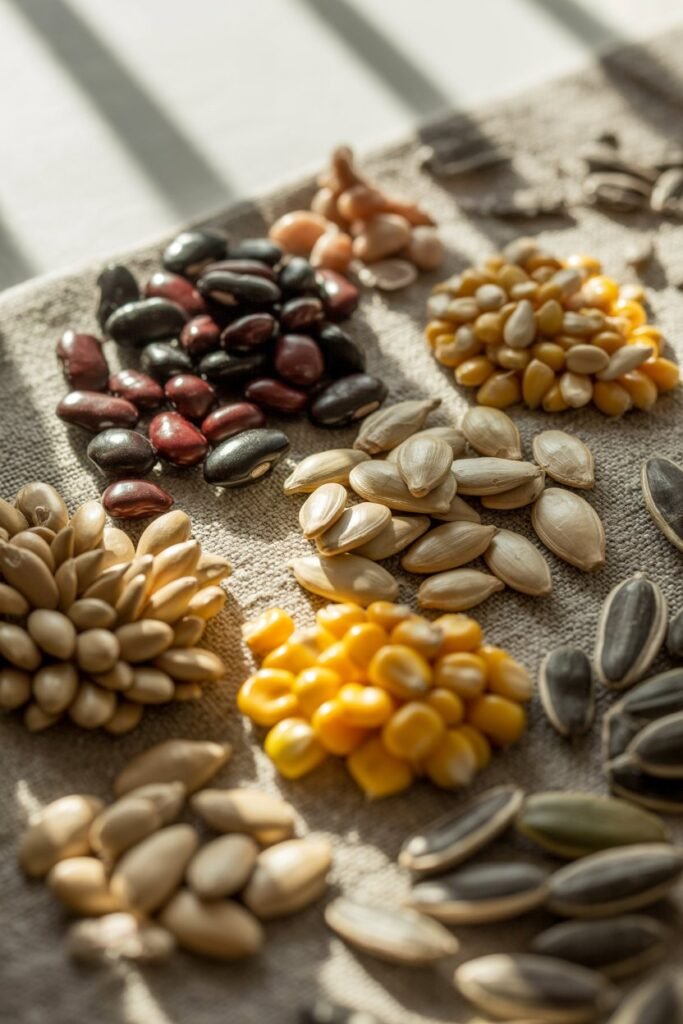
Best Candidates
- Beans
- Peas
- Corn
- Okra
- Pumpkin
- Squash
- Sunflower
Moderate Benefit
- Beetroot
- Chard
Avoid Soaking
- Carrots
- Lettuce
- Radish
- Herbs with tiny seeds
My Personal Experience with Seed Soaking
In my early gardening days, I used to plant seeds straight from the packet and hope for the best. Some grew, some didn’t and I blamed the soil, the weather, even the seeds themselves.
But once I started soaking, everything changed.
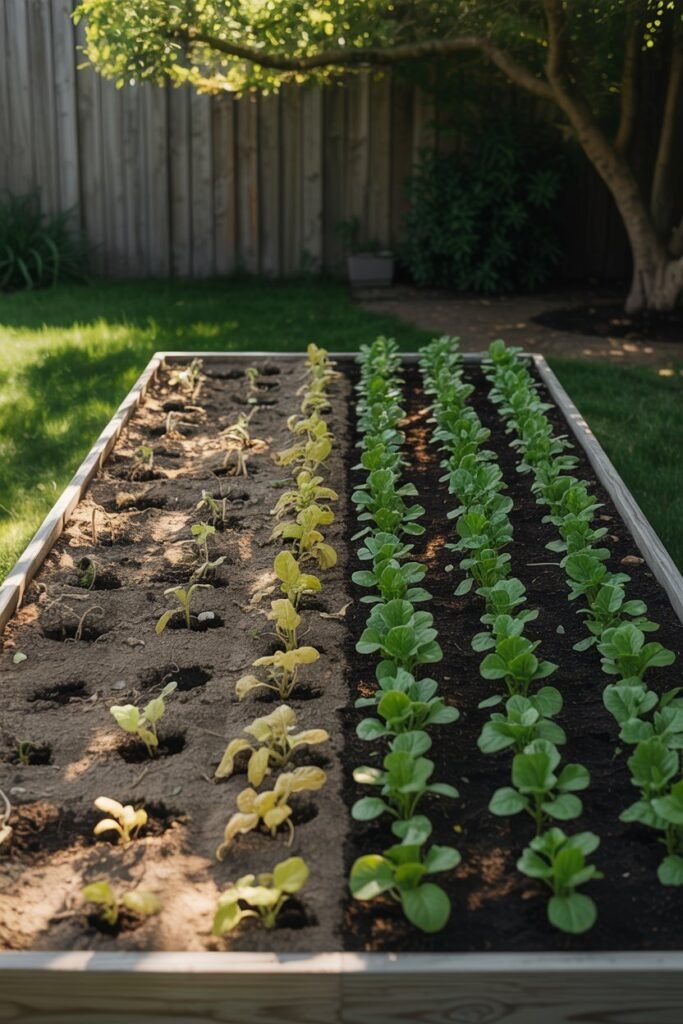
Rows that used to sprout unevenly suddenly came up together. Seeds that once struggled pushed through the soil with strength. Even my confidence as a gardener grew because I could finally predict what would happen.
Now, soaking seeds feels less like a trick and more like a conversation with the garden. A quiet way of helping life begin just a little easier.
When You Should Definitely Soak Seeds
- When planting in dry or fast-draining soil
- During hot seasons
- When working with older seeds
- When you want faster results
- When germination has failed before
When You Can Skip Soaking
- When using very small seeds
- When soil is already consistently moist
- When planting in rainy conditions
- When seeds are labeled “quick germinating”
A Simple Soaking Routine You Can Follow
Here’s an easy rhythm you can adopt:
Evening:
- Place seeds in water
Morning:
- Drain
- Plant immediately
This routine fits naturally into your day and keeps things simple.
Final Thoughts
Some of the most powerful gardening techniques aren’t the most complicated—they’re the ones that work quietly behind the scenes.
Soaking seeds is one of those gentle practices that doesn’t demand much from you, yet gives so much back. It shortens the waiting, improves your success, and gives your plants a stronger beginning.
Over time, I’ve come to see it not just as preparation, but as care. A small act that tells your seeds they’re not alone in the journey.
If you’ve never tried soaking before, start with just a handful of seeds this season. Watch what happens. Notice the difference.
