
Saving seeds changes the way you garden.
It’s one of those quiet, powerful habits that turns a seasonal hobby into something deeper something self-sustaining, intentional, and deeply connected to the rhythms of nature.
When you start your own personal seed bank, you’re no longer just growing plants you’re preserving life, adapting crops to your environment, and building a garden that becomes more resilient with every passing season.
Many gardeners begin seed saving out of curiosity maybe to save money, or to keep a favorite tomato variety going. But over time, it becomes something more meaningful.
A personal seed bank becomes your backup plan, your creative toolbox, and your legacy all at once.
This guide will walk you through everything you need to know from the basics to more advanced techniques so you can confidently start, build, and maintain your own seed bank.
What Is a Personal Seed Bank?
A personal seed bank is simply a collection of seeds that you save, store, and manage for future planting.
But in practice, it’s much more than just storing seeds in envelopes.
A well-maintained seed bank:
- Preserves plant varieties you love
- Reduces your dependence on buying seeds every season
- Helps you adapt plants to your local climate
- Ensures you always have seeds ready, even in uncertain times
Think of it as your garden’s memory a living archive of what grows best for you.
Why Every Gardener Should Start One
1. Saves Money Over Time
Seeds can be surprisingly expensive, especially if you garden regularly. Saving your own seeds means:
- Fewer trips to the store
- No need to rebuy favorite varieties
- Ability to grow more for less
One tomato plant can give you hundreds of seeds enough for years.
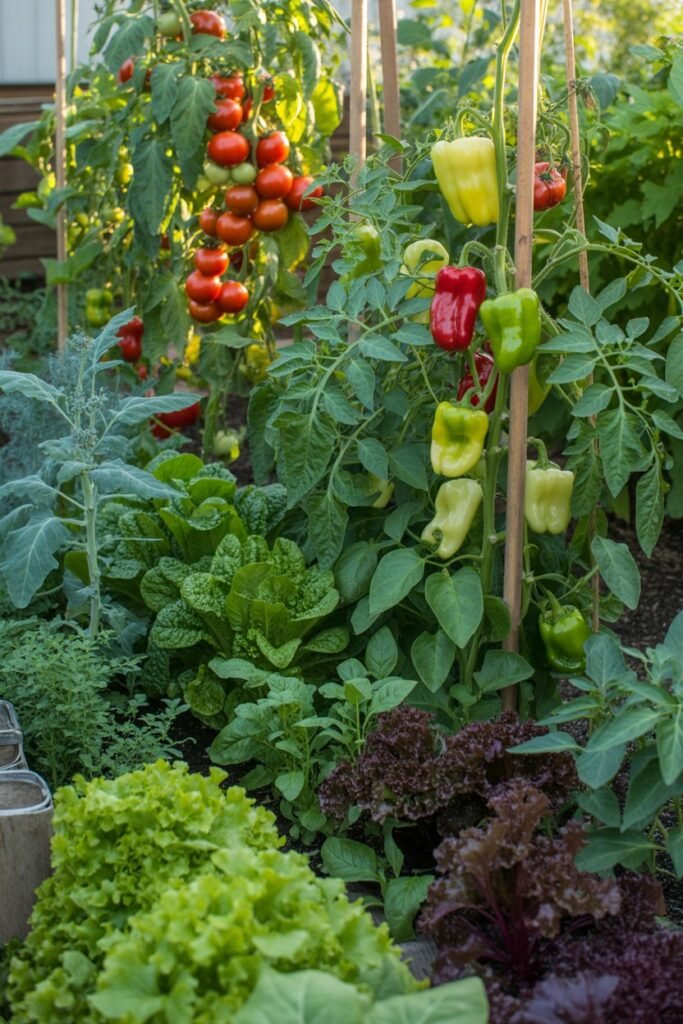
2. Preserves Your Favorite Plants
Have you ever grown something amazing and couldn’t find the same seeds again?
With a seed bank:
- You keep that variety forever
- You can replant exactly what you loved
- You build consistency in your garden
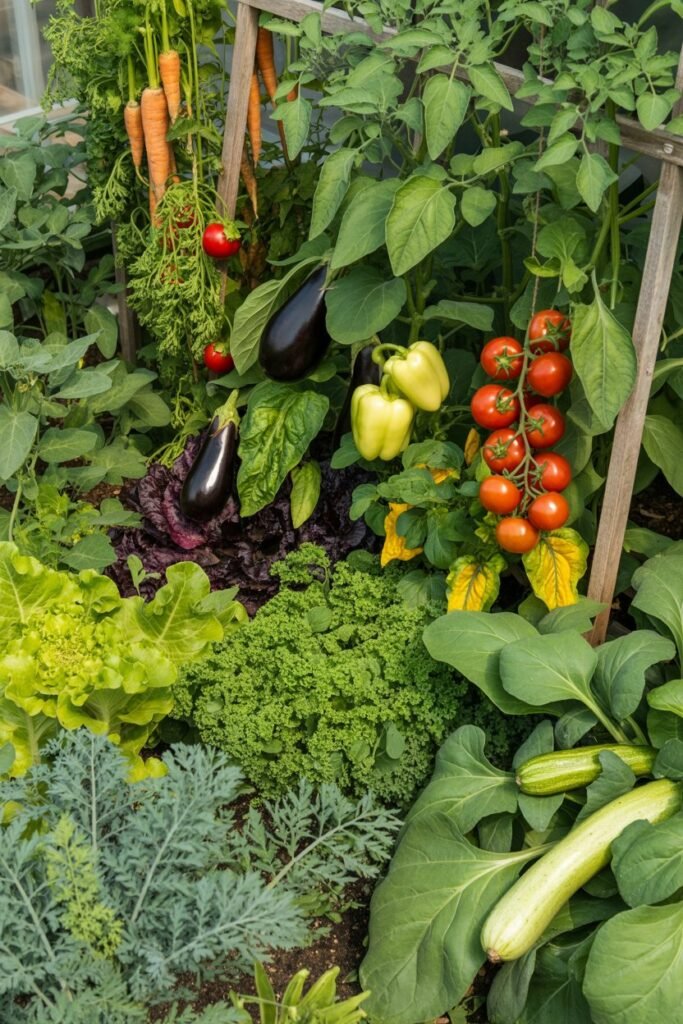
3. Adapts Plants to Your Environment
Seeds saved from your garden gradually adapt to:
- Your soil type
- Your climate
- Your watering patterns
This means stronger, more resilient plants over time.
4. Builds Self-Sufficiency
A personal seed bank gives you independence:
- You’re less reliant on external supply
- You’re prepared for shortages
- You can grow food anytime you choose
Understanding Seeds Before You Start
Before saving seeds, it’s important to understand how they work.
Open-Pollinated vs Hybrid Seeds
Open-Pollinated Seeds
- Produce plants identical to the parent
- Ideal for seed saving
- Reliable across generations
Hybrid Seeds (F1)
- Created by crossing two varieties
- Seeds may not grow true to type
- Often unpredictable
For a seed bank, focus mainly on open-pollinated varieties.
Annuals, Biennials, and Perennials
Annuals
- Complete life cycle in one season
- Easy to save seeds from
- Examples: beans, tomatoes, lettuce
Biennials
- Take two years to produce seeds
- Require patience
- Examples: carrots, onions
Perennials
- Live for multiple years
- Some produce seeds annually
- Examples: herbs like thyme and oregano
What You Need to Start a Seed Bank
You don’t need anything fancy to begin.
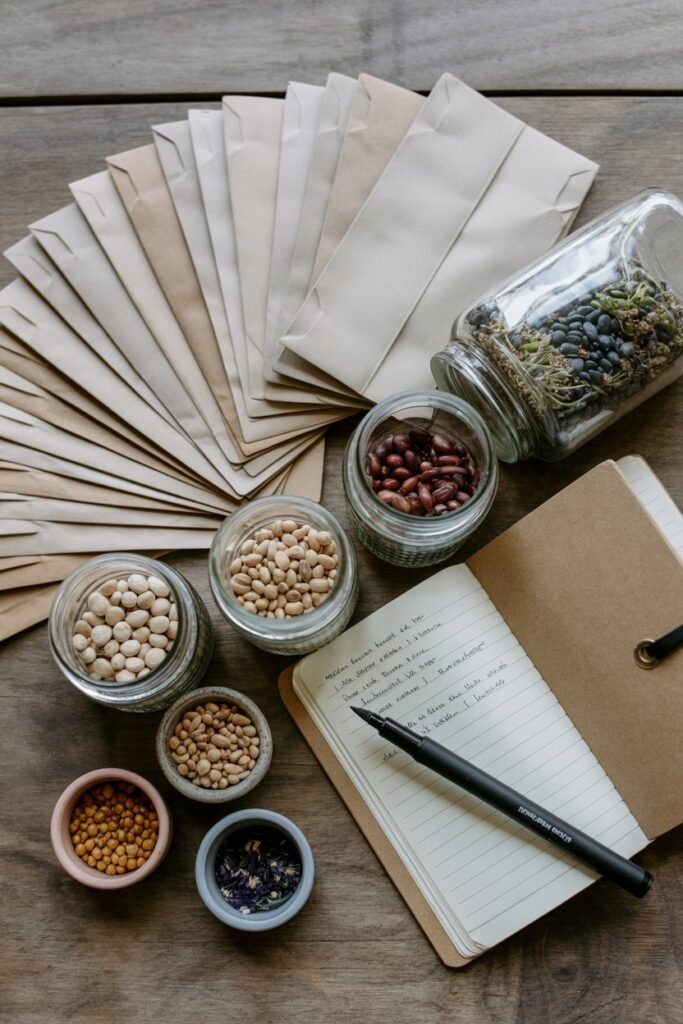
Basic Supplies
- Paper envelopes or seed packets
- Glass jars or airtight containers
- Labels and permanent marker
- Notebook or digital log
- Silica gel or dry rice (for moisture control)
Optional but Helpful
- Vacuum sealer
- Desiccant packs
- Seed organizer box
- Small sieve or screen for cleaning seeds
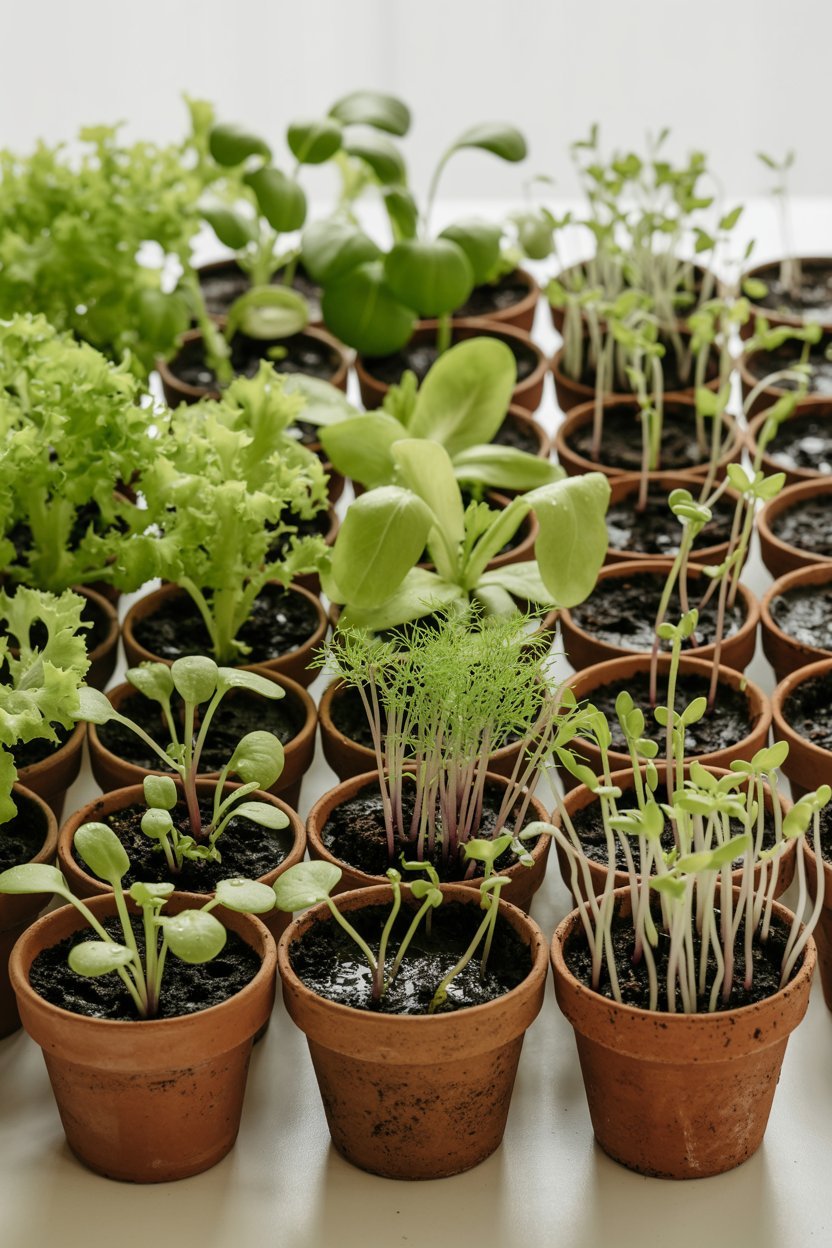
Choosing the Right Plants to Start With

Start simple.
Some plants are much easier for beginners to save seeds from.
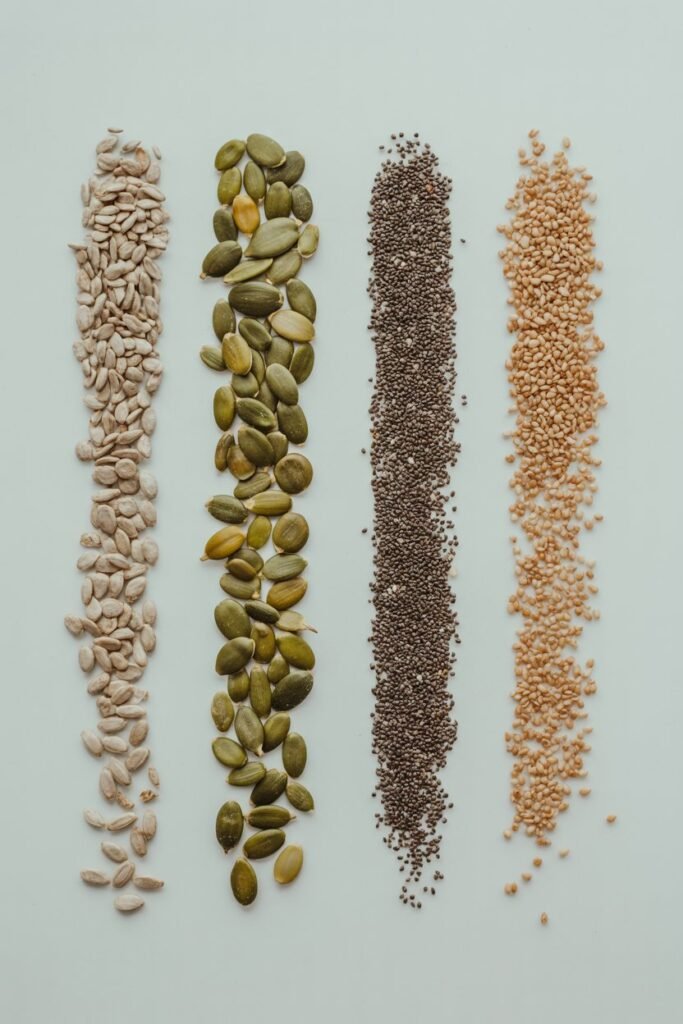
Beginner-Friendly Plants
- Beans
- Peas
- Tomatoes
- Lettuce
- Peppers
These plants:
- Self-pollinate easily
- Produce visible seeds
- Require minimal processing
Plants to Avoid at First
- Corn (cross-pollinates easily)
- Cucumbers and squash (need isolation)
- Carrots (biennial)
Start with easy wins before moving into more complex crops.
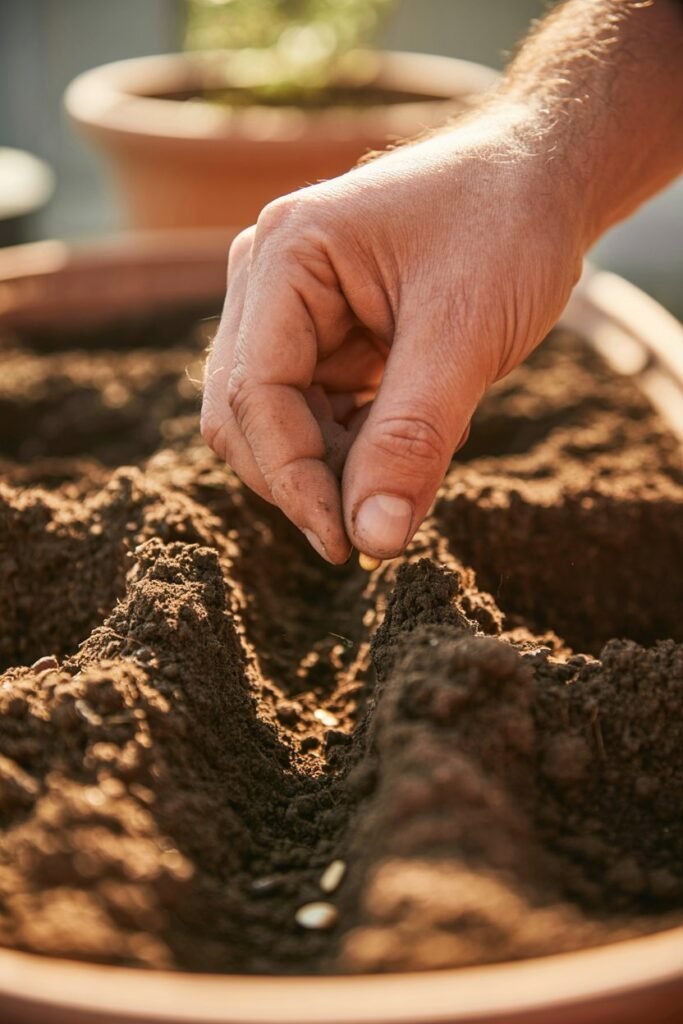
How to Harvest Seeds Properly
Timing is everything.
General Rule:
Let seeds fully mature on the plant before harvesting.
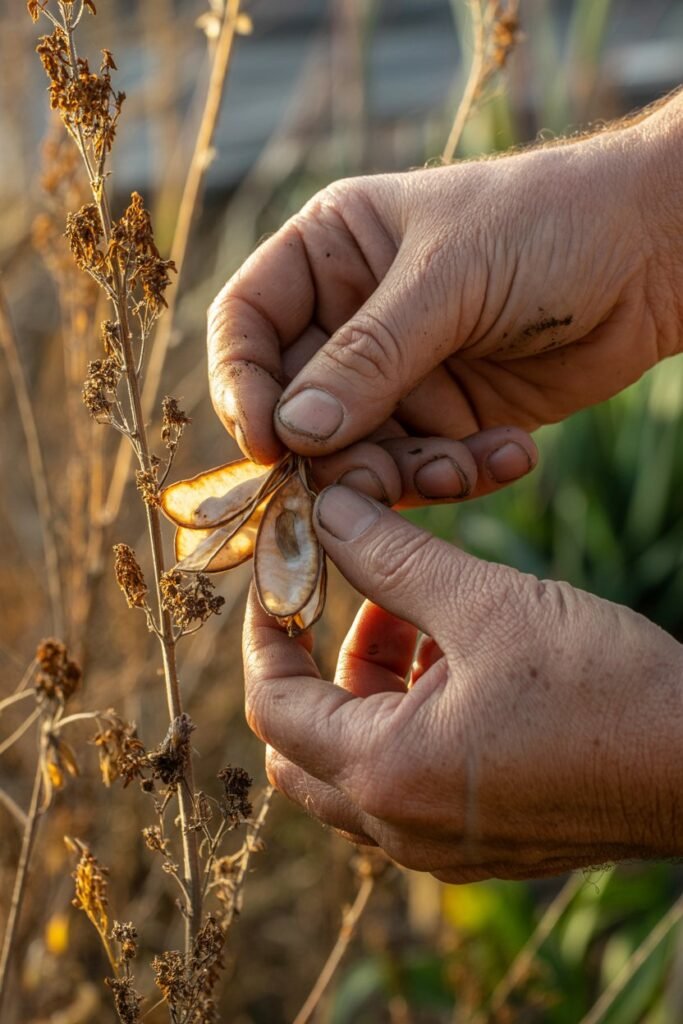
Dry Seeds
Examples: beans, peas, lettuce
Steps:
- Leave on plant until dry
- Harvest pods or seed heads
- Remove seeds
- Let dry further indoors
Wet Seeds
Examples: tomatoes, cucumbers
Steps:
- Scoop seeds from fruit
- Rinse or ferment (for tomatoes)
- Dry completely on a surface
- Store
Fermentation Method (For Tomatoes)
- Place seeds in water for 2–3 days
- Let natural fermentation remove gel coating
- Rinse and dry
This improves germination rates.
Cleaning and Drying Seeds

This step is critical for long-term storage.
Cleaning
Remove:
- Pulp
- Chaff
- Debris
Clean seeds last longer and store better.
Drying
Seeds must be completely dry before storage.
Test:
- Seeds should snap, not bend
Drying tips:
- Use a well-ventilated space
- Avoid direct sunlight
- Spread seeds thinly
How to Store Seeds for Longevity
Proper storage determines how long seeds stay viable.
The 3 Golden Rules
- Keep seeds cool
- Keep seeds dry
- Keep seeds dark
Best Storage Methods
Short-Term (1–2 years)
- Paper envelopes in a box
- Stored in a cool room
Long-Term (3–10+ years)
- Airtight containers
- Stored in refrigerator
- With moisture absorber
Ideal Conditions
- Temperature: 5–10°C (40–50°F)
- Humidity: Low
- Light: None
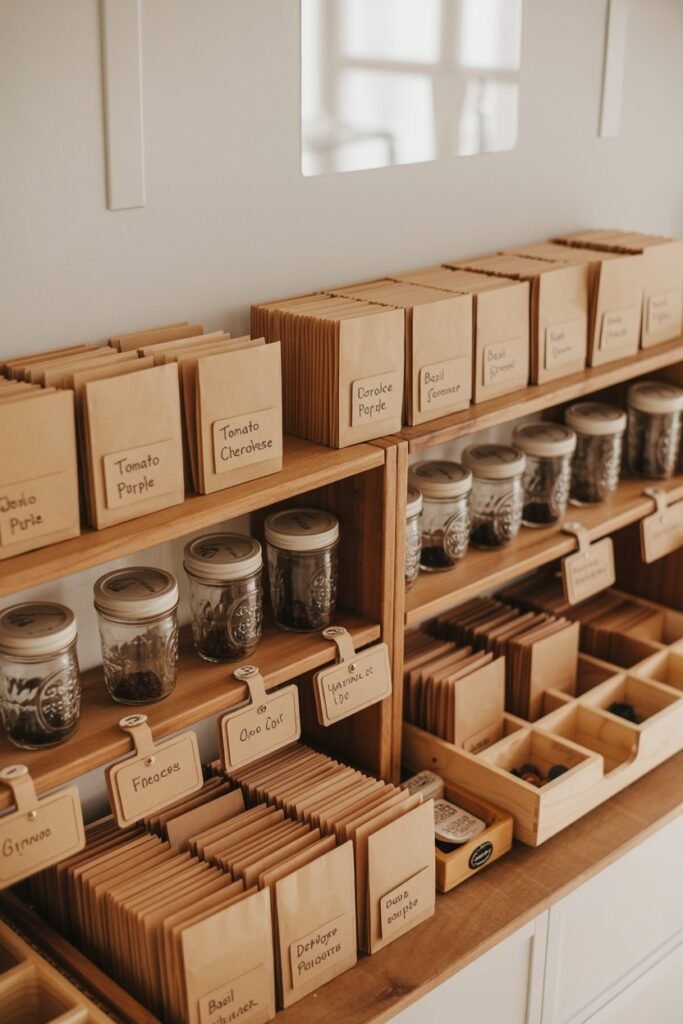
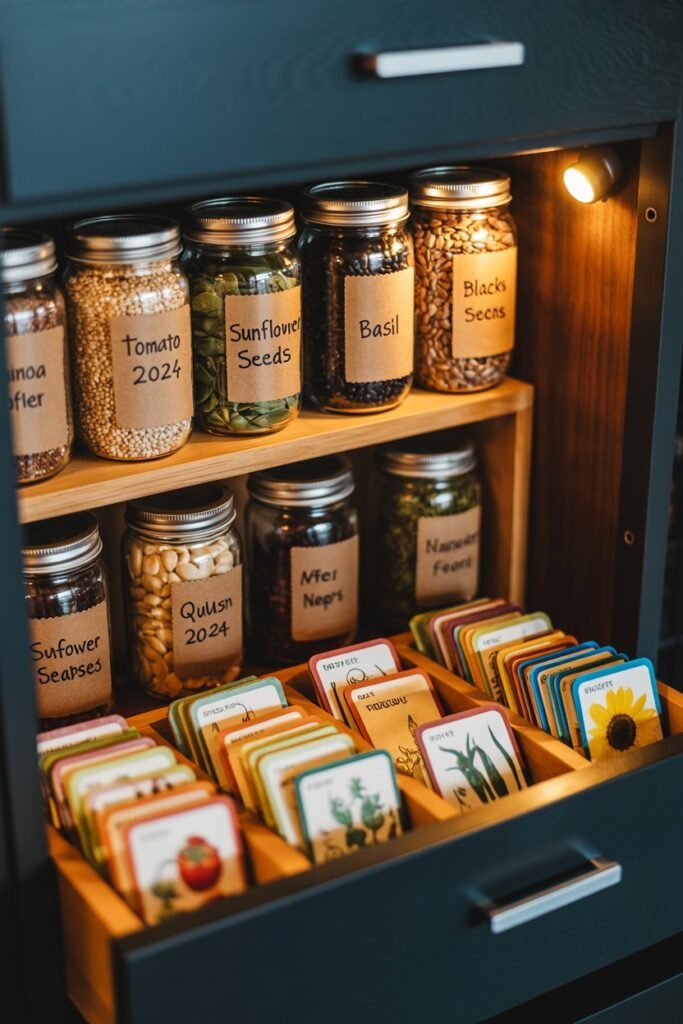
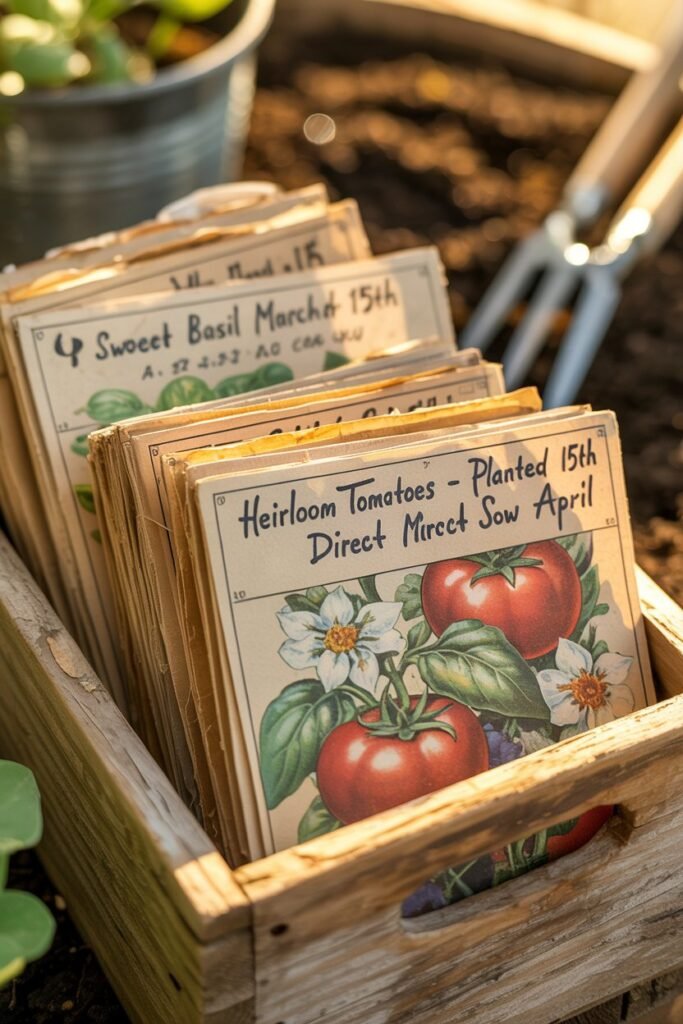
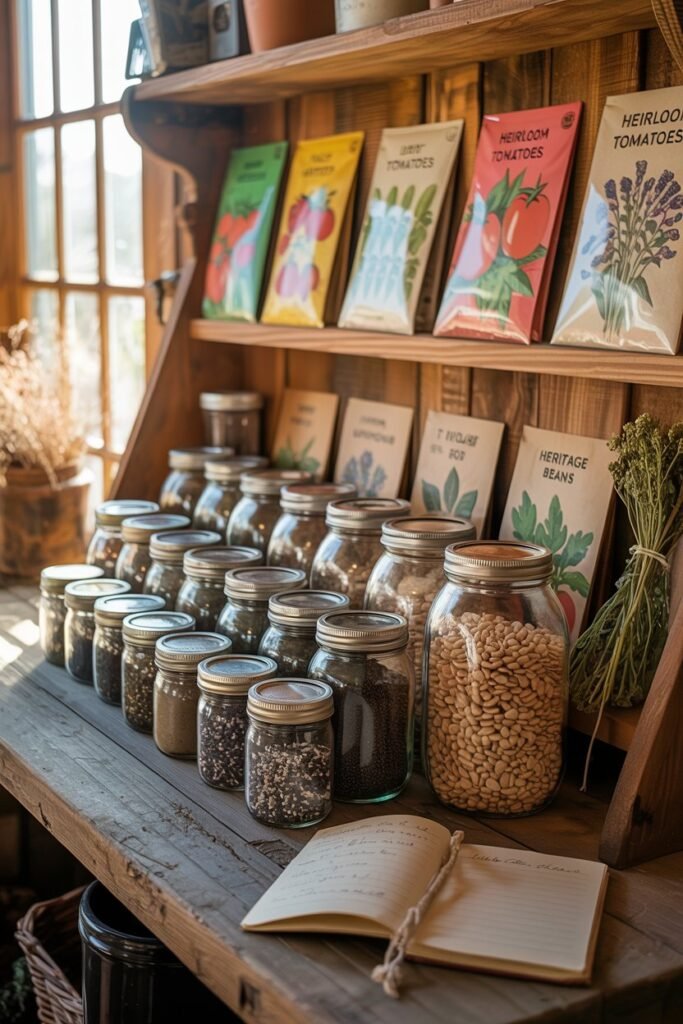
Labeling and Organizing Your Seed Bank
This is where many gardeners struggle but it’s essential.
What to Label
- Plant name
- Variety
- Date collected
- Source/location
- Notes (optional)
Organization Methods
- By plant type (vegetables, herbs, flowers)
- By planting season
- Alphabetically
Keeping Records
A simple notebook or spreadsheet helps track:
- Germination success
- Yield
- Plant performance
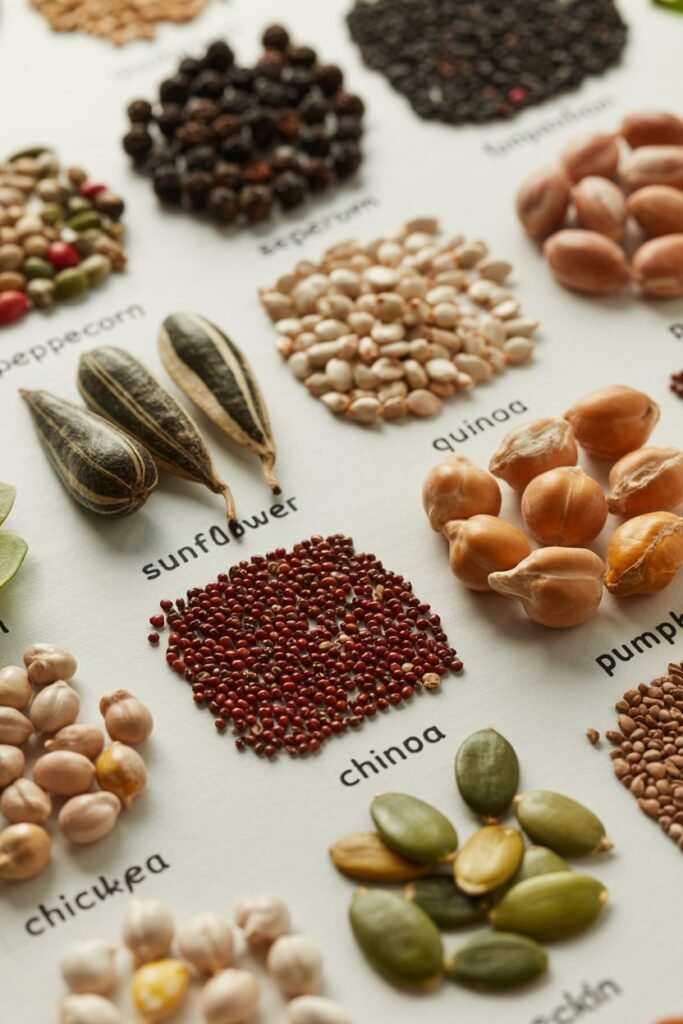
How Long Seeds Last
Different seeds have different lifespans.
Short-Lived Seeds (1–2 years)
- Onion
- Parsnip
Medium (3–5 years)
- Tomato
- Pepper
- Beans
Long-Lived (5–10+ years)
- Lettuce
- Cucumber
Protecting Genetic Diversity
Saving seeds responsibly matters.
Avoid Inbreeding
- Save seeds from multiple plants
- Not just one
Prevent Cross-Pollination
- Space plants apart
- Use barriers if needed
This keeps your seeds strong and healthy.
Building Your Seed Bank Over Time
Don’t rush it.
Year 1:
- Start with 3–5 crops
- Learn the basics
Year 2:
- Expand variety
- Improve storage
Year 3+:
- Develop your own adapted strains
- Share seeds with others
Regenerating Your Seeds
Seeds don’t last forever.
Every few years:
- Plant stored seeds
- Grow fresh plants
- Save new seeds
This keeps your seed bank alive and viable.
Sharing and Trading Seeds
Seed saving connects you with others.
Benefits:
- Access new varieties
- Preserve rare plants
- Build community
You can:
- Trade with friends
- Join seed exchanges
- Participate in local gardening groups
Common Mistakes to Avoid
1. Storing Seeds Before Fully Dry
Leads to mold and rot.
2. Poor Labeling
You’ll forget what’s what.
3. Saving Hybrid Seeds
Results may disappoint.
4. Ignoring Storage Conditions
Heat and moisture destroy seeds.
Advanced Tips for Serious Seed Savers
Selective Breeding
Choose seeds from:
- Strongest plants
- Best yields
- Disease-resistant crops
Over time, you’ll improve your plants.
Isolation Techniques
- Bagging flowers
- Hand pollination
- Distance planting
Long-Term Storage
- Freezing seeds (only if fully dry)
- Vacuum sealing
Creating a Seed Bank System That Works for You
Your system doesn’t need to be perfect just consistent.
Start simple:
- Save a few seeds
- Store them properly
- Label everything
Then build from there.
Final Thoughts
Starting a personal seed bank is one of the most empowering steps you can take as a gardener.
It’s practical, sustainable, and deeply rewarding.
Each seed you save is a small act of independence a way of saying that your garden isn’t just something you grow, but something you carry forward.
Over time, your seed bank becomes more than a collection. It becomes a reflection of your journey, your environment, and your care.
And the best part?
You can start today with just one plant, one seed, and the decision to keep growing
