
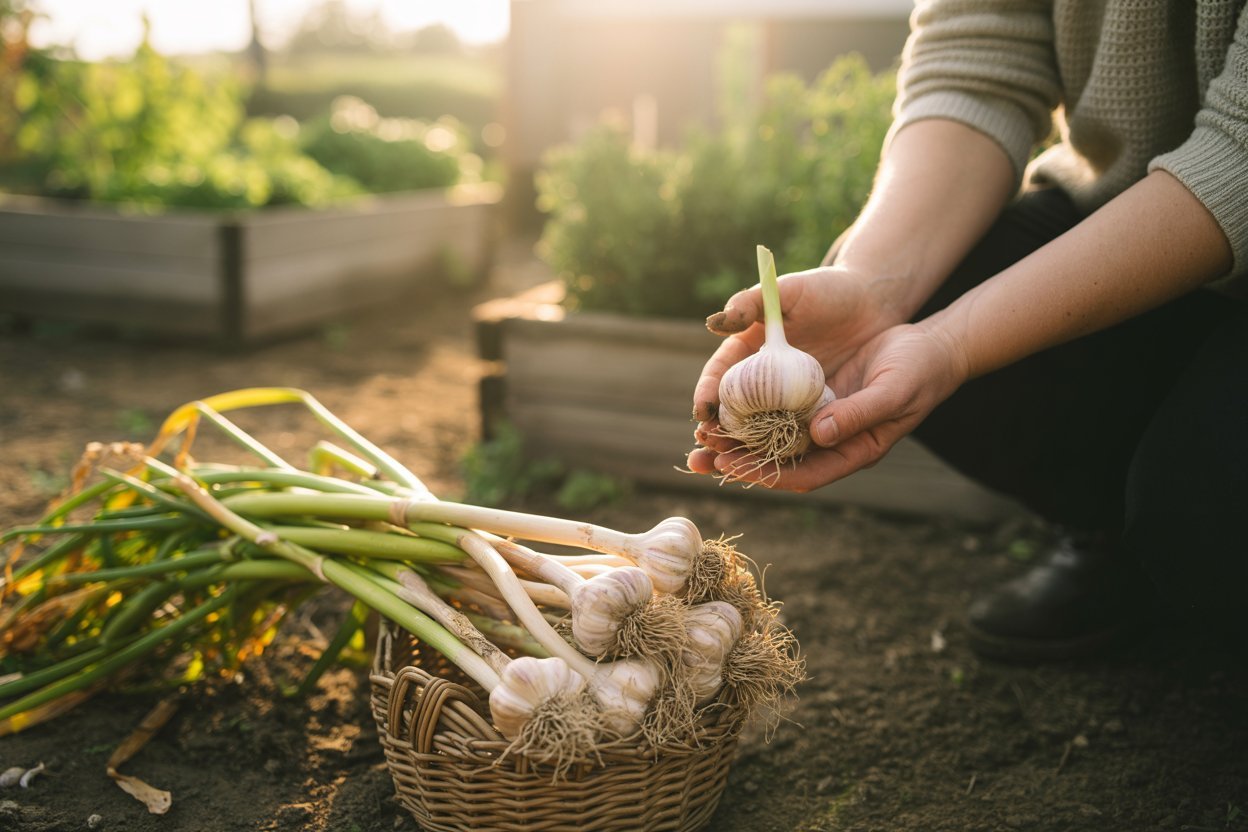
Garlic has a quiet kind of magic in the garden. It doesn’t demand attention the way flowering plants do, yet it rewards patience with one of the most satisfying harvests you can pull from the soil.
I still remember the first time I planted a single bulb, unsure if anything would come of it, only to dig up a cluster of beautifully formed cloves months later.
That moment changed the way I looked at propagation it felt less like a technique and more like a relationship with the soil.
If you’ve ever wanted to grow your own garlic or expand your harvest year after year, learning how to propagate it properly is one of the most valuable skills you can develop as a gardener.
Garlic is generous. Once you understand how it grows, you can multiply your supply almost endlessly.
In this guide, I’m going to walk you through the three main ways to propagate garlic, sharing not just the steps but the little lessons I’ve learned along the way how to get better yields, how to avoid common mistakes, and how to truly enjoy the process.
Understanding Garlic Before You Propagate
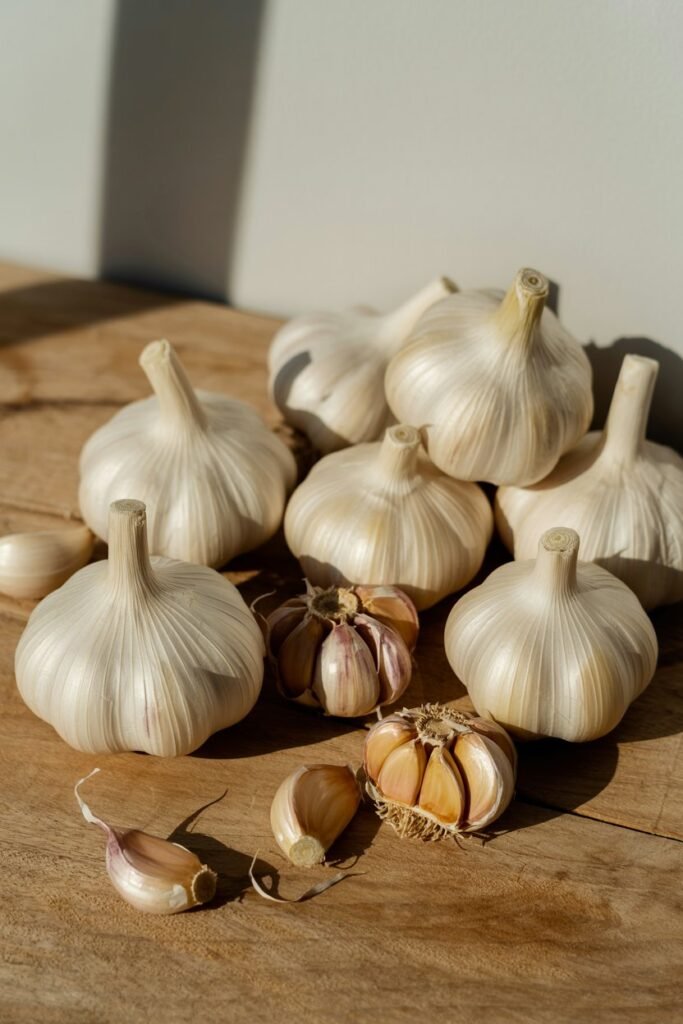
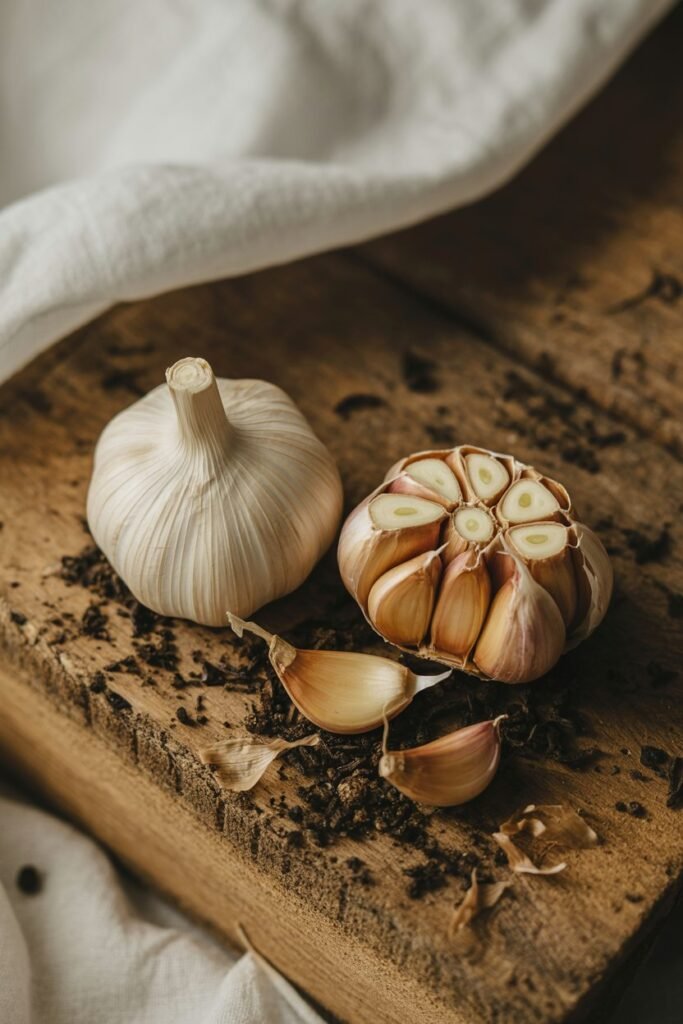
Before we begin, it helps to understand how garlic naturally grows. Each garlic bulb is made up of individual cloves, and each one has the potential to grow into a full bulb.
That alone makes garlic one of the easiest crops to propagate.
Garlic also falls into two main types:
- Hardneck garlic – produces a flowering stalk (called a scape) and often forms bulbils.
- Softneck garlic – does not produce a scape and is usually what you find braided in kitchens.
Understanding which type you’re growing helps you decide which propagation method will work best.
1. Propagating Garlic from Cloves (The Most Reliable Method)
If you’re just starting out, this is the method I always recommend. It’s simple, dependable, and gives the most consistent yields.
Why This Method Works So Well
Each clove is essentially a clone of the parent plant. When planted correctly, it grows into a full bulb identical to the one it came from. That means you can select your best bulbs and continue improving your harvest year after year.
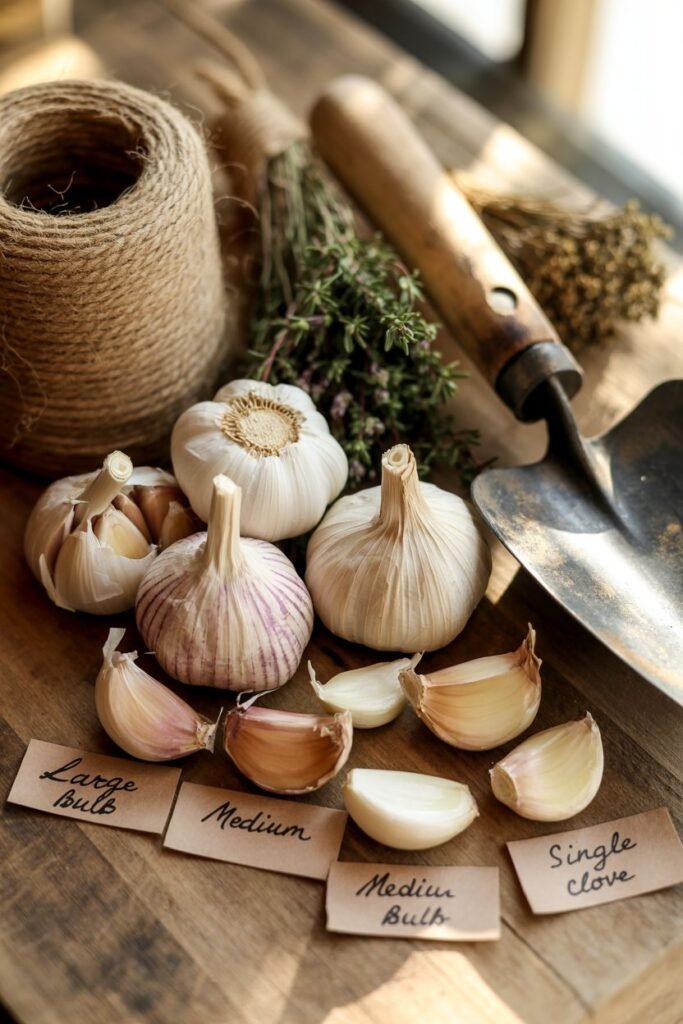
Choosing the Right Garlic
One of the biggest lessons I’ve learned is that not all garlic is worth planting.
- Choose large, healthy bulbs
- Avoid soft, shriveled, or moldy cloves
- Use organic or seed garlic whenever possible
Store-bought garlic is often treated to prevent sprouting, which can lead to disappointing results.
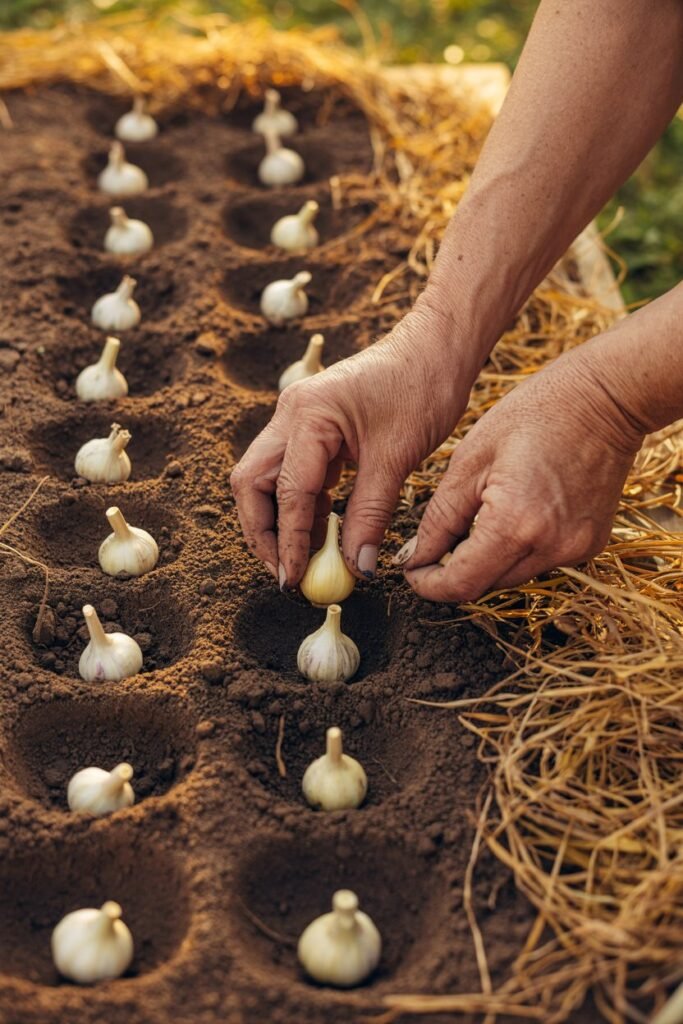
Step-by-Step Guide to Planting Cloves
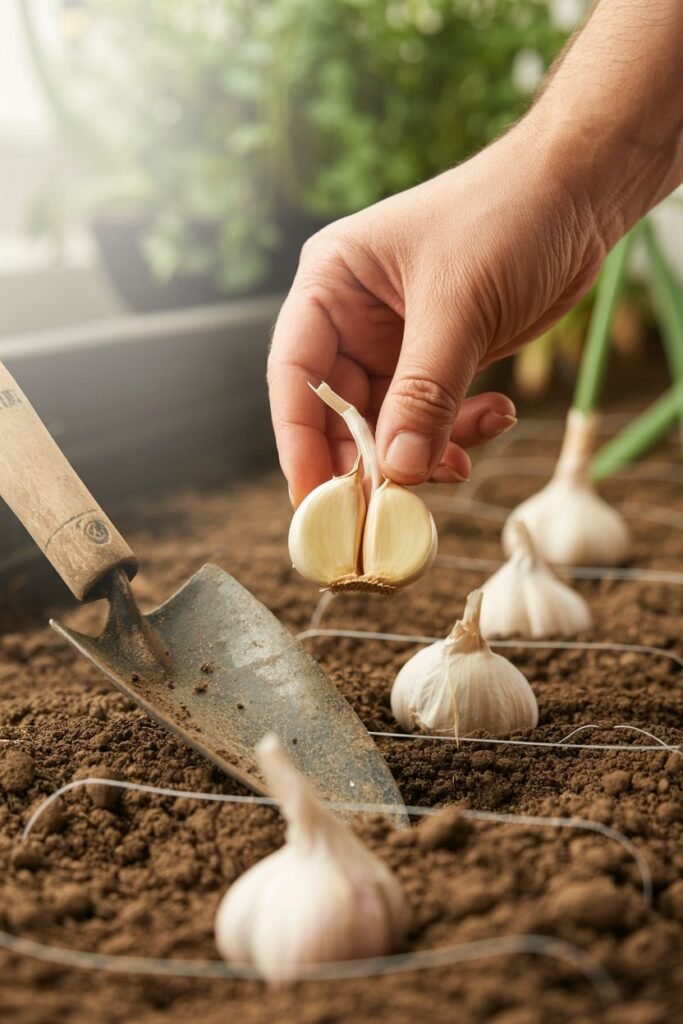
- Break apart the bulb carefullySeparate the cloves without damaging their papery skins. Each clove is a future plant.
- Select the largest clovesBigger cloves almost always produce bigger bulbs. This is one of the simplest ways to improve yield.
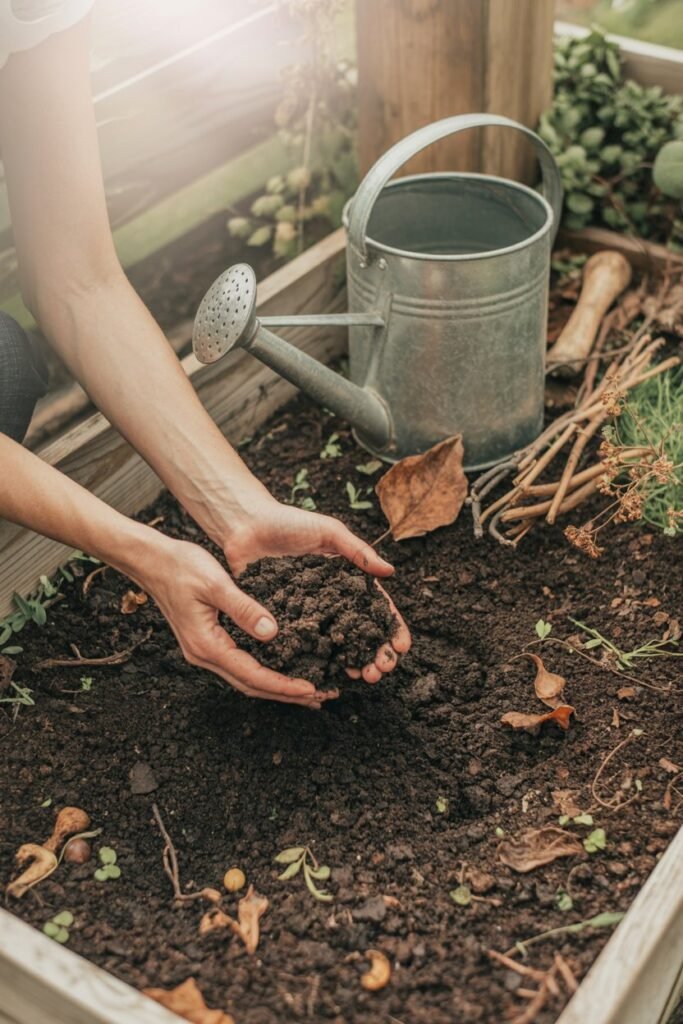
- Prepare your soilGarlic loves loose, well-draining soil rich in organic matter. I like to mix in compost a week or two before planting.
- Plant at the right depth
- Place cloves 2–3 inches deep
- Keep the pointed end facing upward
- Spacing mattersLeave about 4–6 inches between cloves and 8–12 inches between rows.
- Water gentlyKeep the soil lightly moist but never soggy.
When to Plant Garlic
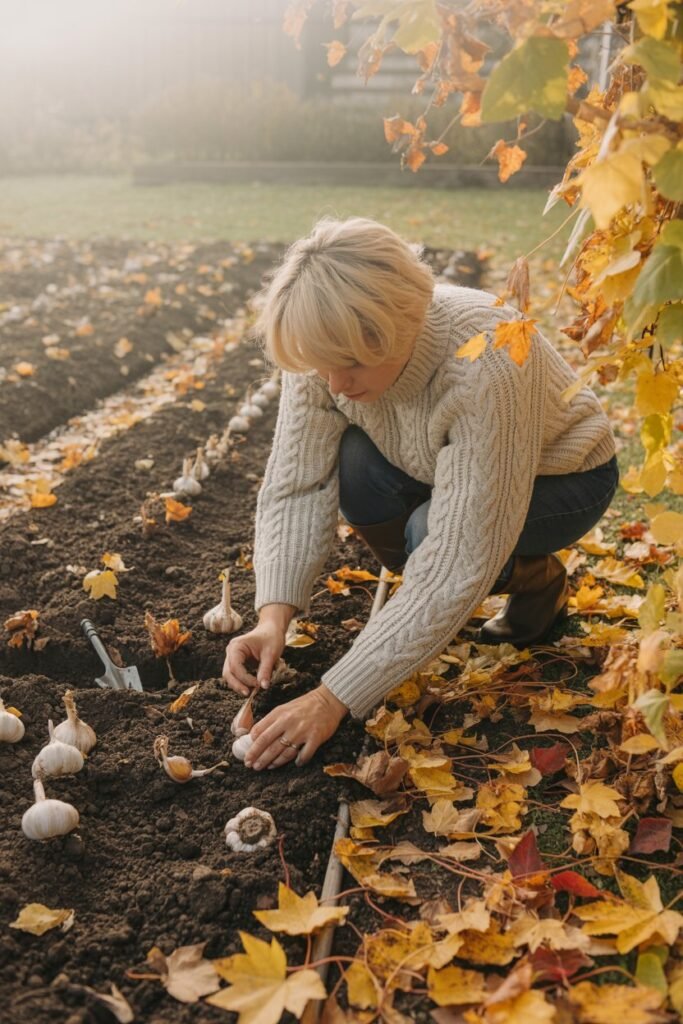
Timing can make a big difference in your harvest.
- In cooler climates: plant in autumn
- In warmer regions: late autumn to early winter works beautifully
Garlic needs a period of cold (called vernalization) to form proper bulbs.
How to Get Better Yield from Clove Propagation
Over the years, I’ve noticed a few habits that consistently lead to fuller, healthier bulbs:
- Feed the soil, not just the plant – compost is your best friend
- Mulch generously – helps retain moisture and suppress weeds
- Remove scapes (for hardneck types) – this redirects energy to the bulb
- Avoid overcrowding – space allows bulbs to expand properly
Harvesting for Replanting
When harvesting, always set aside your best bulbs for the next planting season. This simple habit improves your garlic quality over time.
2. Propagating Garlic from Bulbils (A Patient Gardener’s Method)
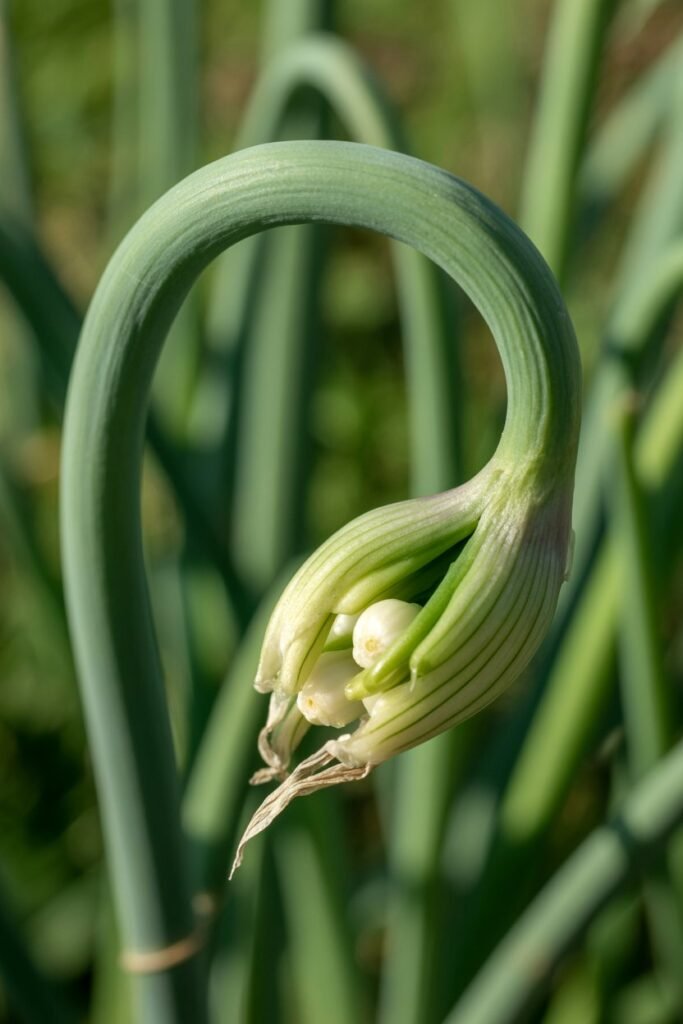
This method feels a little more magical to me, even though it requires patience. Instead of planting cloves, you grow garlic from tiny bulbils that form in the flower head of hardneck garlic.
What Are Bulbils?
Bulbils are miniature garlic clones that grow where seeds would normally form. They’re small, but full of potential.
Why Use Bulbils?
- They are disease-free compared to soil-grown cloves
- You can produce dozens of plants from one scape
- Great for expanding your garlic stock quickly
The trade-off is time it can take 2–3 years to get full-sized bulbs.
How to Harvest Bulbils
Let a few scapes mature instead of cutting them off. Over time, the head will swell and eventually split open, revealing the bulbils inside.
Once they dry slightly, gently collect them.
Planting Bulbils Step-by-Step
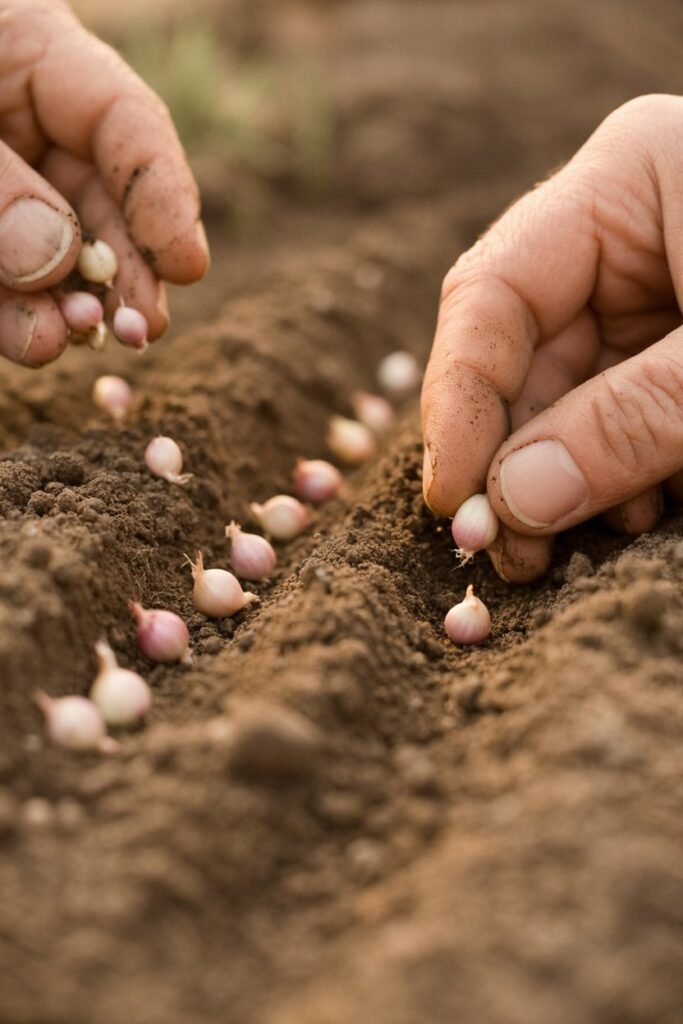
- Prepare a dedicated bedBecause bulbils are tiny, they need a carefully maintained space.
- Plant shallowlyAbout 1 inch deep is enough.
- Space closely1–2 inches apart works well.
- Keep soil consistently moist
What to Expect Over Time
- Year 1: small round bulbs (called rounds)
- Year 2: rounds grow into full bulbs
It’s a slower journey, but incredibly rewarding if you enjoy nurturing plants over time.
Tips for Success with Bulbils
- Label your beds clearly you’ll be waiting a while
- Weed carefully (small plants are easy to crowd out)
- Be patient this method rewards consistency
3. Propagating Garlic from Rounds (The In-Between Method)
Rounds are something you’ll encounter naturally if you grow garlic long enough. They form when a clove or bulbil doesn’t fully divide into multiple cloves.
At first, I thought these were a mistake. Over time, I realized they’re actually a wonderful opportunity.
What Is a Garlic Round?
A round is a single, solid bulb that looks like a large clove. It hasn’t segmented yet, but it holds all the genetic potential of a full bulb.
Why Use Rounds for Propagation?
- They are hardy and resilient
- Often grow into larger bulbs in the next season
- Require less time than bulbils to mature
How to Plant Rounds
Treat them almost exactly like cloves:
- Plant 2–3 inches deep
- Space 4–6 inches apart
- Use rich, well-draining soil
What to Expect
In the following season, rounds typically develop into full, multi-clove bulbs. In some cases, they can even outperform regular cloves because of their stored energy.
Creating the Ideal Environment for Garlic Propagation
No matter which method you choose, the environment you create will shape your results.
Soil Preparation
Garlic thrives in:
- Loose, crumbly soil
- Rich organic matter
- Good drainage
If your soil feels heavy, mixing in compost and sand can make a big difference.
Sunlight Needs
Garlic loves sunlight. Aim for at least 6–8 hours of direct sun each day.
Watering Balance
This is one area where many gardeners struggle.
- Too much water → rot
- Too little water → small bulbs
Keep the soil evenly moist, especially during early growth.
Mulching
Mulch is something I never skip anymore. A layer of straw or dry leaves helps:
- Regulate soil temperature
- Retain moisture
- Reduce weeds
Common Mistakes That Reduce Garlic Yield
Even though garlic is forgiving, a few mistakes can hold back your harvest.
Planting Small Cloves
Small cloves produce small bulbs. Always plant your best.
Poor Soil Nutrition
Garlic is a heavy feeder. Without nutrients, it struggles to grow fully.
Overwatering
Garlic hates sitting in soggy soil. Good drainage is essential.
Ignoring Timing
Plant too late, and roots won’t establish properly.
Not Removing Scapes
If you’re growing hardneck garlic, removing scapes helps the plant focus on bulb development.
How to Harvest and Store Garlic for Future Propagation
Harvesting is one of the most satisfying parts of the process.
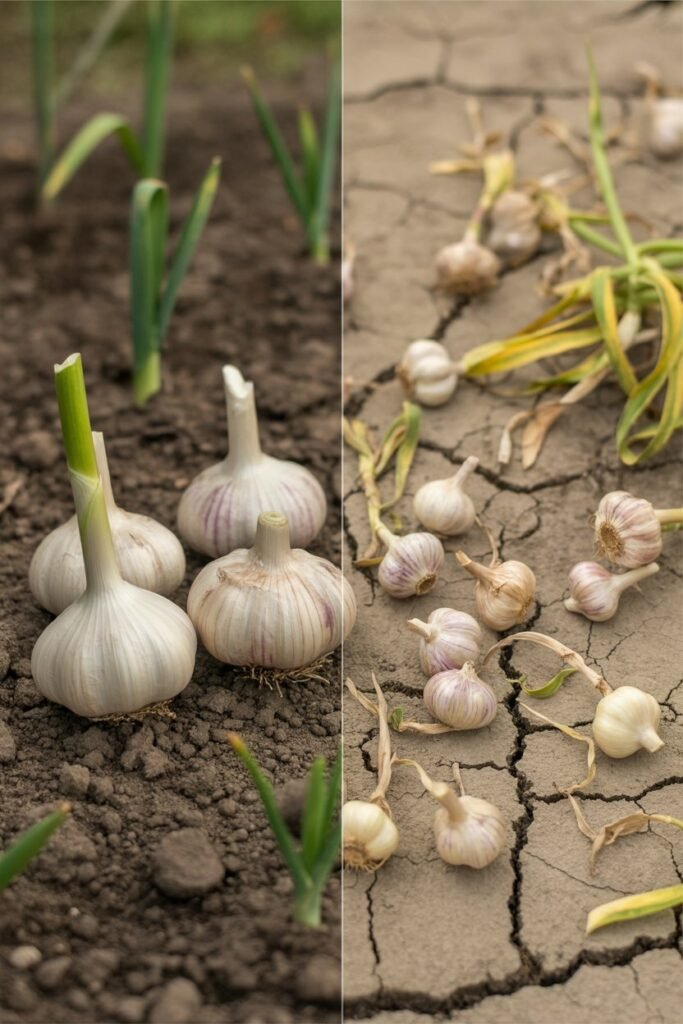
When to Harvest
- Lower leaves begin to yellow
- Upper leaves remain green
This balance tells you the bulb is ready.
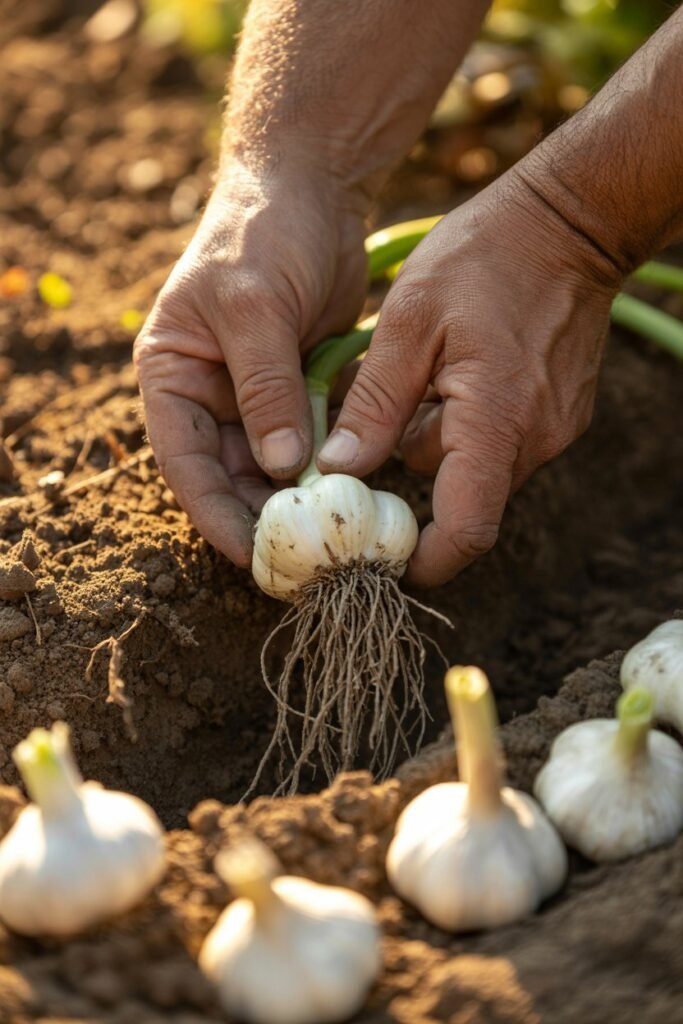
How to Harvest
- Loosen soil gently
- Lift bulbs carefully (don’t pull too hard)
Curing Garlic
Let bulbs dry in a shaded, airy space for 2–3 weeks. This improves storage life.
Selecting Bulbs for Replanting
Always save:
- The largest bulbs
- The healthiest-looking ones
This simple selection process improves your garlic year after year.
A Gentle Closing Thought
Growing garlic has taught me patience in the most rewarding way. It asks you to trust the process to plant something small and wait, quietly, while it transforms beneath the soil.
Whether you choose to propagate from cloves, bulbils, or rounds, each method offers its own rhythm and lesson. Some are quick and reliable, others slow and deeply satisfying.
Over time, you may find yourself using all three, creating a cycle that keeps your garden full without ever needing to start from scratch again.
And that, to me, is the beauty of garlic. Once it finds a place in your garden, it never truly leaves.
