
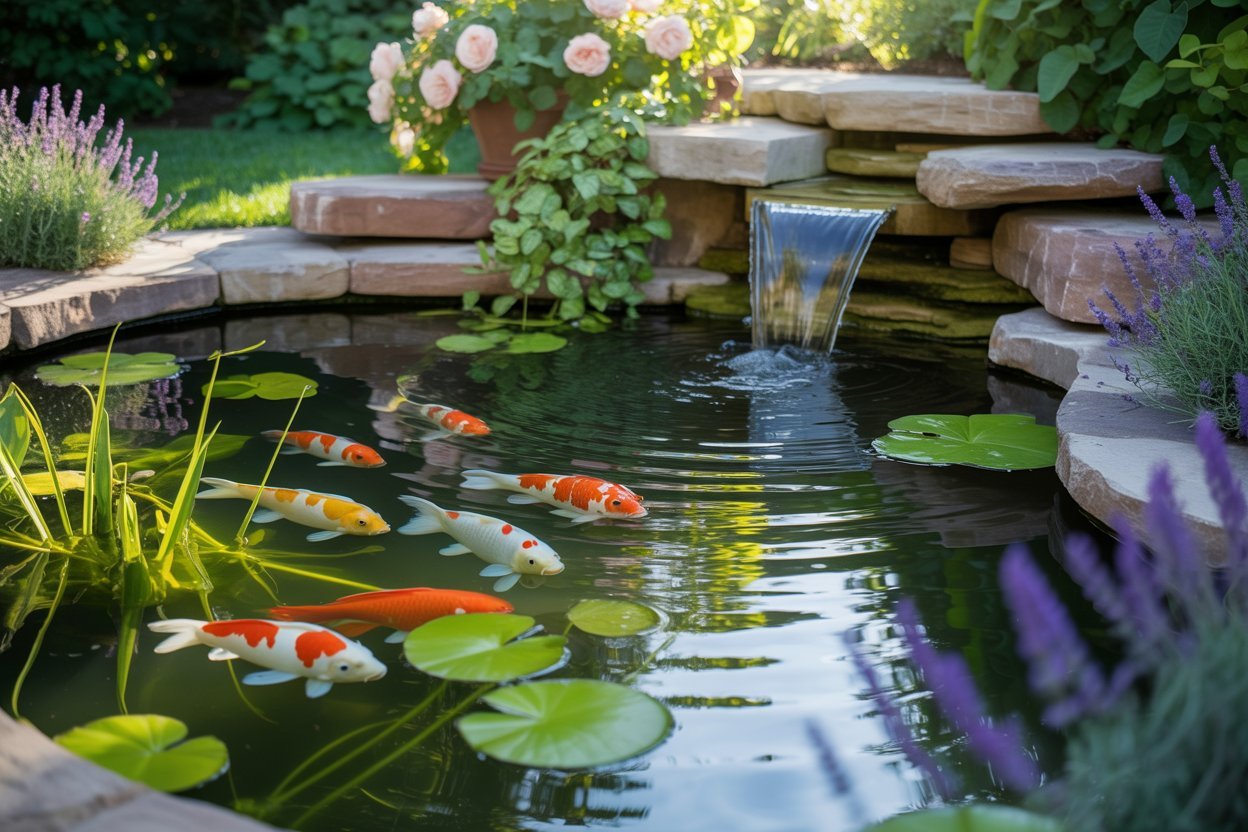
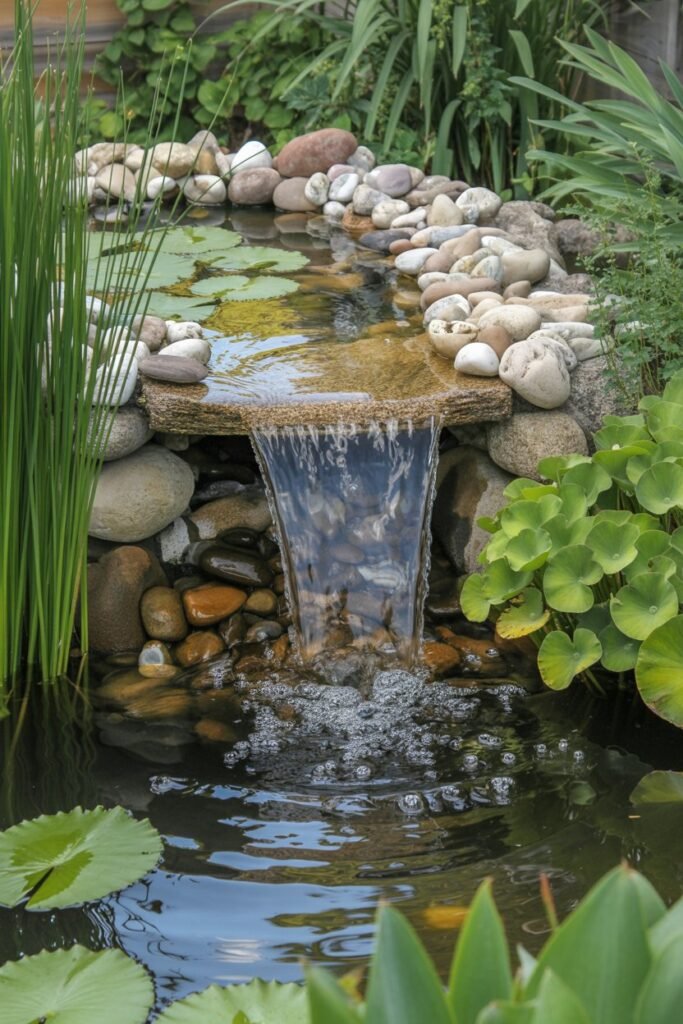
One of the first lessons I learned as a pond gardener was this: clear, healthy pond water does not happen by luck. It happens when water is moving, balanced, and properly filtered.
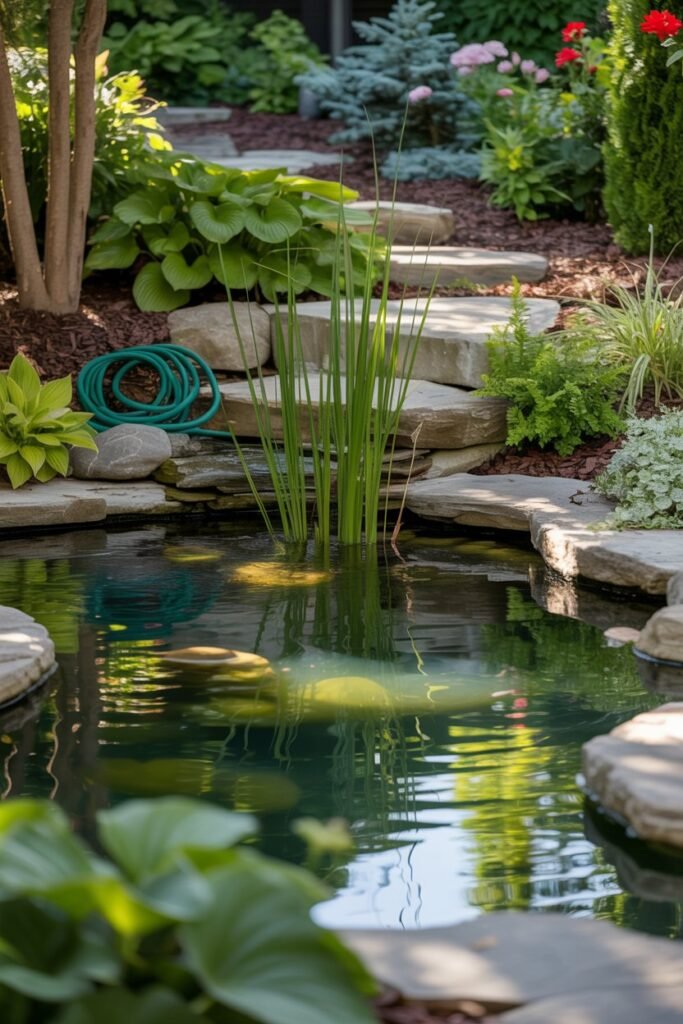
I remember standing beside my little backyard pond one warm afternoon, wondering why the water looked cloudy only a week after cleaning it.
I had added lovely plants, arranged stones beautifully, and even introduced fish but the water still lacked that sparkling, healthy look I wanted.
That was the moment I discovered how important a pond filter truly is.
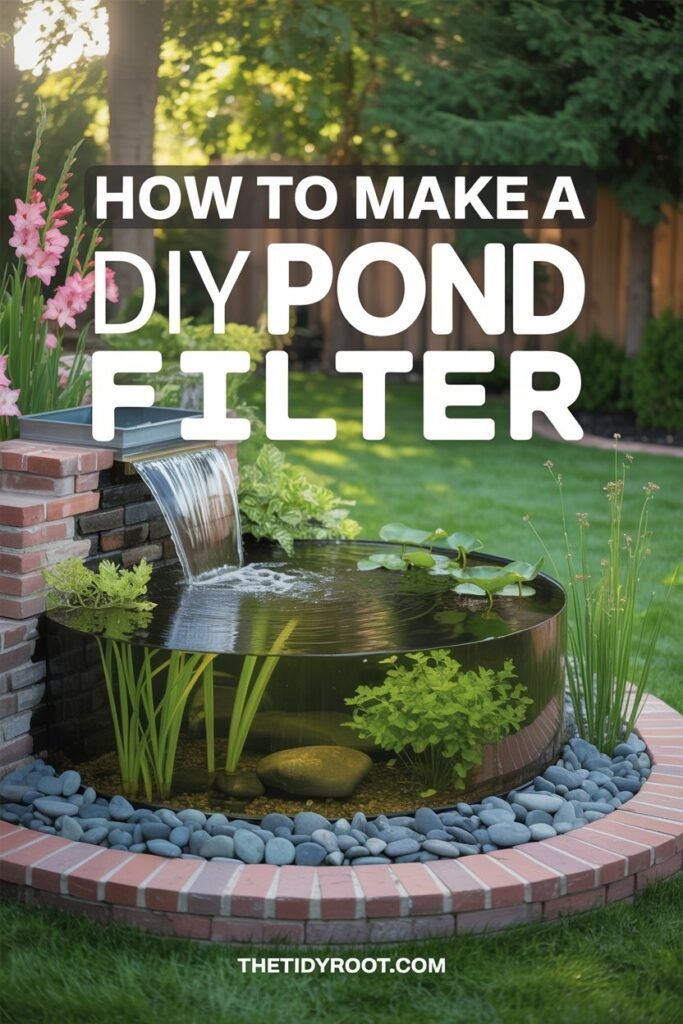
The good news is that building a pond filter does not need to be expensive or complicated. In fact, some of the most effective filters can be made at home using simple, affordable materials.
A DIY pond filter can keep your pond cleaner, healthier, and easier to maintain while saving you money.
If you love practical garden projects and enjoy creating beautiful outdoor spaces on a budget, this guide will walk you through everything you need to know.
I’ll share the exact method many pond keepers use successfully, along with tips I wish I knew sooner.
By the end of this post, you’ll know how to make a cheap and easy DIY pond filter that actually works.
Shop my amazon essentials
- Large Plastic Bucket or Container
- Pond Pump
- Filter Foam Pads
- Lava Rocks or Bio Balls
- PVC Pipes and Connectors
- Flexible Tubing
- Drill with Hole Saw Bit
- Zip Ties or Hose Clamps
- Silicone Sealant
- Utility Knife
Why Your Pond Needs a Filter
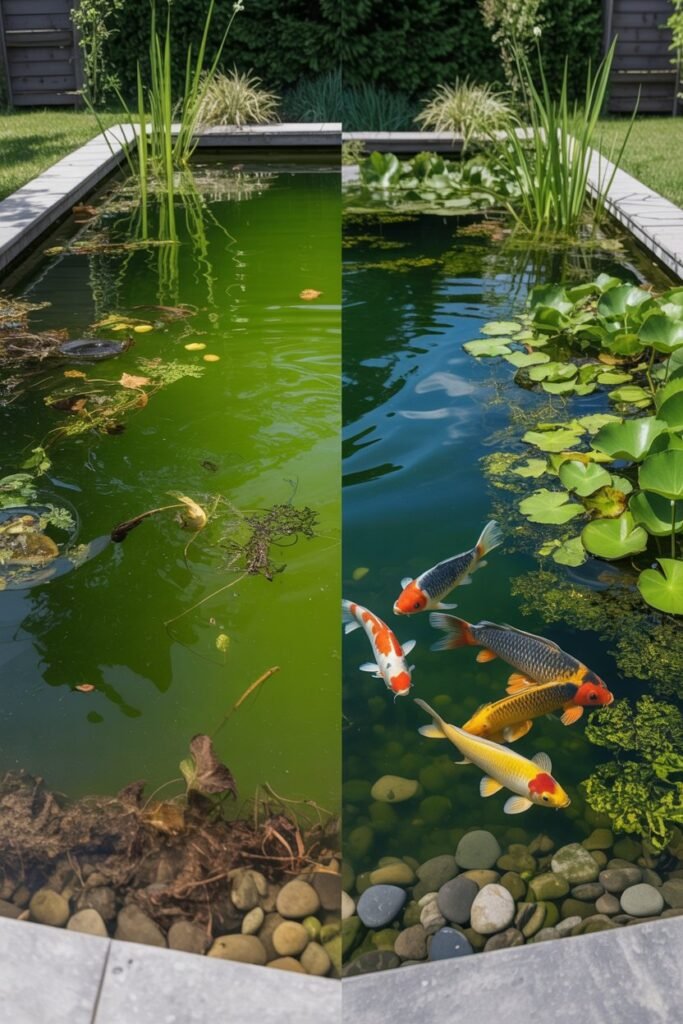
A pond may look peaceful on the surface, but underneath, many things are constantly happening. Leaves fall into the water, fish create waste, algae begin growing, and dust or debris settle at the bottom.
Without filtration, these problems build quickly and can lead to:
- Cloudy green water
- Bad smells
- Excess sludge
- Low oxygen levels
- Unhealthy fish
- Mosquito problems
- Extra maintenance
A good pond filter helps by removing dirt, trapping debris, and supporting beneficial bacteria that break down waste naturally.
Think of a filter as the housekeeping system of your pond.
How a Pond Filter Works
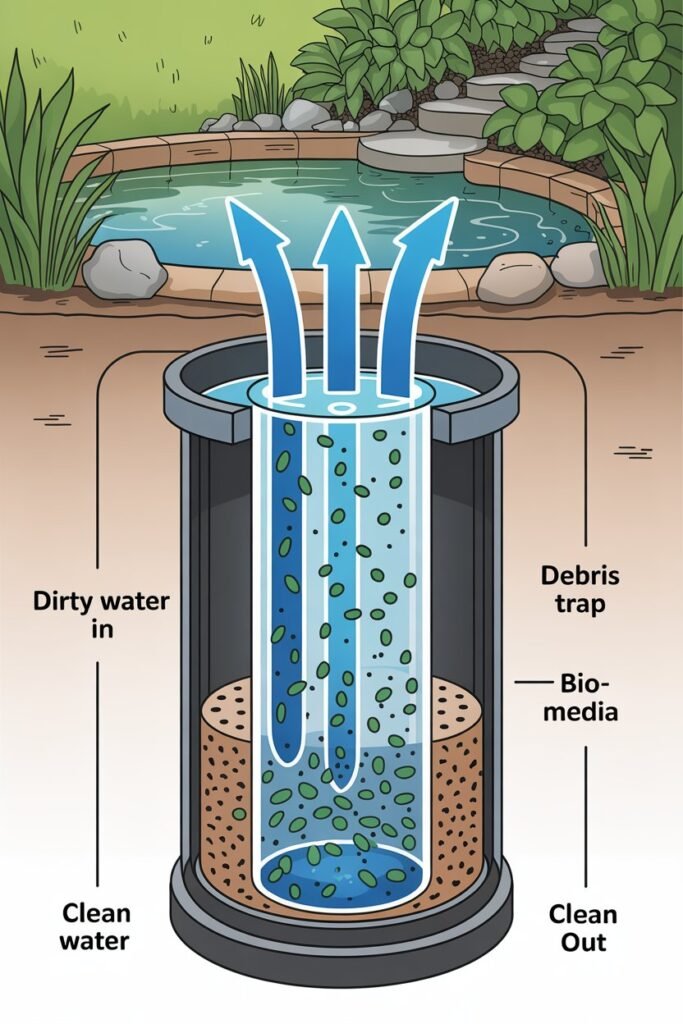
Understanding this makes DIY building much easier.
Most pond filters use three stages of cleaning:
1. Mechanical Filtration
This stage traps physical debris such as:
- Leaves
- Fish waste
- Mud particles
- Uneaten fish food
Materials like sponges, filter pads, and mesh help with this.
2. Biological Filtration
Beneficial bacteria grow on surfaces inside the filter. These bacteria break down harmful waste substances and keep water healthier.
Materials like lava rock, bio balls, gravel, or scrub pads work beautifully.
3. Water Circulation
A pump moves pond water through the filter, then returns clean water back into the pond.
Moving water also adds oxygen and reduces stagnation.
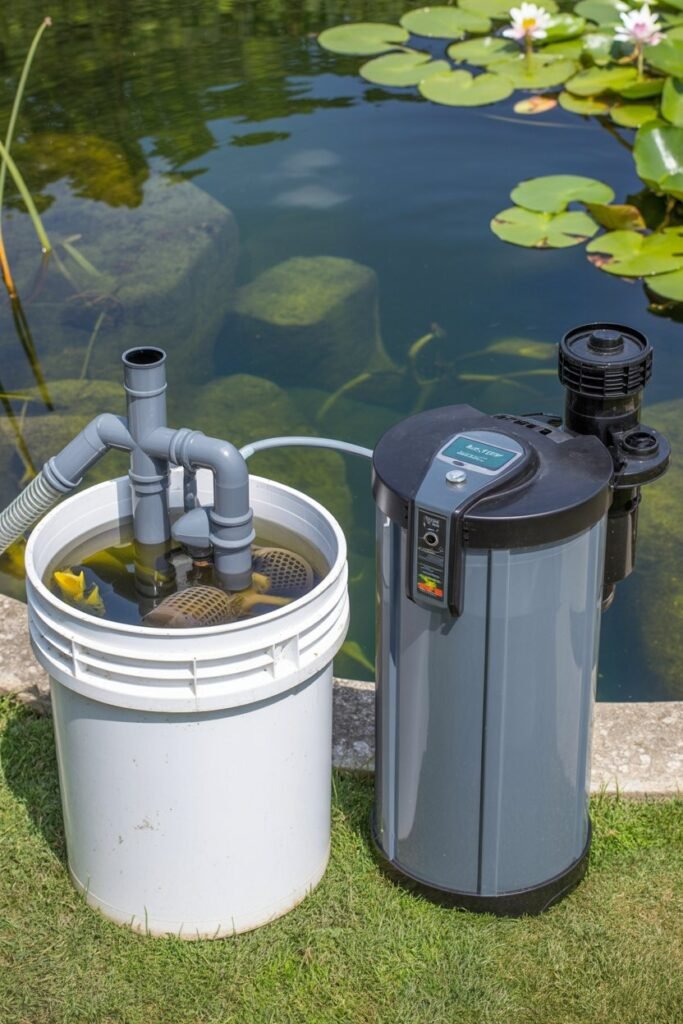
The Best Cheap DIY Pond Filter Design
Over the years, I’ve tested several homemade systems, and the easiest reliable design is:
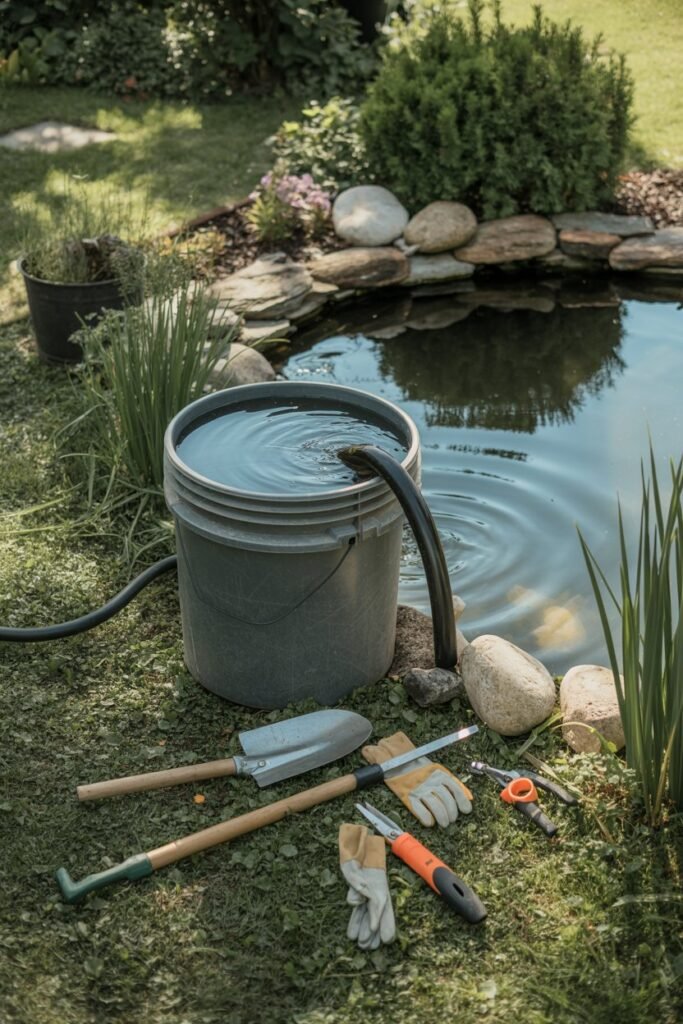
The Bucket Filter System
This uses:
- A plastic bucket or storage container
- Pond pump
- Filter media inside the bucket
- Outlet hose returning water to pond
Why I love it:
- Affordable
- Easy to build
- Works for small to medium ponds
- Easy to clean
- Can be upgraded anytime
Tools and Materials You’ll Need
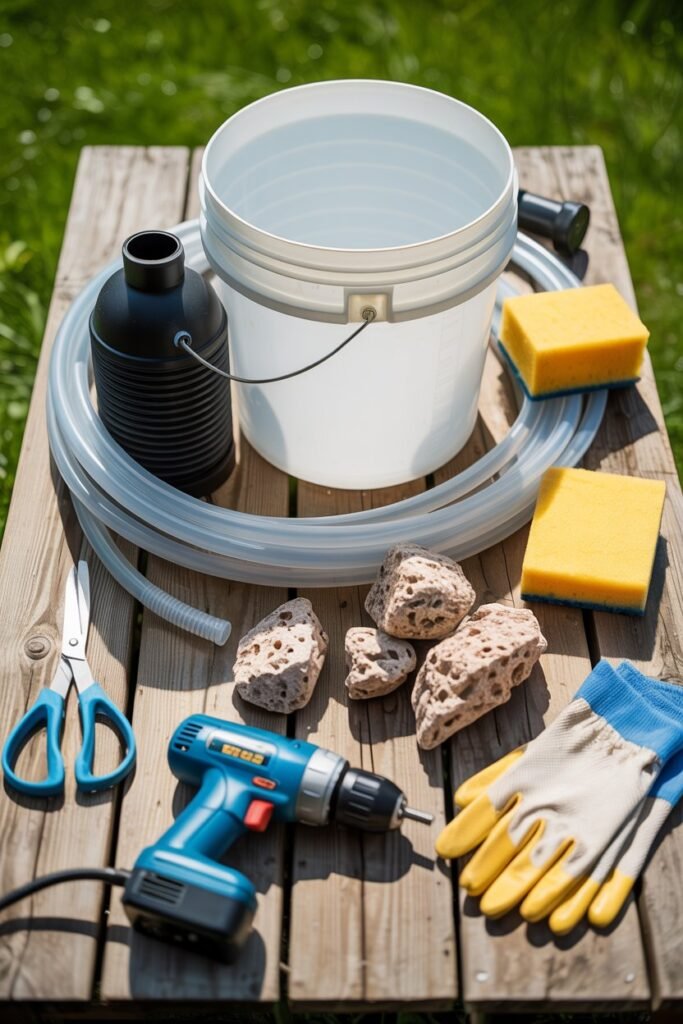
Main Materials
- 20–30 liter plastic bucket with lid
- Submersible pond pump
- Flexible hose tubing
- Bulkhead fitting or outlet connector
- Filter sponge or foam
- Filter floss or batting
- Lava rock / gravel / ceramic rings / scrub pads
- Plastic mesh bag (optional)
Tools
- Drill
- Hole saw bit or sharp knife
- Marker
- Scissors
- Gloves
- Measuring tape
Optional Extras
- Silicone sealant (pond safe)
- Zip ties
- Pre-filter sponge for pump
- Decorative rocks to hide filter
Choosing the Right Pump Size
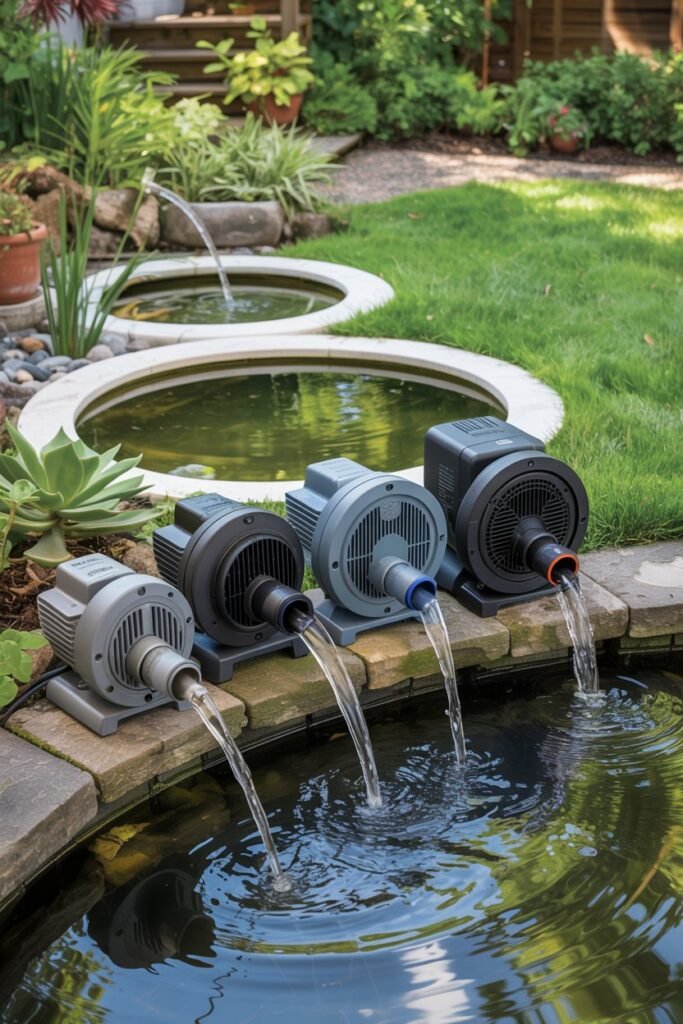
This is where many beginners make mistakes.
Your pump should circulate the entire pond volume roughly once every 1–2 hours.
Example:
- 500 liter pond = 500–1000 LPH pump
- 1000 liter pond = 1000–2000 LPH pump
- 2000 liter pond = 2000–4000 LPH pump
If you keep fish, choose slightly stronger flow.
Step-by-Step: How to Make a DIY Pond Filter
Step 1: Clean the Bucket
Wash the bucket thoroughly with plain water.
Do not use soap or chemicals.
Any residue can harm pond life.
Step 2: Mark the Outlet Hole
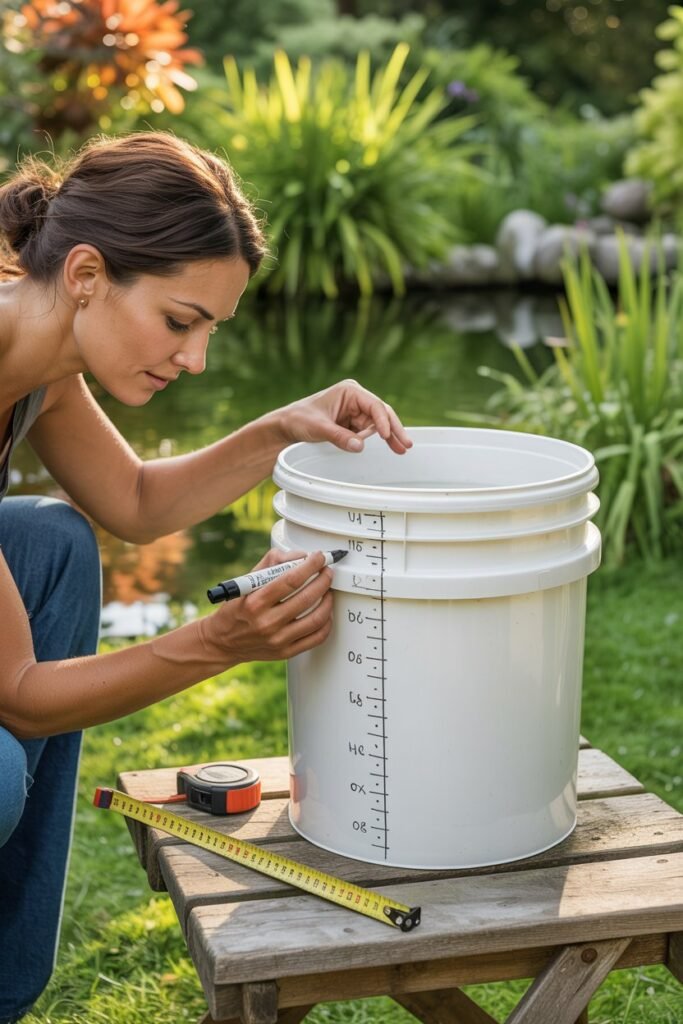
Near the upper side of the bucket, mark where water will exit.
Keep it a few inches below the rim.
This prevents overflow issues.
Step 3: Drill the Hole
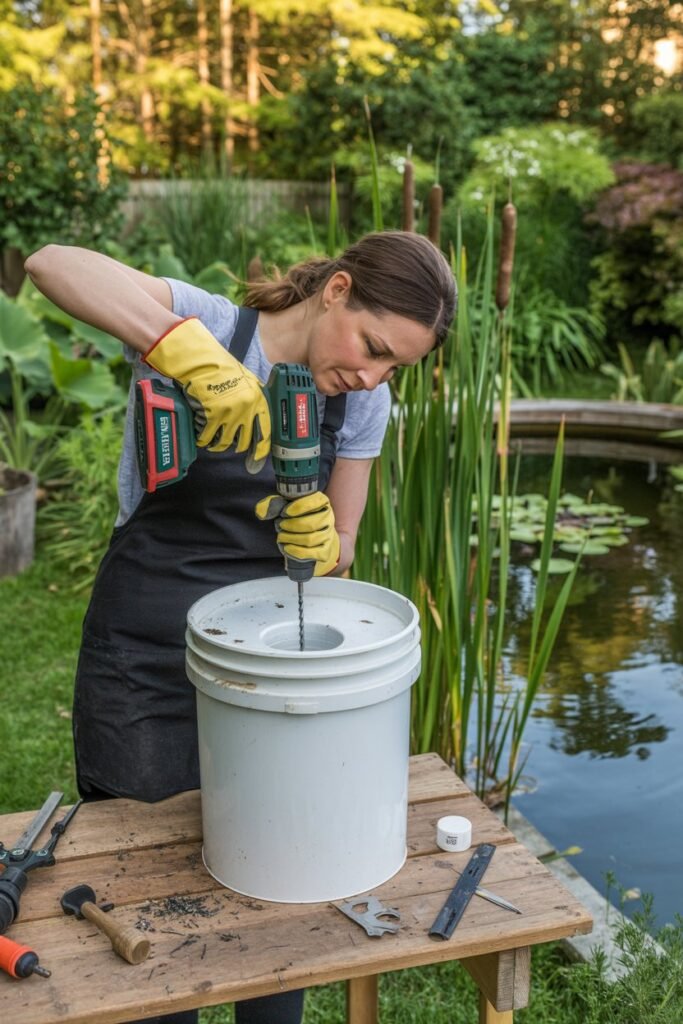
Use a drill or sharp tool to create the outlet opening.
Install:
- Bulkhead fitting
or - Hose connector
Seal if needed with pond-safe silicone.
Allow curing time if sealant is used.
Step 4: Add Water Inlet
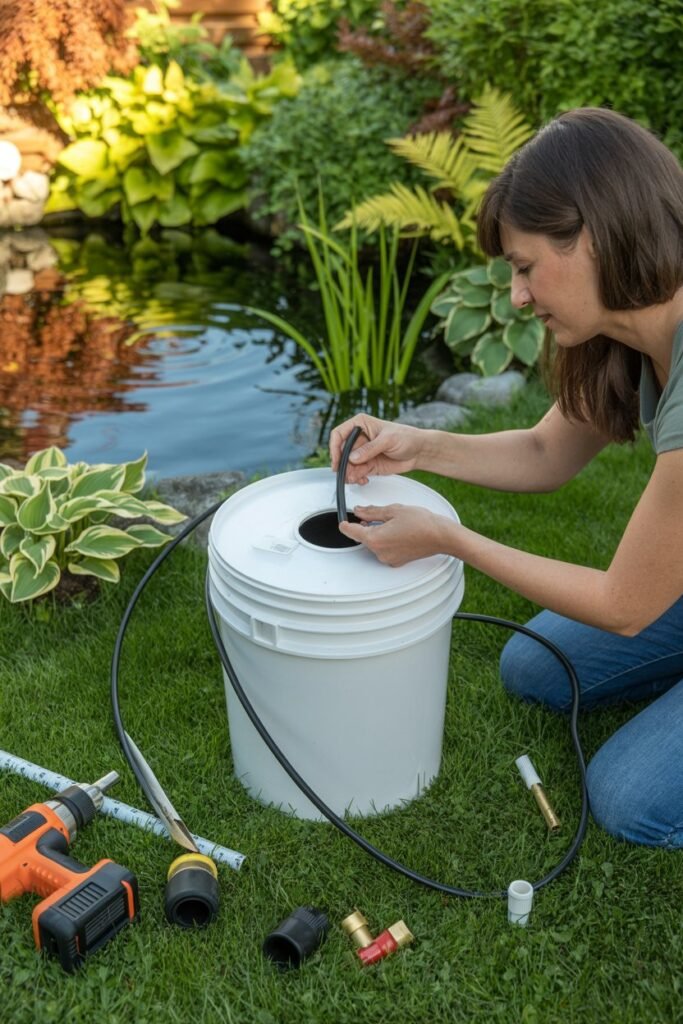
Your pump hose will feed water into the bucket.
You can:
- Run hose through the top lid
or - Drill another hole in the side near top
The lid method is easiest.
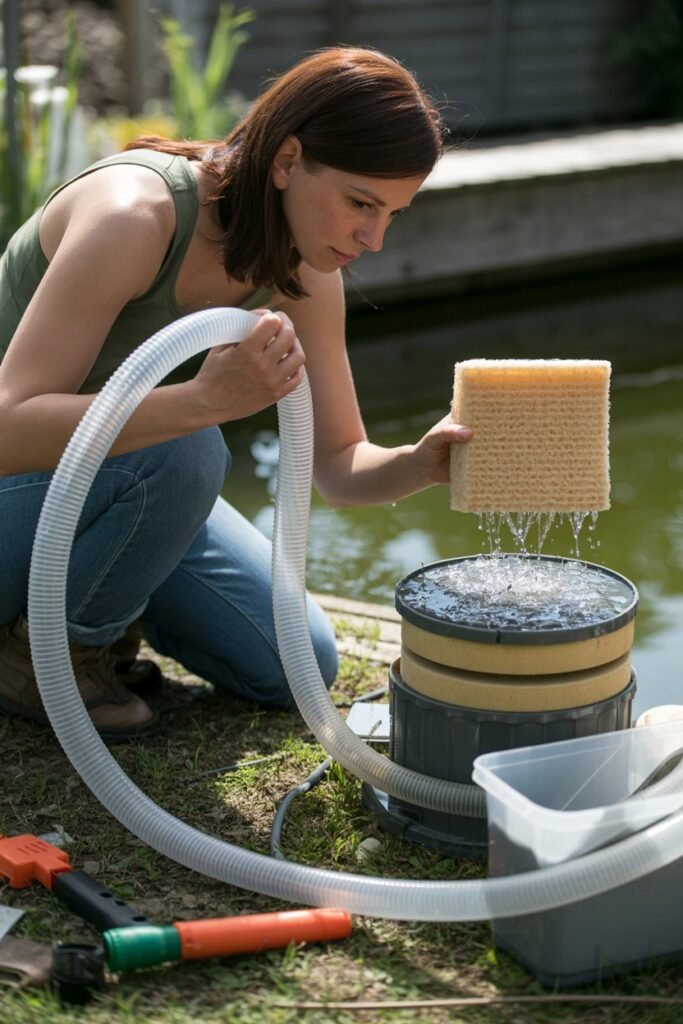
Step 5: Layer the Filter Media Properly
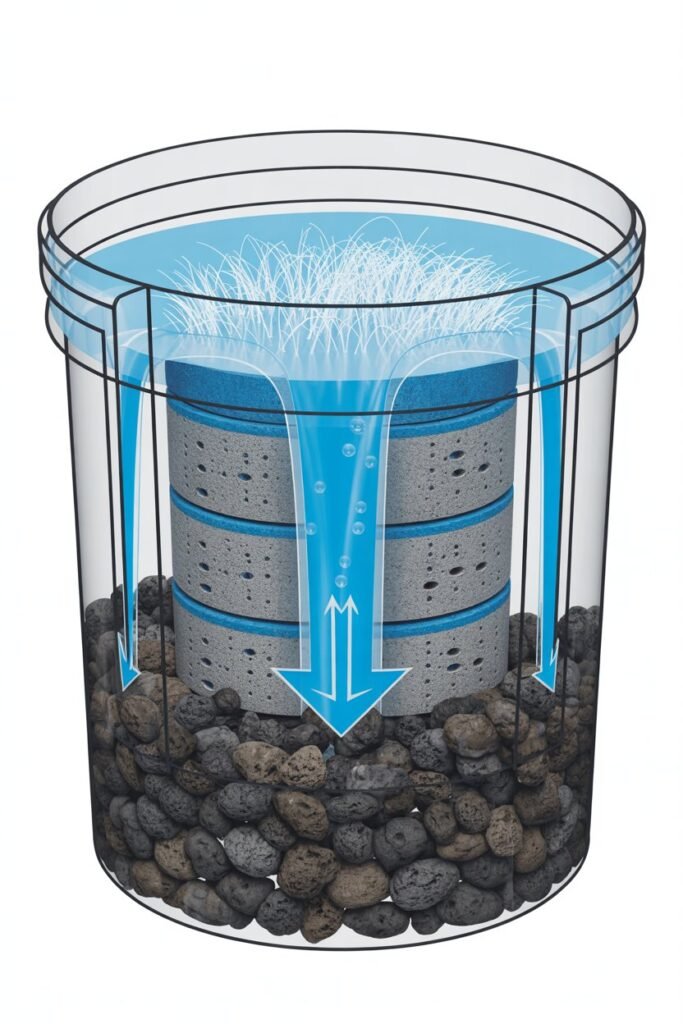
This is the secret to making it work well.
Water should pass through layers from coarse to fine.
Bottom Layer
Large stones or coarse media.
Examples:
- Lava rock
- Large gravel
- Bio balls
Purpose: supports bacteria.
Middle Layer
Medium sponge or scrub pads.
Purpose: catches debris.
Top Layer
Fine filter floss or quilt batting.
Purpose: polishes water.
Step 6: Connect Pump
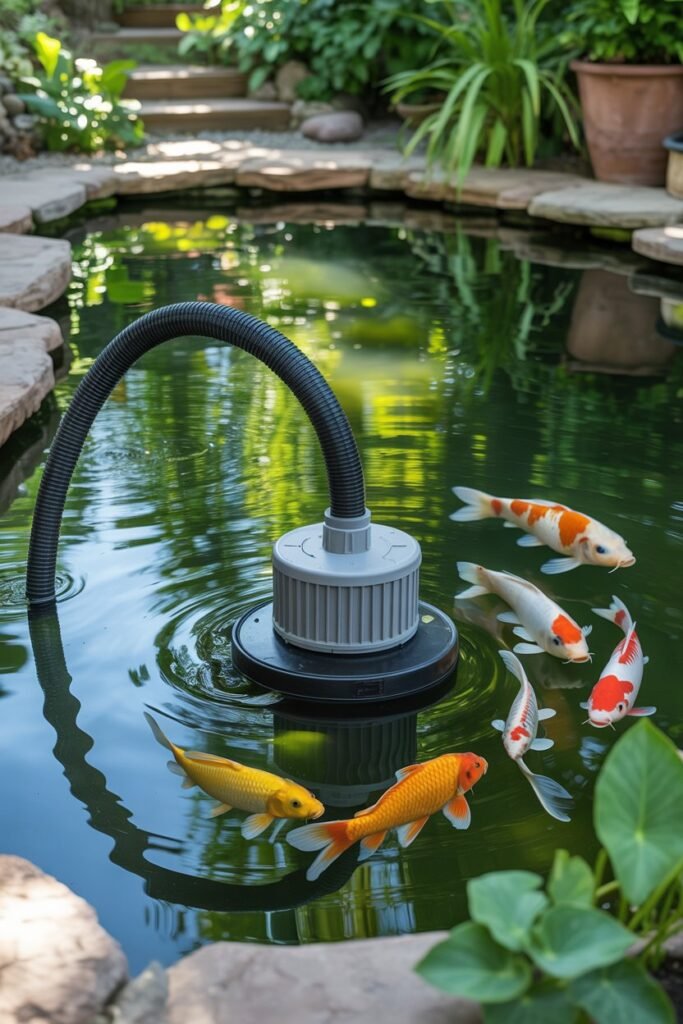
Place pump inside pond.
Attach hose from pump to filter inlet.
Pump sends dirty pond water into bucket.
Step 7: Return Clean Water to Pond
Connect outlet hose or allow side outlet to spill back into pond.
You can direct it into:
- Waterfall
- Stream
- Spillway
- Simple return pipe
This adds lovely movement and oxygen.
Step 8: Turn It On
Plug in the pump.
Watch for:
- Strong flow
- No leaks
- Water passing evenly through media
- Clean return stream
The water may not become crystal clear instantly. Give it time.
How Long Until Water Clears?
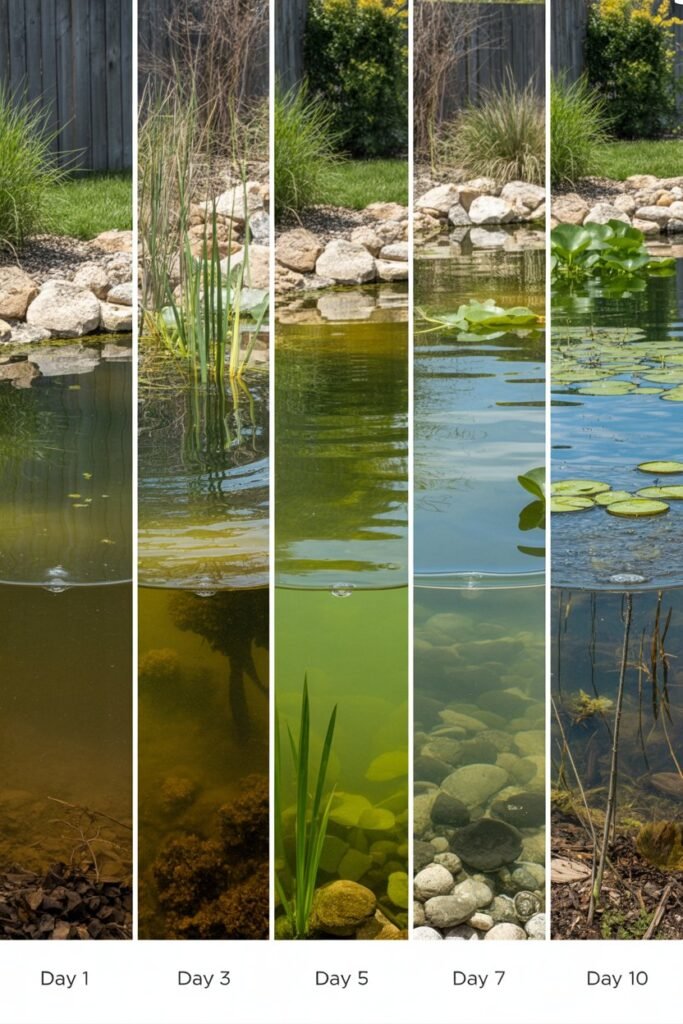
Most ponds improve within:
- 24 hours for debris removal
- 3–7 days for clearer water
- 2–6 weeks for full bacterial balance
Patience matters in pond keeping.
My Favorite Filter Media on a Budget
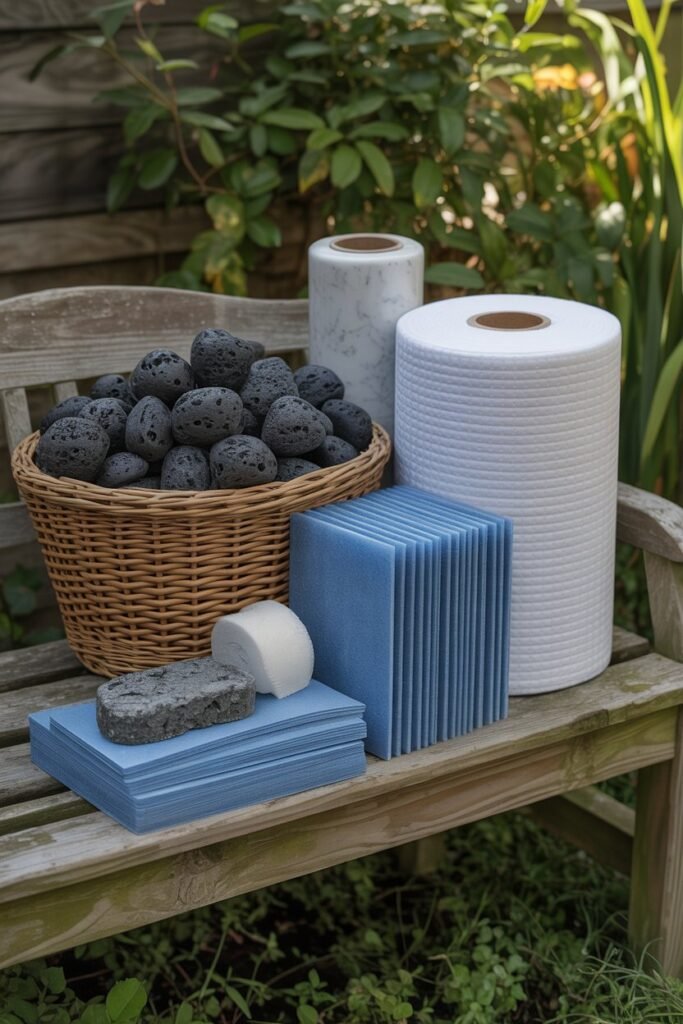
If you want low-cost success, use this combination:
Cheapest Effective Setup
- Bottom: lava rock
- Middle: kitchen scrub pads (unused)
- Top: quilt batting/filter floss
This performs surprisingly well.
Best Placement for Your DIY Filter
Position the filter:
- Slightly above pond level for gravity return
- Hidden behind plants or rocks
- Easy to access for cleaning
- Near power source safely
Avoid placing it where children may trip over hoses.
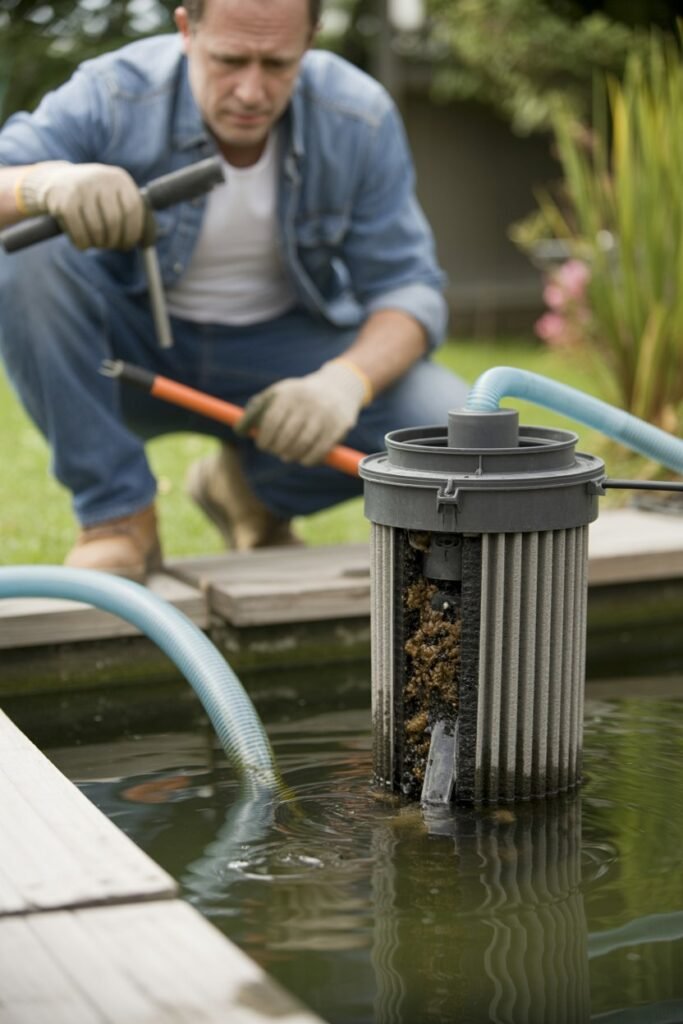
How Often to Clean It
This depends on fish load and debris.
General Guide
- Top floss: weekly or biweekly
- Sponge pads: every 2–4 weeks
- Biological media: lightly rinse only when clogged
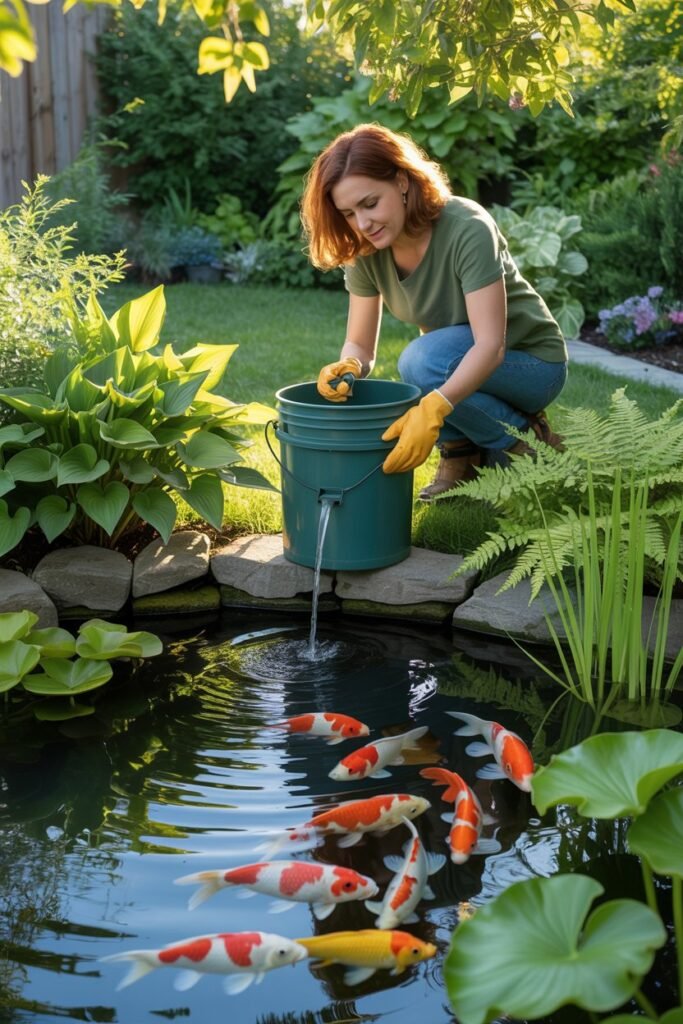
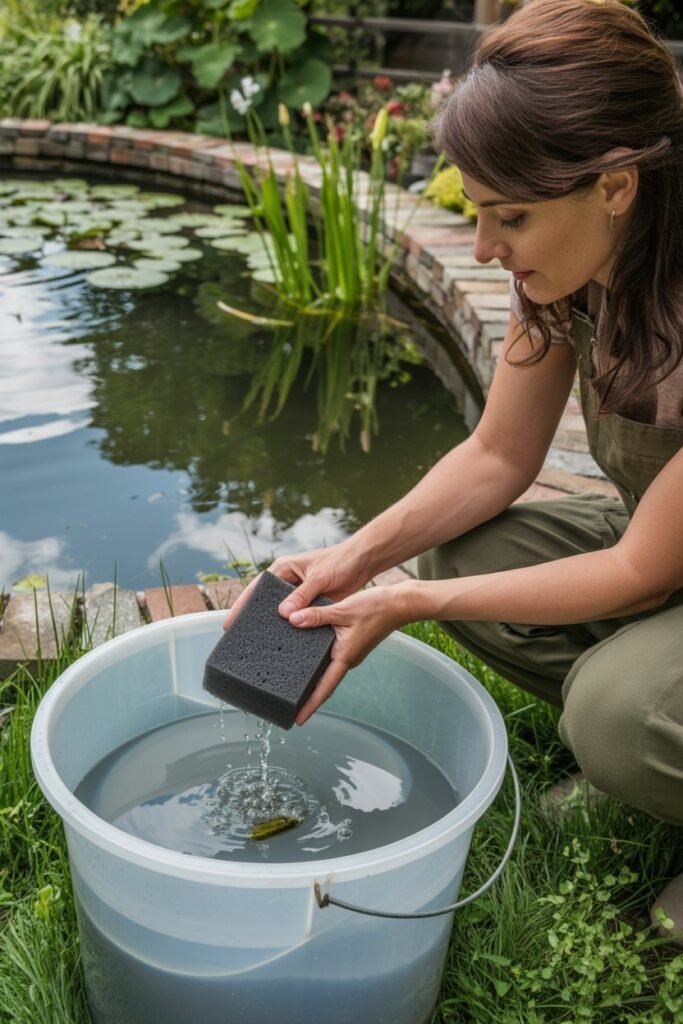
Always rinse media in pond water, not tap water.
Why?
Tap water chlorine can kill beneficial bacteria.
Common Mistakes to Avoid
1. Using a Weak Pump
Poor flow means poor filtration.
2. Overcleaning Everything
Kills bacteria and resets system.
3. Too Much Fine Media First
Clogs instantly.
Use coarse-to-fine layers.
4. Overfeeding Fish
Extra food becomes waste.
5. Too Few Plants
Plants naturally absorb nutrients.
How to Improve Your DIY Filter Even More
Once your basic filter works, upgrades are easy.
Add a UV Clarifier
Helps with green water algae.
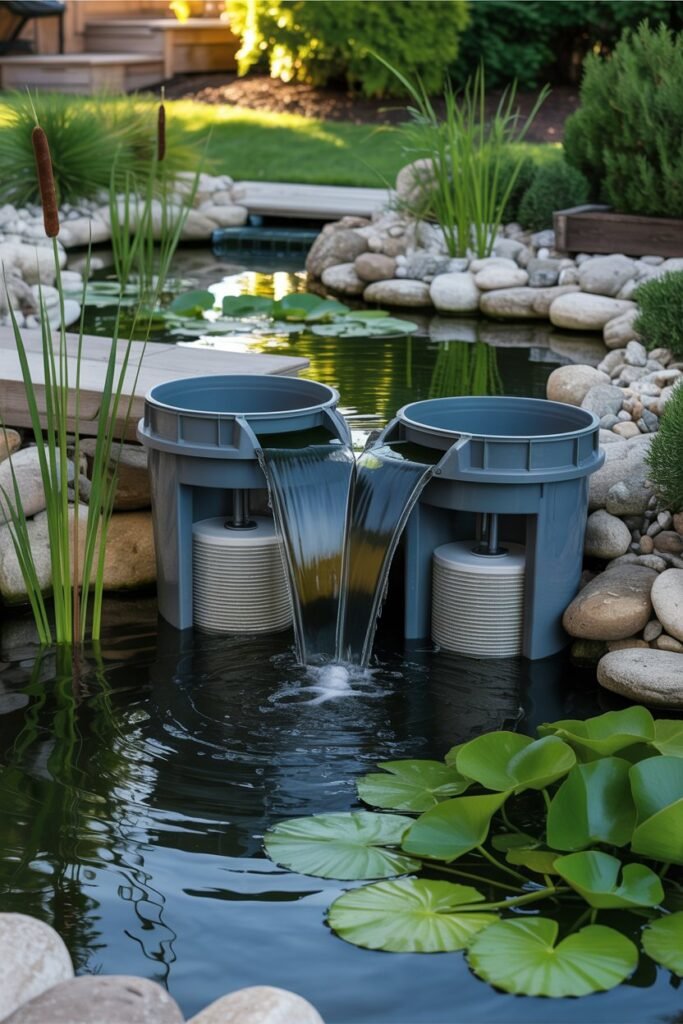
Build a Waterfall Return
Adds beauty and oxygen.
Add More Bio Media
Great for fish ponds.
Use Two Buckets
One for mechanical, one for biological.
Excellent for larger ponds.
DIY Pond Filter for Small Container Ponds
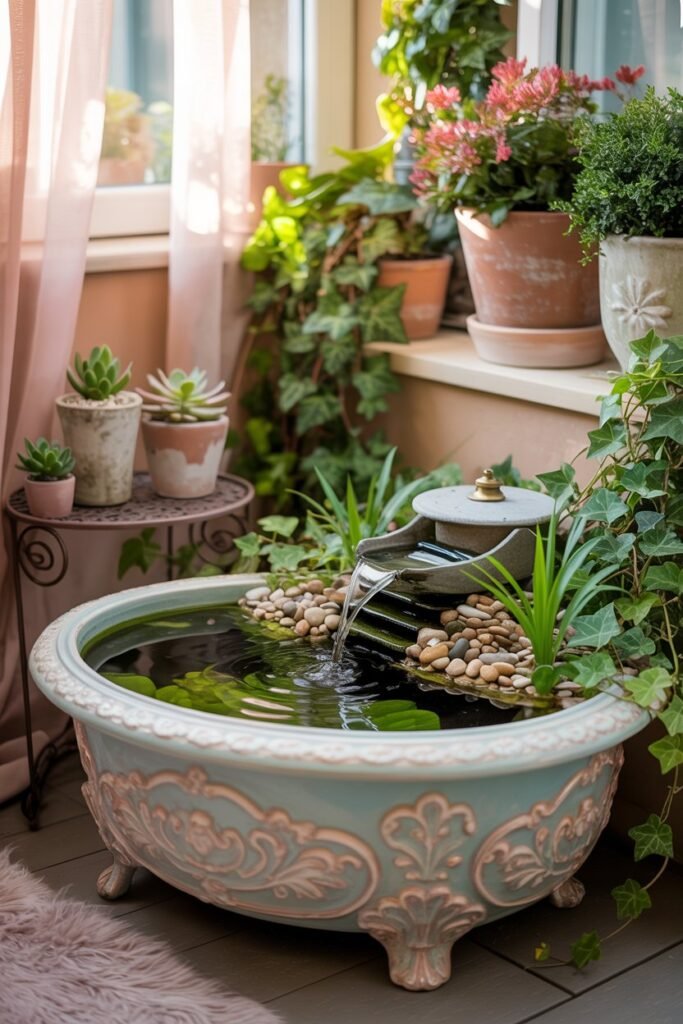
If you have a patio pond or tub pond:
Use:
- Small plastic container
- Tiny fountain pump
- Sponge
- Gravel
Even mini ponds benefit from filtration.
DIY Pond Filter for Fish Ponds
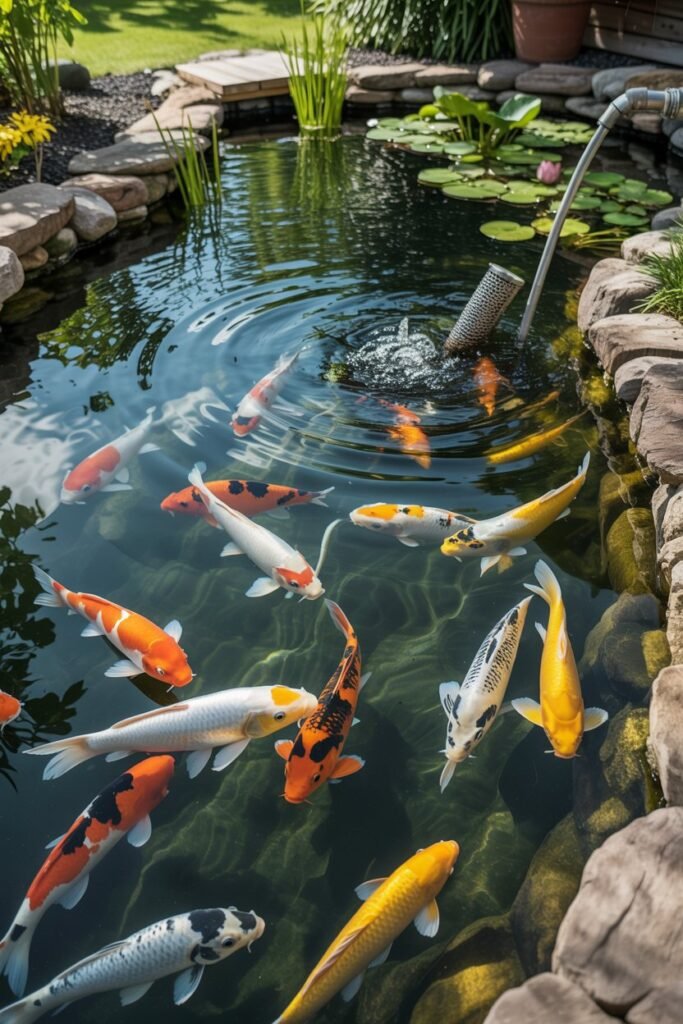
Fish create extra waste, so:
- Choose stronger pump
- Larger bucket
- More biological media
- Clean mechanical pads regularly
Goldfish and koi especially need stronger systems.
How to Hide the Filter Beautifully
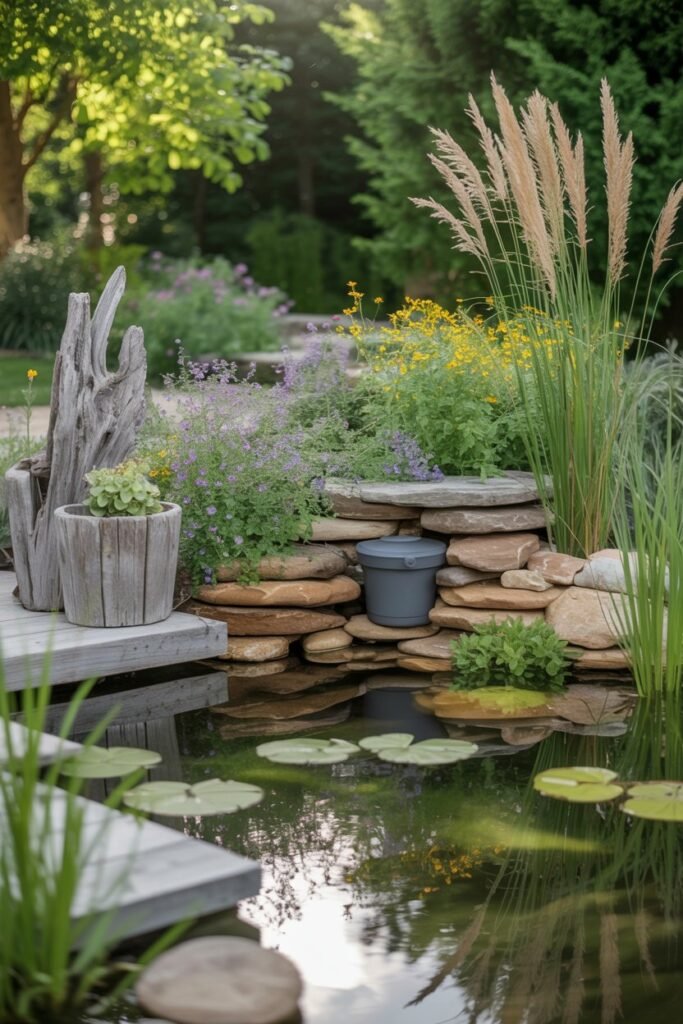
I always prefer practical things to still look lovely.
Try:
- Tall grasses
- Decorative stones
- Wooden screen
- Flower pots nearby
- Small garden bench beside area
Your pond should feel charming, not cluttered.
Signs Your Filter Is Working
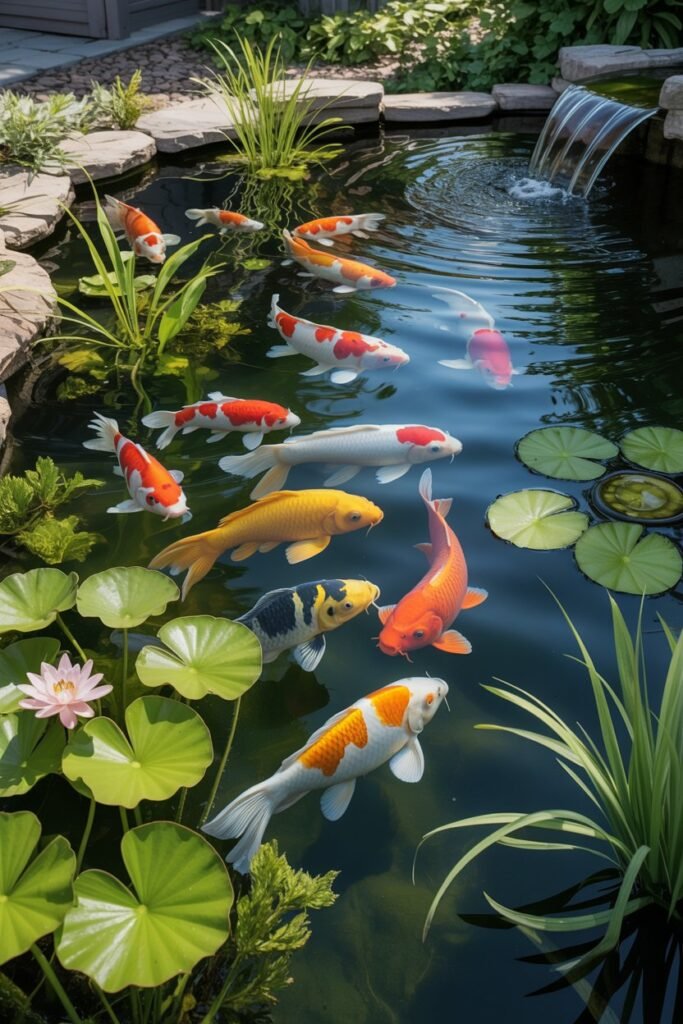
You’ll notice:
- Clearer water
- Less smell
- Happier fish activity
- Less sludge
- Reduced algae pressure
- Better circulation
Those small improvements add up beautifully.
Troubleshooting Problems
Water Flow Is Slow
Check:
- Clogged floss
- Dirty pump intake
- Kinked hose
- Media packed too tightly
Water Still Green
Likely algae nutrients or sunlight issue.
Add:
- More plants
- Shade
- Less feeding
- UV clarifier if needed
Bad Smell
Usually trapped waste.
Clean mechanical layers and improve circulation.
Seasonal Care Tips
Spring
Deep clean pads, restart pump, inspect hoses.
Summer
Monitor algae, clean more often.
Autumn
Net leaves before they clog filter.
Winter
Depends on climate. Keep gentle circulation if safe.
Realistic Costs of This DIY Filter
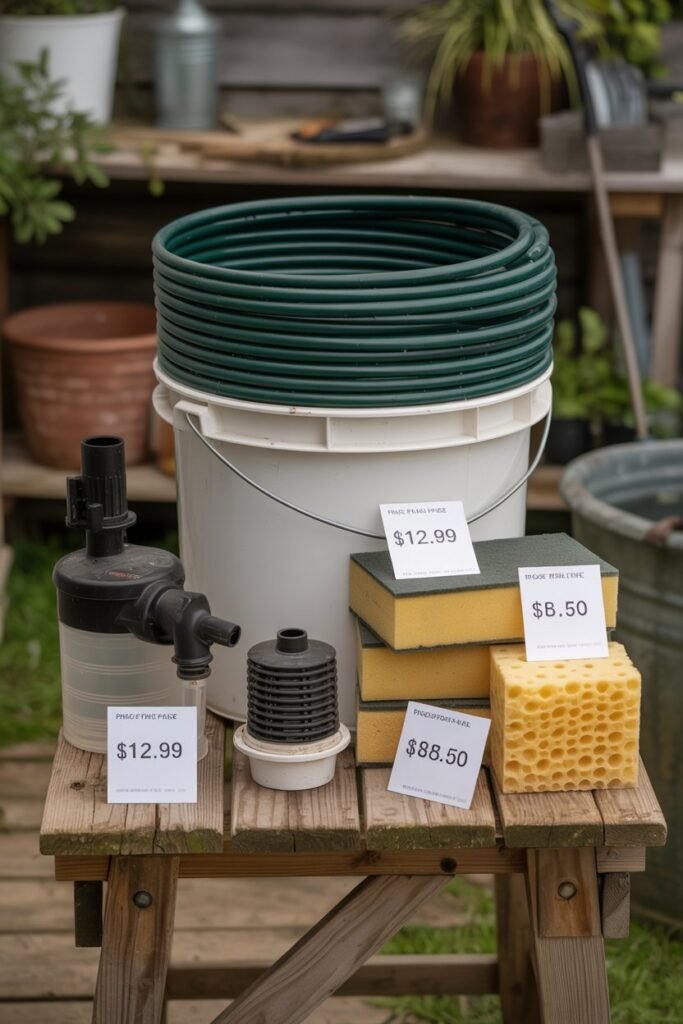
Approximate low-budget setup:
- Bucket: inexpensive
- Pump: moderate cost
- Media: cheap household items
- Hose: affordable
Many people build one for far less than buying a premium ready-made filter.
Is DIY Better Than Store-Bought?
Honestly, it depends.
DIY Wins For:
- Budget gardeners
- Custom sizing
- Learning pond care
- Easy repairs
Store-Bought Wins For:
- Plug-and-play convenience
- Advanced filtration systems
- Large koi ponds
For many backyard ponds, DIY works wonderfully.
My Honest Experience
The first homemade filter I built was simple and far from perfect, but it changed everything.
My pond water improved, maintenance became easier, and I finally felt in control of the ecosystem instead of constantly reacting to problems.
That is why I often recommend starting simple. You do not need expensive equipment to have a healthy pond. You need consistency, smart layering, and good water movement.
Quick Maintenance Routine
Every week:
- Check pump flow
- Remove debris from pond surface
- Rinse top floss if clogged
- Inspect hoses
Every month:
- Light sponge rinse
- Check seals
- Trim plants
This small routine saves major headaches later.
Final Thoughts
Creating a DIY pond filter is one of the smartest upgrades you can make for your pond. It is affordable, practical, beginner-friendly, and genuinely effective when built correctly.
With a simple bucket, a pump, and thoughtfully layered filter media, you can transform cloudy, tired pond water into a cleaner and healthier environment for plants and fish.
I always believe the loveliest gardens are built with care rather than cost. A homemade pond filter proves that beautifully.
Start simple, adjust as you learn, and enjoy watching your pond become clearer week by week.
FAQ
Can I use a trash can instead of a bucket?
Yes, for larger ponds it works very well.
Can I use cotton wool?
Not recommended. It breaks down quickly. Use filter floss or batting.
How many hours should it run?
Ideally 24/7 for best water quality.
Can I run it without fish?
Absolutely. It still helps plants and water clarity.
Will it remove algae completely?
Not always, but it greatly helps when combined with shade, plants, and balanced feeding.
