
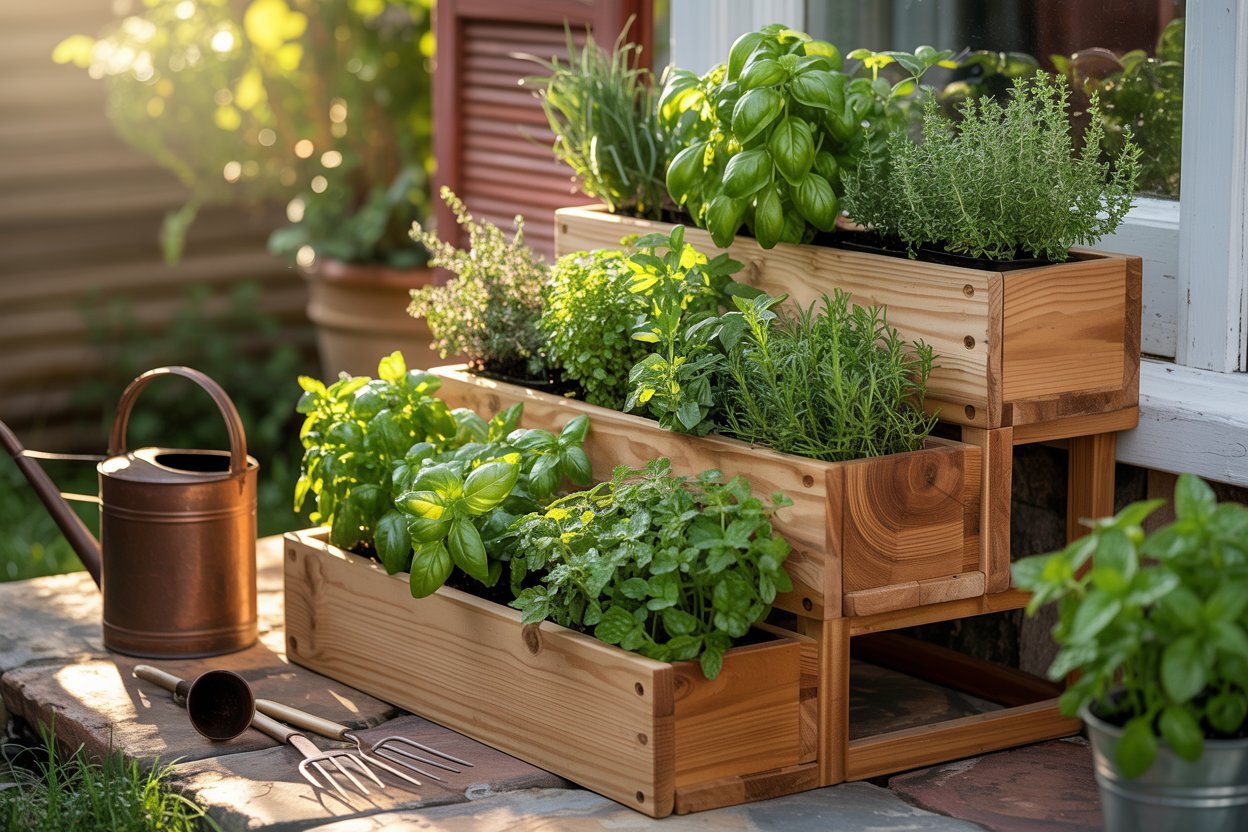

Fresh herbs can completely change the way a meal tastes. A handful of basil over pasta, mint in a cool drink, rosemary on roasted potatoes, or parsley sprinkled over soup adds freshness that dried herbs simply cannot match.
The challenge for many people is space. Not everyone has a large backyard or room for a full vegetable garden.
That is where a DIY tiered herb garden becomes such a smart solution.
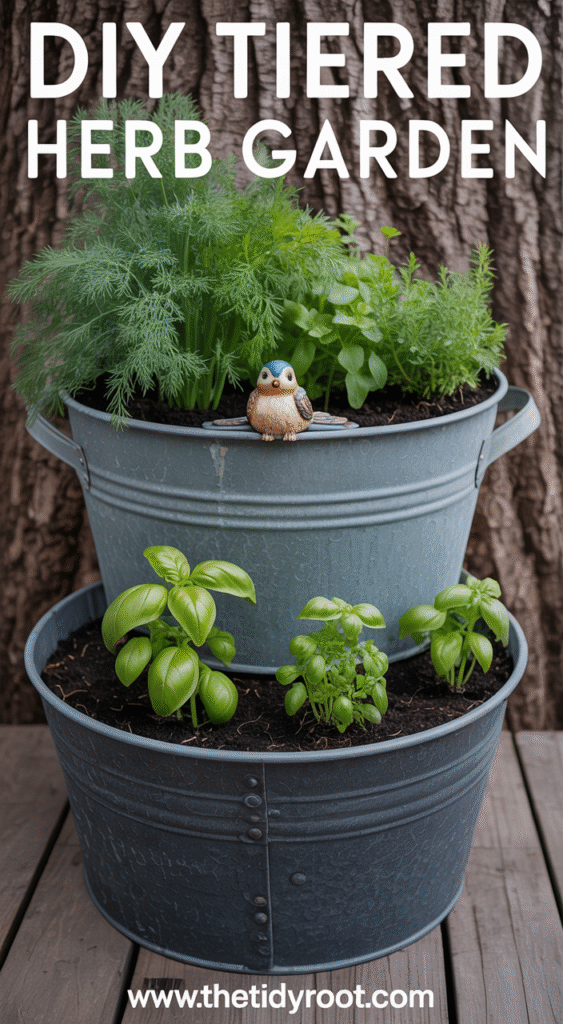
A tiered herb garden allows you to grow several herbs vertically instead of spreading them across the ground. It uses layers or levels, helping you maximize small patios, balconies, porches, decks, or tiny backyard corners. It also creates a beautiful display that turns practical gardening into eye-catching decor.
Even better, building your own tiered herb garden is easier than many people think. You do not need professional carpentry skills or expensive tools.
With a little planning and simple materials, you can create a thriving herb garden that gives you fresh harvests for months.
This guide will walk you through everything you need to know—from choosing a design and gathering materials to planting herbs, watering correctly, and keeping your garden productive year-round.
Why a Tiered Herb Garden Is Worth Building
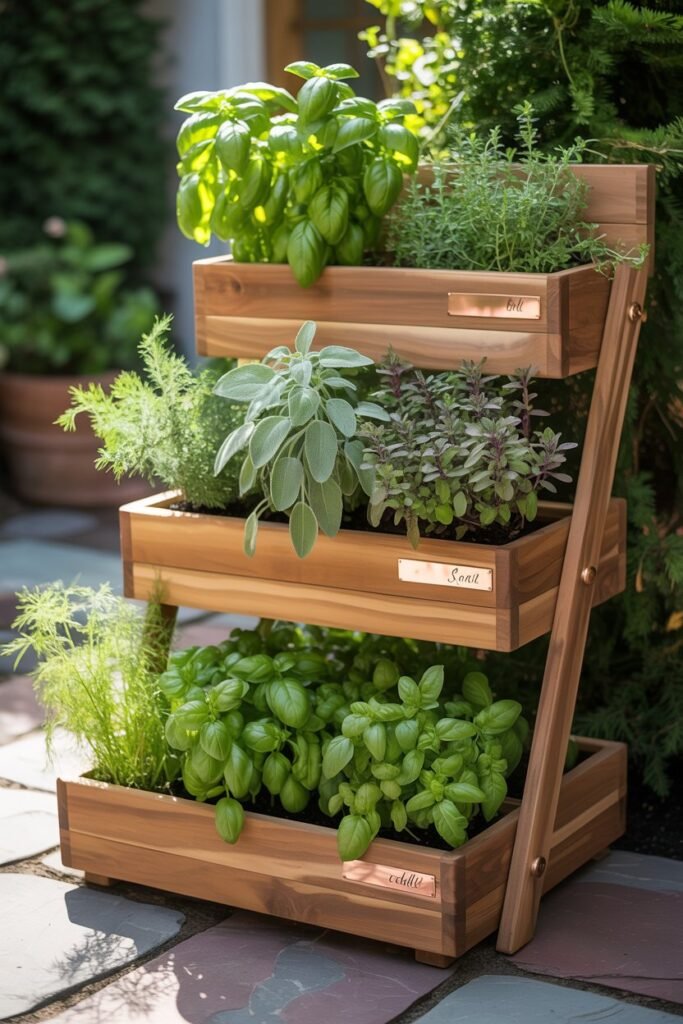
A tiered herb garden is more than just attractive. It solves many common gardening problems.
It Saves Space
This is one of the biggest reasons people choose tiered gardens. If you only have a patio corner or balcony wall, stacking herbs in levels allows you to grow more in less room.
It Makes Gardening Easier
Raised tiers mean less bending, kneeling, and crouching. Harvesting herbs becomes faster and more comfortable.
It Looks Beautiful
A tiered herb garden can become a decorative feature in your yard. It can feel rustic, modern, farmhouse-inspired, cottage-style, or sleek and minimal depending on how you build it.
It Improves Drainage
Most herbs dislike wet roots. Tiered planters often drain better than flat beds, helping reduce soggy soil and root rot.
It Keeps Herbs Close to the Kitchen
When herbs are near your back door or patio, you are more likely to use them often.
Best Location for Your Tiered Herb Garden
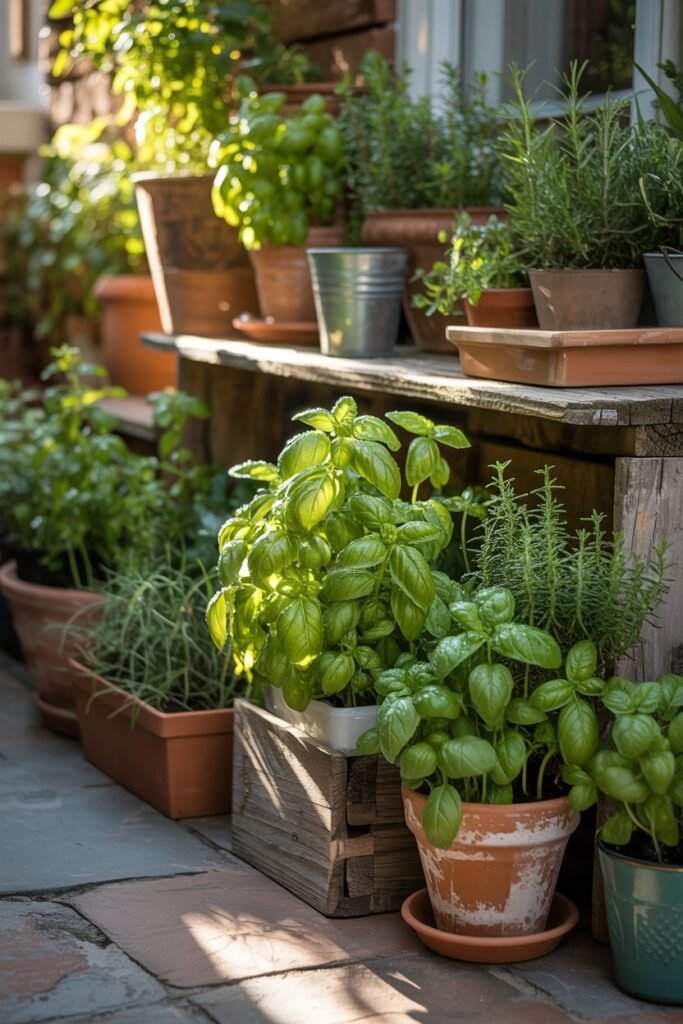
Before building, choose the right place.
Most herbs love sunlight. Without enough light, they become weak, leggy, and less flavorful.
Ideal Light Conditions
Most herbs prefer:
- 6 to 8 hours of sunlight daily
Good full-sun herbs:
- Basil
- Rosemary
- Thyme
- Oregano
- Sage
- Lavender
Herbs that tolerate some shade:
- Mint
- Parsley
- Cilantro
- Chives
Best Spots Around the Home
- Patio corners
- Balcony rail areas
- Beside a sunny kitchen door
- Deck edges
- Fence lines with sun exposure
- Rooftops with containers
Avoid These Areas
- Deep shade
- Low spots that collect water
- Wind tunnels between buildings
- Under leaking gutters
- Areas difficult to reach with water
Popular DIY Tiered Herb Garden Designs
Choosing the right design depends on your space, style, and budget.
1. Wooden Stacked Planter Boxes
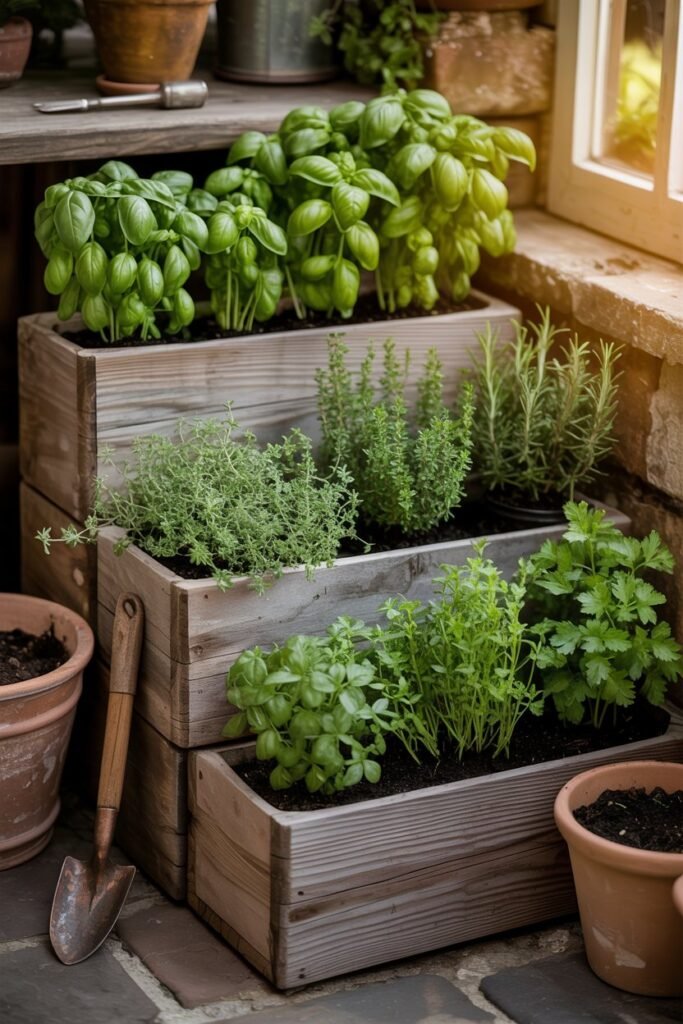
This is one of the most popular designs. You build or buy three wooden boxes in different sizes and stack them in layers.
Why People Love It
- Strong and durable
- Great for patios or yards
- Easy to customize size
- Beautiful natural wood look
Best For
- Beginners
- Medium outdoor spaces
- Rustic or farmhouse homes
Style Tip
Stain the wood dark walnut for a rich look or paint it white for cottage charm.
2. Ladder Herb Garden
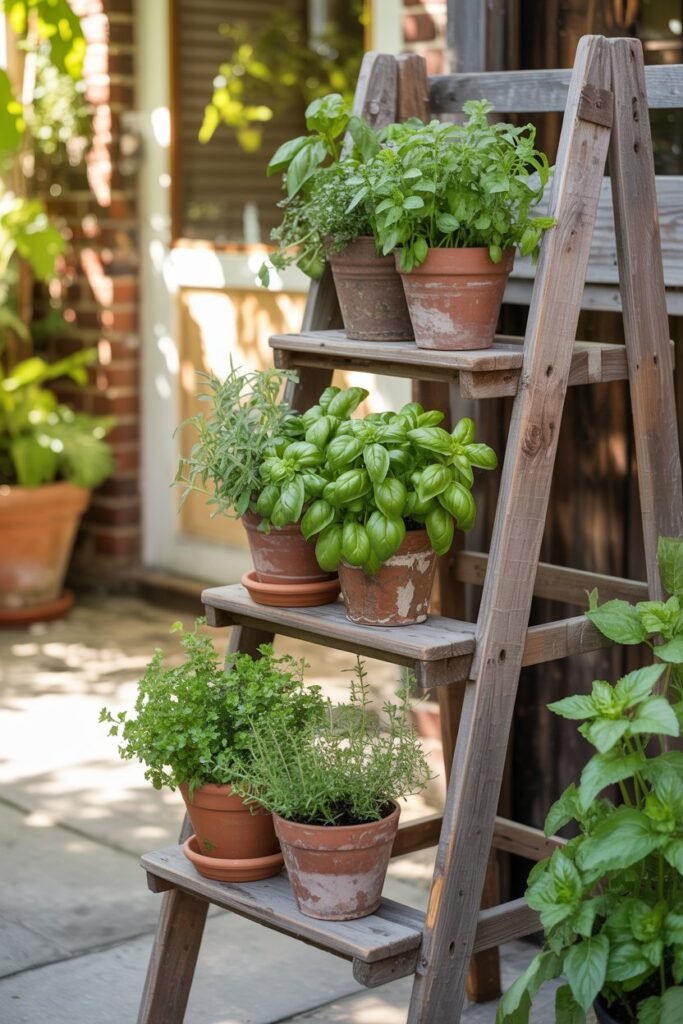
Use an old wooden ladder or build a simple ladder shelf. Place pots on each step.
Why It Works
- Fast to set up
- Great vertical growing system
- Easy to rearrange pots
- Decorative and charming
Best For
- Small patios
- Apartment balconies
- Decorative spaces
Style Tip
Paint an old ladder soft green, white, or black for a stylish focal point.
3. Stacked Pot Pyramid
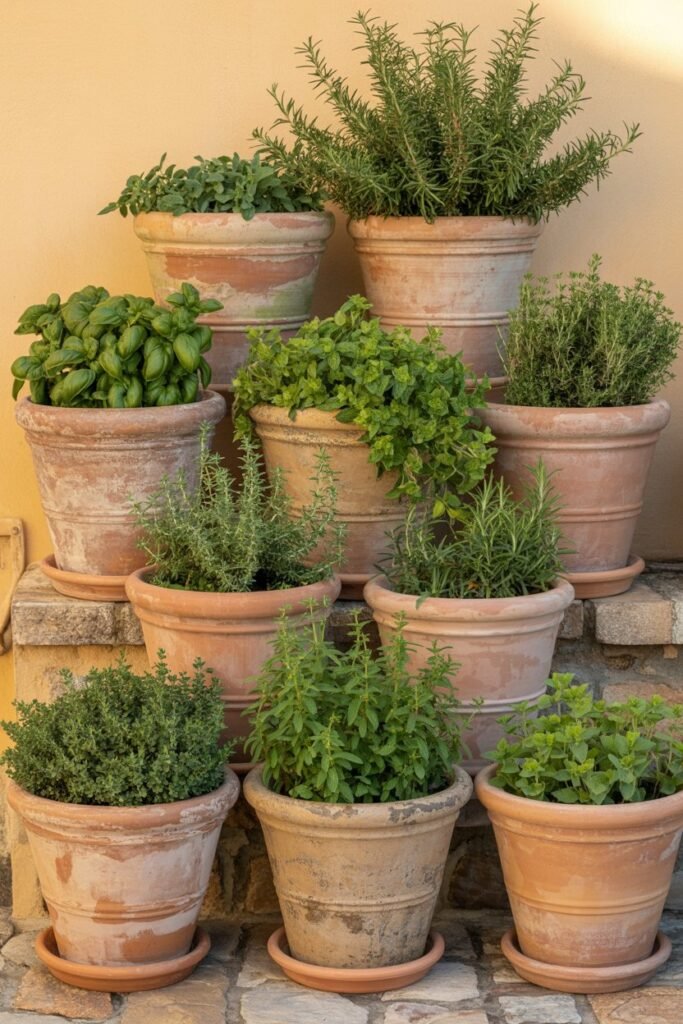
Use large pots stacked from biggest to smallest with support in the center.
Benefits
- Very budget friendly
- Minimal tools needed
- Attractive centerpiece look
- Great for herbs with trailing growth
Best For
- Tiny spaces
- Front porch decor
- Beginner gardeners
Style Tip
Use terracotta pots for Mediterranean charm.
4. Pallet Tiered Garden
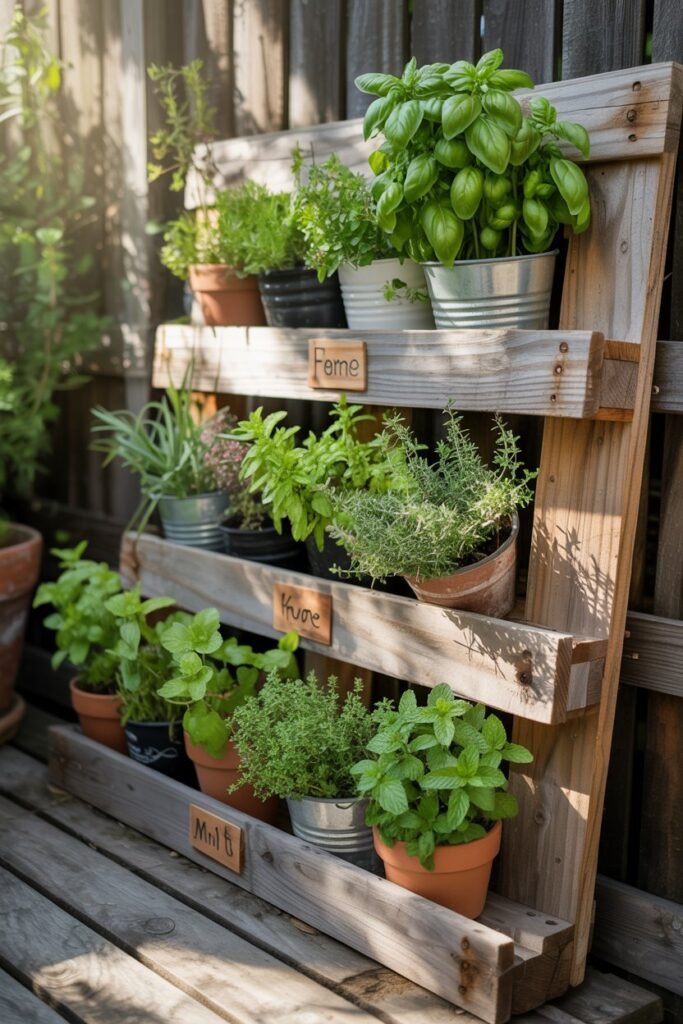
Repurpose a wooden pallet into shelves or planting pockets.
Why It Is Popular
- Low cost or free
- Eco-friendly
- Rustic character
- Excellent for wall spaces
Best For
- DIY lovers
- Budget gardeners
- Fence-mounted gardens
Important Note
Always use safe untreated pallets for edible plants.
5. Corner Pyramid Planter
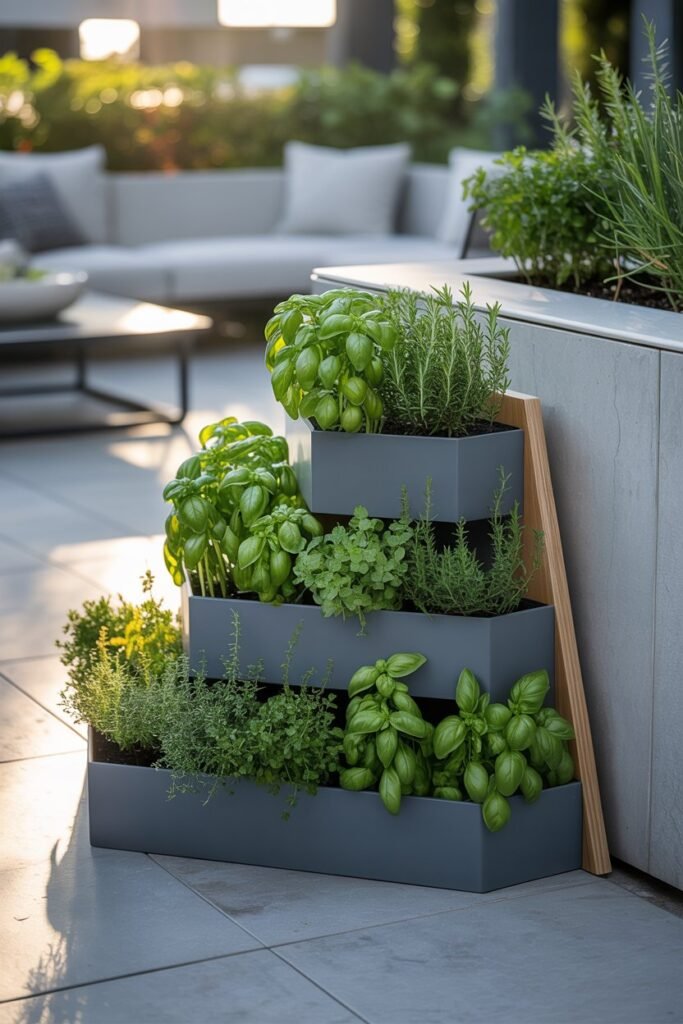
A triangular design that fits neatly into corners.
Benefits
- Uses wasted space
- Great for patios
- Looks neat and custom built
Best For
- Small yards
- Patio corners
- Compact outdoor areas
Materials You Will Need
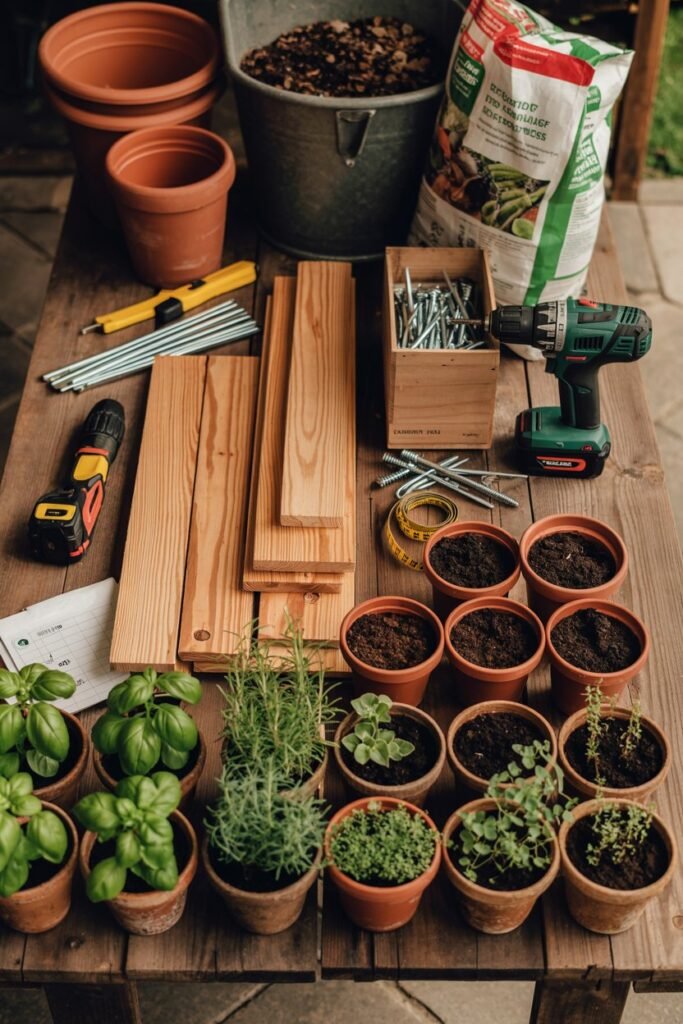
Your material list depends on design, but most builds need:
Wood Projects
- Cedar boards
- Pine boards
- Screws
- Drill
- Sandpaper
- Exterior wood glue
Container Projects
- Pots
- Planters
- Grow bags
Soil Supplies
- Potting mix
- Compost
- Perlite or coarse sand
Extras
- Plant labels
- Landscape fabric
- Gravel
- Paint or stain
Step-by-Step: Build a 3-Level Wooden Tiered Herb Garden
This is one of the easiest and most practical designs.
Materials Needed
- Large planter box
- Medium planter box
- Small planter box
- Drill
- Screws
- Potting soil
- Compost
- Herbs
Example Sizes
- Bottom tier: 36 inches wide
- Middle tier: 24 inches wide
- Top tier: 12 inches wide
Step 1: Measure and Plan the Layout
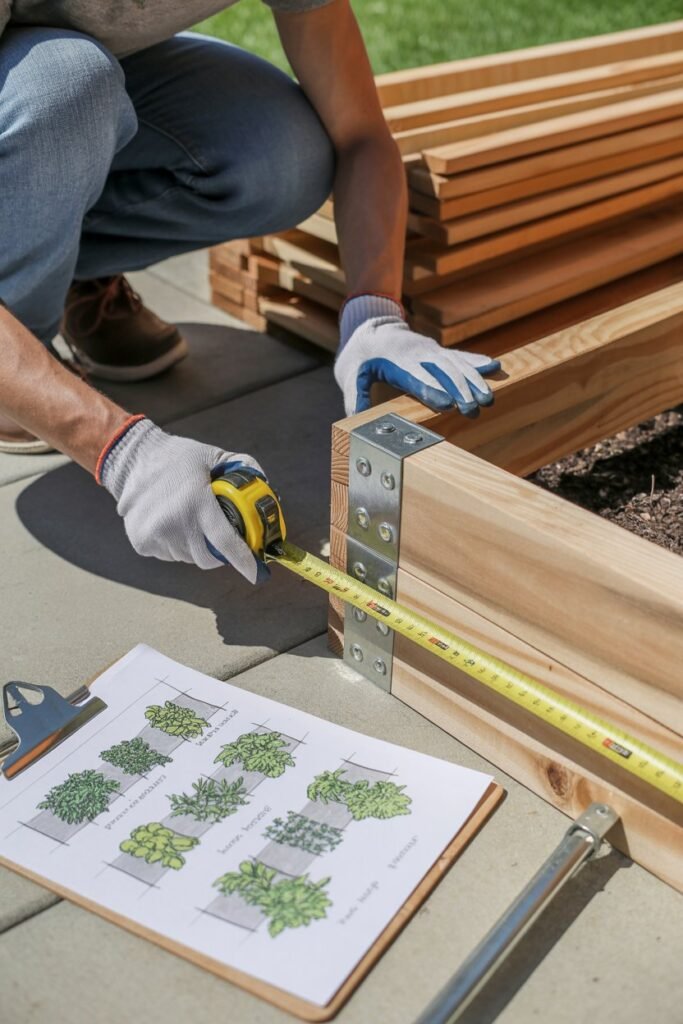
Before cutting or buying anything, decide where the planter will sit.
Measure:
- Width of space
- Depth available
- Sunlight direction
- Walking space around it
Draw a simple sketch.
This helps prevent building something too large or awkward.
Helpful Tip
Leave room behind the planter if it will sit near a wall. You may need access for cleaning or watering.
Step 2: Cut or Purchase the Boxes
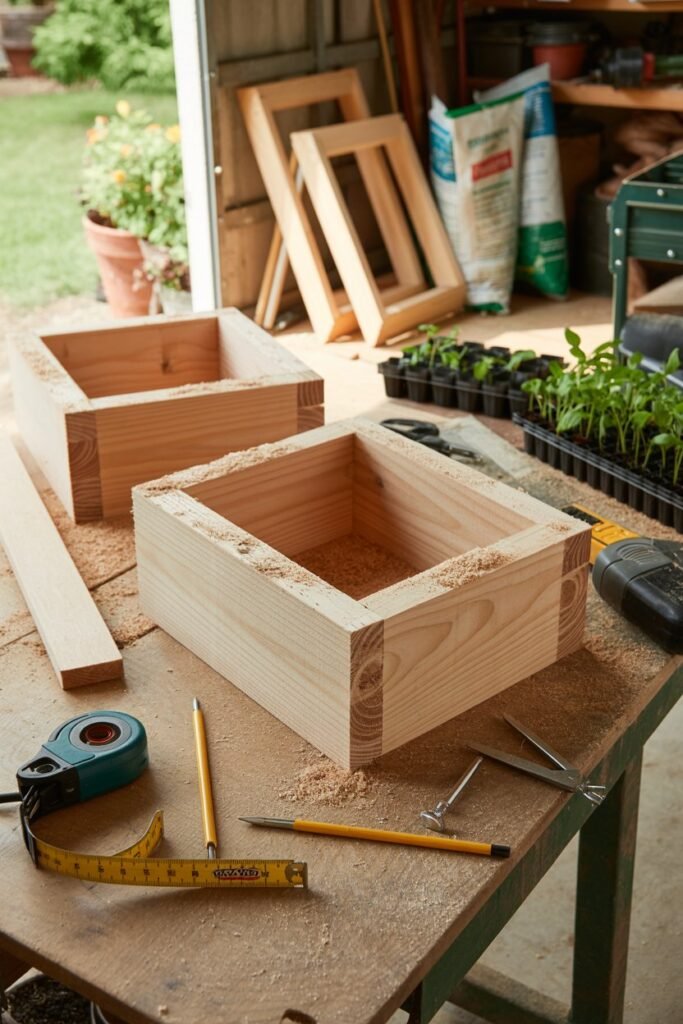
You can either buy ready-made planter boxes or build your own frames.
If building:
Use wood boards to create square or rectangular boxes around 8 to 10 inches deep.
This depth works well for most herbs.
Important Details
- Sand rough edges
- Use outdoor screws
- Pre-drill holes to prevent splitting wood
Why Depth Matters
Shallow boxes dry too quickly. Very deep boxes waste soil and add weight.
Step 3: Add Drainage Holes
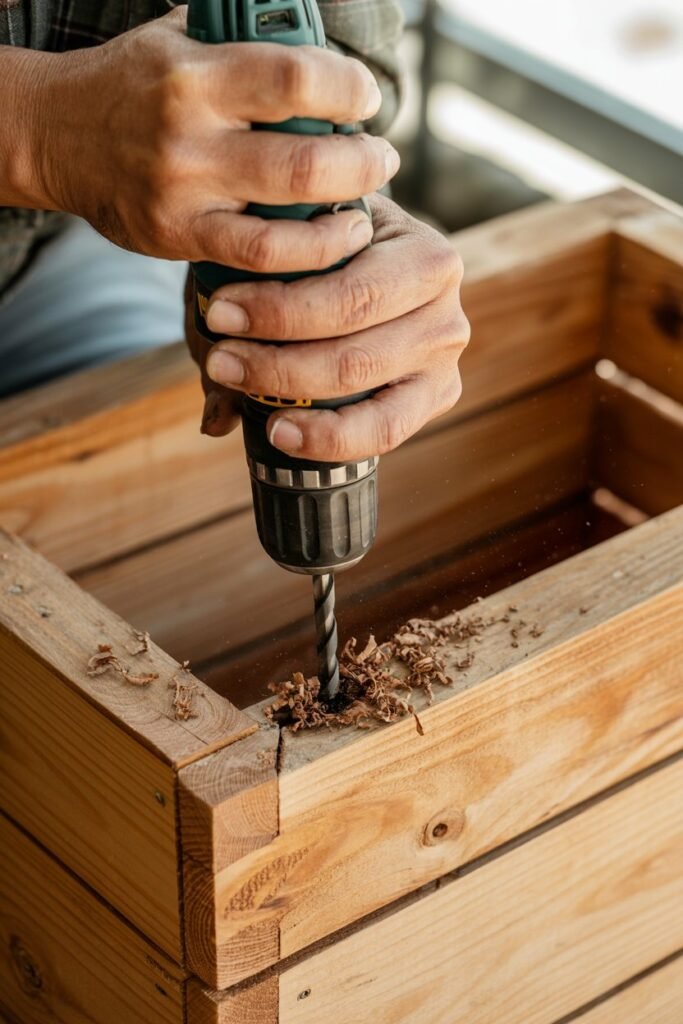
Drainage is essential for herbs.
Drill holes in the bottom of each box if they are not already present.
Good Rule
Add several holes spaced evenly.
Why This Matters
Without drainage:
- Roots stay wet
- Soil sours
- Plants yellow and decline
Step 4: Prepare the Ground
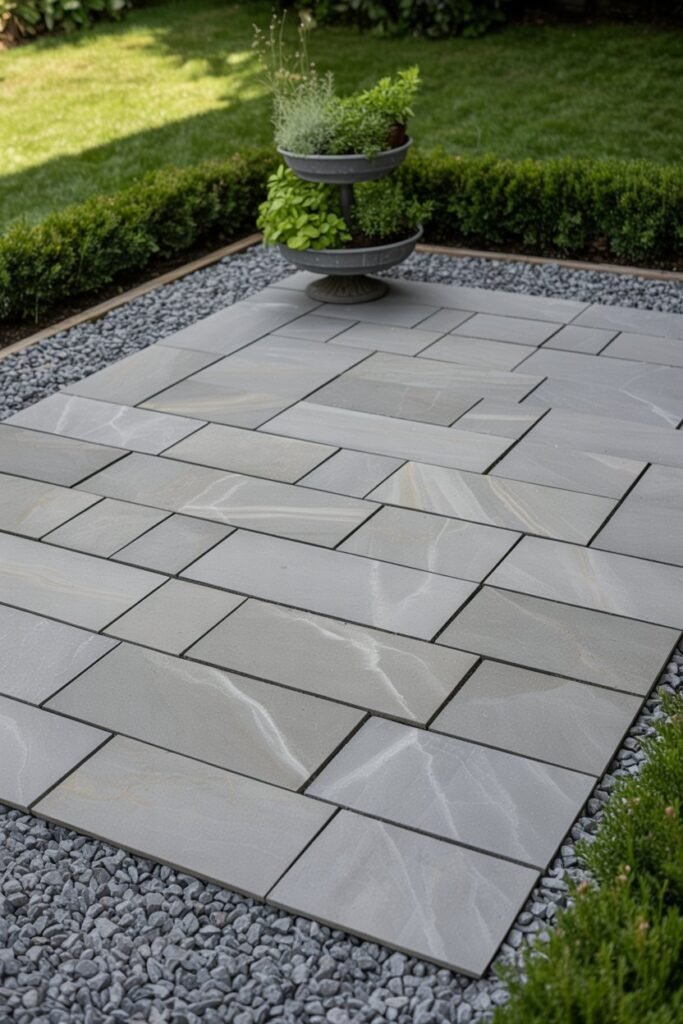
Choose a level surface before stacking.
Good surfaces:
- Patio stone
- Gravel pad
- Deck floor
- Firm compacted soil
Why Level Ground Matters
A leaning planter can shift over time, especially after watering when soil becomes heavy.
Use a level if possible.
Step 5: Position the Bottom Tier
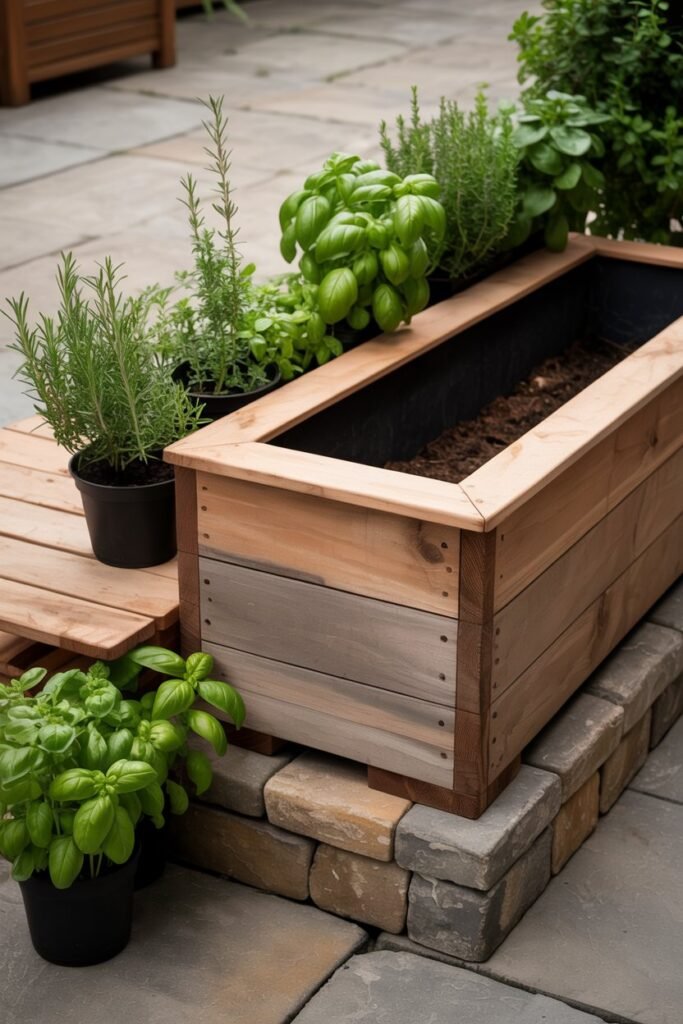
Place the largest box first.
Fill it halfway with soil before adding upper boxes. This adds stability.
Check:
- Is it centered?
- Is it level?
- Is it sturdy?
This base supports everything above.
Step 6: Install the Middle Tier
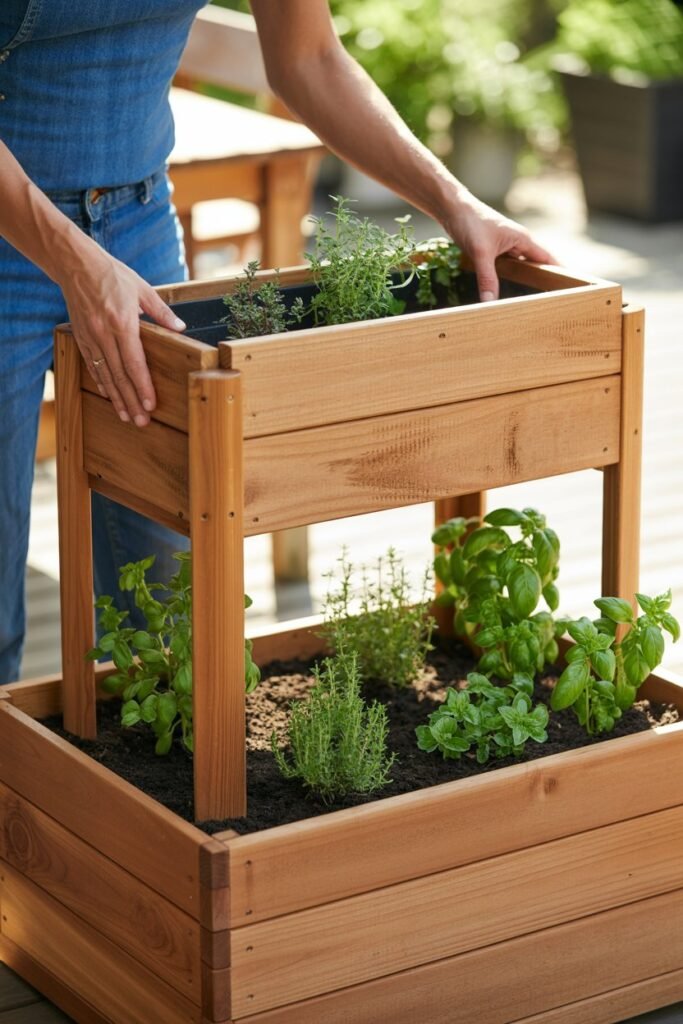
Set the medium box slightly toward the back of the bottom box.
This leaves front planting space exposed.
Why Offset Placement Works
It creates visible planting zones and better access to herbs.
If centered directly, lower plants may be shaded too much.
Step 7: Add the Top Tier
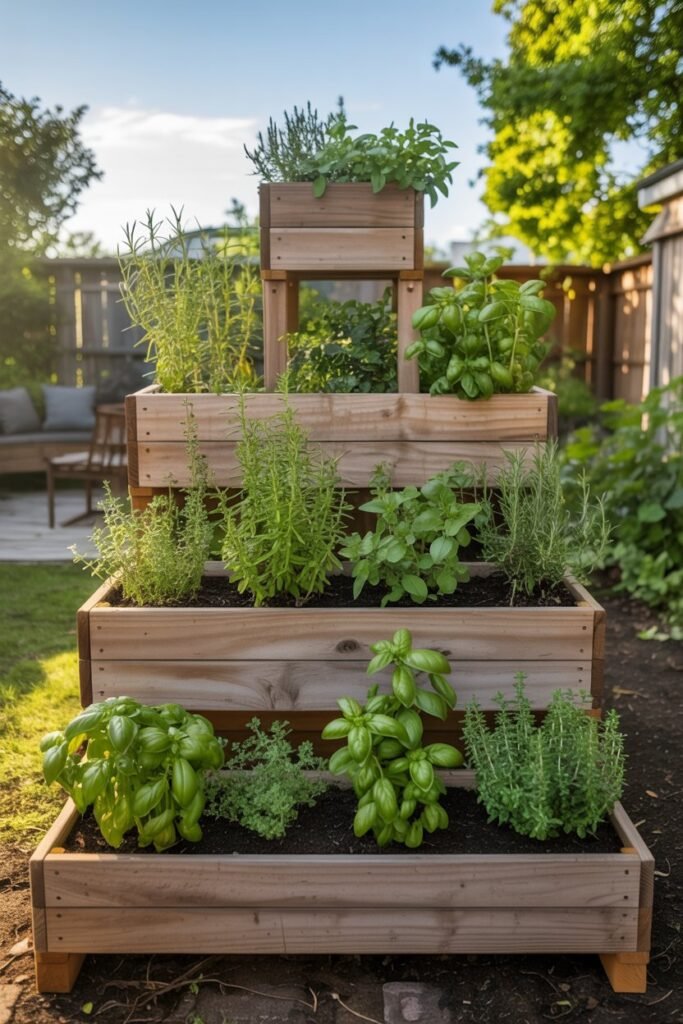
Place the smallest planter centered on top of the middle tier.
Check stability carefully.
If your area gets wind, secure boxes together using brackets or screws.
Step 8: Line the Planters (Optional)
If boxes have gaps or open bottoms, line with landscape fabric.
Benefits:
- Holds soil in place
- Improves drainage
- Helps wood last longer
Do not use plastic without holes.
Step 9: Fill With Quality Soil
Use a loose, rich but well-draining mix.
Great Herb Soil Blend
- 70% potting mix
- 20% compost
- 10% perlite or coarse sand
Why This Mix Works
- Holds moisture without staying wet
- Feeds plants gently
- Allows air to roots
Step 10: Plant Your Herbs Thoughtfully
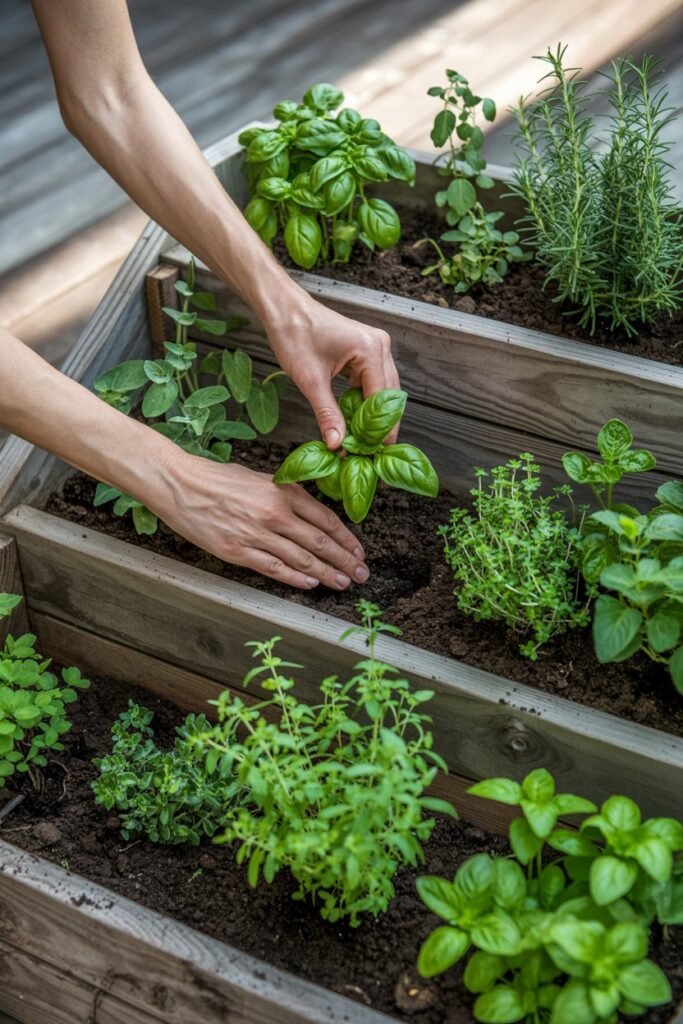
Arrange herbs based on size and water needs.
Top Tier (Sunniest / Fastest Drying)
- Rosemary
- Thyme
- Oregano
- Sage
Middle Tier
- Basil
- Parsley
- Chives
- Dill
Bottom Tier (Cooler / Slightly Moist)
- Mint
- Cilantro
- Lemon balm
Spacing Tip
Do not overcrowd. Herbs need airflow.
Step 11: Water Thoroughly
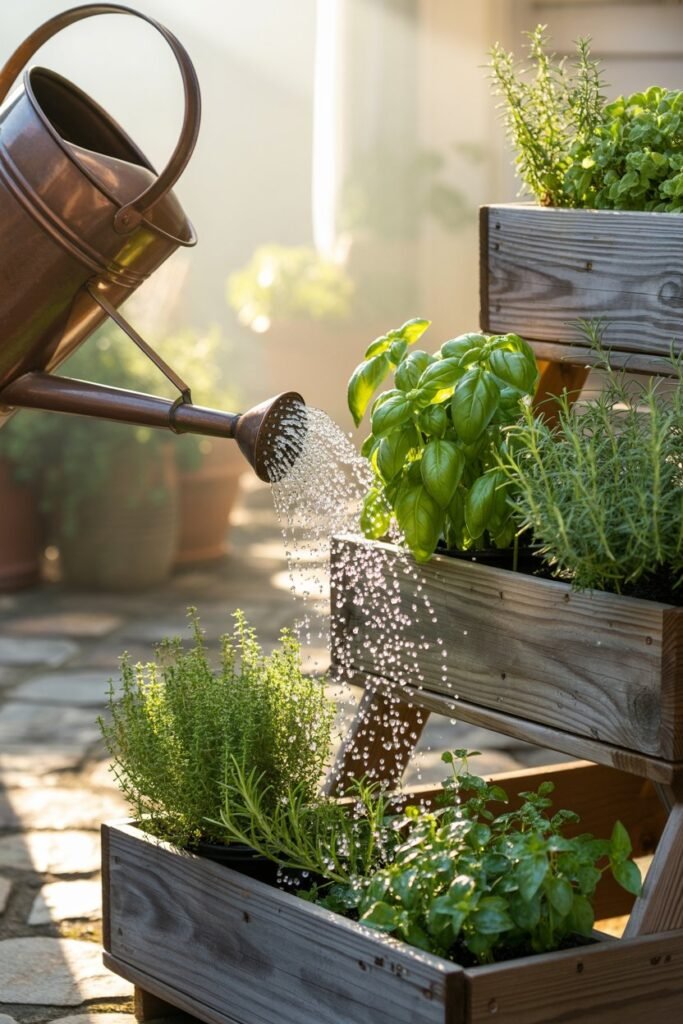
After planting, water deeply until excess drains out.
This settles roots and removes dry pockets.
Then allow the top inch of soil to dry before watering again.
Best Herbs for Beginners
If this is your first herb garden, start with easy growers.
Basil
Fast growing, productive, loves warmth.
Mint
Very vigorous and forgiving.
Chives
Reliable and returns each year in many climates.
Parsley
Useful in many dishes and easy to grow.
Thyme
Low maintenance and drought tolerant.
Oregano
Hardy, flavorful, productive.
How to Care for a Tiered Herb Garden
Watering
Top tiers dry faster than lower ones.
Check soil often during hot weather.
Water in morning when possible.
Feeding
Use light fertilizer only.
Good options:
- Compost
- Seaweed feed
- Organic slow release fertilizer
Too much fertilizer can reduce herb flavor.
Pruning
Harvest often.
Regular cutting encourages bushy growth.
Sunlight Rotation
If some tiers shade others, rotate pots or trim larger plants.
Common Problems and Solutions
Yellow Leaves
Usually caused by overwatering.
Fix:
- Reduce watering
- Improve drainage
Weak Leggy Growth
Usually low light.
Fix:
- Move to sunnier spot
Mint Taking Over
Keep mint in its own pot or section.
Soil Drying Too Fast
Fix:
- Add mulch
- Use larger containers
- Water more deeply
Seasonal Herb Garden Tips
Spring
- Plant fresh herbs
- Refresh soil
- Add compost
Summer
- Harvest often
- Water more frequently
- Watch for heat stress
Fall
- Preserve herbs by drying or freezing
- Plant parsley or cilantro in cooler weather
Winter
- Move portable planters near shelter
- Bring tender herbs indoors if needed
Ways to Make It Beautiful
Your herb garden can be useful and lovely.
Add:
- Wooden labels
- Solar lights
- Decorative stones
- Matching pots
- Painted boxes
- Small garden signs
Style Ideas
Cottage Style
White painted wood, lavender, soft colors.
Rustic Style
Natural wood, terracotta, vintage pots.
Modern Style
Black containers, straight lines, clean layout.
Mediterranean Style
Terracotta pots, rosemary, thyme, oregano.
Why People Love Tiered Herb Gardens
Once people build one, they often wonder why they waited so long.
Fresh herbs become part of daily cooking. Watering takes only minutes. The garden feels manageable instead of overwhelming. Even a small outdoor area becomes productive and beautiful.
A simple corner can become your favorite part of the home.
Final Thoughts
A DIY tiered herb garden is one of the smartest ways to grow food in a small space. It combines beauty, convenience, and practical harvests in one simple project.
You do not need a large yard or expensive tools. With a few boxes, pots, or recycled materials, you can build a layered herb garden that gives you fresh basil, rosemary, thyme, parsley, mint, and more for months.
Start with a design that fits your space. Keep it simple. Choose herbs you actually cook with. Learn as you grow.
Soon you will be stepping outside, clipping fresh herbs, and enjoying the kind of everyday luxury that only home gardening can provide.
