
There’s a quiet kind of magic in watching plants grow upward stretching toward the sun, weaving life into spaces that once felt empty.
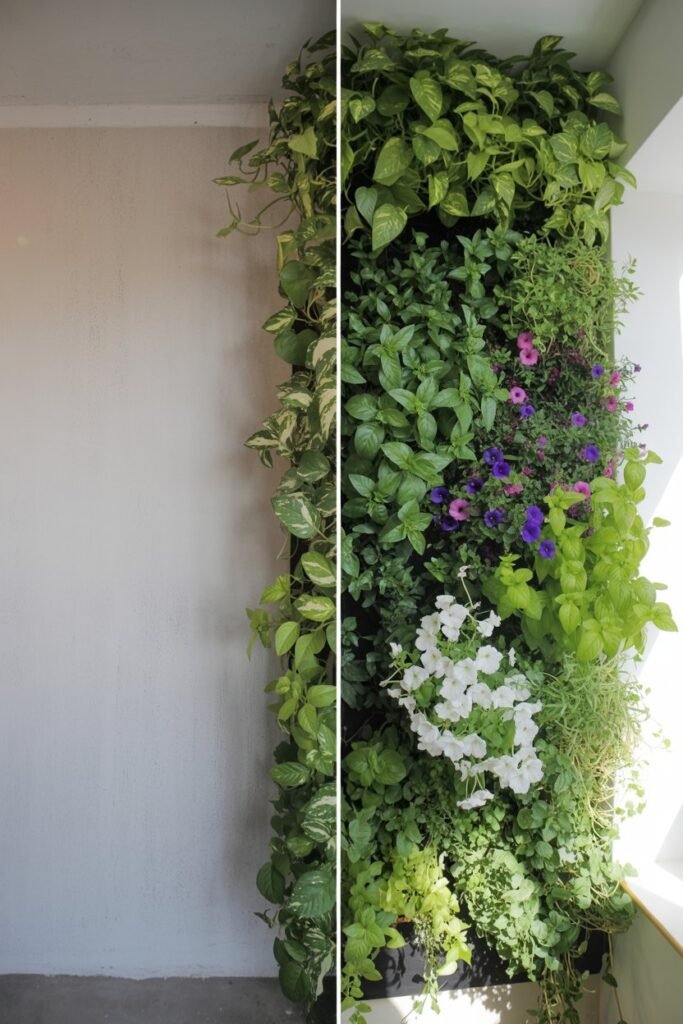
A vertical garden wall isn’t just a clever solution for small spaces; it’s a living piece of art, a daily companion, and a gentle reminder that growth doesn’t always need wide ground it simply needs the right direction.
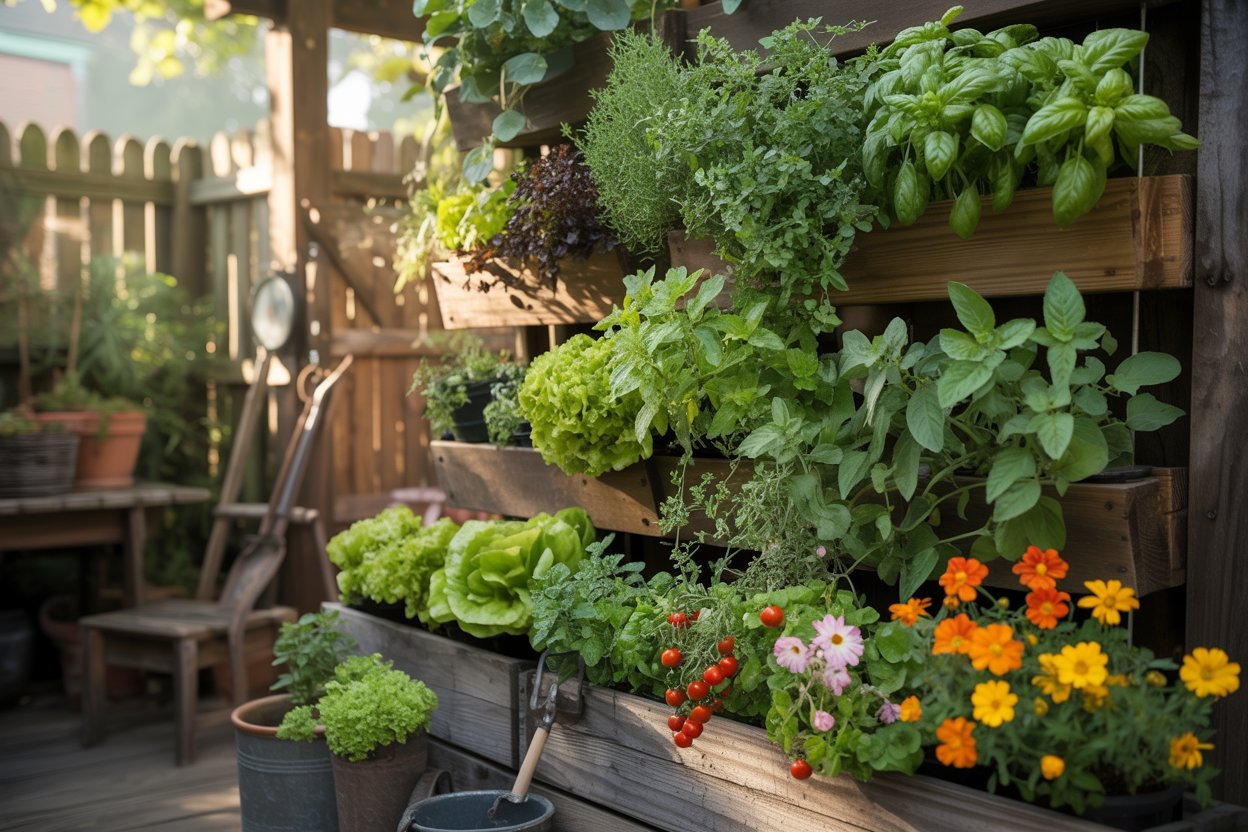
Whether you’re working with a compact backyard, a balcony, a plain fence, or even a bare exterior wall, creating your own outdoor vertical garden can completely transform your space.
And the best part? You don’t need to be an expert to build one you just need patience, intention, and a willingness to get your hands in the soil.
In this guide, I’ll walk you through every detail step by step so you can confidently design, build, plant, and care for a thriving vertical garden wall that will reward you season after season.
Why a Vertical Garden Wall Is Worth It
Before we begin building, it helps to understand why this project is so beloved among gardeners.
A vertical garden wall allows you to:
- Grow more plants in limited space
- Turn unused walls into productive areas
- Improve air circulation around plants
- Reduce certain soil-borne pests
- Harvest without bending or kneeling
- Create a beautiful, calming outdoor feature
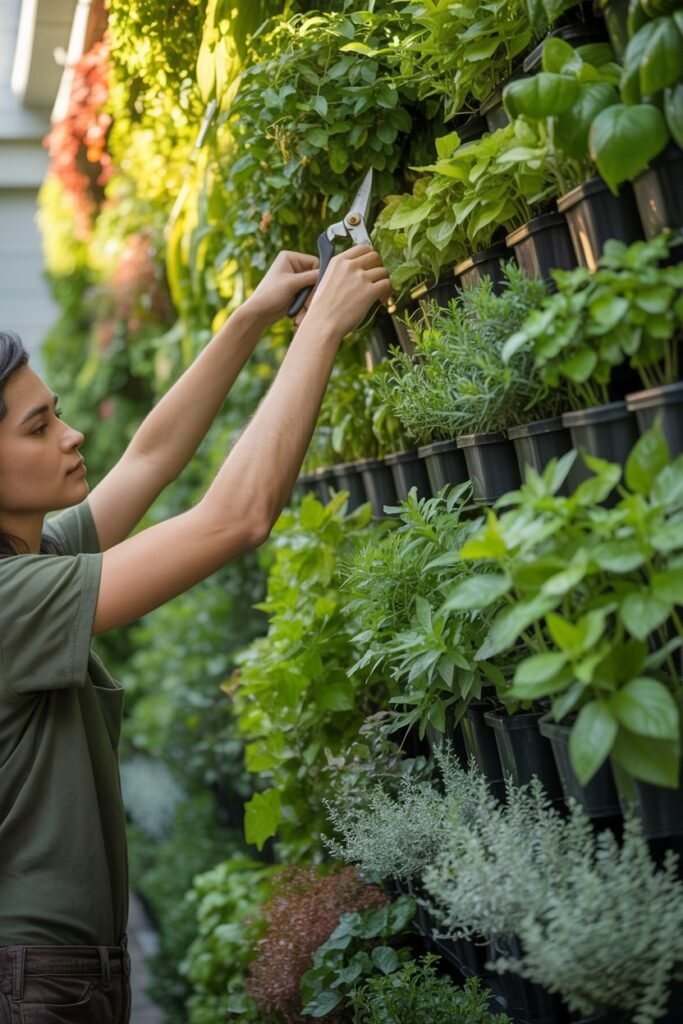
More than anything, it invites you to interact with your garden daily. When plants are at eye level, you notice them more. You care for them more. And they respond in kind.
Step 1: Choosing the Right Location
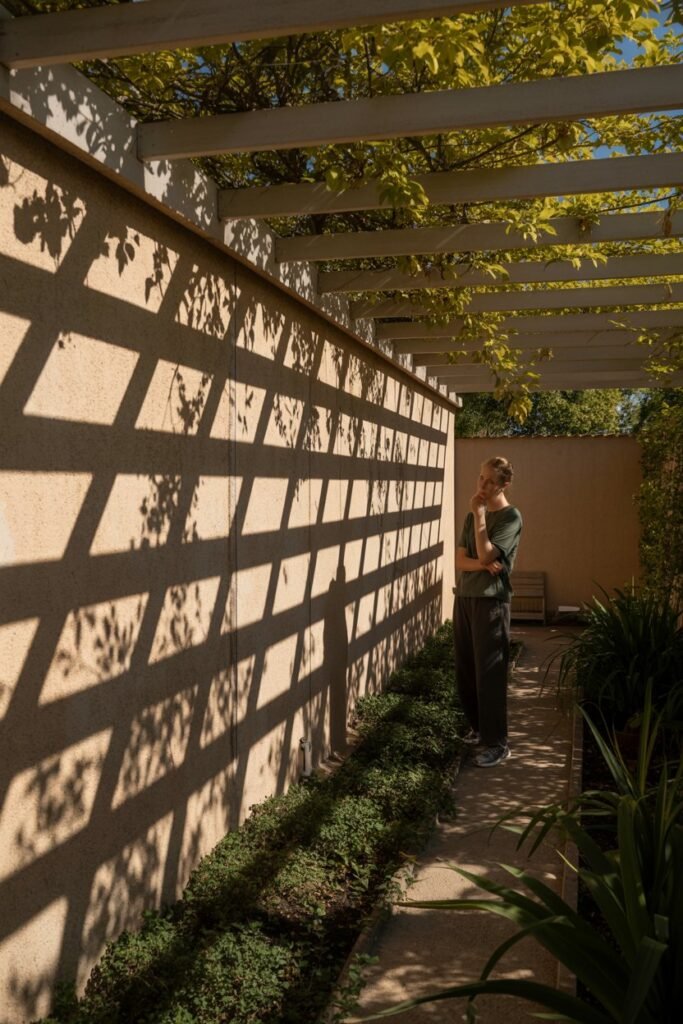
This is one of the most important decisions you’ll make and it’s often rushed. Take your time here.
Sunlight: The Lifeblood of Your Garden
Most edible plants especially vegetables and herbs need at least 6 to 8 hours of sunlight daily. Spend a day observing your space:
- Where does the sun rise and fall?
- Which areas stay shaded the longest?
- Are there trees or buildings blocking light?
If your wall gets only partial sun, don’t worry you can still grow leafy greens and shade-tolerant plants.
Structural Strength
Remember, a vertical garden becomes heavy especially after watering. You’ll need:
- A strong wall, fence, or support frame
- Proper anchors or brackets
- Even weight distribution
If you’re unsure, it’s safer to build a freestanding structure.
Water Access
Vertical gardens dry out faster than traditional beds. Make sure:
- A hose or watering can is nearby
- You can easily reach the top of the wall
Drainage Considerations
Water will trickle down through the layers. Ensure:
- It won’t damage your wall
- There’s space below for drainage
- You can place a tray or gravel bed if needed
Wind Protection
Strong winds can dry out soil quickly and stress plants. If your space is exposed:
- Position your garden near a sheltered wall
- Use windbreaks like lattice panels
Gardener’s Tip:
Spend at least one full day observing your chosen spot before committing. It’s a small step that prevents big problems later.
Step 2: Choosing Your Vertical Garden Style
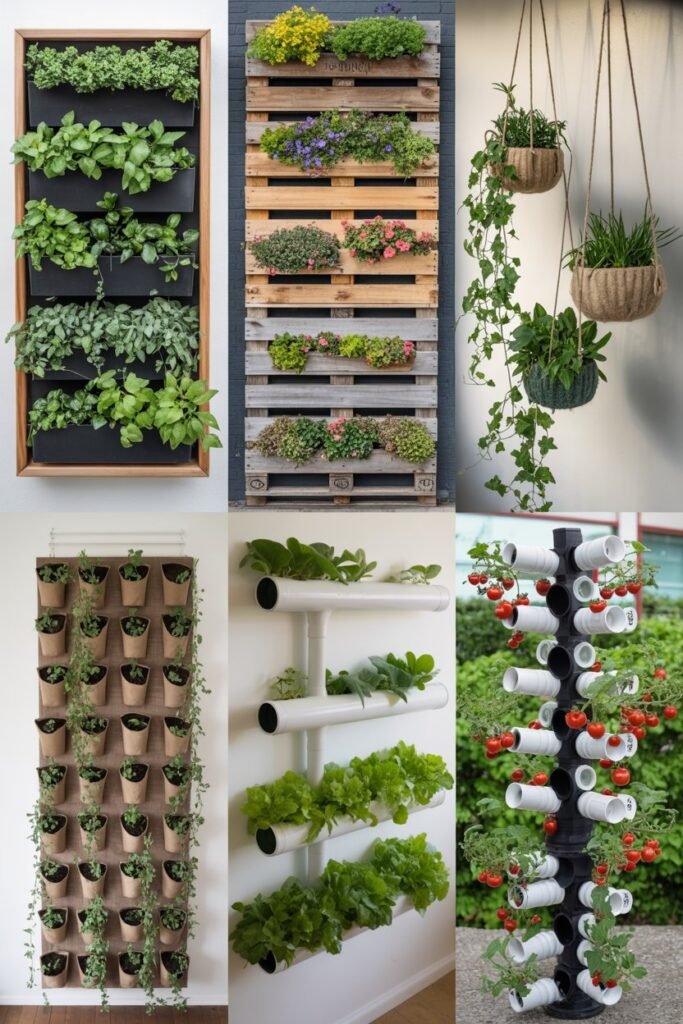
There are many ways to build a vertical garden, and each has its own charm.
Wooden Frame System (Recommended for Beginners)
- Sturdy and customizable
- Easy to build with basic tools
- Works for herbs, greens, and small vegetables
Pallet Garden
- Budget-friendly
- Rustic aesthetic
- Requires lining to hold soil
Pocket Planters
- Lightweight
- Easy to install
- Ideal for herbs and flowers
PVC Pipe Systems
- Modern and space-efficient
- Best for leafy greens
Recycled Container Gardens
- Creative and eco-friendly
- Uses bottles, cans, or buckets
For this guide, we’ll focus on a wooden frame vertical garden wall, as it offers the best balance of durability, simplicity, and flexibility.
Step 3: Complete Materials List
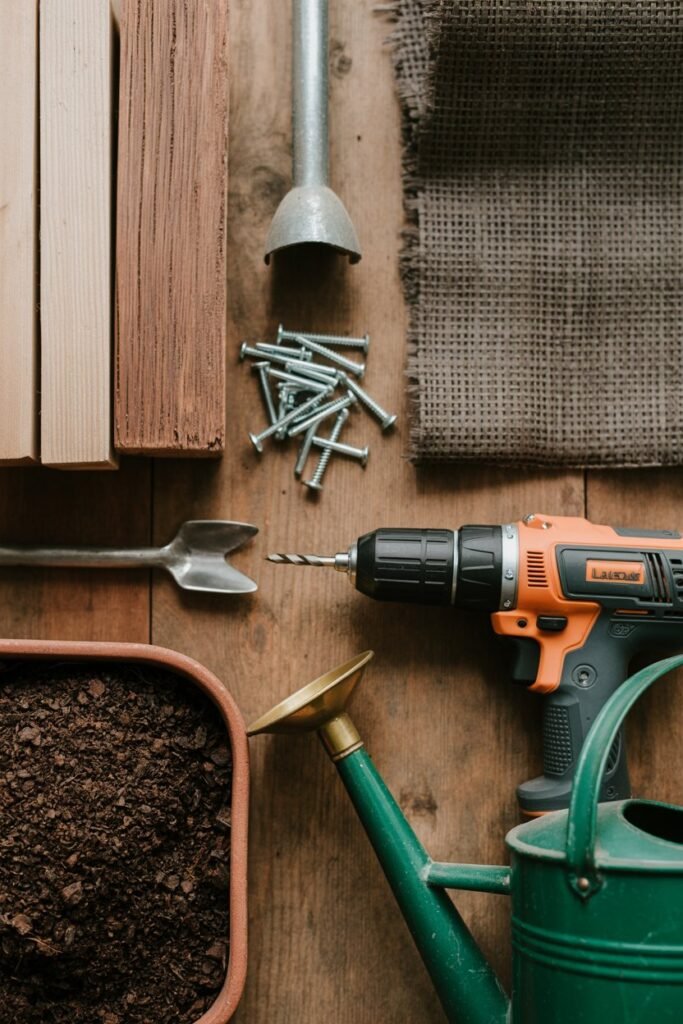
Let’s gather everything you’ll need before you begin.
Structural Materials
- Treated wooden planks or pallet
- Galvanized screws or nails (rust-resistant)
- Drill or screwdriver
- Hammer
- Saw (hand saw or electric)
- Measuring tape
- Spirit level
Planting Materials
- Landscape fabric (or geotextile fabric)
- Staple gun and staples
- High-quality potting mix
- Compost (for added nutrients)
- Perlite or sand (for drainage)
Mounting Supplies
- Wall anchors or heavy-duty brackets
- Hooks or mounting screws
Watering & Drainage
- Watering can or hose
- Drip irrigation kit (optional but highly recommended)
- Drainage tray or gravel base
Optional Finishing Touches
- Wood sealant or outdoor paint
- Plastic liner (extra moisture protection)
- Plant labels
- Decorative elements (trellis, edging)
Gardener’s Tip:
Always choose weather-resistant materials your garden will face sun, rain, and time.
Step 4: Building the Frame
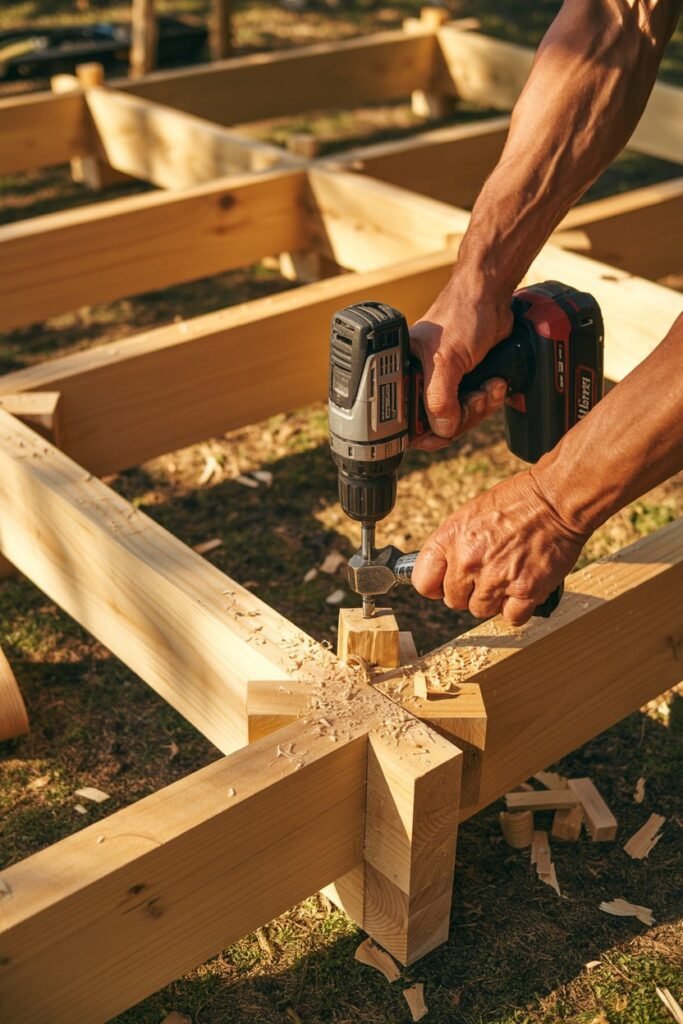
Now we begin shaping your garden.
Measure and Plan
Start with a manageable size:
- 4 feet tall × 3 feet wide is ideal for beginners
Mark your measurements clearly.
Assemble the Frame
- Create a rectangular outer frame
- Add horizontal supports every 12–18 inches
- Secure all joints tightly with screws
These supports will hold soil and plants in layers.
Attach the Backing
- Stretch landscape fabric across the back
- Staple it securely
- Use double layers for strength
Create Planting Sections
You can:
- Add wooden slats to form rows
- Or use layered fabric pockets
Reinforce the Structure
Before moving forward:
- Check all screws
- Shake the frame gently
- Fix any wobbling
Gardener’s Tip:
A strong foundation makes maintenance easy later. Never rush this step.
Step 5: Mounting Your Vertical Garden
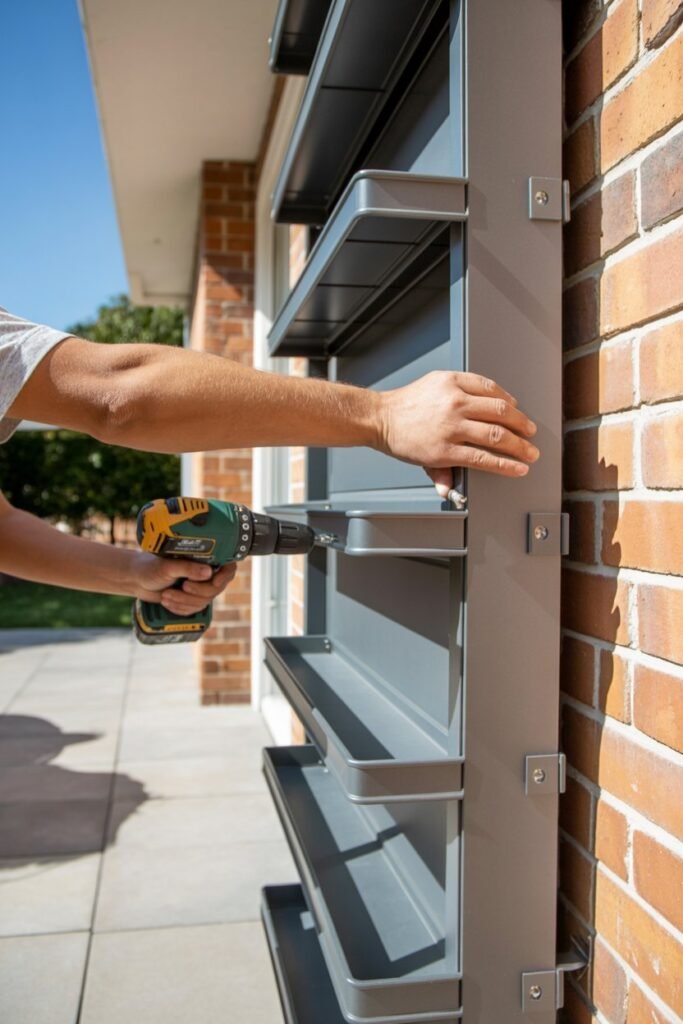
Now it’s time to position your structure.
Wall Mounting
- Use strong anchors or brackets
- Leave a small gap between wall and frame for airflow
- Ensure it sits level
Freestanding Option
Perfect if you’re renting or want flexibility:
- Add support legs
- Lean it securely against a wall
Fence Mounting
- Attach directly to a sturdy fence
- Reinforce if needed
Safety matters this structure will carry weight over time.
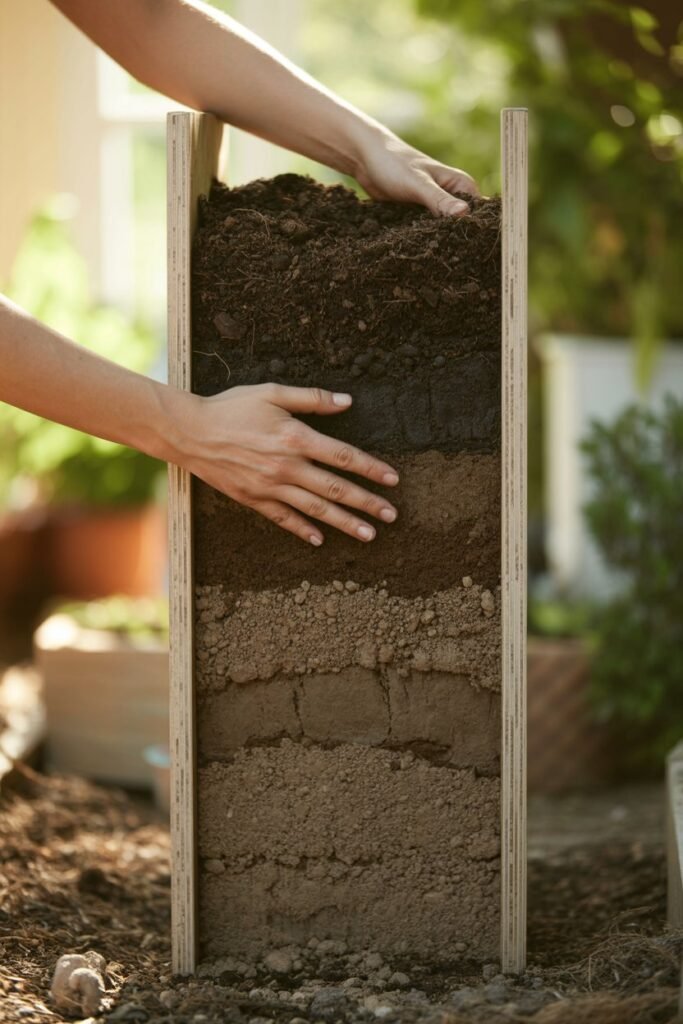
Step 6: Preparing the Perfect Soil Mix
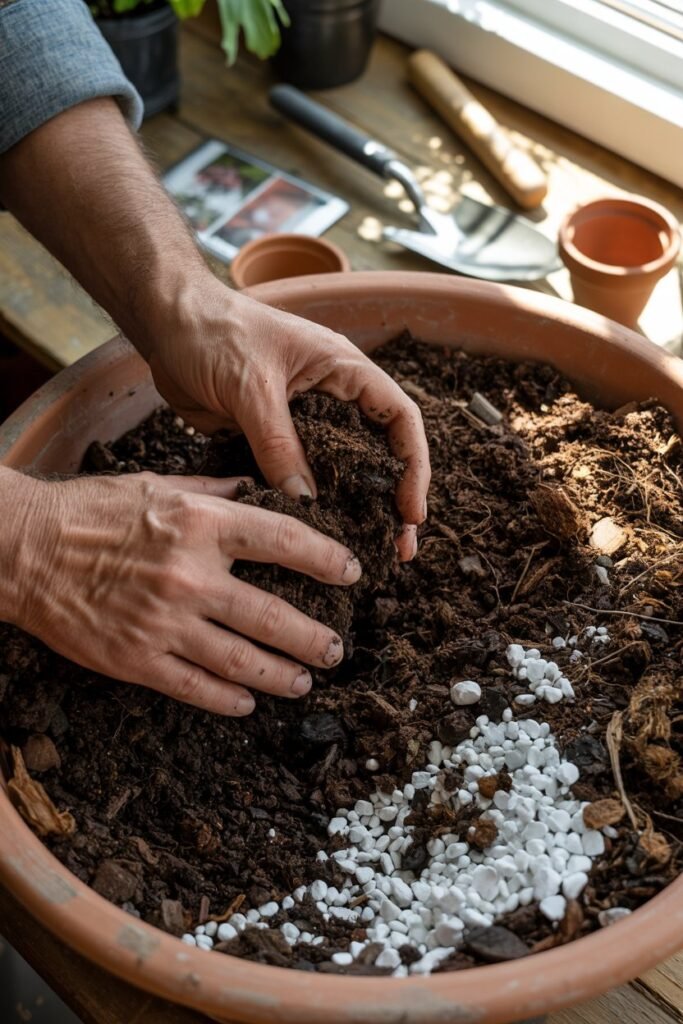
Soil is where everything begins.
Ideal Mix Ratio:
- 60% potting mix
- 30% compost
- 10% perlite or sand
This blend ensures:
- Good drainage
- Lightweight structure
- Adequate nutrients
Avoid garden soil it compacts and restricts root growth.
Step 7: Filling the Vertical Garden
This step requires patience.
How to Fill:
- Start from the bottom layer
- Add soil gradually
- Firm gently (not tightly)
- Lightly water as you go
This helps prevent air pockets and uneven settling.
Step 8: Choosing the Right Plants
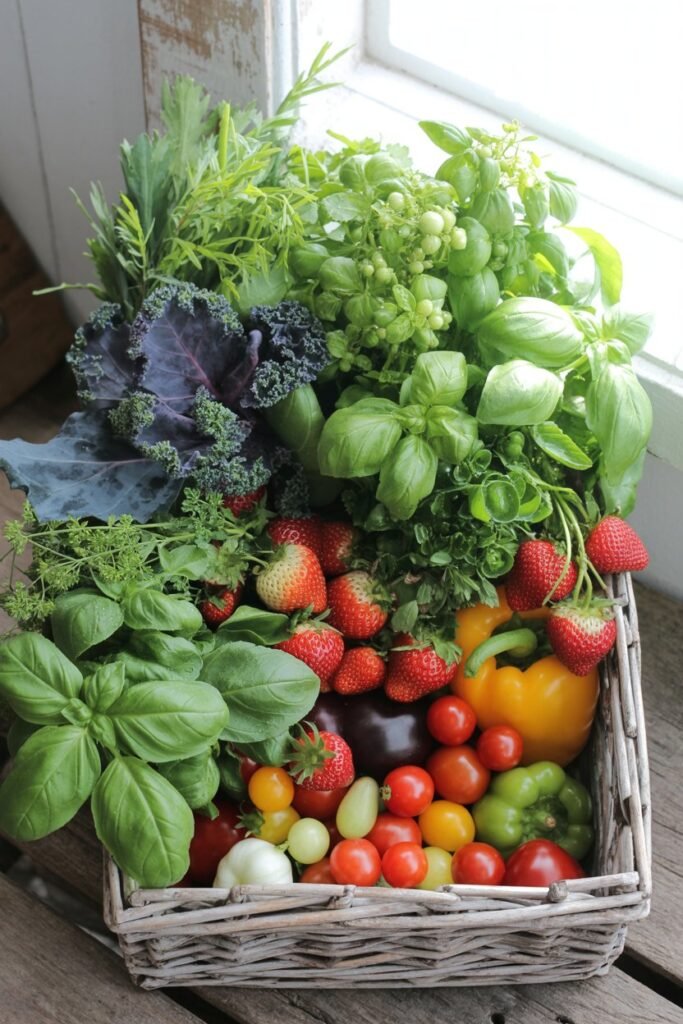
Not every plant thrives in a vertical setup choose wisely.
Best Choices
Herbs
- Basil
- Mint
- Parsley
- Thyme
- Oregano
Leafy Greens
- Lettuce
- Spinach
- Arugula
Compact Vegetables
- Cherry tomatoes
- Peppers
- Strawberries
Flowers
- Petunias
- Marigolds
- Ferns
Plants to Avoid
- Root crops (carrots, potatoes)
- Large, heavy plants
- Deep-rooted vegetables
Gardener’s Tip:
Start small. It’s better to grow a few plants well than many poorly.
Step 9: Planting Your Vertical Garden
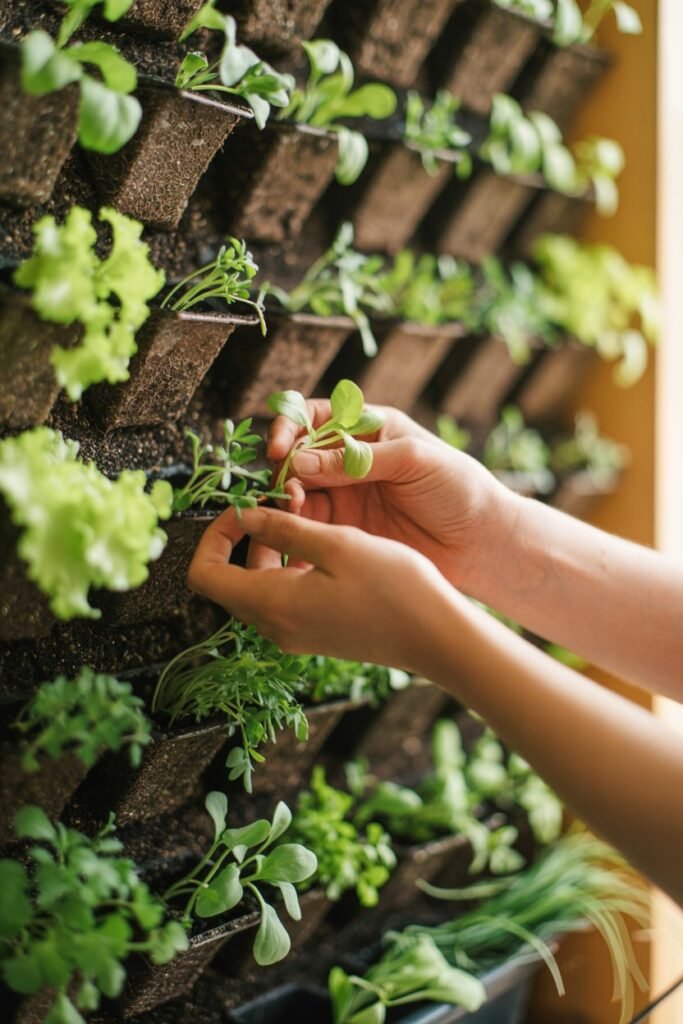
Now comes the rewarding part.
Step-by-Step:
- Cut small openings in the fabric
- Insert seedlings carefully
- Press soil gently around roots
- Water immediately
Spacing Matters
- Leave enough room for airflow
- Avoid overcrowding
Healthy spacing prevents disease and promotes growth.
Step 10: Watering Techniques for Vertical Gardens
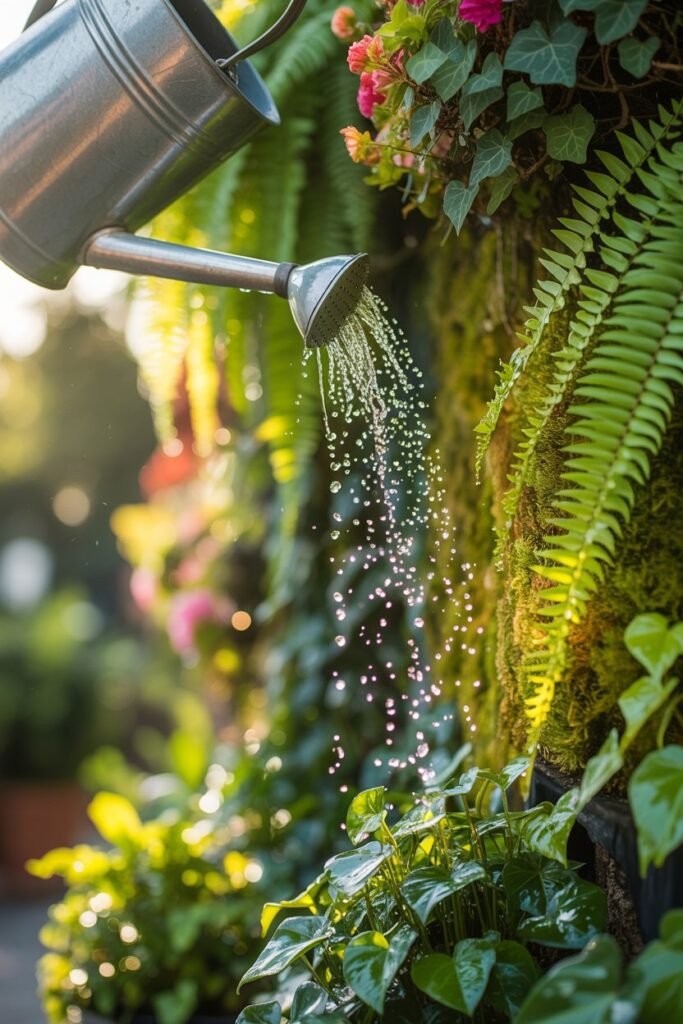
Watering is slightly different here.
Key Tips:
- Water from the top gravity will help distribute moisture
- Check soil daily in hot weather
- Water early in the morning
Signs of Trouble:
- Wilting = underwatering
- Yellowing = possible overwatering
Upgrade Option:
A drip irrigation system can:
- Save time
- Ensure consistent watering
- Improve plant health
Step 11: Feeding Your Plants
Because water flows downward, nutrients can wash away faster.
Feeding Routine:
- Liquid fertilizer every 2 weeks
- Compost top-up monthly
- Watch plant color and growth
Healthy plants will tell you when they’re happy.
Step 12: Maintenance and Ongoing Care
Consistency is key.
Weekly Care:
- Check moisture
- Remove dead leaves
- Inspect for pests
Monthly Care:
- Add nutrients
- Tighten loose parts
Seasonal Care:
- Replace old plants
- Rotate crops
Your garden will evolve embrace the process.
Step 13: Natural Pest Control

Vertical gardens reduce pests, but don’t eliminate them.
Common Pests:
- Aphids
- Whiteflies
- Spider mites
Natural Solutions:
- Neem oil spray
- Mild soap spray
- Companion planting
Healthy plants resist pests better.
Step 14: Designing a Beautiful Garden Wall
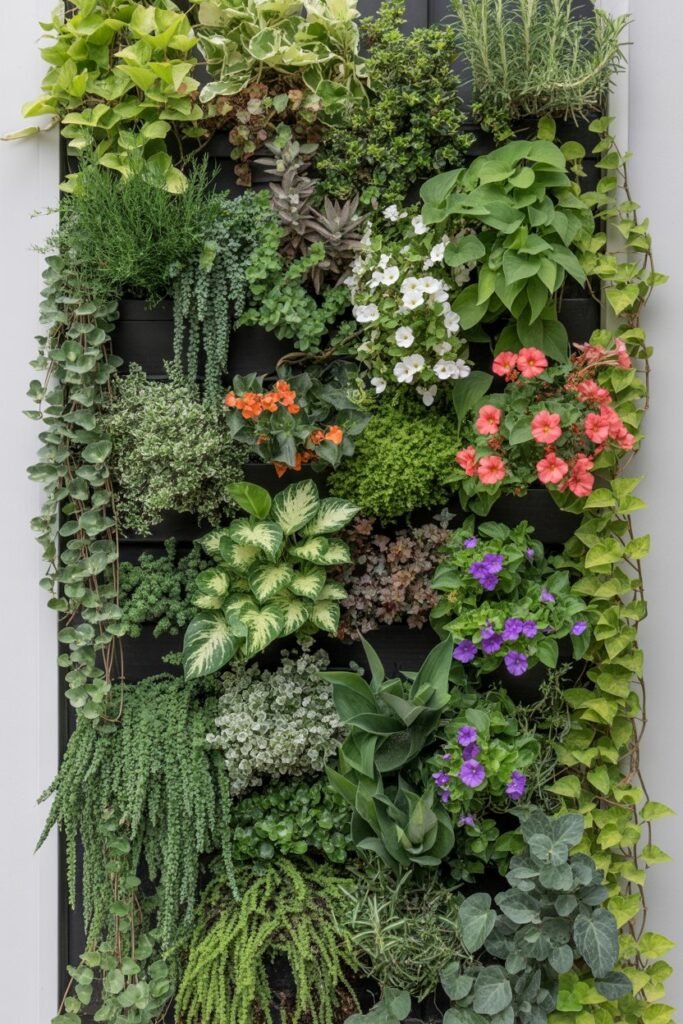
This is where your personality shines.
Design Ideas:
- Mix greens with colorful flowers
- Use trailing plants for cascading effects
- Alternate textures for depth
Layering Strategy:
- Top: sun-loving plants
- Middle: herbs
- Bottom: shade-tolerant greens
Think of your wall as both a garden and a canvas.
Common Mistakes to Avoid
Even experienced gardeners learn through mistakes.
- Using heavy soil
- Weak mounting
- Overcrowding
- Ignoring sunlight
- Inconsistent watering
Avoiding these will save you time and frustration.
Budget-Friendly Tips
You don’t need a large budget.
Save Money By:
- Using recycled wood
- Repurposing containers
- Starting plants from seeds
Gardening thrives on creativity not cost.
Expanding Your Garden
Once you start, it’s hard to stop.
Expansion Ideas:
- Add more panels
- Create themed sections
- Install irrigation
Your vertical garden can grow with you.
Final Thoughts: A Garden That Grows With You
Building a vertical garden wall is more than a DIY project—it’s a commitment to nurturing life in a creative way. It teaches patience, observation, and care.
Some days your plants will flourish. Other days, they’ll struggle. But every moment spent tending them brings you closer to the rhythm of growth.
And when your wall begins to fill out—green, vibrant, and alive—you’ll realize something beautiful:
You didn’t just build a garden.
You created a space that grows alongside you.
