
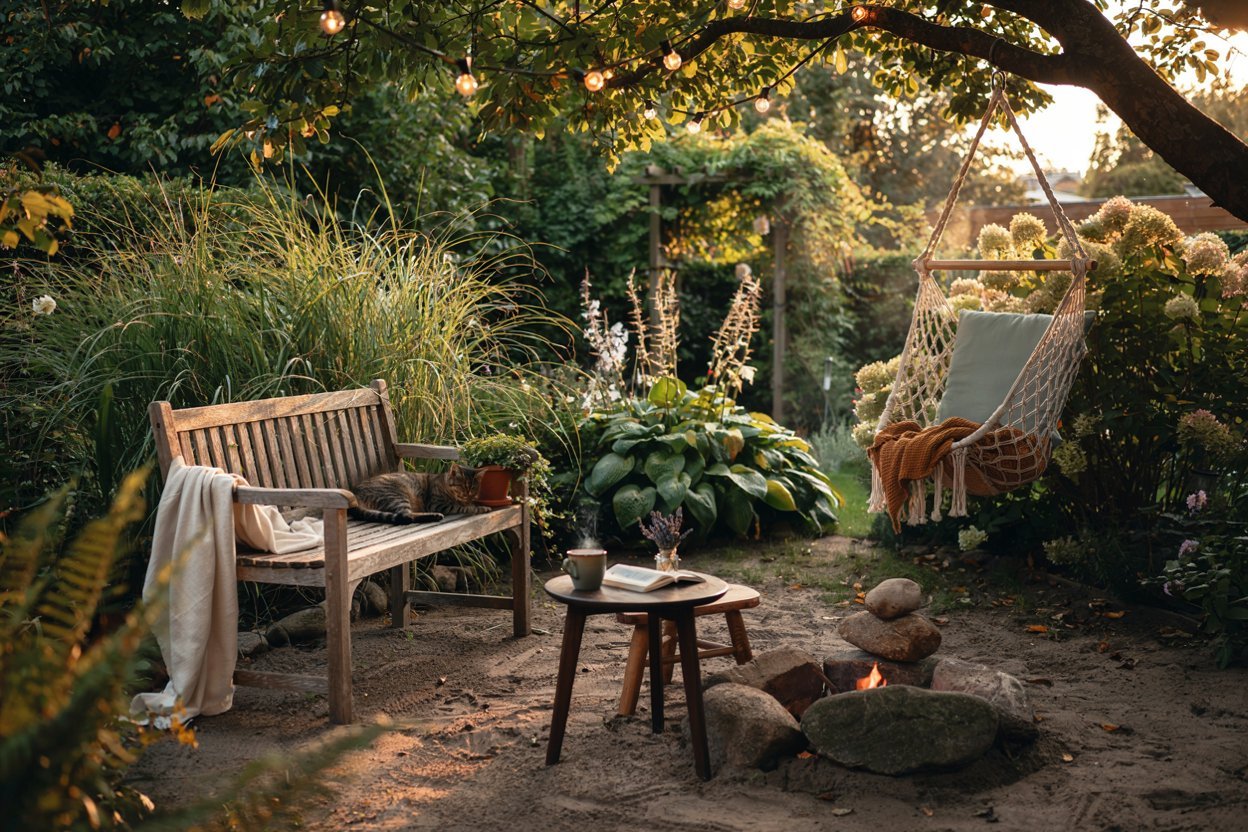

I still remember the first afternoon I sat down in my own backyard with a cup of tea, sank into a wobbly old chair, and realized I had absolutely nowhere comfortable to unwind.
That one uncomfortable afternoon sent me down a years-long rabbit hole of building, styling, and falling in love with garden seating.
Every bench, swing, and cushy nook on this list is something I’ve either built myself or watched a friend create, and I’m so excited to walk you through all of it with you.
Now lets dive into this 25 Garden Seating Ideas for Relaxing Outdoors.
Why Garden Seating Matters So Much
Before we dive into the list, I want to say this: your garden seating isn’t just furniture. It’s the difference between a yard you walk past and a yard you actually live in.
The right seat, tucked into the right corner, turns your outdoor space into a little retreat you’ll find yourself gravitating toward every single day morning coffee, evening wine, lazy Sunday naps, all of it. So let’s get you there, one idea at a time.
1. The Classic DIY Pallet Bench
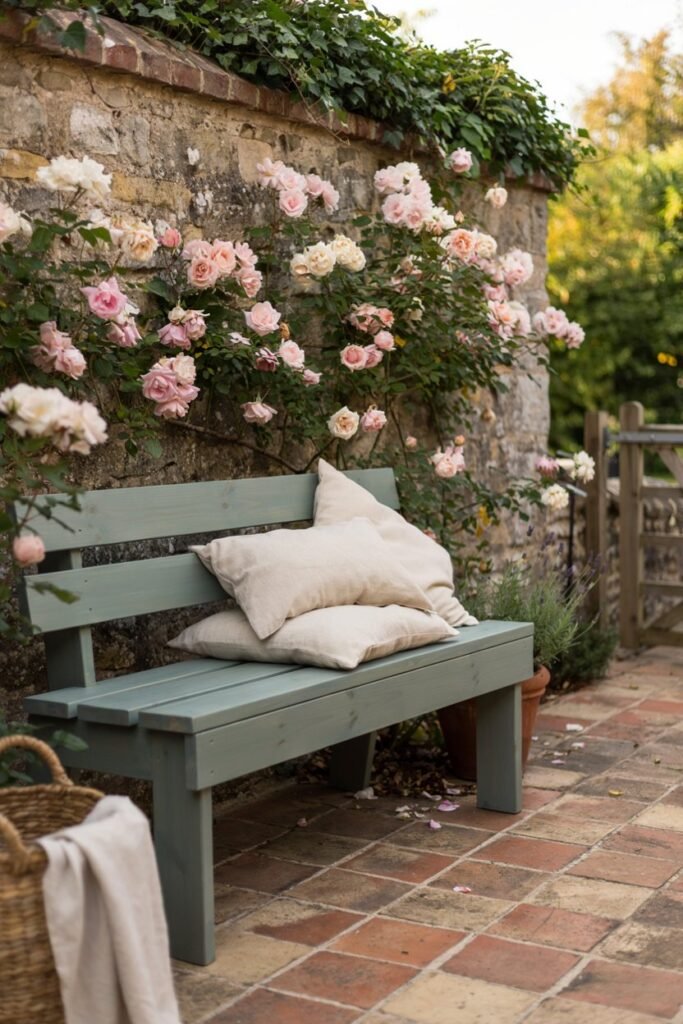
There’s something so satisfying about turning a free wooden pallet into a beautiful bench, and it’s genuinely one of the easiest projects on this entire list.
I built my first one in an afternoon and it’s still holding strong three summers later.
Equipment needed:
- 2-3 wooden shipping pallets (heat-treated, not chemically treated)
- Electric sander and 120-grit sandpaper
- Wood stain or exterior paint
- Paintbrush or foam roller
- Circular saw
- Wood screws (2.5 inch)
- Cordless drill/driver
- Outdoor cushions
- Wood glue
Steps:
- Choose pallets that are sturdy, free of rot, and stamped “HT” (heat-treated) rather than “MB” (methyl bromide treated).
- Sand every surface thoroughly, paying extra attention to rough edges where splinters like to hide.
- Cut one pallet down to your desired seat height if you want a lower profile, using the circular saw.
- Stack and screw two pallets together for the base, securing them at the corners with wood screws.
- Attach a third pallet horizontally on top to act as the seat surface, gluing and screwing it into place.
- Apply two coats of stain or paint, letting each coat dry fully.
- Top with weatherproof cushions and you’re done.
My tip: Choose pallets with tighter slat spacing for a smoother seat, and always let your stain cure a full 24 hours before adding cushions so nothing sticks.
2. Hammock Chair Reading Nook
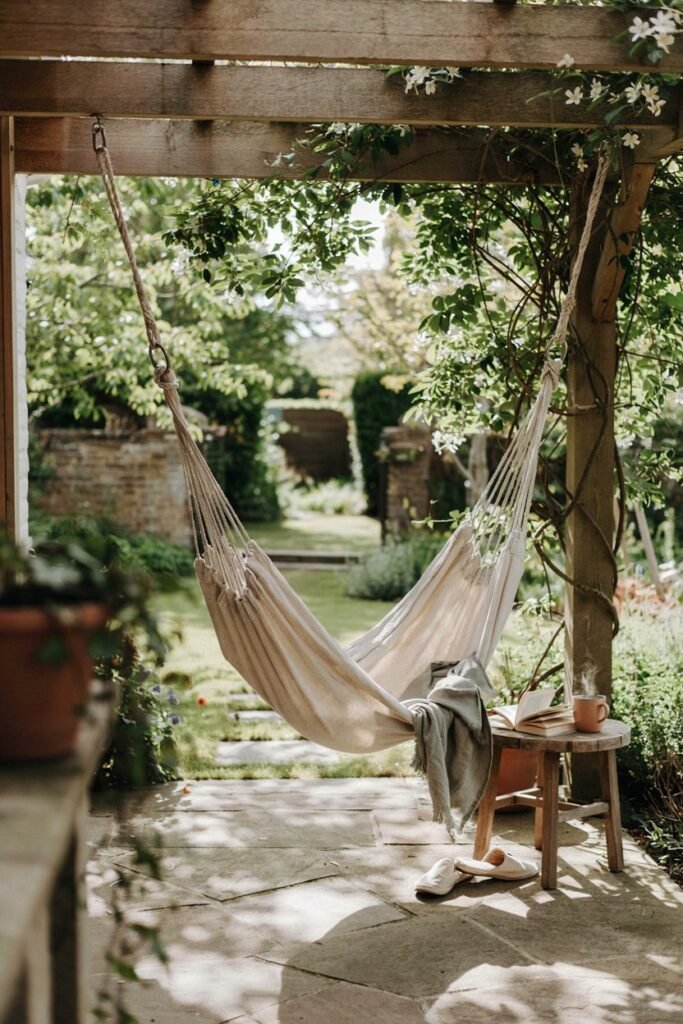
This is my go-to spot for afternoon novels. A hanging hammock chair takes up so little space but delivers maximum coziness.
Equipment needed:
- Cotton or cotton-poly hammock chair
- Heavy-duty ceiling hook or tree-mounting hardware
- Swivel clip (optional, for spinning)
- Stud finder (if hanging from a pergola beam)
- Measuring tape
- Outdoor rug
- Small side table
Steps:
- Choose a sturdy overhead beam, thick tree branch, or dedicated A-frame stand rated for at least 300 lbs.
- Locate the strongest point using a stud finder if you’re mounting to a structure.
- Install the ceiling hook, screwing it deep into solid wood.
- Attach the swivel clip to the hook, then hang your hammock chair from it.
- Test the weight capacity slowly before fully sitting in it.
- Lay down an outdoor rug beneath it and add a small table for your drink and book.
- Style with a soft throw blanket for cooler evenings.
My tip: Hang your hammock chair at a slight height so your feet can just graze the ground it makes rocking yourself so much easier.
3. Canopy Swing Bench
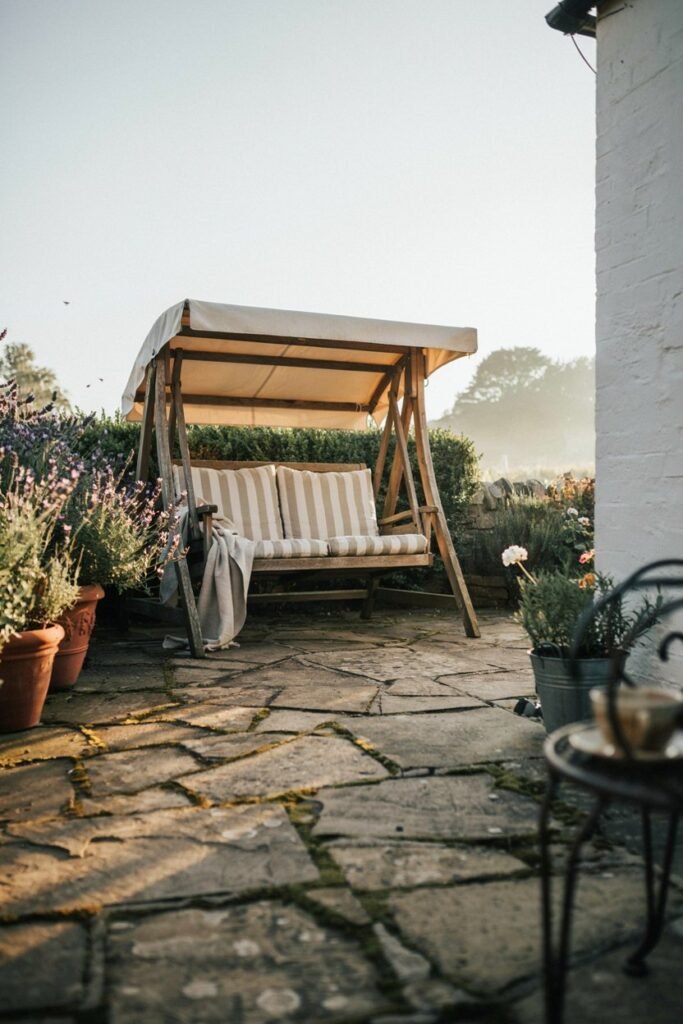
I gifted myself a canopy swing bench for my thirtieth birthday and it might be the best purchase I’ve made for my garden. The shade canopy means you can swing gently all afternoon without squinting into the sun.
Equipment needed:
- Pre-fabricated canopy swing bench kit (or build your own frame from pressure-treated lumber)
- Level
- Socket wrench set
- Ground anchor stakes (if not on a patio)
- Weatherproof cushions
- Outdoor throw pillows
Steps:
- Choose a flat, level area with enough clearance for the swing’s full arc.
- Assemble the metal or wooden A-frame according to the kit instructions, tightening every bolt with the socket wrench.
- Use a level to make sure the frame sits evenly on both sides.
- Anchor the frame’s feet into the ground or onto a paver base for stability, especially in windy areas.
- Hang the bench seat from the frame’s hooks or chains.
- Attach the fabric canopy over the top frame.
- Add cushions and pillows, then give it a gentle test swing.
My tip: Look for a canopy with a UV-rated fabric; it fades far slower than a basic cotton canvas cover.
4. Circular Fire Pit Seating
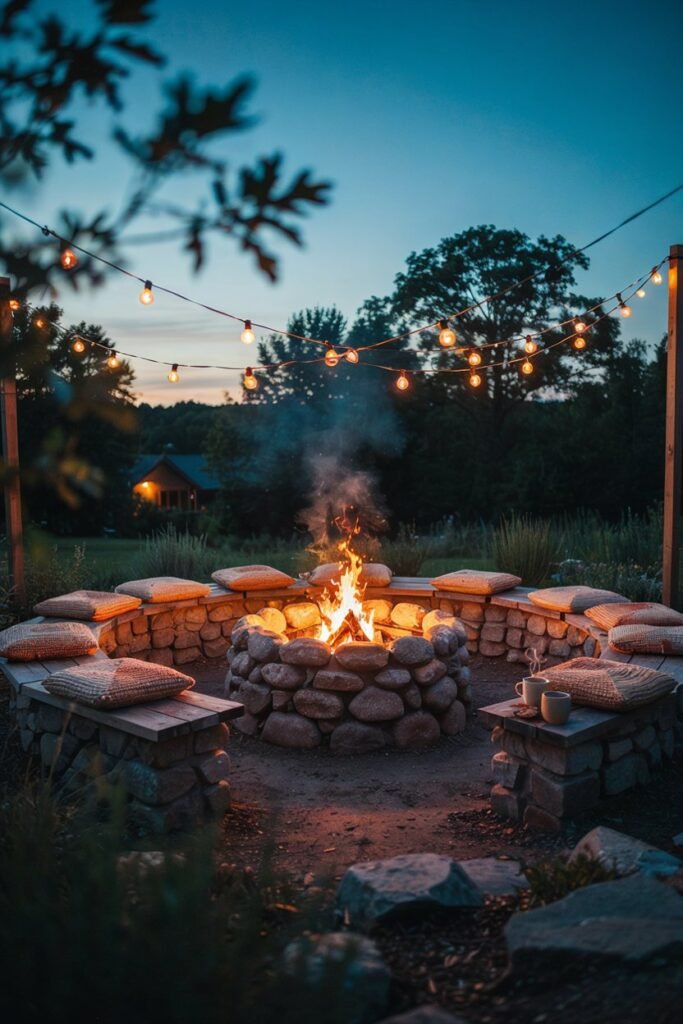
Nothing brings people together quite like a fire pit with a full circle of seating around it. This is my favorite spot for hosting friends on cool nights.
Equipment needed:
- Fire pit (metal bowl or built-in stone)
- Retaining wall blocks or large flat stones (for a built-in bench ring)
- Rubber mallet
- Level
- Landscaping sand
- Outdoor Adirondack chairs or built benches
- Fire-resistant cushions
Steps:
- Mark out a circle roughly 10-12 feet in diameter around your fire pit location, leaving safe clearance from the flame.
- Prepare the ground by leveling it and adding a thin bed of landscaping sand.
- Lay your first ring of retaining wall blocks, tapping each one into place with the rubber mallet.
- Continue stacking blocks to your desired bench height, usually two to three courses.
- Check level frequently as you build so the seating ring stays even.
- Fill any gaps with sand and finish the top course with flat capstones for a comfortable sitting surface.
- Arrange fire-resistant cushions around the ring for softness.
My tip: Leave at least three feet of walking space behind the seating ring so guests can move around safely near the flames.
5. Built-In Deck Bench
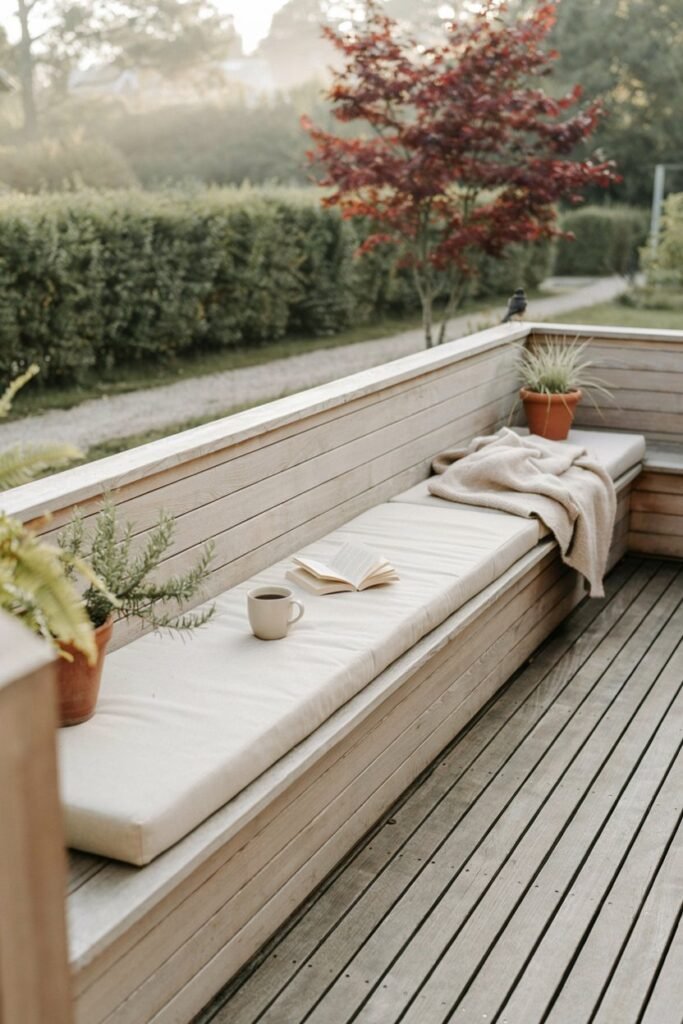
If you have a deck, a built-in bench along the railing is one of the smartest upgrades you can make. It doubles as storage if you build it as a box.
Equipment needed:
- Pressure-treated 2×4 and 2×6 lumber
- Exterior wood screws
- Circular saw
- Drill/driver
- Wood filler
- Exterior paint or stain
- Waterproof hinge (if adding a storage lid)
- Cushions
Steps:
- Measure the length of railing or deck edge where you want the bench.
- Cut the 2x4s to build a simple box frame, forming the front, back, and side supports.
- Screw the frame together securely, checking every corner with a square.
- Attach 2×6 boards across the top to form the seat surface, leaving a small gap between boards for drainage.
- If adding storage, install a hinged lid on top instead of fixed boards.
- Sand any rough edges, then paint or stain to match your deck.
- Finish with a plush cushion running the length of the bench.
My tip: Drill a few small drainage holes in the bottom of the bench box if you’re using it for storage, so nothing gets musty.
6. Adirondack Chair Pair
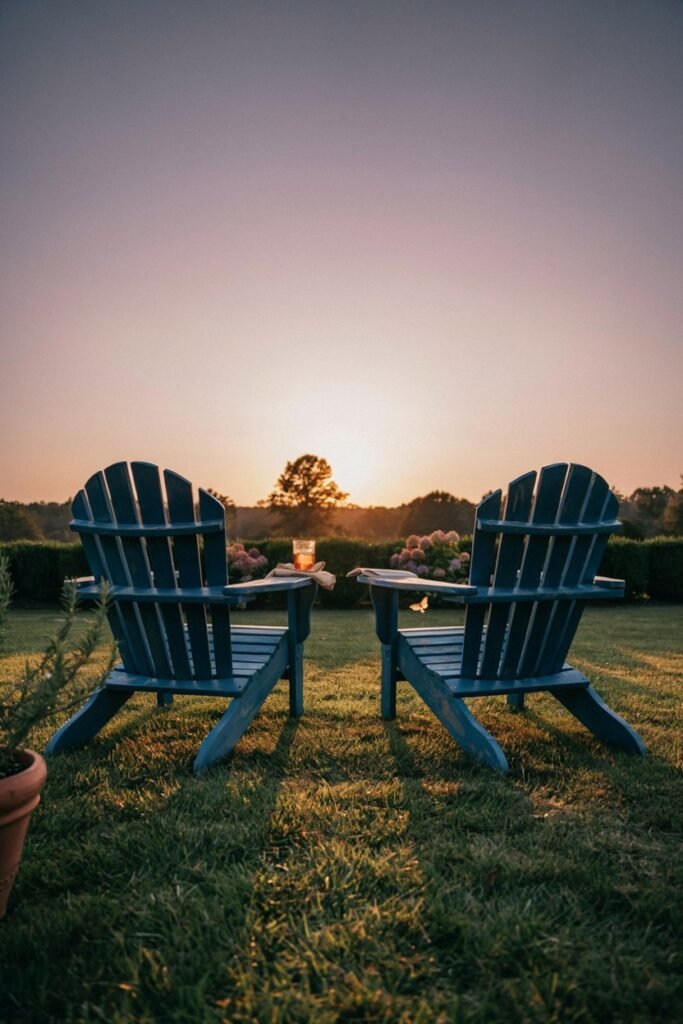
Two Adirondack chairs facing the sunset is honestly one of the most romantic, low-effort seating setups you can create.
Equipment needed:
- Pre-cut Adirondack chair kit or cedar boards with a template
- Jigsaw
- Wood screws
- Drill/driver
- Sandpaper
- Exterior wood sealant
- Small round side table
Steps:
- If building from scratch, print or trace an Adirondack chair template onto cedar boards.
- Cut each piece carefully with the jigsaw, following the curves for the arms and seat slats.
- Sand every cut edge until smooth.
- Assemble the base and back frame first, screwing pieces together according to your template’s order.
- Attach the seat slats, then the wide armrests last.
- Seal the wood with an exterior sealant to protect against rain and sun.
- Set two chairs a few feet apart with a small table between them.
My tip: Angle the seat slightly backward when assembling it’s what makes an Adirondack chair so famously comfortable to sink into.
7. Cozy Reading Nook Bench
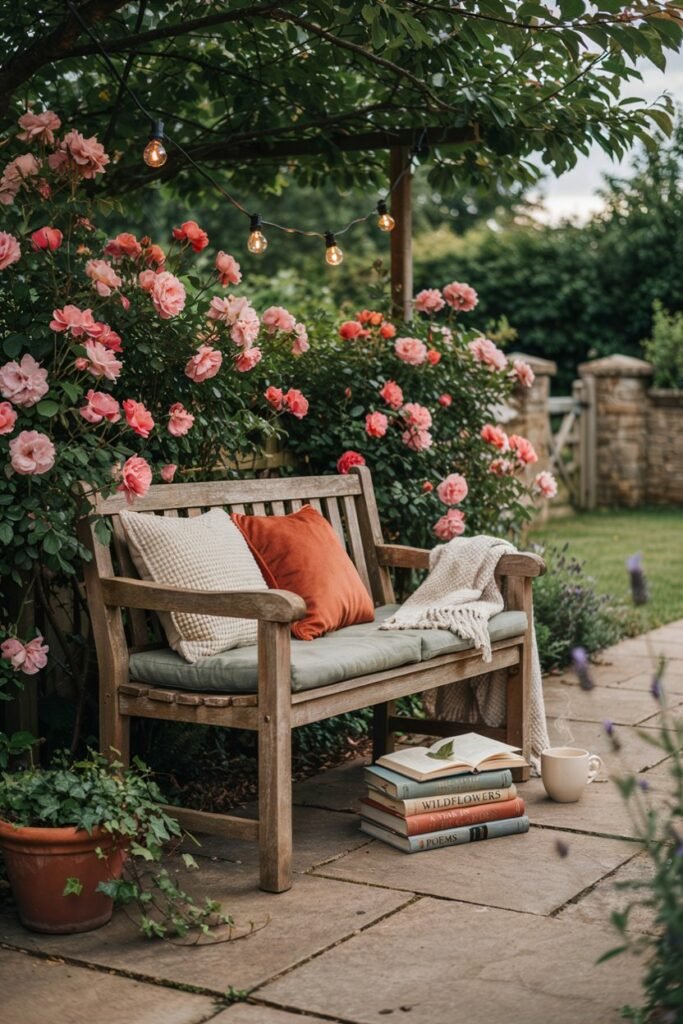
I built this for the shady corner behind my rose bushes, and it’s become my quiet escape spot every single morning.
Equipment needed:
- Simple wooden bench frame (built or purchased)
- Outdoor bookshelf or small crate
- Weatherproof cushions and bolsters
- Solar lantern or string lights
- Small side table
- Outdoor rug
Steps:
- Choose a shaded, slightly tucked-away corner of your garden.
- Place your bench frame against a wall, fence, or hedge for a sense of enclosure.
- Lay an outdoor rug beneath the bench to define the space.
- Add a small crate or shelf beside the bench to hold books and a mug.
- Layer cushions and bolster pillows generously across the seat.
- Hang solar string lights above for evening reading.
- Add a small table within arm’s reach for tea or coffee.
My tip: Keep a small basket nearby for bookmarks, reading glasses, and a cozy pair of socks so everything you need is within reach.
8. Rustic Tree Stump Stools
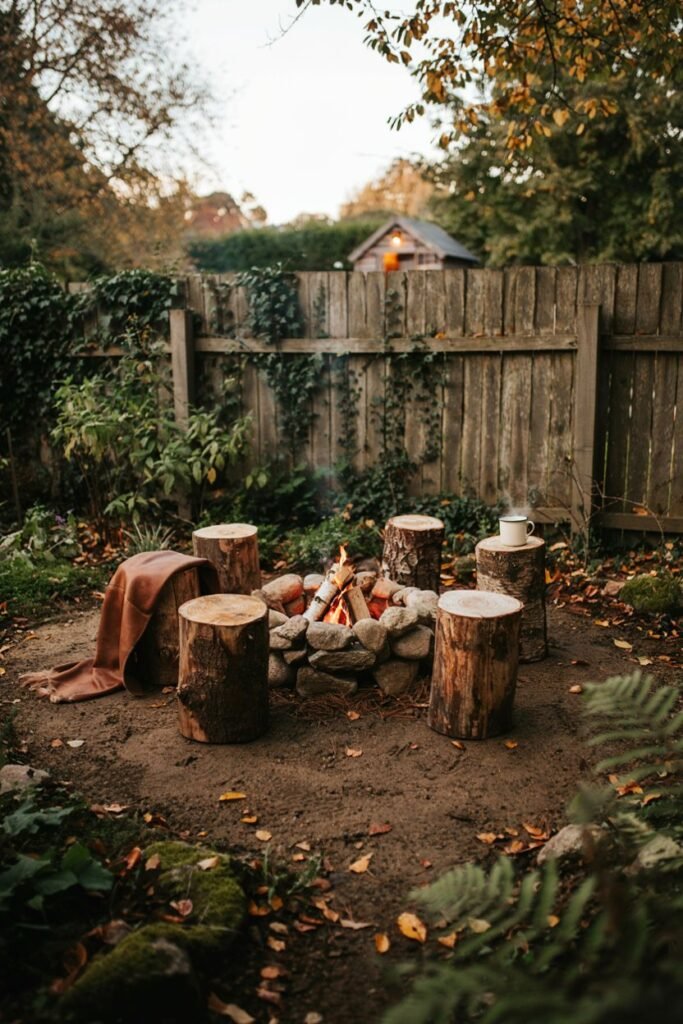
These are wonderfully rustic and practically free if you have access to a felled tree. I use mine as extra seating whenever we host a backyard dinner.
Equipment needed:
- Tree stump sections (16-18 inches tall)
- Chainsaw (for cutting to size, or ask a local arborist)
- Wire brush
- Wood sealant or polyurethane
- Sandpaper
- Bark remover or drawknife (optional)
Steps:
- Select stump sections of even height and a stable, flat base.
- Use a wire brush to remove loose bark and debris.
- Sand the top surface smooth for comfortable sitting.
- Optionally strip the remaining bark with a drawknife for a cleaner look.
- Let the wood dry completely for a few days if freshly cut.
- Apply two to three coats of exterior sealant to prevent rot and cracking.
- Group three or four stumps around a fire pit or low table.
My tip: Choose stumps from hardwoods like oak or maple, since softer woods tend to break down faster outdoors.
9. Bistro Table and Chairs Corner
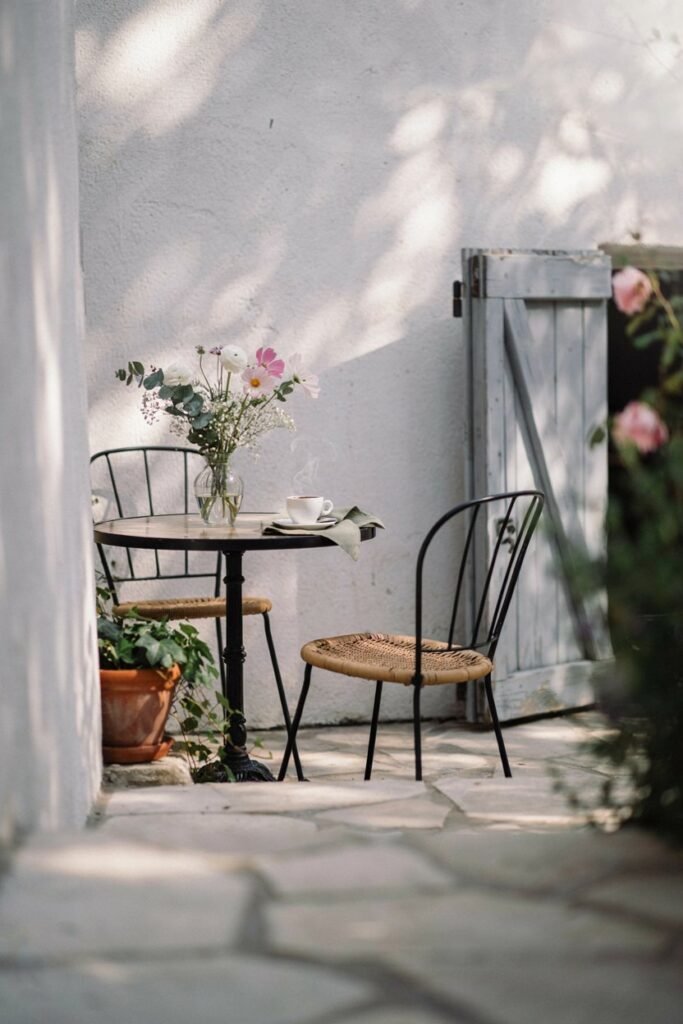
A little bistro set tucked into a sunny corner makes your garden feel like a Parisian café, and it’s perfect for morning espresso.
Equipment needed:
- Metal or wooden bistro table and two chairs
- Outdoor floor tiles or pavers (optional base)
- Level
- Rubber mallet
- Potted plants for framing
- Small tablecloth or placemat
Steps:
- Choose a sunny corner with enough space for the table and chairs to be pulled out comfortably.
- If adding a paver base, level the ground and lay pavers in a small square or circle.
- Tap pavers into place with the rubber mallet, checking level as you go.
- Set the bistro table in the center of the paved area.
- Arrange the two chairs facing each other or angled toward the view.
- Frame the space with potted plants on either side.
- Style with a small tablecloth and a vase of fresh flowers.
My tip: A small umbrella through the table’s center hole makes this corner usable even on the sunniest mornings.
10. Hanging Egg Chair
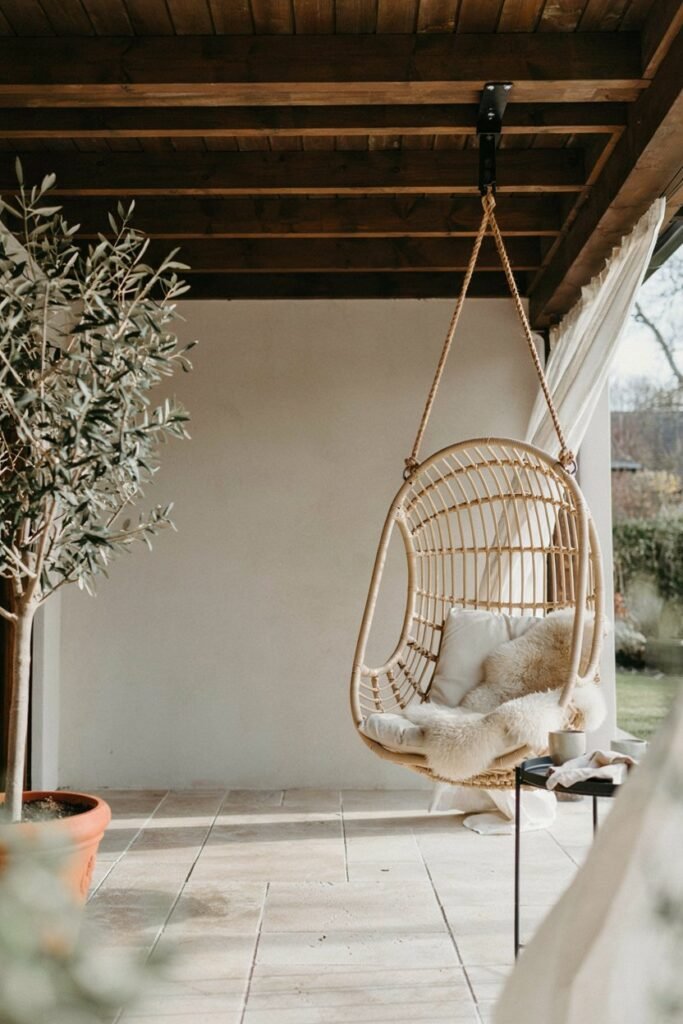
This is the seat that gets the most compliments from my visitors. It feels like a little cocoon, and I genuinely nap in mine on weekends.
Equipment needed:
- Hanging egg chair with stand (or ceiling-mount hardware)
- Heavy-duty S-hook or swivel hook
- Stud finder (for ceiling mounting)
- Socket wrench
- Level
- Plush cushion insert
- Faux fur throw
Steps:
- Decide whether you’ll use a freestanding metal stand or mount to a covered patio ceiling.
- If mounting overhead, locate a solid beam with a stud finder.
- Install the heavy-duty hook securely, testing it can bear significant weight.
- If using a stand, assemble it fully with the socket wrench, tightening every bolt.
- Hang the egg chair from the hook or stand’s swing point.
- Add the cushion insert for extra comfort.
- Drape a faux fur throw over the edge for cozy afternoons.
My tip: Double up on hooks if you’re hanging from wood that feels at all soft, just for extra peace of mind.
11. Garden Bench Under a Pergola
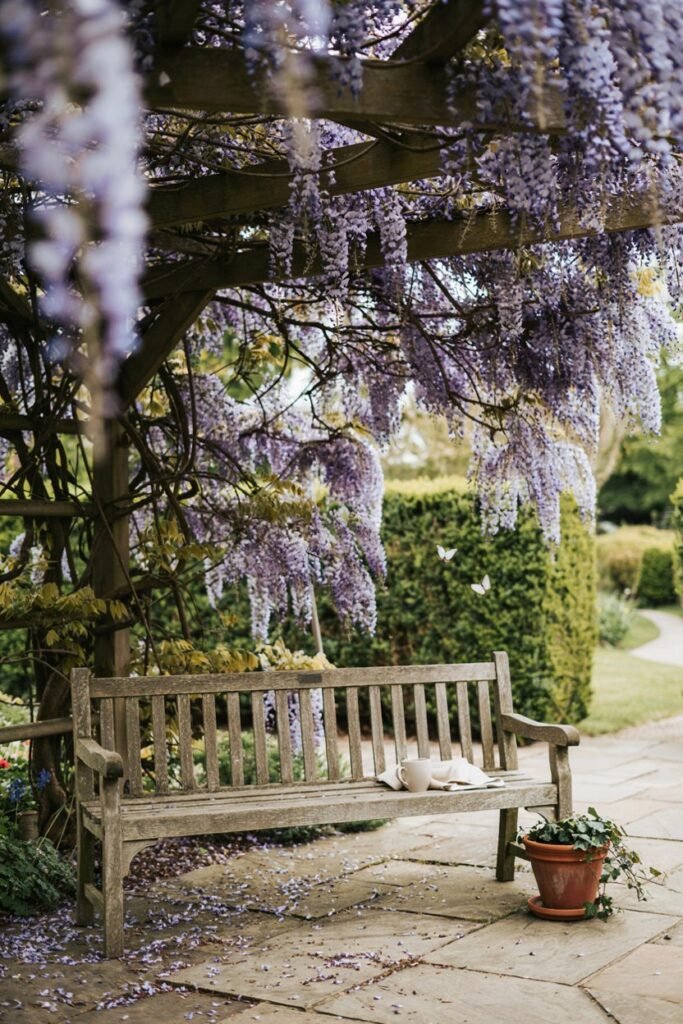
There’s a dreamy, romantic quality to sitting under a pergola draped in climbing vines. I planted wisteria over mine and it’s become the prettiest corner of my whole yard.
Equipment needed:
- Pergola kit or lumber for a custom build
- Post-hole digger
- Concrete mix
- Level
- Wooden bench
- Climbing plants (wisteria, jasmine, or climbing roses)
- Twine or plant ties
Steps:
- Mark out your pergola’s four post locations.
- Dig post holes at least 24 inches deep using the post-hole digger.
- Set posts in concrete, checking level on all sides as it cures.
- Attach the crossbeams and rafters once the concrete has fully set.
- Place a wooden bench directly beneath the pergola’s center.
- Plant climbing vines at the base of two posts.
- Train the vines upward with twine as they grow.
My tip: Plant fast-growing vines like jasmine if you want shade within the first year rather than waiting several seasons.
12. Built-In Window-Style Bench Against a Fence
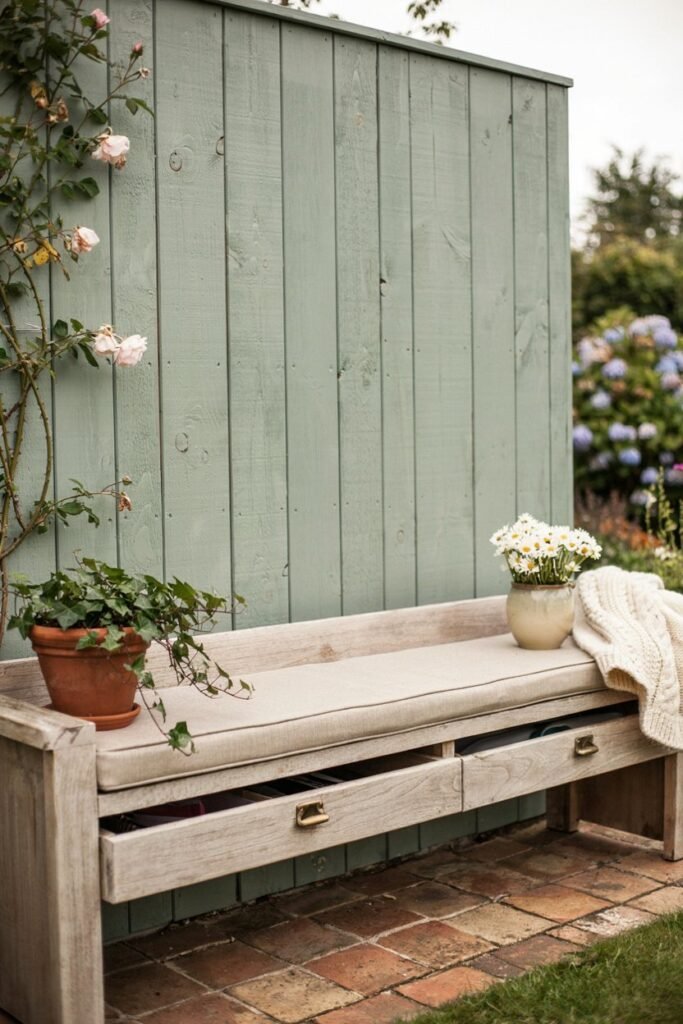
This is a lovely way to disguise an ordinary fence line while creating extra seating and even hidden storage underneath.
Equipment needed:
- Pressure-treated lumber (2×4 and plywood)
- Exterior screws
- Circular saw
- Drill/driver
- Trim molding (optional, for a finished look)
- Exterior paint
- Bench cushion
Steps:
- Measure the length of fence where the bench will sit.
- Build a simple rectangular frame using 2x4s, sized to your desired bench height and depth.
- Attach plywood panels to the front and sides of the frame.
- Screw the frame securely against the fence posts for stability.
- Add trim molding along the edges for a polished, built-in look.
- Paint to match or contrast with your fence color.
- Top with a long cushion cut to fit the bench length.
My tip: Add a lift-up lid instead of a solid front panel so you gain hidden storage for cushions and garden tools.
13. Repurposed Vintage Chair Corner
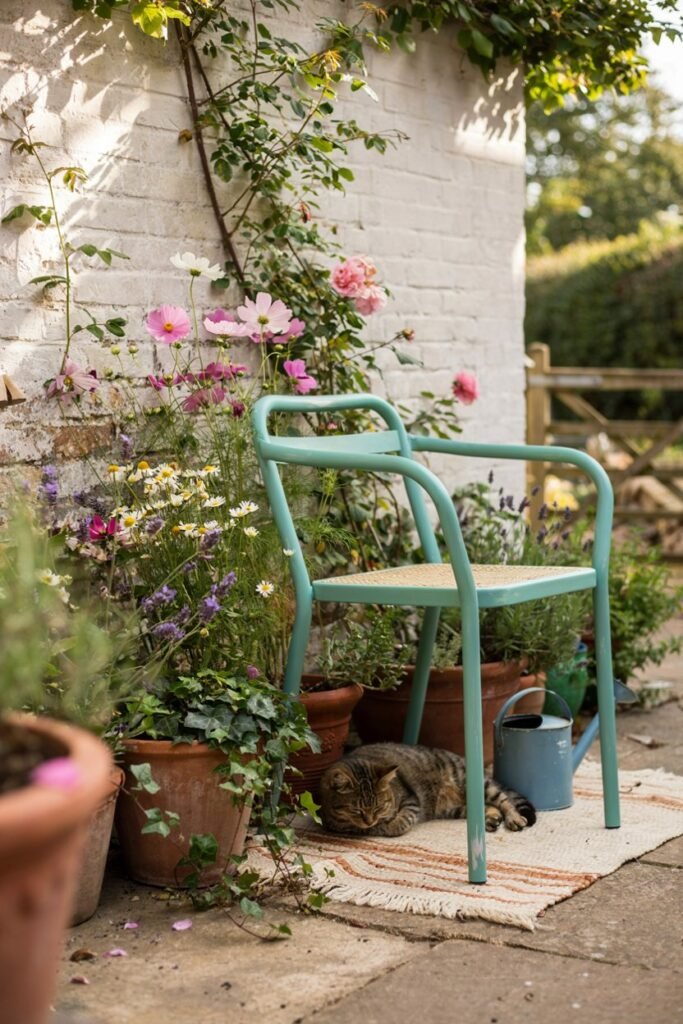
I found my vintage chair at a flea market for almost nothing, gave it a coat of weatherproof paint, and now it’s the most-photographed spot in my garden.
Equipment needed:
- Vintage wooden or metal chair
- Wire brush (for rust removal on metal chairs)
- Exterior spray paint or outdoor enamel paint
- Waterproofing spray sealant
- Weatherproof cushion
- Small decorative rug
Steps:
- Clean the chair thoroughly, removing rust with a wire brush if it’s metal.
- Sand any flaking paint on wooden chairs until smooth.
- Apply a coat of exterior spray paint or enamel in your chosen color.
- Let it dry fully, then apply a second coat for even coverage.
- Seal with a waterproofing spray to protect against rain.
- Set the chair on a small decorative rug in a garden corner.
- Add a cushion for comfort and a small side table for styling.
My tip: Look for chairs with intricate ironwork or carved wood the more character, the better they’ll photograph once painted.
14. Cinder Block Bench
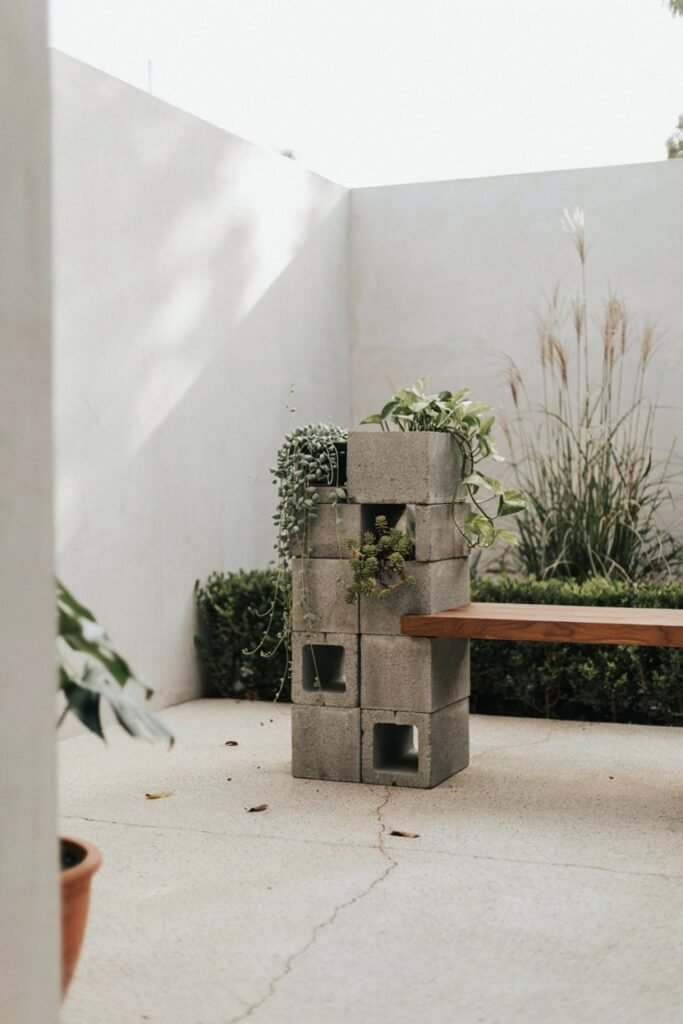
This is one of the most budget-friendly builds on the list, and it looks surprisingly modern once it’s finished.
Equipment needed:
- 8-10 cinder blocks
- Wooden planks (cut to bench length)
- Level
- Exterior wood stain
- Outdoor cushions
- Rubber mallet
Steps:
- Decide on your bench length and lay out two stacks of cinder blocks at each end.
- Stack blocks two or three high, checking level with each layer.
- Tap blocks gently with the rubber mallet to settle them evenly.
- Cut wooden planks to span the distance between the two block stacks.
- Stain the planks in a color that complements your outdoor space.
- Lay the planks across the top of the block stacks.
- Add cushions for a softer seating surface.
My tip: Fill the hollow centers of the cinder blocks with potting soil and trailing plants for a softer, greener look.
15. Classic Rope Hammock
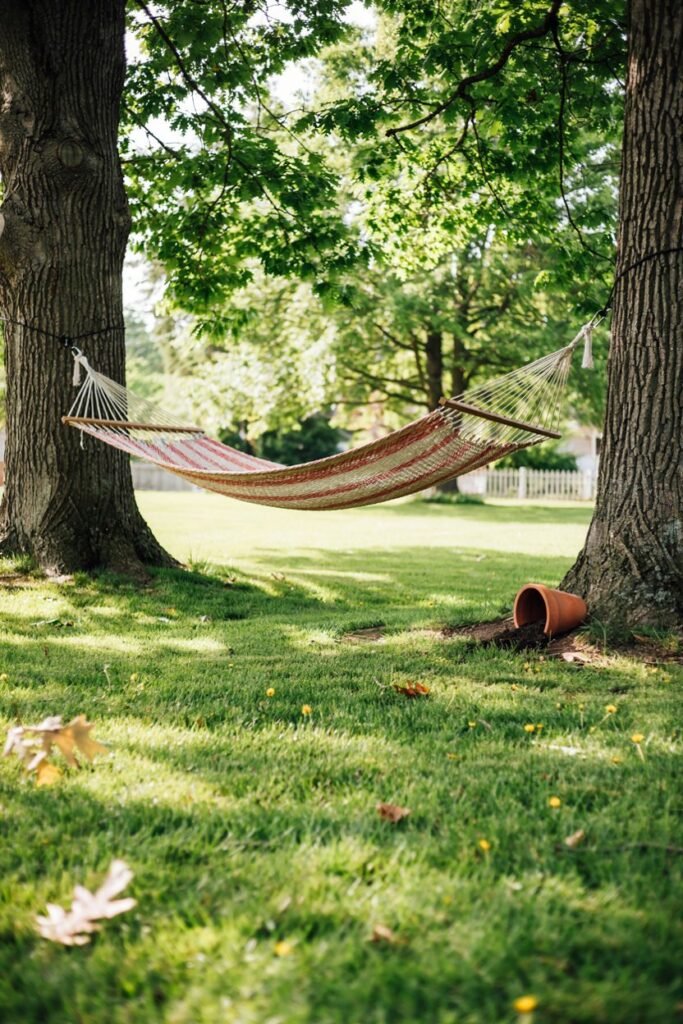
A rope hammock strung between two trees is the ultimate symbol of doing absolutely nothing, and I mean that in the best way possible.
Equipment needed:
- Woven rope or cotton hammock
- Tree straps (to protect bark)
- Carabiners
- Measuring tape
- Stepladder
Steps:
- Choose two sturdy trees spaced about 12-15 feet apart.
- Wrap a tree strap around each trunk at roughly the same height, about 4-5 feet up.
- Attach a carabiner to each strap’s loop.
- Hook one end of the hammock to the first carabiner.
- Pull the hammock taut and attach the other end to the second tree’s carabiner.
- Adjust the sag so it sits comfortably without touching the ground.
- Test it slowly before fully relaxing into it.
My tip: Rotate which trees you use season to season if you can, so the bark has time to recover from the strap pressure.
16. Sectional Outdoor Sofa
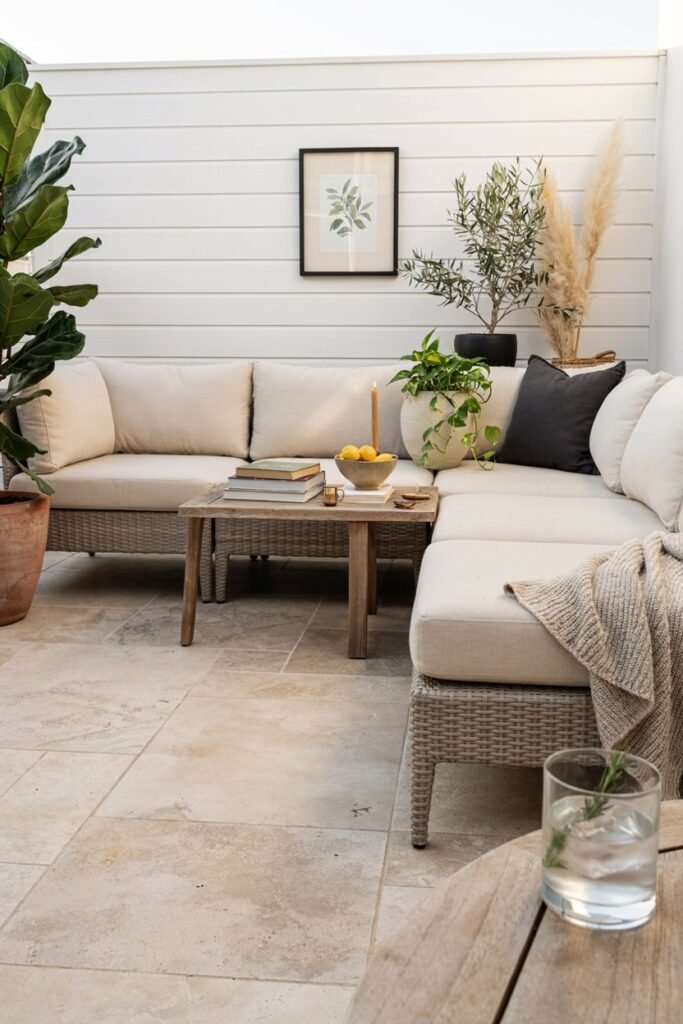
If you love hosting, a sectional sofa is worth the investment. Mine has become the heart of every outdoor gathering I host.
Equipment needed:
- Modular outdoor sofa set (rattan, aluminum, or teak frame)
- Waterproof cushion covers
- Outdoor rug
- Coffee table
- Throw pillows and blankets
- Furniture cover (for off-season storage)
Steps:
- Measure your patio or deck space to determine how many sectional pieces will fit comfortably.
- Lay down a large outdoor rug to anchor the seating area.
- Arrange the sectional pieces in an L-shape or U-shape around the rug.
- Place a coffee table in the center of the arrangement.
- Add cushions and layer with throw pillows in varying textures.
- Drape a couple of cozy blankets over the arm for cooler evenings.
- Cover the sofa with a waterproof furniture cover when not in use.
My tip: Choose quick-dry foam cushion inserts if you live somewhere rainy, so afternoon showers don’t leave your seating soggy for days.
17. Natural Stone Bench
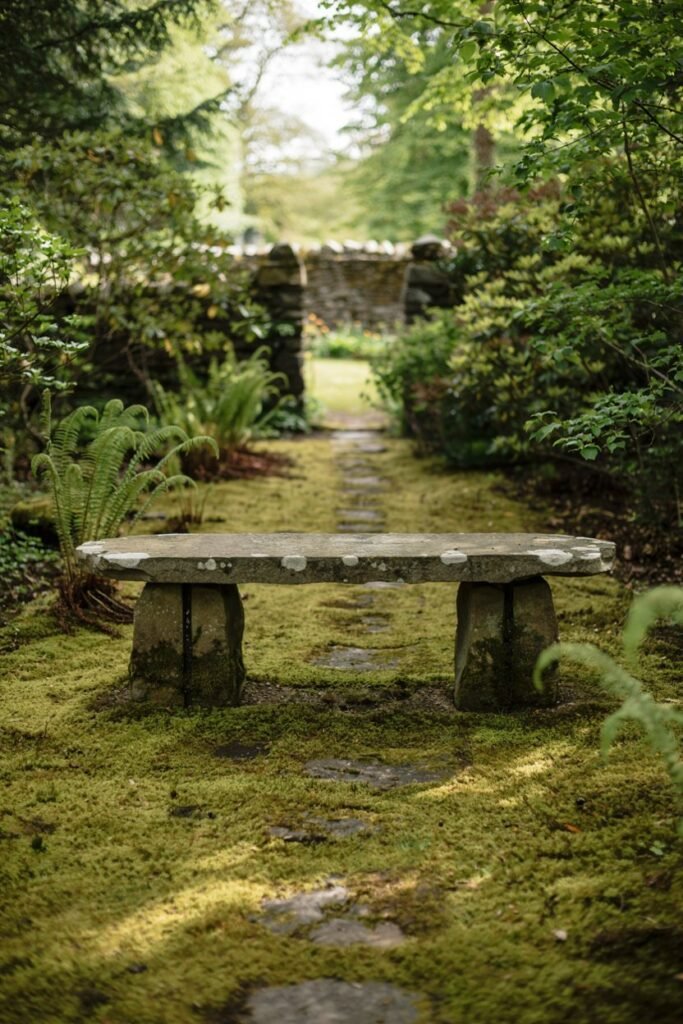
A stone bench feels timeless, and it barely requires any maintenance once it’s in place. I love how mine has settled into the garden like it’s always been there.
Equipment needed:
- Two stone or concrete pedestal blocks
- One large flat stone slab (for the seat)
- Level
- Landscaping sand
- Gloves and a hand truck or dolly (stone is heavy!)
Steps:
- Choose a level spot in your garden for the bench.
- Prepare the ground with a thin bed of leveling sand.
- Position the two pedestal blocks at either end, spaced to support the slab’s length.
- Check that both blocks sit at the same height using a level.
- Carefully lift and place the stone slab across the top of the pedestals, ideally with a second person or dolly.
- Adjust as needed until the slab sits flat and stable.
- Let it settle for a day before use, then add a cushion if desired.
My tip: A slightly textured stone surface, rather than polished, gives much better grip and stays cooler underfoot in direct sun.
18. Bench Swing for Two
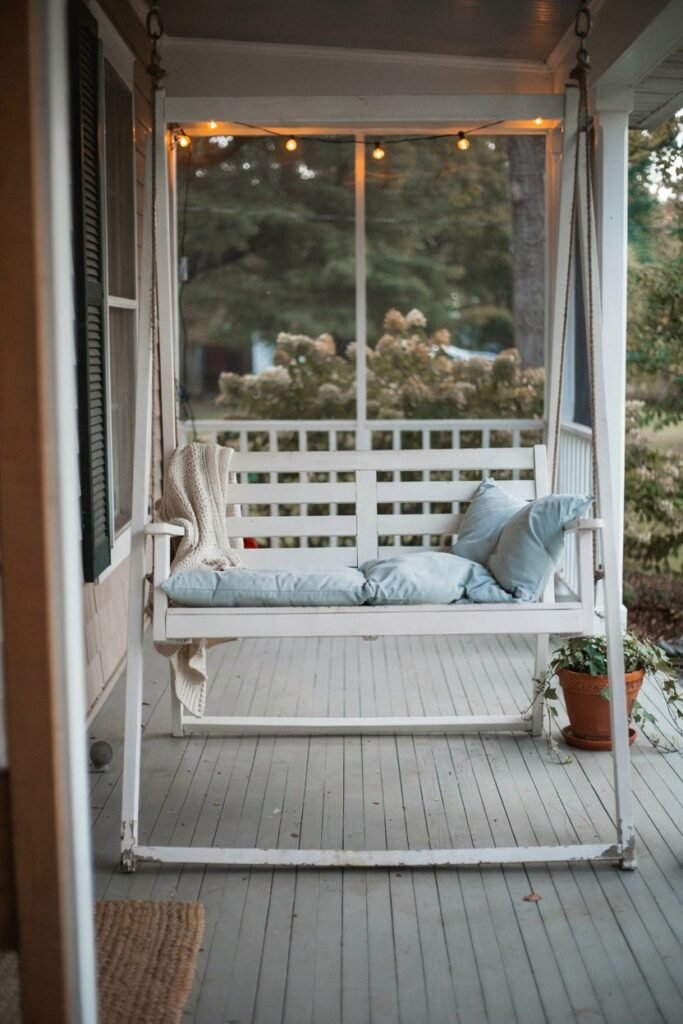
There’s something wonderfully nostalgic about a two-person bench swing hanging from a sturdy frame. It reminds me of my grandmother’s porch.
Equipment needed:
- Wooden or metal A-frame swing stand
- Two-person swing bench
- Chains or rope
- Socket wrench
- Level
- Weatherproof cushions
Steps:
- Assemble the A-frame stand fully, tightening all bolts with the socket wrench.
- Place the frame on a flat, level surface.
- Attach chains or rope to the swing bench’s hanging hooks.
- Lift the bench and hook the chains onto the top bar of the frame.
- Check that the seat hangs level and swings freely without obstruction.
- Adjust chain length on each side if the bench sits crooked.
- Add cushions and a small throw pillow for extra comfort.
My tip: Oil the chain links occasionally to keep the swing gliding smoothly and quietly, especially after a rainy season.
19. Wicker Chair Set
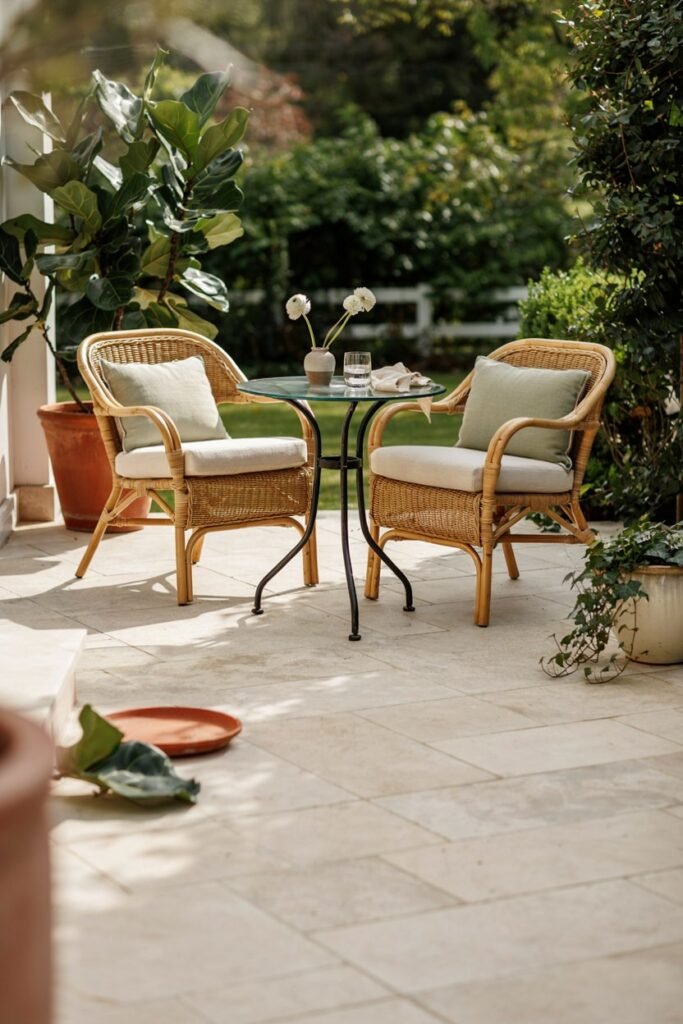
Wicker chairs bring such a soft, inviting texture to a garden. I paired mine with a round glass table and it instantly felt like an outdoor living room.
Equipment needed:
- 2-4 synthetic wicker chairs
- Round outdoor table
- Weatherproof seat cushions
- Outdoor rug
- Potted plants for styling
Steps:
- Choose a patio or deck area with enough room for chairs to be pulled back easily.
- Lay an outdoor rug to define the seating zone.
- Arrange chairs in a circle or facing pairs around the rug.
- Place the round table at the center within easy reach of each chair.
- Add cushions to every chair for comfort.
- Style the space with potted plants at the corners.
- Finish with a lantern or small centerpiece on the table.
My tip: Synthetic resin wicker holds up far better than natural rattan if your chairs will be exposed to the elements year-round.
20. Classic Picnic Table Bench
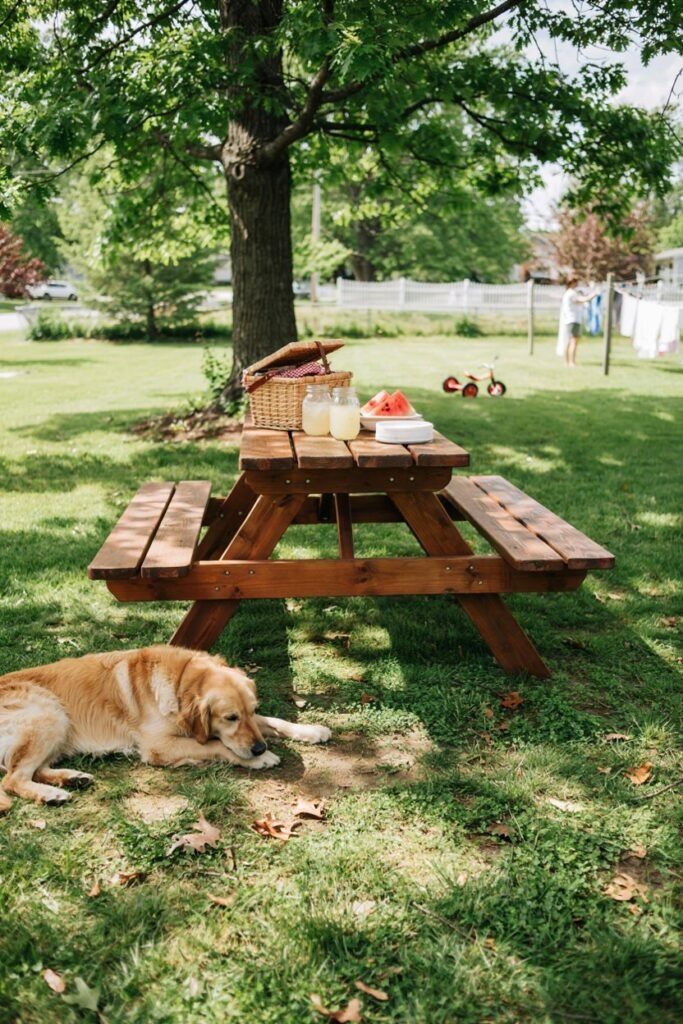
A picnic table is endlessly practical, whether it’s family dinners or a casual hangout with friends. Ours gets used almost every single week.
Equipment needed:
- Pressure-treated lumber (2×4, 2×6, 2×8)
- Carriage bolts and washers
- Circular saw
- Drill/driver
- Wood stain or paint
- Picnic table building plan/template
Steps:
- Cut all lumber pieces according to your chosen picnic table plan.
- Assemble the A-frame leg supports first, securing with carriage bolts.
- Attach the tabletop boards across the top of the frame, leaving small gaps for drainage.
- Attach the attached bench seats to each side using the angled leg supports.
- Sand all surfaces smooth, especially edges and corners.
- Apply exterior stain or paint in two coats.
- Let it cure fully before placing weight on the benches.
My tip: Round off all exposed edges and corners with sandpaper, especially if kids will be climbing on and off the benches.
21. Bohemian Floor Cushion Seating

This low, laid-back seating style is perfect for casual gatherings, stargazing, or lounging with a good playlist going.
Equipment needed:
- Large floor cushions or poufs
- Outdoor rug or woven mat
- String lights
- Low wooden side table
- Blankets and throw pillows
Steps:
- Choose a cozy, semi-enclosed spot in your garden, like beneath a tree or against a wall.
- Lay down a large outdoor rug or woven mat as the base.
- Arrange floor cushions and poufs in a loose circle or cluster.
- Add a low side table in the center for drinks or snacks.
- Layer in extra throw pillows and blankets for texture.
- String lights overhead or around a nearby fence for ambiance.
- Finish with a few lanterns at ground level for a warm glow.
My tip: Choose cushion covers in a washable outdoor fabric, since this low-to-the-ground setup tends to collect more dust and pollen.
22. Garden Bar Stools with High-Top Table
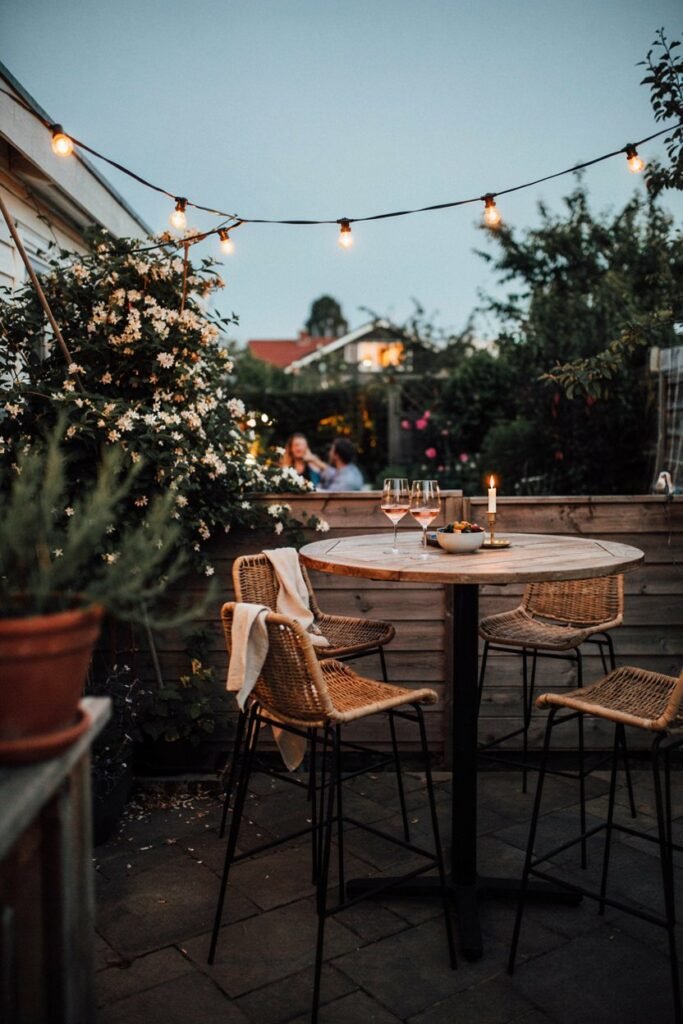
If you love entertaining, a high-top bar setup adds such a fun, social element to your garden.
Equipment needed:
- 3-4 outdoor bar stools
- High-top outdoor table
- Umbrella (optional, for shade)
- Outdoor rug
- String lights or lanterns
Steps:
- Pick a spot near your kitchen door or grill for easy access.
- Lay down an outdoor rug to anchor the space.
- Set the high-top table in the center.
- Arrange bar stools evenly around the table.
- Add an umbrella through the table’s center hole if shade is needed.
- String lights overhead for evening use.
- Style the tabletop with a small centerpiece or drink tray.
My tip: Pick stools with footrests built in your guests will thank you after the second hour of standing around chatting.
23. Chaise Lounge Sunbathing Area
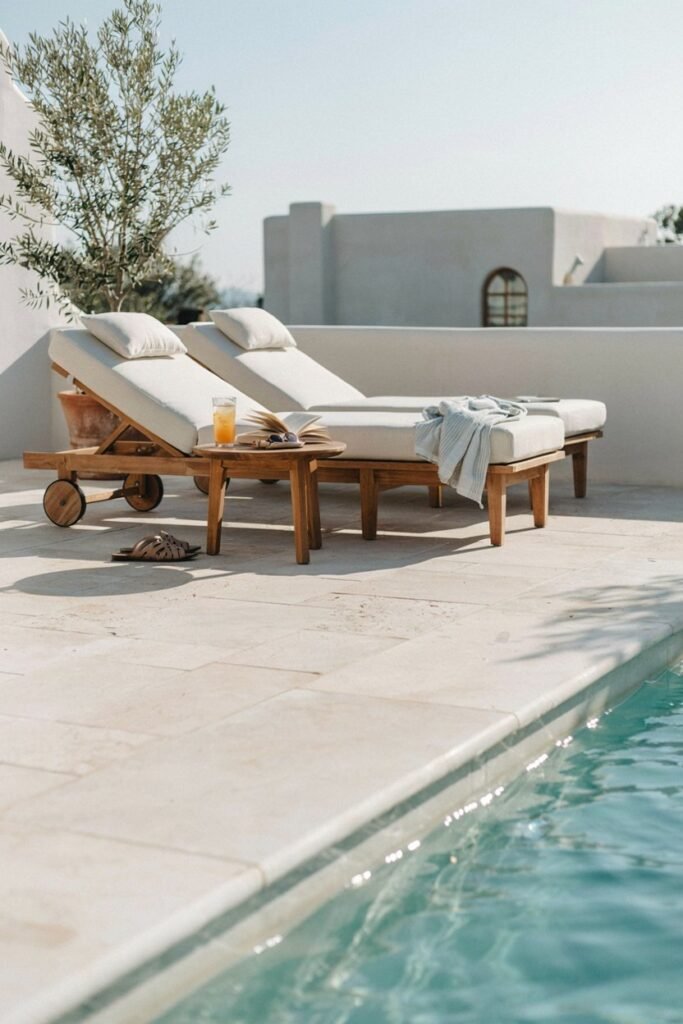
Every garden needs at least one spot dedicated purely to soaking up the sun, and a pair of chaise lounges does the job beautifully.
Equipment needed:
- Two adjustable chaise lounge chairs
- Small side table
- Outdoor umbrella or shade sail
- Weatherproof cushions
- Outdoor rug
Steps:
- Choose the sunniest, flattest part of your garden or patio.
- Lay down an outdoor rug to define the lounge area.
- Position the two chaise lounges side by side or angled toward the sun’s path.
- Place a small table between them for drinks and sunscreen.
- Add cushions to each lounge for extra comfort.
- Install a shade sail or umbrella nearby for optional relief from direct sun.
- Adjust the lounge backrests to your preferred angle.
My tip: Look for chaise lounges with wheels on one end, so repositioning them to chase the sun takes almost no effort.
24. Multi-Tier Seating Wall
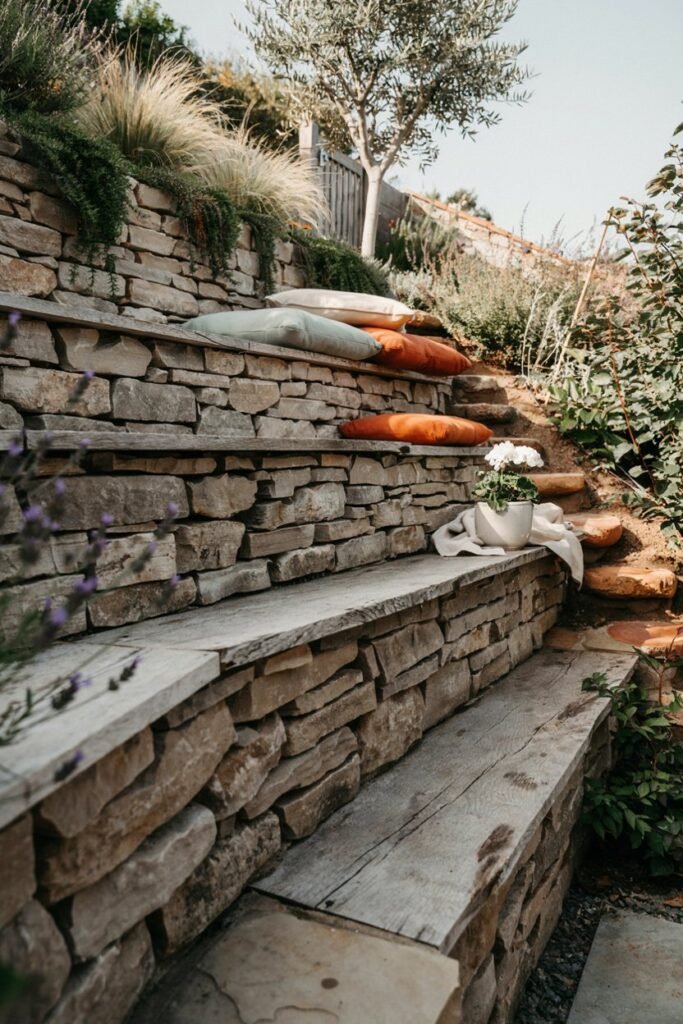
This is a bigger project, but if you have a sloped garden, a tiered seating wall turns an awkward hillside into a stunning gathering space.
Equipment needed:
- Retaining wall blocks
- Landscaping fabric
- Gravel for drainage
- Rubber mallet
- Level
- Outdoor cushions for each tier
Steps:
- Map out your slope and decide how many tiers of seating you want to build.
- Dig a shallow trench for the first, lowest tier and line it with landscaping fabric.
- Add a few inches of gravel for drainage before laying blocks.
- Lay the first row of blocks, tapping each into place and checking level.
- Backfill behind the wall with more gravel and soil as you build each tier upward.
- Repeat the process for each additional tier, stepping back into the slope.
- Finish each tier’s top course with flat capstones and add cushions for seating.
My tip: Stagger the joints between blocks on each tier, the same way you would with brickwork, for a much sturdier finished wall.
25. Log Bench Around a Fire Pit
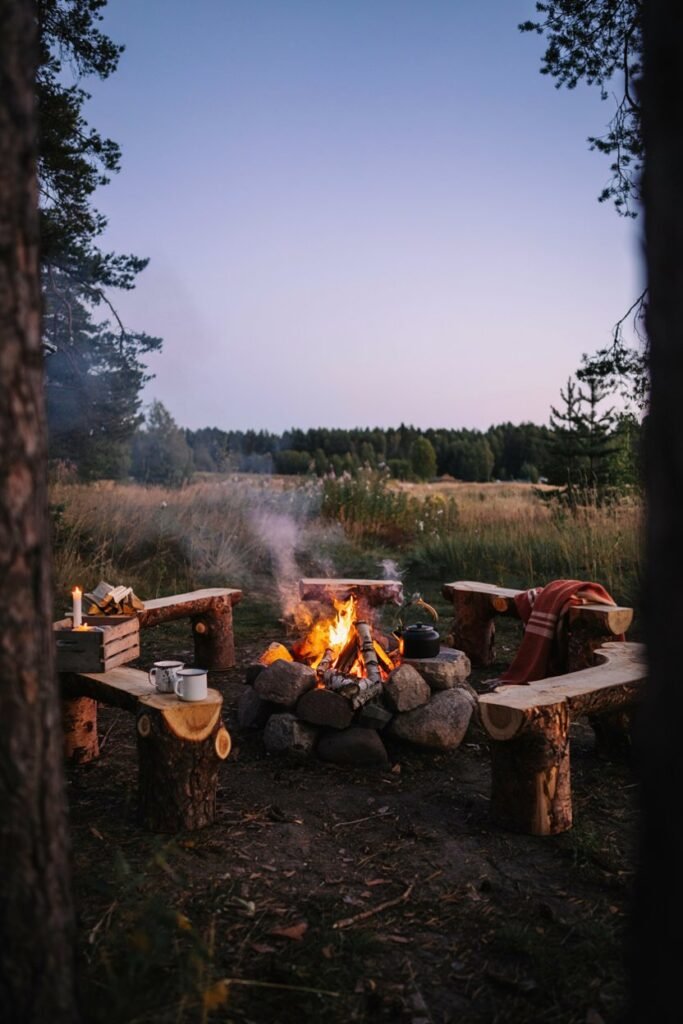
To close out the list, I wanted to share my absolute favorite: a simple backless log bench that circles a fire pit for effortless, rustic seating.
Equipment needed:
- Large, straight tree logs (12-16 inches in diameter)
- Chainsaw
- Wood sealant
- Sandpaper
- Wire brush
- Fire-resistant outdoor cushions
Steps:
- Select logs long enough to seat two to three people each, roughly 5-6 feet.
- Use the chainsaw to cut flat, stable bottoms so each log sits without rocking.
- Brush away loose bark and debris with the wire brush.
- Sand the top surface of each log smooth for comfortable sitting.
- Apply two coats of exterior wood sealant to protect against weather and pests.
- Arrange the logs in a loose circle around your fire pit, leaving enough space to walk between them.
- Top each log with a fire-resistant cushion for extra comfort.
My tip: Choose logs that have dried and cured for at least six months, since fresh-cut wood tends to crack as it dries in place.
A Few Things I Wish I’d Known Before I Started
Looking back at every seat I’ve built or bought over the years, there are a handful of lessons that would have saved me time, money, and more than a few splinters.
Always think about drainage first. Whether it’s a wooden bench, a cushion, or a cinder block seat, water pooling underneath is what shortens the life of outdoor furniture the fastest. I always leave small gaps between boards or drill a few drainage holes before I ever pick up a paintbrush.
Invest in your cushions, not just your frames. A gorgeous bench with cheap, flat cushions will never feel as inviting as a simple bench with plush, well-made ones. I’ve learned to spend a little more here than anywhere else.
Match your seating to how you actually use your garden. If you love hosting big groups, prioritize a sectional or picnic table over a single hammock chair. If your garden is your personal retreat, a reading nook or hanging chair will serve you far better than a crowd-sized sofa.
Don’t skip the sanding step. It’s tempting to rush straight to painting or staining, but every splinter I’ve ever gotten came from a corner I told myself was “probably fine.”
Consider your climate honestly. Wood does beautifully in dry climates but needs yearly resealing somewhere humid. Metal frames rust quickly near the coast unless they’re powder-coated. Choose materials that match where you actually live, not just what looks prettiest in photos.
How to Choose the Right Seating for Your Space
With twenty-five ideas to choose from, it helps to narrow things down by thinking through a few simple questions before you start building or buying.
Start with your available space. A small balcony garden calls for a single bistro set or a hanging chair, while a sprawling backyard can handle a full sectional, a fire pit ring, and a reading nook all at once.
There’s no need to force a large sofa into a cozy courtyard, just as there’s no need to leave a big open lawn under-furnished with a single tiny chair.
Next, think about sun and shade throughout the day. Walk your garden at different hours and notice where the light falls in the morning versus the late afternoon. A chaise lounge belongs in full sun, while a hammock chair or reading nook thrives in dappled shade beneath a tree.
Finally, think about maintenance realistically. Some of us love a weekend project and don’t mind resealing wood every spring; others want to set up furniture once and forget about it for years. Be honest about which type of gardener you are, because it will save you frustration down the line.
Final Thoughts
Whichever of these twenty-five ideas speaks to you, I promise the effort is worth it. There’s nothing quite like stepping outside into a garden that actually invites you to sit down, breathe, and stay a while.
I started with just one small bench years ago, tucked into a corner I almost gave up on entirely. Now my garden has grown into a series of little seating moments, each one suited to a different mood, a different time of day, a different kind of gathering.
That’s really the heart of what I hope you take away from this list: you don’t need to build all twenty-five ideas at once. Pick the one that matches how you want to feel in your garden right now, gather your materials, and get started this season.
Your future self, curled up with a cup of tea in a seat you built with your own hands, will thank you for it.
