
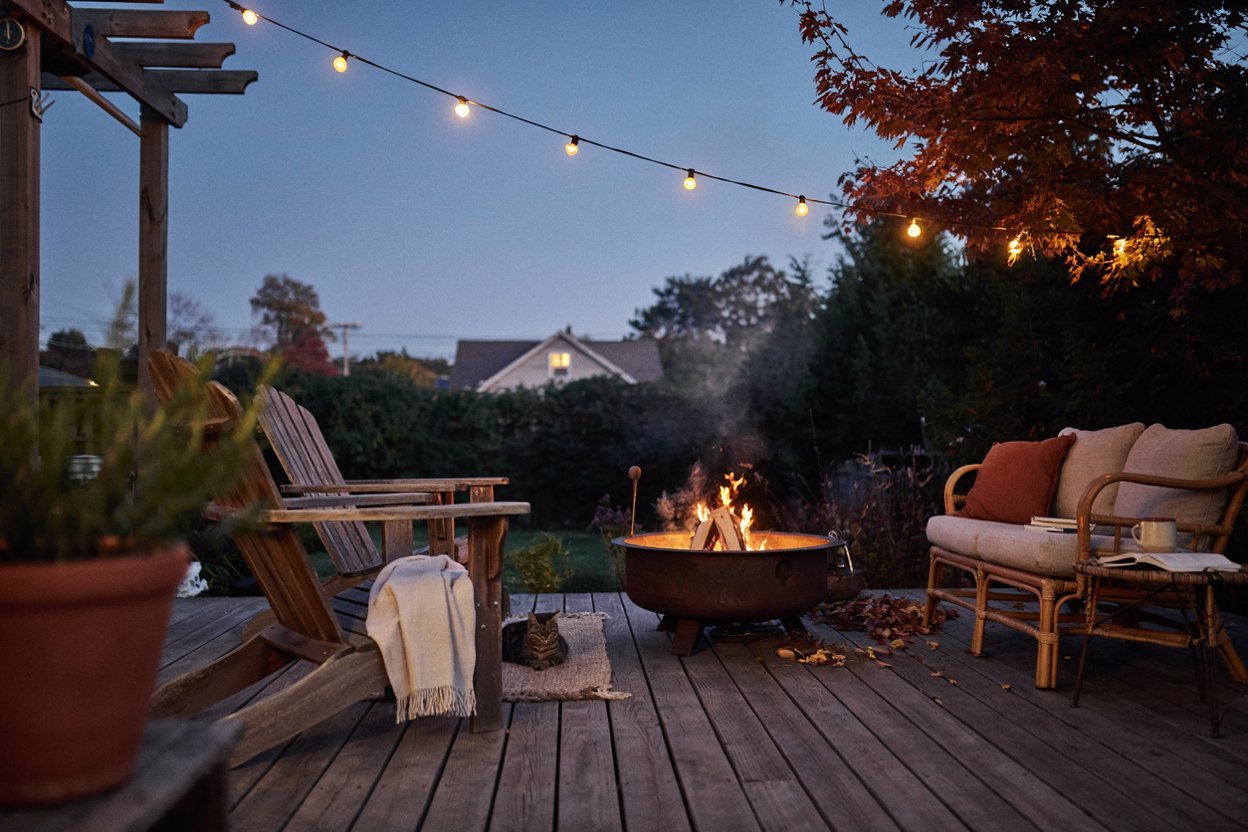

I still remember the first chilly evening I spent huddled around a little fire pit with a blanket over my knees, a mug of something warm in my hands, and friends laughing all around me.
That’s the magic of a fire pit it turns an ordinary backyard into the place everyone wants to be.
Whether you’re dreaming of a rustic stone circle, a sleek modern design, or something budget-friendly you can build this weekend, I’ve gathered ten gorgeous fire pit ideas to help you find the perfect fit for your space and style.
Grab a cup of tea, get comfortable, and let’s find the fire pit that’s going to make your backyard the heart of your home.
1. Classic Stone Ring Fire Pit
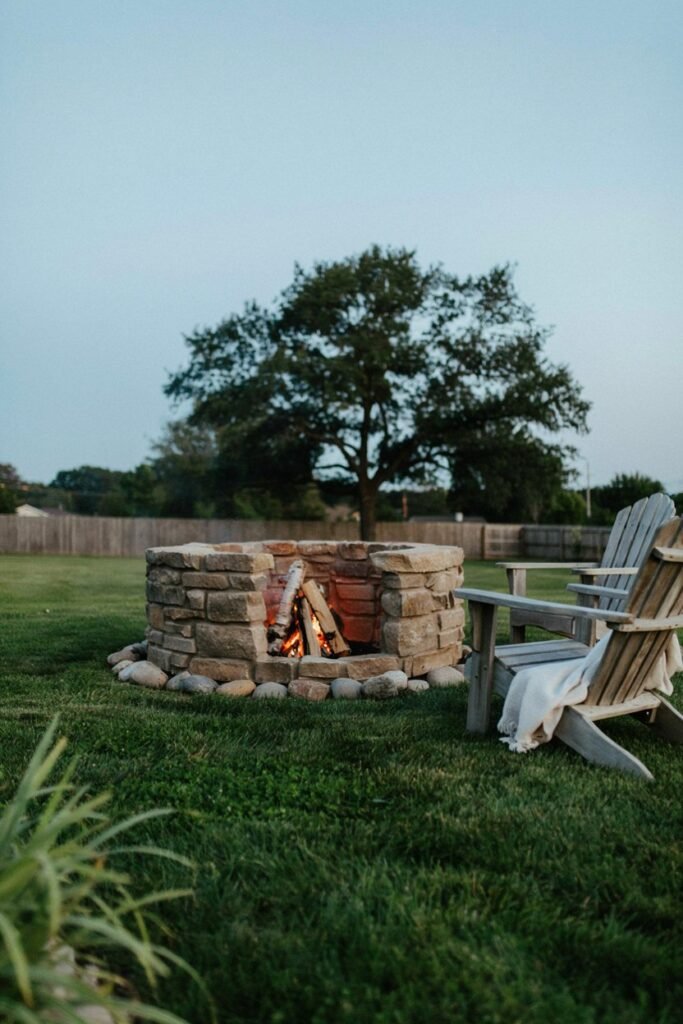
There’s something timeless about a simple stone circle. It’s the fire pit equivalent of a little black dress it never goes out of style, and it fits almost any backyard aesthetic.
What you’ll need:
- Fire-rated stones or pavers
- Sand or gravel for the base
- A metal fire pit ring insert (optional, for safety and durability)
- Landscaping shovel
- Level (to keep your stones even)
Steps to achieve it:
- Pick a flat, open spot at least 10 feet from structures, fences, or overhanging branches.
- Mark a circle with spray paint or a rope, roughly 3-4 feet in diameter.
- Dig out the marked area about 6 inches deep and fill with a layer of sand or gravel.
- Set your metal ring insert in the center, if using one.
- Stack your stones around the ring, checking each layer with a level as you go.
- Let everything settle for a day before lighting your first fire.
2. Sunken Fire Pit Lounge
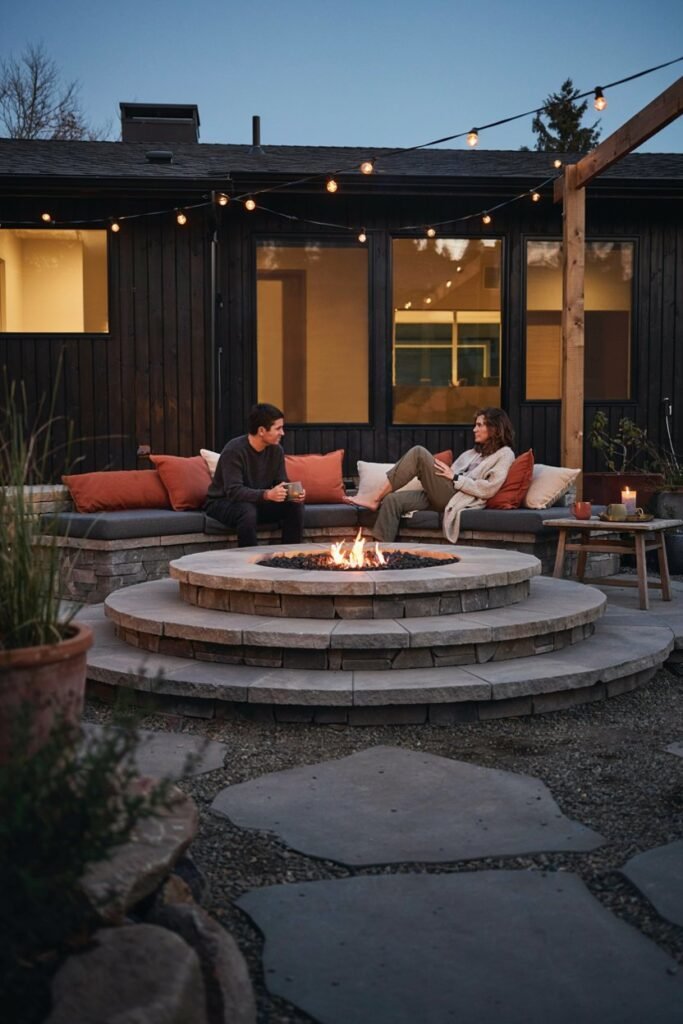
If you love the idea of a cozy, conversation-pit feel, a sunken fire pit creates natural seating and wind protection while giving your yard a dreamy, architectural look.
What you’ll need:
- Retaining wall blocks
- Gravel for drainage
- Built-in or freestanding fire pit insert
- Outdoor cushions or built-in bench seating
- Basic excavation tools
Steps to achieve it:
- Choose a spot and mark a circle roughly 8-10 feet wide to allow for the sunken seating area.
- Excavate the area about 12-18 inches deep, keeping the sides even.
- Line the outer wall with retaining wall blocks, stacking and leveling as you build up.
- Add a few inches of gravel to the base for drainage.
- Place your fire pit insert in the center.
- Finish the sunken ledge with built-in seating or weatherproof cushions around the perimeter.
3. Modern Concrete Fire Bowl
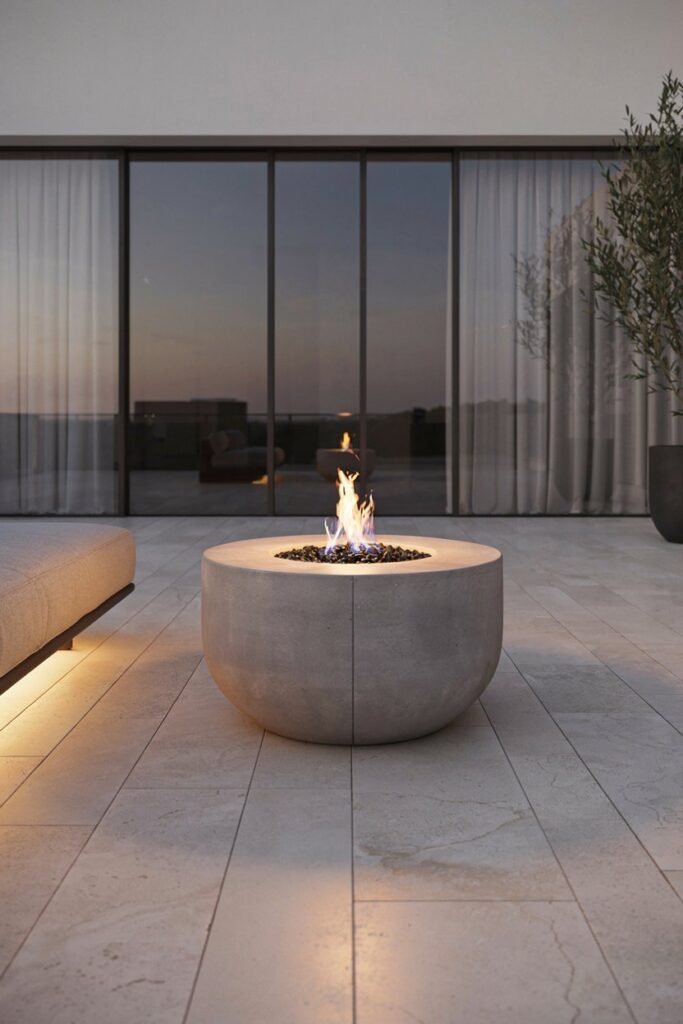
For a clean, minimalist look, a poured concrete fire bowl feels chic and architectural perfect if your style leans more “modern farmhouse” than “rustic cabin.”
What you’ll need:
- Concrete mix
- A bowl-shaped mold
- Fire glass or lava rocks
- Propane or natural gas burner kit
- Protective sealant
Steps to achieve it:
- Choose or build a bowl-shaped mold in your desired size.
- Mix the concrete according to package instructions and pour it into the mold.
- Insert a smaller mold in the center (if hollowing the bowl) and let the concrete cure for 48-72 hours.
- Remove the molds carefully once fully set.
- Apply a protective sealant to guard against weather and heat damage.
- Install your gas burner kit and top with fire glass or lava rocks.
4. DIY Brick Fire Pit
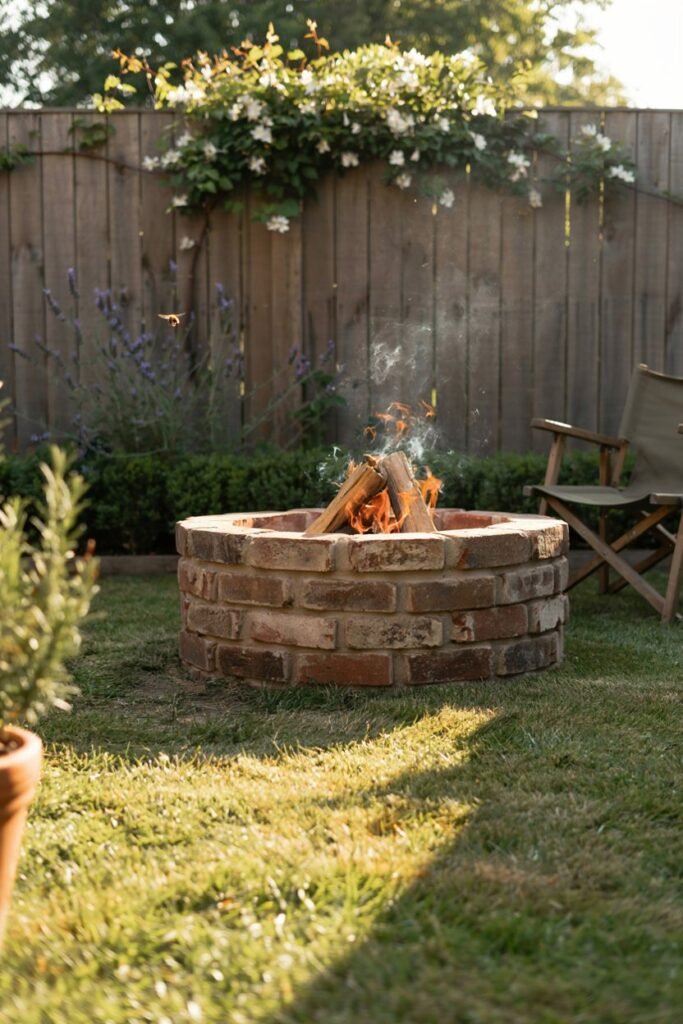
This one’s a personal favorite for anyone who loves a good weekend project. Brick is affordable, easy to work with, and gives off such a warm, welcoming glow.
What you’ll need:
- Fire-rated bricks
- Mortar or heat-resistant adhesive
- Trowel
- Level
- Gravel base
Steps to achieve it:
- Mark and clear a circular area about 4 feet in diameter.
- Lay a base of gravel, about 4-6 inches deep, and pack it down firmly.
- Begin stacking bricks in a circle, applying mortar or heat-resistant adhesive between each layer.
- Check with a level frequently to keep the rows even.
- Continue stacking until you reach about 3-4 layers high.
- Let the mortar cure fully (usually 24-48 hours) before your first fire.
5. Gas Fire Pit Table
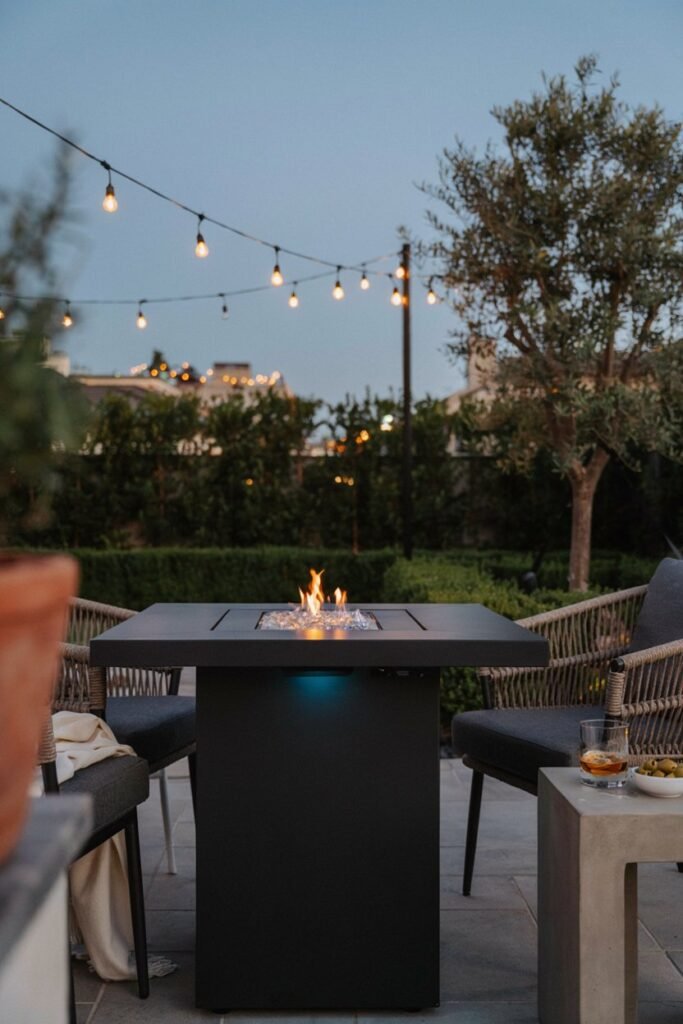
If convenience is your love language, a gas fire pit table lets you flip a switch and enjoy instant ambiance no smoke, no soot, just cozy vibes on demand.
What you’ll need:
- Fire pit table kit
- Propane tank or natural gas line hookup
- Fire glass or decorative stones
- Weatherproof cover
- Comfortable outdoor seating
Steps to achieve it:
- Choose a level, well-ventilated spot away from structures and overhangs.
- Assemble the fire pit table kit following the manufacturer’s instructions.
- Connect the propane tank or hire a professional to hook up a natural gas line.
- Fill the burner area with fire glass or decorative stones.
- Test the ignition system before your first real use.
- Arrange seating around the table and keep the weatherproof cover on hand for rainy days.
6. Boho Fire Pit with Floor Cushions
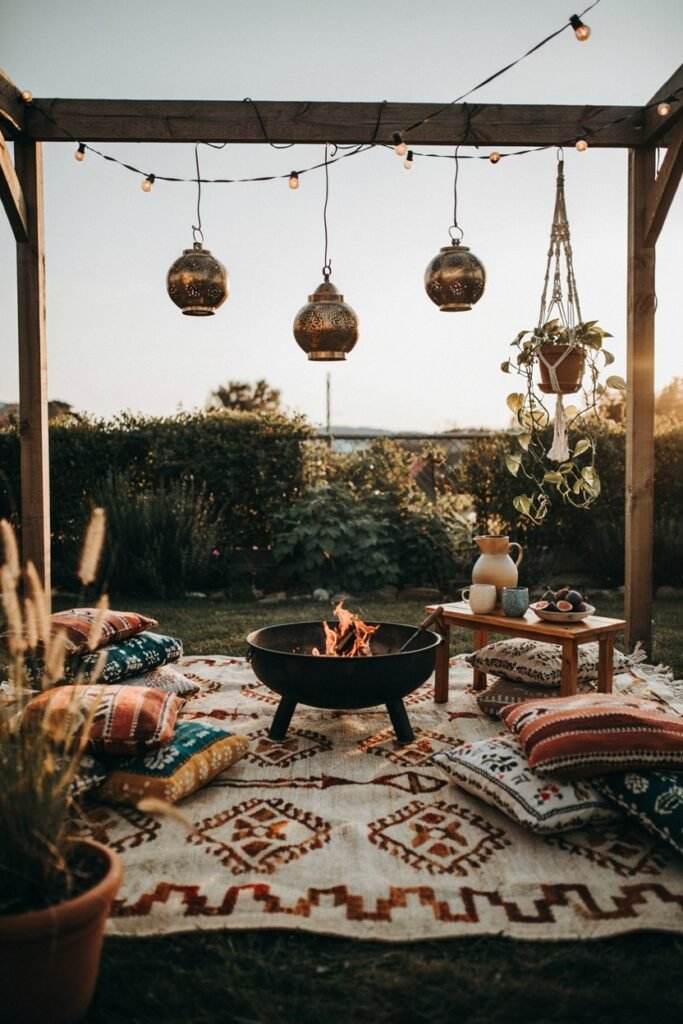
For the free spirits out there, pair a simple fire bowl with floor cushions, string lights, and a woven rug for a laid-back, boho-chic gathering spot.
What you’ll need:
- Portable metal fire bowl
- Floor cushions and poufs
- Outdoor rug
- String or lantern lighting
- Low side tables
Steps to achieve it:
- Set your portable fire bowl in the center of your chosen gathering spot.
- Lay an outdoor rug around it, leaving safe clearance from the flames.
- Arrange floor cushions and poufs in a loose circle on top of the rug.
- String lights overhead or around nearby trees and fencing for ambiance.
- Add low side tables within reach for drinks and snacks.
- Layer in lanterns or candles for extra warmth once the sun goes down.
7. Fire Pit with Built-In Bench Seating
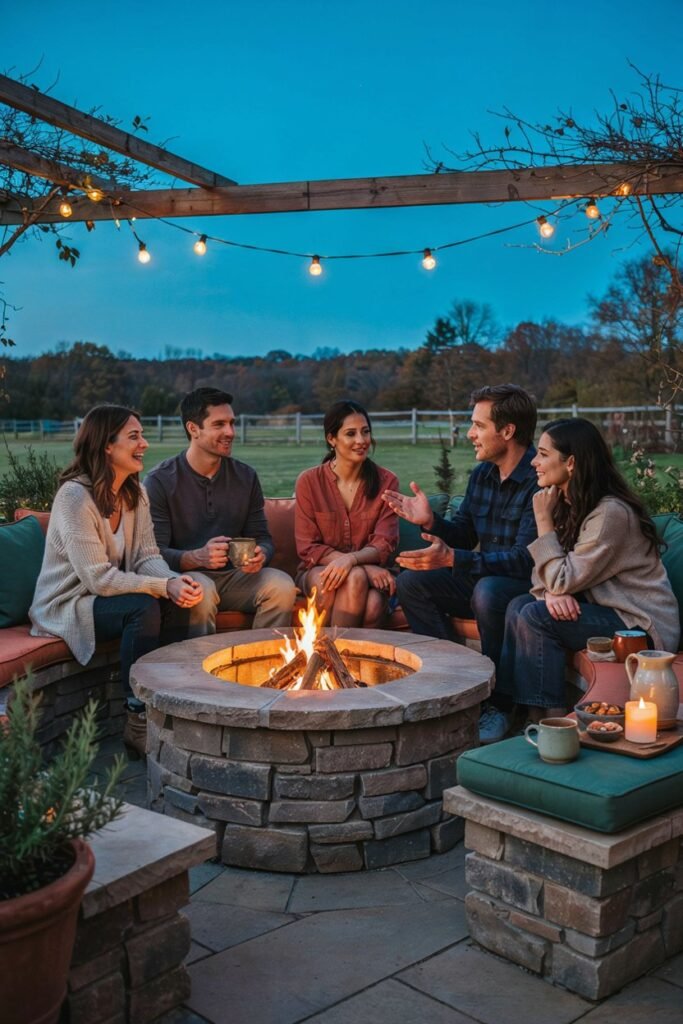
This is the ultimate hosting setup. Circular built-in benches mean everyone has a seat, and you’ll never run out of room for one more friend.
What you’ll need:
- Retaining wall blocks or lumber for benches
- Fire pit insert
- Weatherproof cushions
- Construction adhesive
- Measuring tape
Steps to achieve it:
- Decide on the overall diameter of your seating circle, leaving enough space around the central fire pit.
- Mark out the bench footprint and level the ground.
- Stack retaining wall blocks or build a lumber frame to your desired bench height (typically 16-18 inches).
- Secure each layer with construction adhesive.
- Install your fire pit insert in the center once the benches are complete.
- Top the benches with weatherproof cushions for extra comfort.
8. Portable Fire Pit for Small Yards
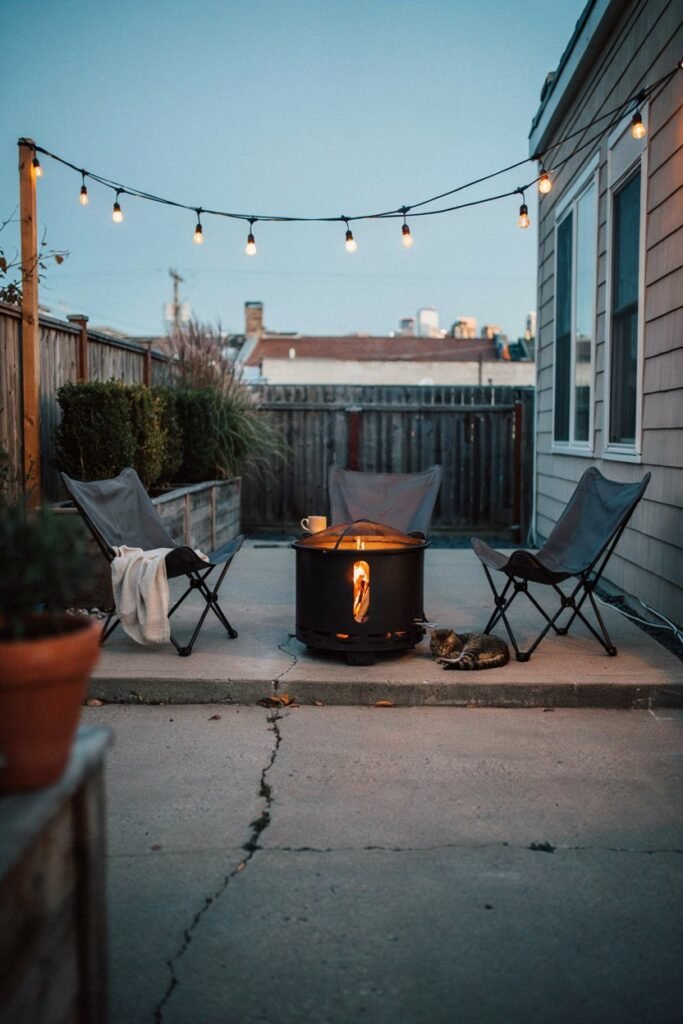
Small space? No problem. A portable fire pit gives you all the cozy warmth without demanding a permanent spot in your yard.
What you’ll need:
- Portable steel or copper fire pit
- Heat-resistant mat or pad (to protect your patio)
- Fire poker
- Spark screen
- Folding outdoor chairs
Steps to achieve it:
- Choose a flat, stable surface such as a patio, deck (with proper heat protection), or gravel patch.
- Place a heat-resistant mat down first to protect the surface underneath.
- Set your portable fire pit on top of the mat.
- Attach the spark screen to contain embers.
- Arrange folding chairs in a loose circle at a safe distance.
- Keep a fire poker nearby to tend the flames easily.
9. Fire Pit Patio with Pergola
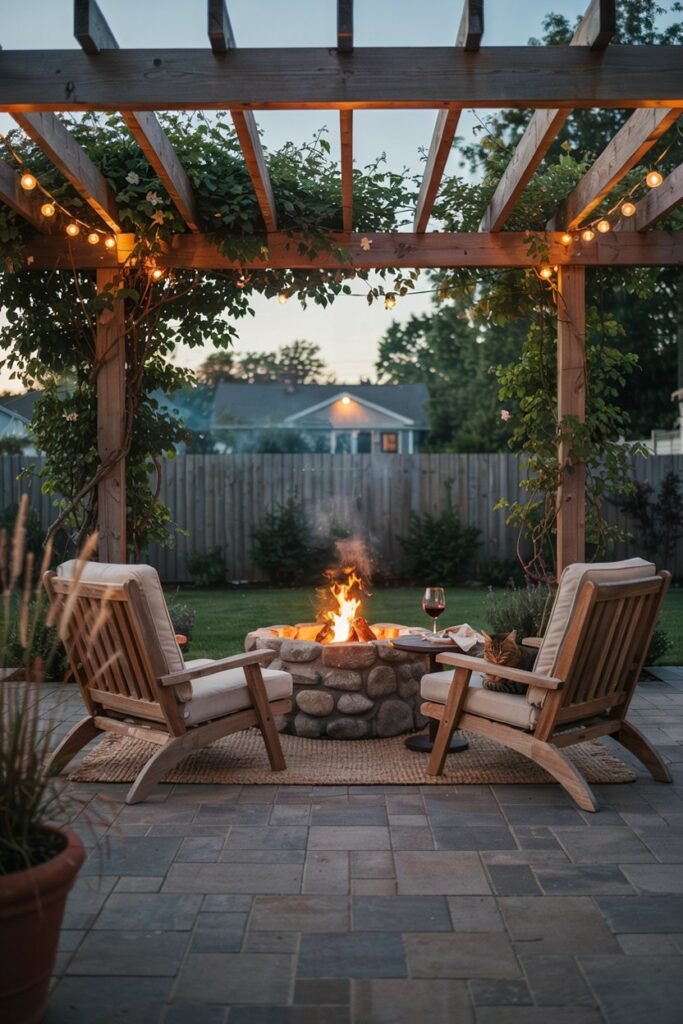
Adding a pergola above your fire pit area creates a defined outdoor “room” and gives you a beautiful frame for string lights or climbing vines.
What you’ll need:
- Pergola kit or lumber
- Pavers for the patio base
- Fire pit insert
- String lights
- Outdoor furniture set
Steps to achieve it:
- Choose a spot large enough for both the pergola footprint and comfortable seating around the fire pit.
- Lay pavers to create a solid, even patio base.
- Assemble or build the pergola frame around (not directly over) the fire pit area, keeping enough vertical clearance.
- Install your fire pit insert in the center of the patio.
- String lights along the pergola beams for evening ambiance.
- Furnish the space with weatherproof seating and side tables.
10. Rustic Wood-Burning Fire Pit with Log Storage
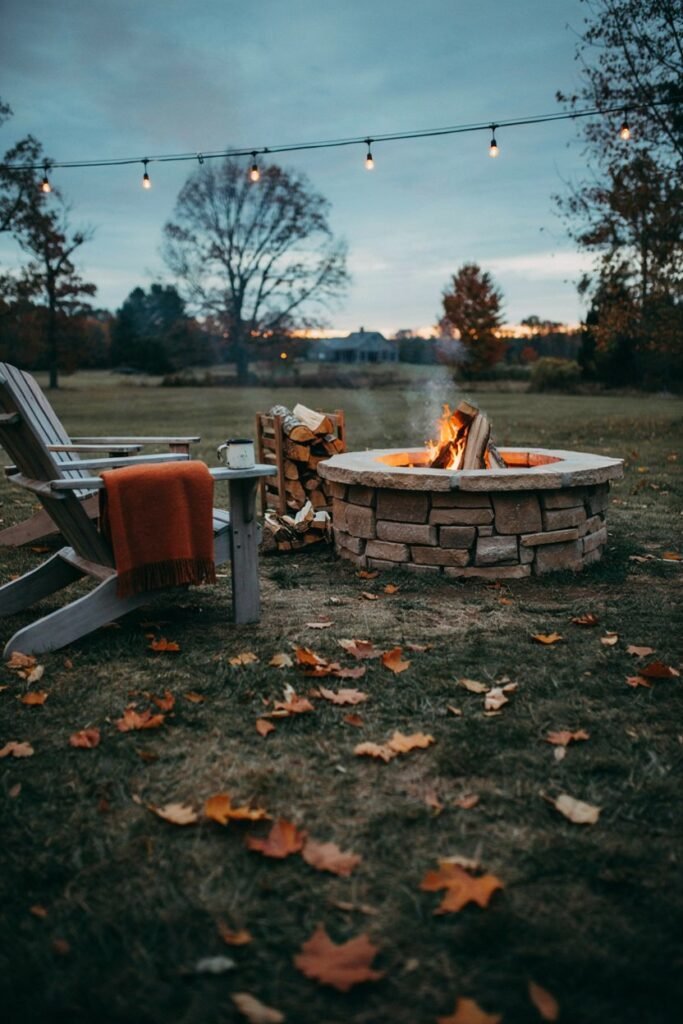
For the traditionalists who love the crackle of real wood, this setup pairs a classic wood-burning pit with a built-in log rack so your firewood stays dry and within reach.
What you’ll need:
- Fire-rated stone or metal pit
- Wood log rack or storage bin
- Firewood
- Fire poker and tongs
- Spark screen
Steps to achieve it:
- Select a spot away from trees, fences, and structures, with good airflow.
- Set up your fire-rated stone or metal pit following the manufacturer’s guidelines or the stone-ring steps above.
- Build or place a log rack nearby, close enough for convenience but a safe distance from the flames.
- Stack your firewood neatly, keeping it covered or under an overhang if possible.
- Add a spark screen to keep embers contained.
- Keep a poker and tongs within reach for adjusting logs safely.
No matter which of these ideas speaks to you, the goal is the same: creating a warm, welcoming spot where memories are made one evening at a time. Which one is calling your name?
Final Thought
At the end of the day, a fire pit isn’t just a backyard feature it’s an invitation. It’s the reason your neighbors wander over for “just five minutes” and end up staying for hours.
It’s where s’mores get made, stories get told, and the little moments of an ordinary evening turn into memories you’ll look back on fondly. So don’t overthink it.
Pick the idea that makes your heart feel a little warmer just imagining it, gather your materials, and get started this weekend. Your backyard and everyone you invite into it will thank you.
