
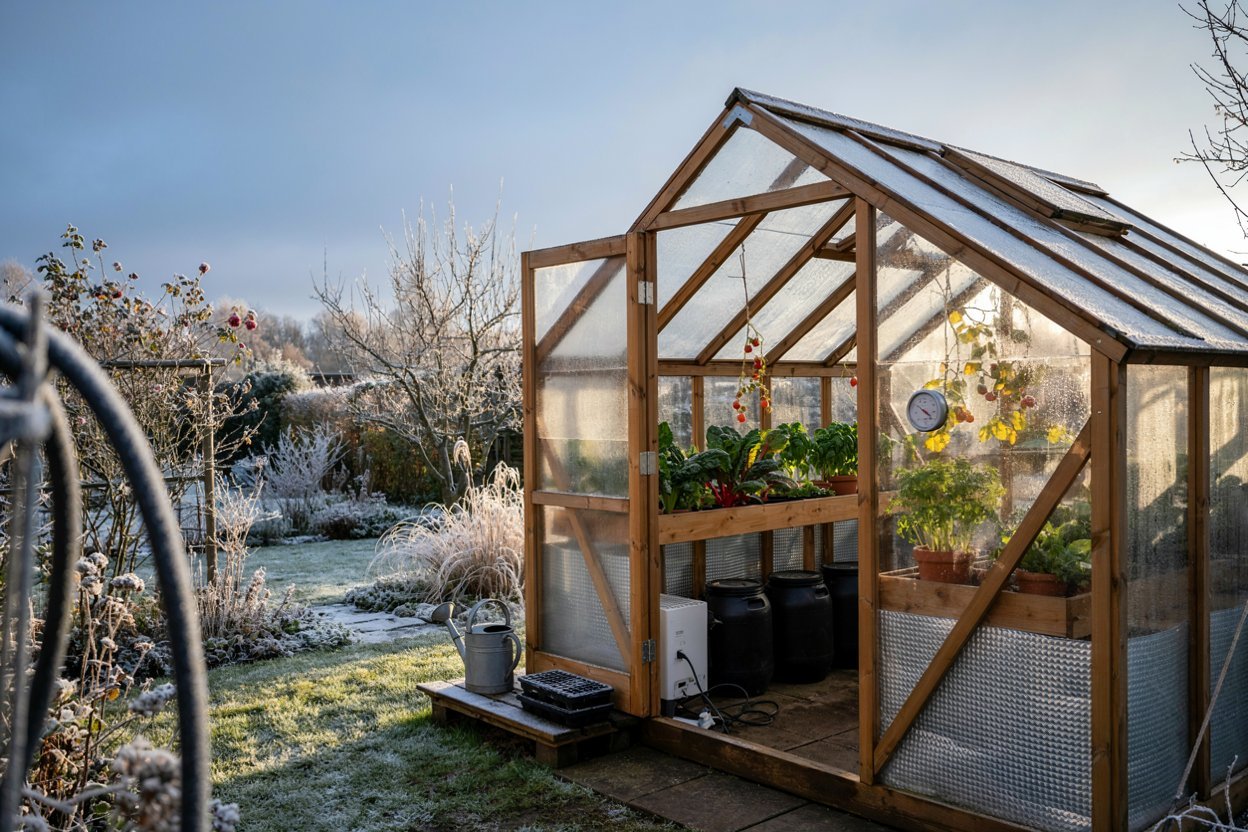

Winter can be one of my favorite times to have a greenhouse.
I love stepping inside on a cold morning and finding my plants protected from harsh weather, but keeping that little space warm enough can take some planning.
Over the years, I’ve learned that you don’t always need to turn up the heat to keep plants comfortable.
A combination of good insulation, sunlight, thermal mass, proper ventilation, and a reliable heater when needed can make a huge difference.
In this guide, I’ll share some of the simplest ways to keep a greenhouse warm through winter while reducing unnecessary heat loss and protecting your plants from freezing temperatures.
Why Does a Greenhouse Get Cold in Winter?
A greenhouse naturally warms up when sunlight passes through its covering, but that warmth can disappear quickly once the sun goes down.
Heat can escape through the greenhouse covering, doors, vents, cracks, gaps, and even the ground. Cold air entering through poorly sealed areas can make a heater work much harder.
That’s why I always recommend preventing heat loss before adding more heat.
A well-insulated greenhouse can hold onto daytime warmth much more effectively than a drafty greenhouse.
1. Choose the Sunniest Location Possible
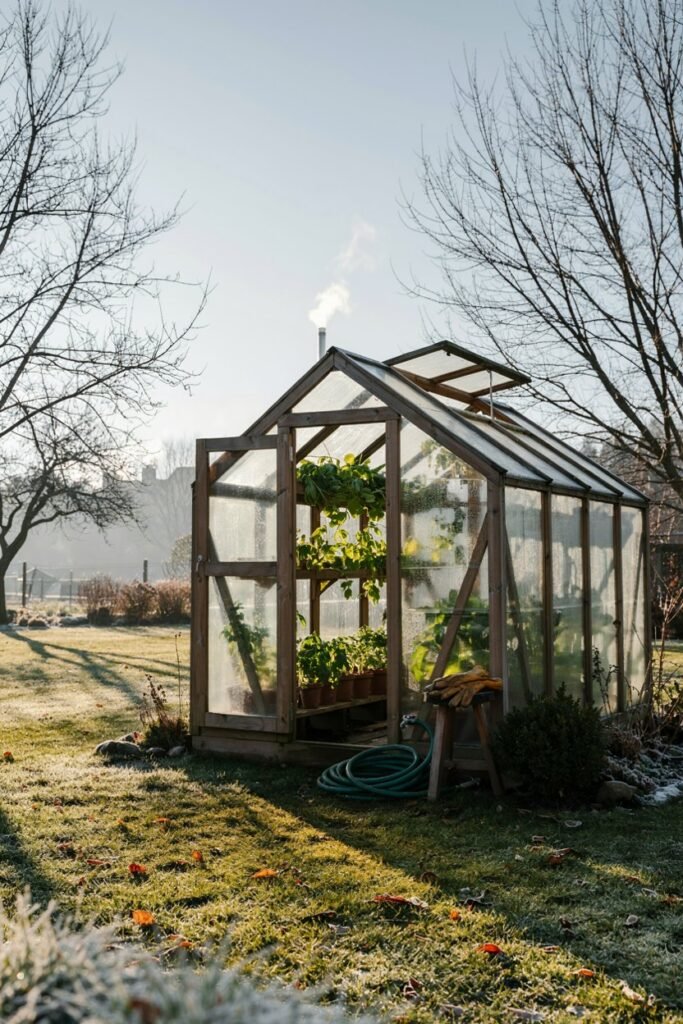
If you are still deciding where to place your greenhouse, location matters enormously.
During winter, sunlight is one of your best free sources of heat.
Choose a position where the greenhouse receives as much direct winter sunlight as possible. Avoid areas shaded by tall buildings, large evergreen trees, fences, or other structures.
A south- or southeast-facing position can be particularly useful in locations where winter sunlight is limited.
Before winter arrives, watch your garden throughout the day and notice where shadows fall. A location that looks sunny in summer may become surprisingly shady in winter.
Quick tip
Keep the greenhouse glazing clean. Dust, algae, and grime can reduce the amount of sunlight entering the greenhouse.
2. Seal Every Draft and Crack
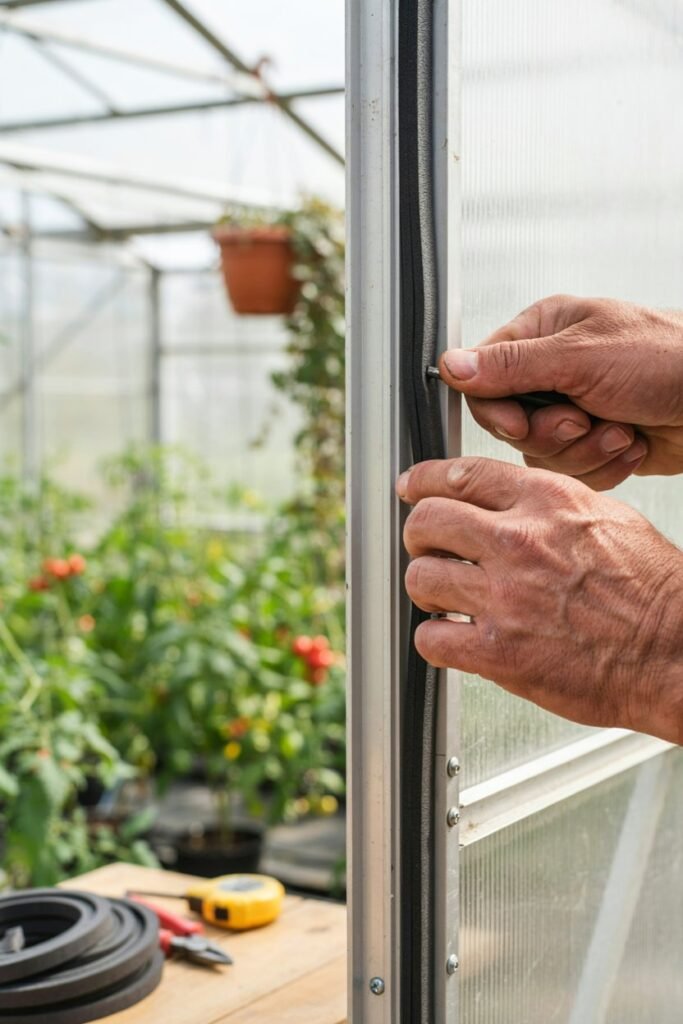
This is one of the easiest things you can do, and it can make a surprisingly noticeable difference.
Walk around your greenhouse and inspect:
- The door
- Door frames
- Window frames
- Roof vents
- Wall panels
- Glazing joints
- Corners
- Foundation areas
- Damaged greenhouse plastic
Small gaps allow warm air to escape and cold air to enter.
Use appropriate weatherstripping, caulk, or greenhouse repair materials to seal areas where unwanted drafts are getting inside. Pay particular attention to doors and vents because these are common places for air leakage.
Just remember that sealing does not mean eliminating ventilation. You still need to ventilate the greenhouse when conditions require it.
3. Add Horticultural Bubble Wrap
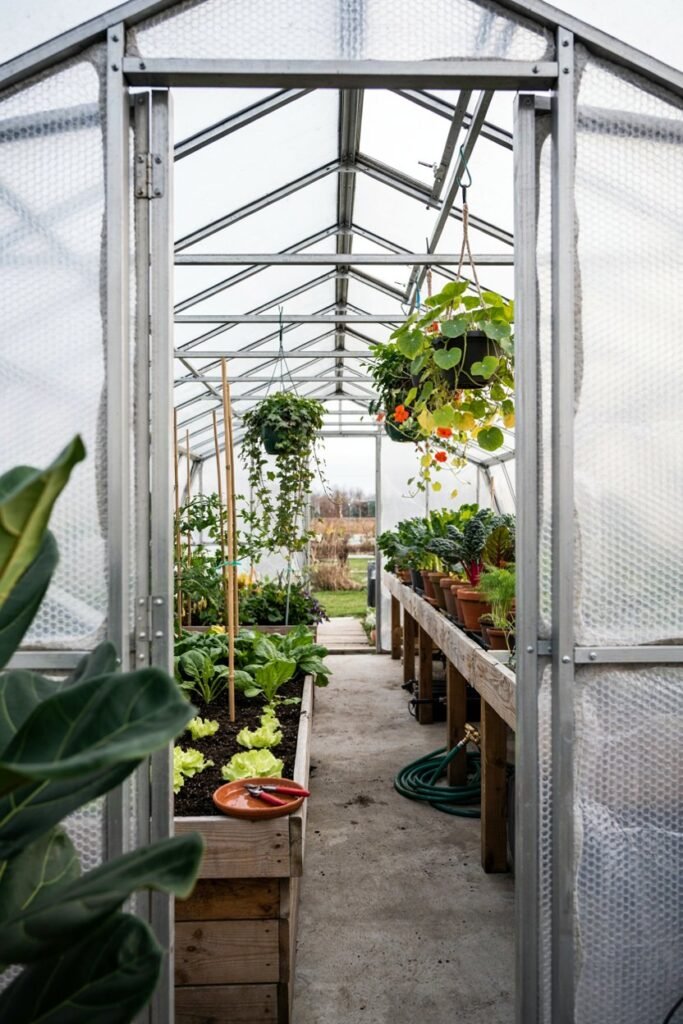
Bubble wrap can be a simple way to add an insulating layer to greenhouse glazing.
Horticultural bubble wrap works by creating pockets of air that slow heat loss while still allowing light into the greenhouse.
You can use it on glass or other suitable greenhouse surfaces, particularly on the areas that lose heat quickly.
The RHS notes that bubble wrap can reduce light transmission somewhat, so I prefer to use it strategically rather than covering every available surface without considering winter light levels.
Where should you use it?
You can concentrate insulation on:
- North-facing areas
- Greenhouse walls
- Particularly cold sections
- Areas around doors
- Sections exposed to strong winter winds
If your greenhouse already has good double-wall polycarbonate, you may need less additional insulation.
4. Use Thermal Mass to Store Heat
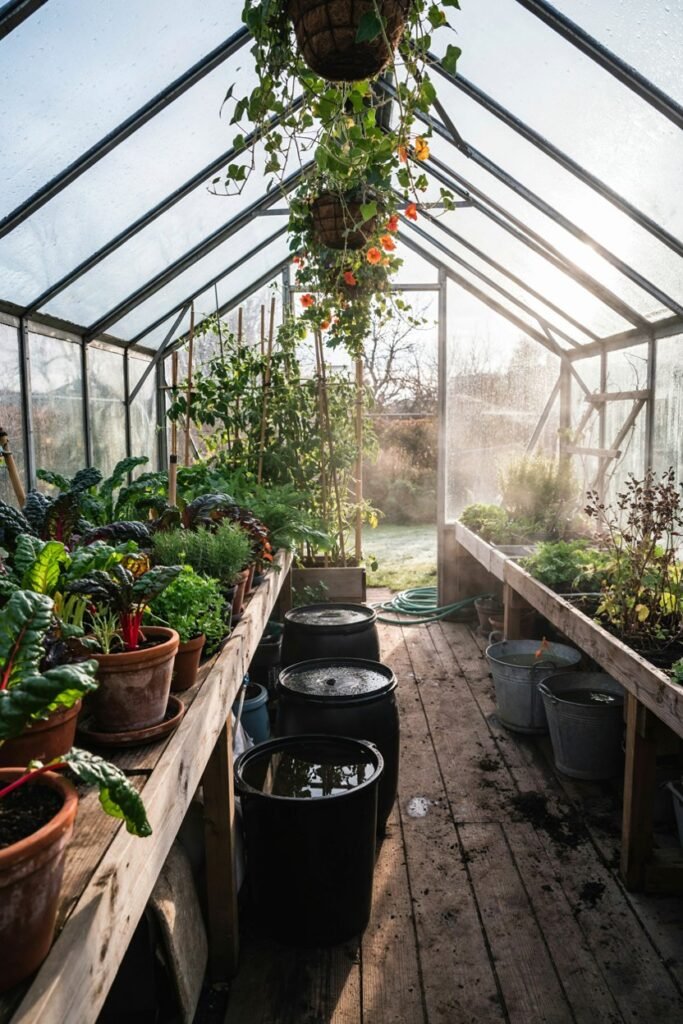
One of my favorite simple greenhouse tricks is using thermal mass.
Thermal mass refers to materials that absorb heat during the day and gradually release it as temperatures fall.
Water is particularly useful because it can store a considerable amount of heat.
You can place sturdy containers filled with water inside the greenhouse where they receive sunlight during the day. As the greenhouse cools after sunset, the warmed water gradually gives some of that stored heat back to the surrounding environment.
Other materials can also provide thermal mass, including:
- Bricks
- Stone
- Ceramic containers
- Concrete
- Soil
- Water containers
Where should you put water containers?
Place them where they receive direct sunlight during the day without blocking too much light from your plants.
Dark-colored containers can also absorb solar radiation efficiently.
Keep in mind that thermal mass is a temperature buffer, not a replacement for a heater during severe freezes.
5. Use Insulating Curtains at Night
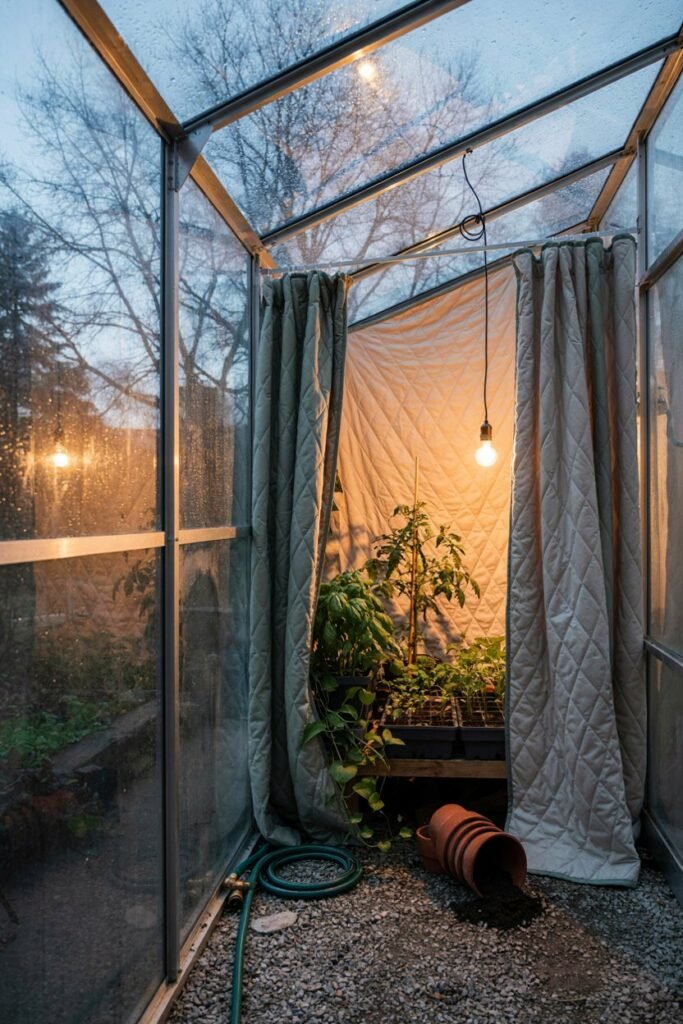
If your greenhouse loses a lot of warmth after sunset, consider adding an insulating curtain or thermal covering.
The idea is simple: during the day, allow sunlight into the greenhouse. Before temperatures drop sharply in the evening, close the insulating layer to help slow heat loss.
You don’t necessarily need to cover the entire greenhouse permanently.
In a larger greenhouse, you can create a smaller insulated growing area around the plants that need the most protection. The RHS also recommends reducing the area that needs heating when only part of a greenhouse is being used.
This can be especially helpful if you are overwintering only a few tender plants.
6. Protect the Plants Instead of Heating the Entire Greenhouse
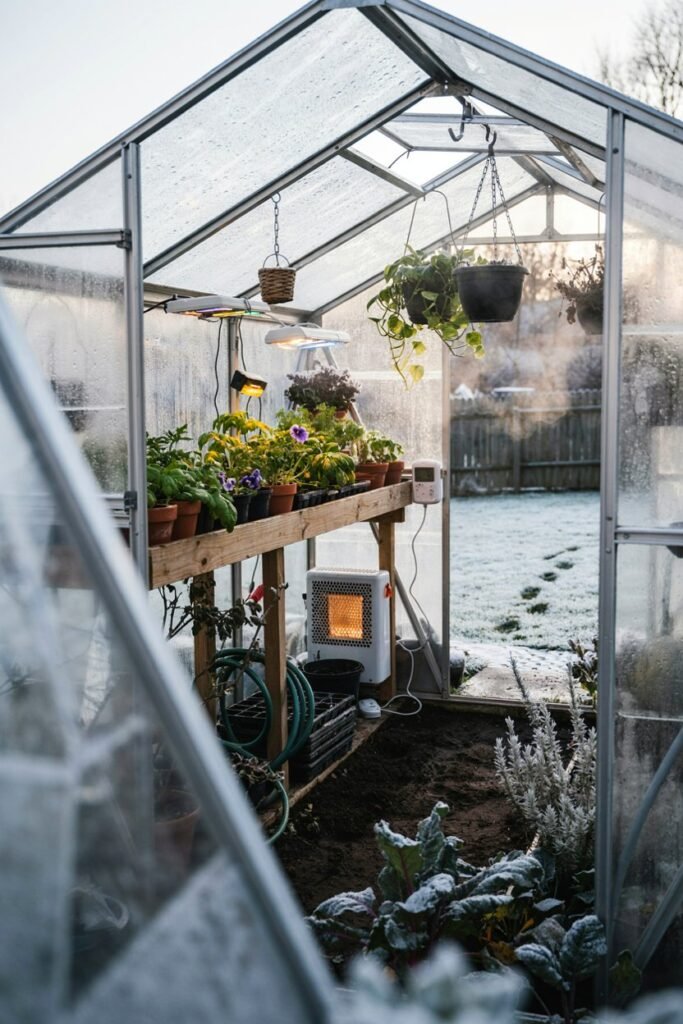
Sometimes the smartest approach isn’t heating the entire greenhouse.
If you only have a small collection of plants that need extra protection, concentrate your efforts around them.
You can group plants together and use suitable frost protection such as horticultural fleece or plant covers.
This creates a protected microclimate around the plants without requiring you to heat a large amount of unused space.
Cold-tolerant vegetables such as kale, spinach, lettuce, radishes, carrots, turnips, and leeks can also be grown through winter in suitable conditions without keeping the greenhouse at summer temperatures.
7. Add a Reliable Greenhouse Heater
When insulation and passive methods aren’t enough, supplemental heating may be necessary.
The type and size of heater you need depend on:
- Greenhouse size
- Outside winter temperatures
- Greenhouse construction
- Insulation
- Desired nighttime temperature
- Plants being grown
Electric heaters are commonly used in small greenhouses, while larger structures may require other properly installed heating systems.
For a small hobby greenhouse, a thermostat-controlled greenhouse heater can be convenient because it can turn on when temperatures fall below your selected setting.
Safety first
Always follow the heater manufacturer’s instructions and keep heating equipment away from water, flammable materials, and crowded areas.
Fuel-burning heaters require particular care. Extension guidance warns against using unvented propane or kerosene heaters because combustion gases can accumulate inside the greenhouse. Proper ventilation and installation are essential for fuel-burning systems.
8. Use a Thermostat Instead of Guessing
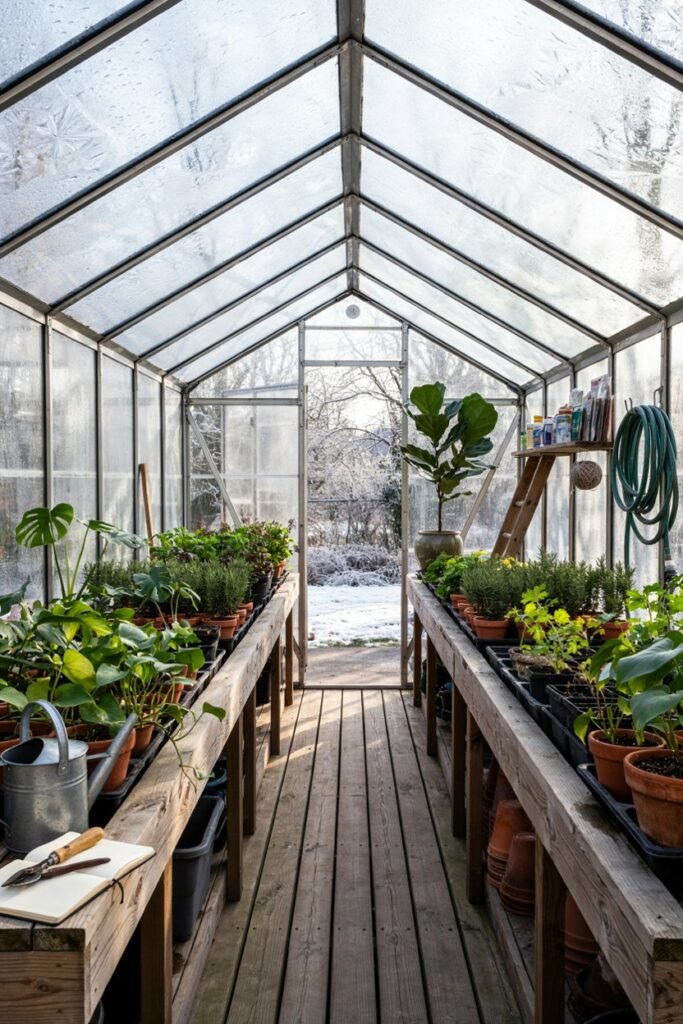
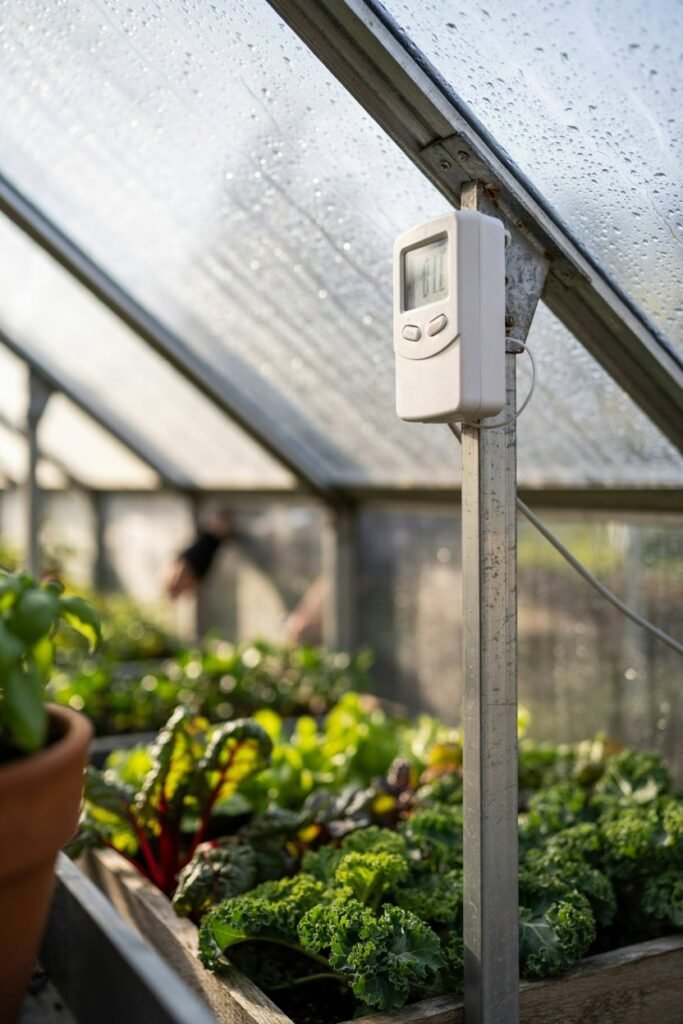
A greenhouse thermometer is one of the most useful winter tools you can own.
Rather than guessing whether your greenhouse is warm enough, monitor the actual temperature.
A digital thermometer with minimum and maximum readings can show you how cold the greenhouse becomes overnight.
For many greenhouse plants, nighttime temperatures around 55–65°F (13–18°C) may be suitable, but this varies considerably depending on the plants. Some cold-hardy crops can tolerate much lower temperatures, while tropical plants require considerably more warmth.
If your goal is simply to prevent frost, you may not need to maintain the same temperature required for active winter growth.
Always check the temperature requirements of the specific plants you’re growing.
9. Keep Plants Off the Coldest Floor
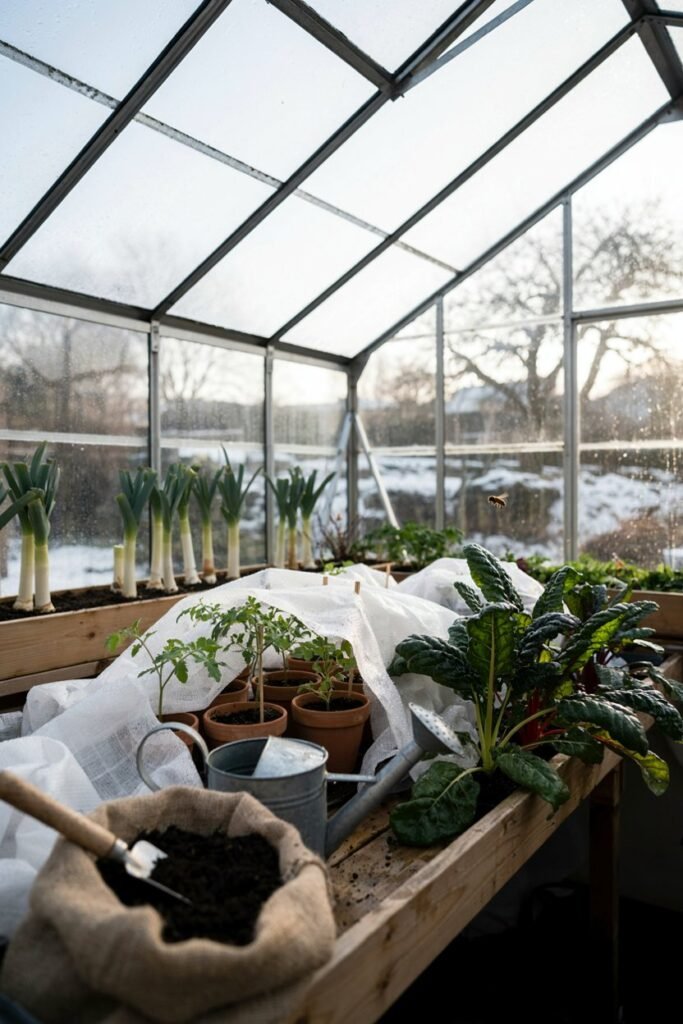
Cold air settles toward the lower part of the greenhouse, and the floor can become particularly cold overnight.
If possible, use benches or raised shelving to keep sensitive plants away from the coldest surfaces.
This also makes it easier to organize plants according to their temperature needs.
You might place more cold-tolerant plants closer to the edges while keeping tender plants toward the warmer, more protected center.
10. Don’t Forget the Soil and Roots
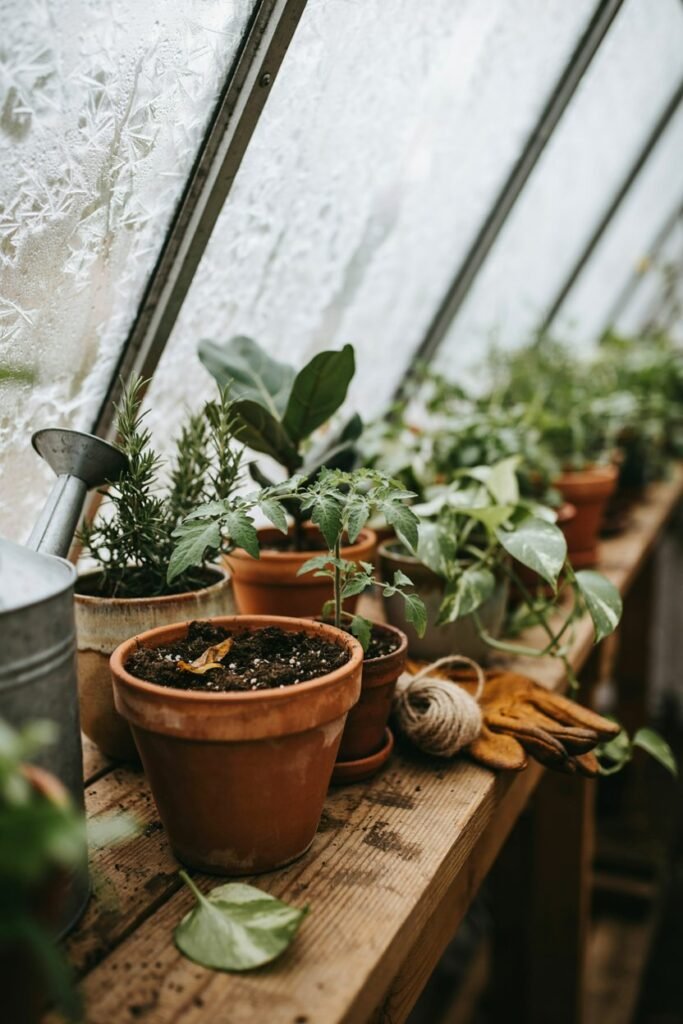
Sometimes gardeners focus so much on air temperature that they forget about the roots.
Plants growing in containers can be particularly vulnerable because the roots are surrounded by a relatively small amount of growing medium.
You can help protect containers by grouping them together and insulating around the outside of pots when appropriate.
Avoid allowing plants to sit in cold, constantly wet soil. Winter watering should be thoughtful because cool, damp conditions can encourage root problems.
11. Use Fans to Circulate Warm Air
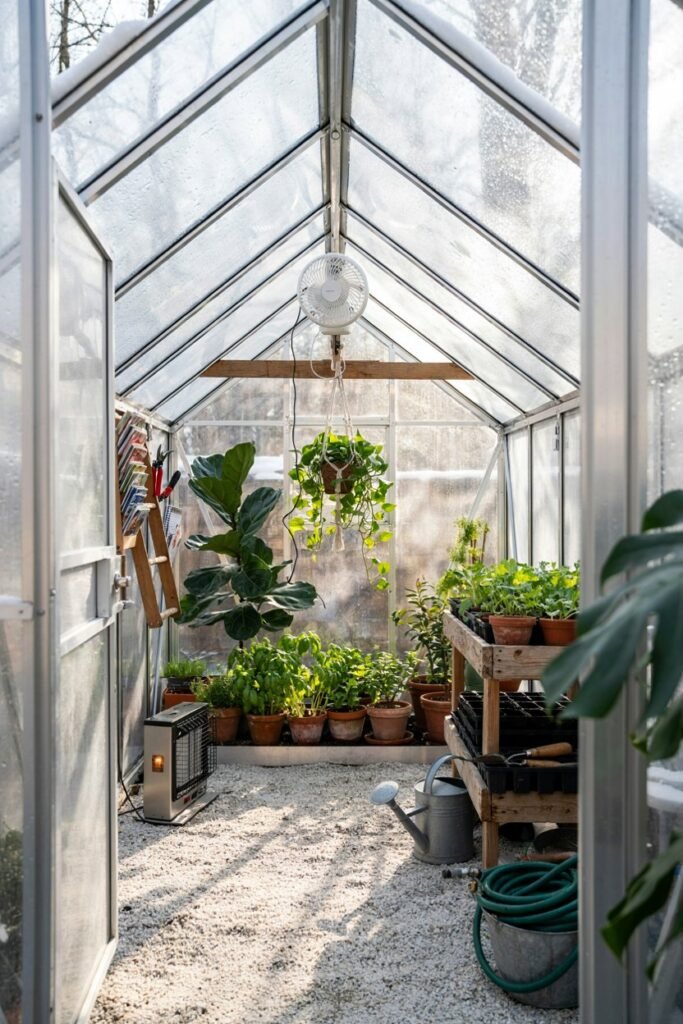
It might sound strange to use a fan when you’re trying to keep the greenhouse warm, but gentle air circulation can help distribute heat more evenly.
Warm air naturally rises, leaving the lower growing area cooler.
A circulating fan can help mix the air so that warm air doesn’t simply remain near the roof while your plants sit in colder air below.
You don’t need a powerful fan blasting directly at your plants. Gentle circulation is the goal.
12. Ventilate on Sunny Winter Days
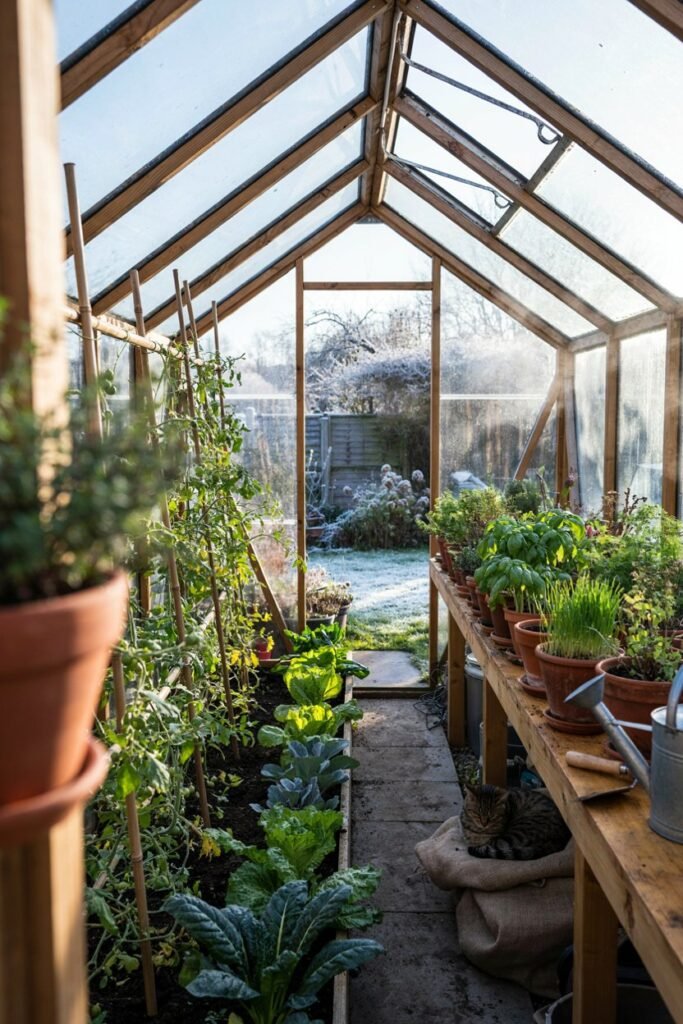
One of the biggest winter greenhouse mistakes is assuming that the greenhouse should stay completely closed all day.
Even when it’s freezing outside, sunlight can make the greenhouse surprisingly warm.
Excessive humidity can also become a problem during winter.
On mild, sunny days, open vents or doors when appropriate to allow excess heat and moisture to escape. Then close them again before the temperature drops in the evening.
Good winter greenhouse management is really about finding a balance between holding onto warmth and preventing excessive humidity.
13. Insulate the North-Facing Side
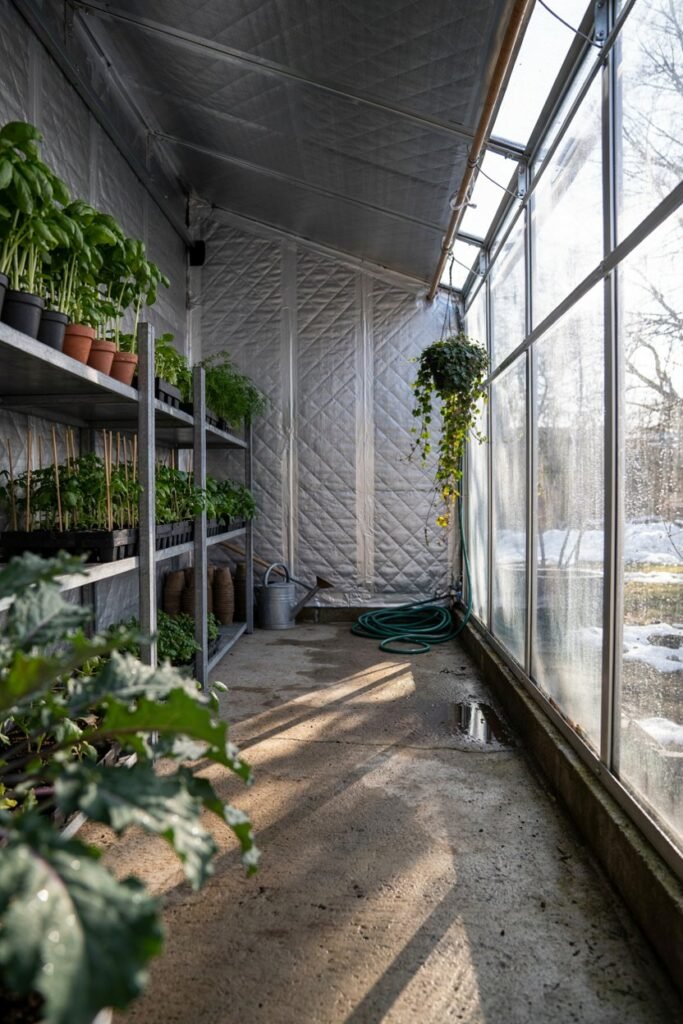
If you’re looking for another way to reduce heat loss, consider insulating the least sun-exposed side of the greenhouse.
The north-facing wall generally receives much less direct winter sunlight than the south-facing side.
A suitable opaque insulation material can help reduce heat loss there while allowing you to preserve valuable sunlight on the brighter sides.
This is particularly useful if you have a greenhouse that struggles to retain heat overnight.
14. Group Plants According to Their Temperature Needs
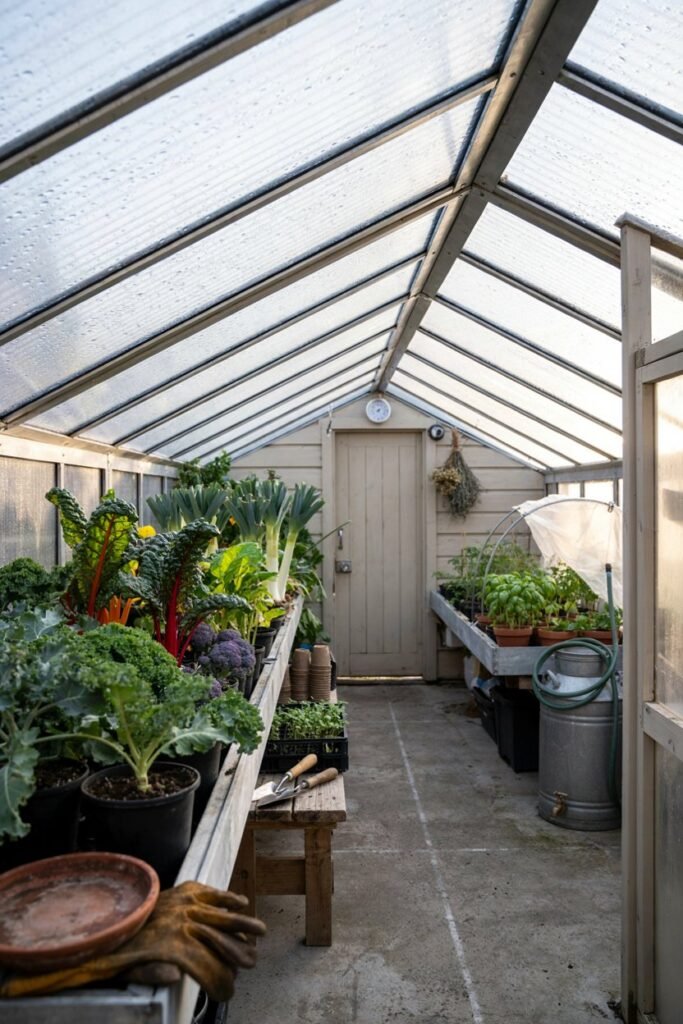
Not every plant needs the same winter conditions.
Instead of treating the greenhouse as one uniform environment, divide your plants according to their needs.
For example:
Cooler area:
Cold-hardy vegetables and hardy perennials.
Moderate area:
Herbs and plants that need protection from frost.
Warmest area:
Tender plants that require more consistent temperatures.
This approach can help you avoid spending energy heating plants that don’t actually need it.
15. Prepare Before the First Hard Freeze
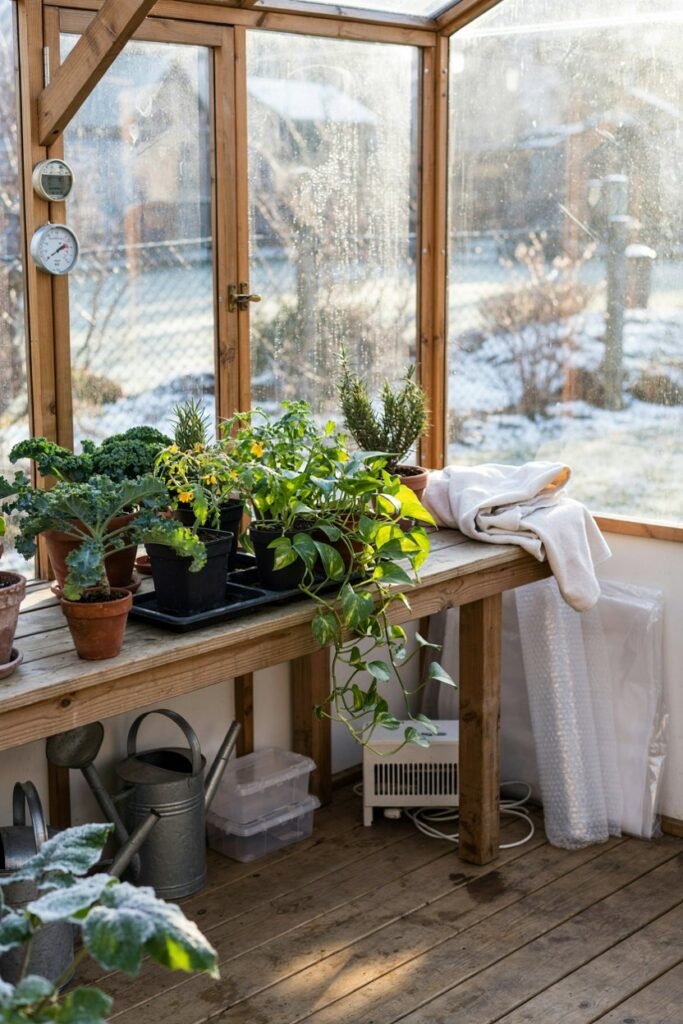
I learned long ago that winter greenhouse preparation is much easier when you do it before the weather becomes extreme.
Don’t wait until the first freezing night to discover that your greenhouse door has a huge gap or your heater isn’t working.
Before winter arrives:
- Check the greenhouse structure.
- Repair damaged panels.
- Seal unwanted drafts.
- Clean the glazing.
- Install insulation.
- Test your heater.
- Check your thermometer.
- Prepare frost protection.
- Add thermal mass.
- Inspect electrical equipment.
- Organize plants according to temperature needs.
A little preparation can save a lot of stress later.
How Warm Should a Greenhouse Be in Winter?
The answer depends on what you’re growing.
A greenhouse used mainly for protecting hardy plants doesn’t need to be as warm as one used for tropical plants or actively growing seedlings.
For many common greenhouse plants, nighttime temperatures in the 55–65°F range can be suitable, while some gardeners simply maintain temperatures high enough to prevent freezing.
Cold-hardy vegetables may continue growing at much lower temperatures.
The most important thing is to identify the minimum temperature your plants can safely tolerate and build your winter heating plan around that number.
My Simple Winter Greenhouse Strategy
If you want to keep things simple, here’s the approach I would use:
During the day
- Let as much winter sunlight into the greenhouse as possible.
- Keep the glazing clean.
- Allow thermal mass to absorb sunlight.
- Monitor the temperature.
- Ventilate if the greenhouse becomes too warm or humid.
Before sunset
- Close doors and vents.
- Check for drafts.
- Close thermal curtains if you’re using them.
- Cover particularly sensitive plants.
- Check that your heater is working.
Overnight
- Monitor the minimum temperature.
- Keep gentle air circulation if needed.
- Make sure plants aren’t sitting in cold water.
- Use supplemental heat when temperatures approach the minimum required for your plants.
This combination of capturing heat, storing heat, preventing heat loss, and adding heat only when necessary is much more efficient than relying on a heater alone.
Final Thoughts
Keeping a greenhouse warm through winter doesn’t have to mean running a heater around the clock. In my experience, the best results come from treating the greenhouse as a complete system.
Capture as much winter sunlight as possible, seal unwanted drafts, add insulation, use thermal mass, protect individual plants, and monitor temperatures carefully.
When passive methods aren’t enough, a properly selected and safely installed heater can provide the extra warmth your plants need.
The goal isn’t necessarily to make your greenhouse feel like summer. It’s to create a stable environment that matches the needs of the plants you’re growing.
With a little preparation, even a simple backyard greenhouse can become a cozy and productive winter growing space.
