
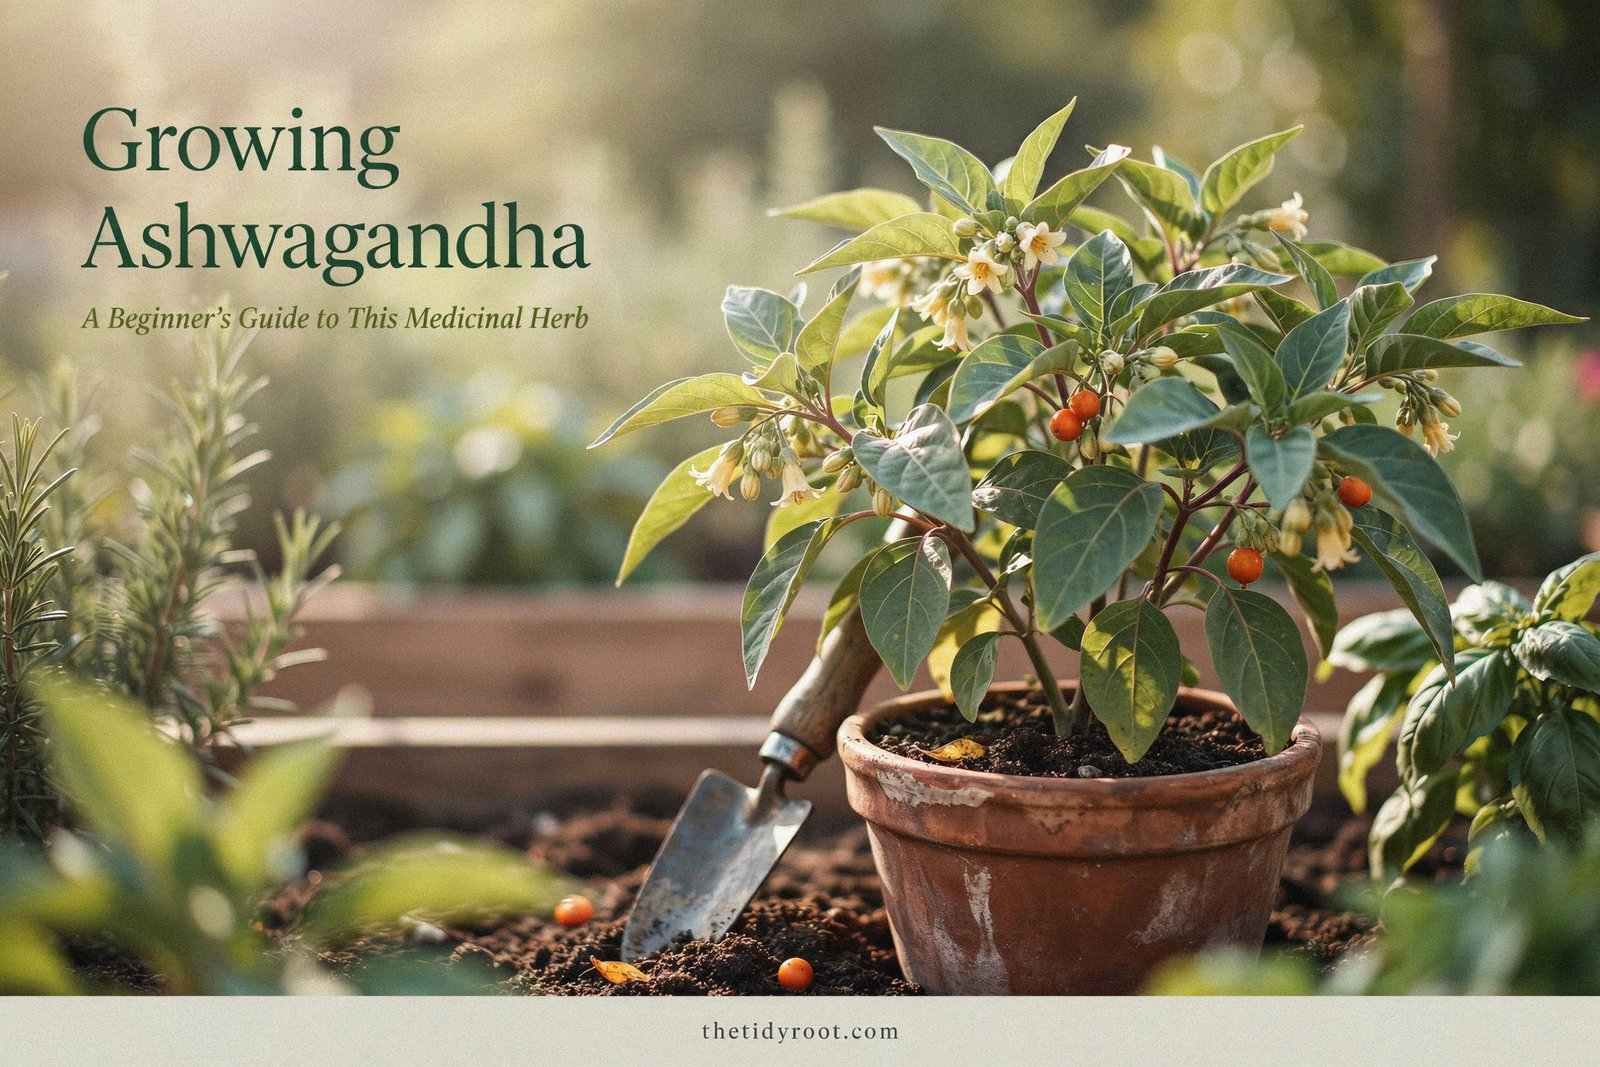

I first became interested in growing ashwagandha because I love the idea of giving a little garden space to useful herbs.
Ashwagandha has beautiful silvery-green foliage, small flowers, and a surprisingly tough nature once established.
If you have a warm, sunny spot and well-drained soil, it can be an interesting medicinal herb to add to your garden.
The best part is that it doesn’t need constant attention, making it a lovely choice for gardeners who prefer simple, low-fuss plants.
What Is Ashwagandha?
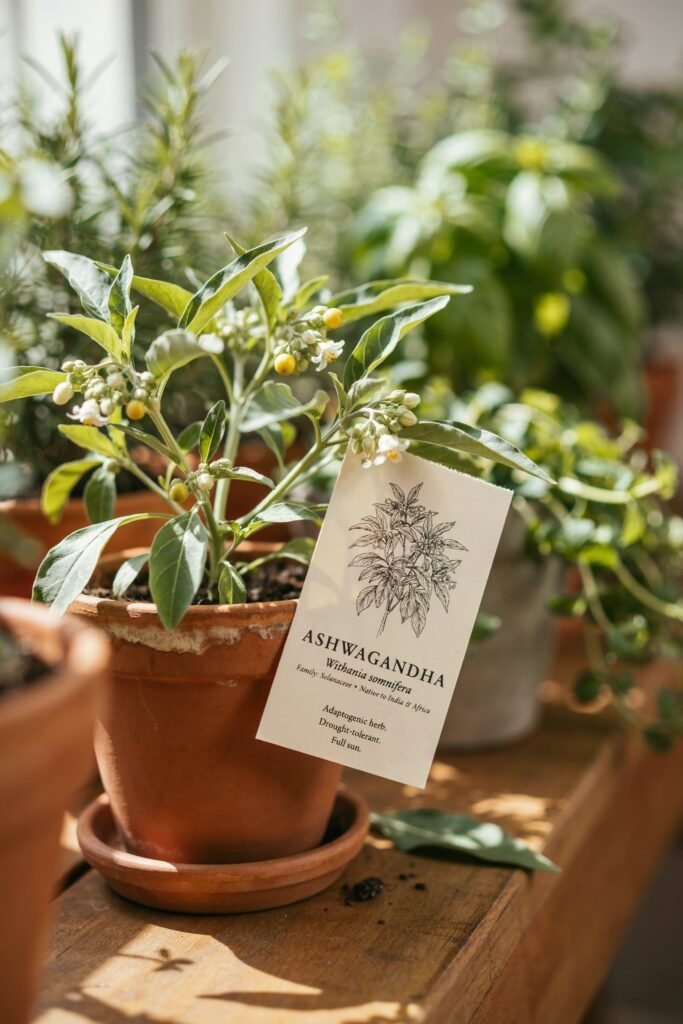
Ashwagandha (Withania somnifera) is a small evergreen shrub traditionally used in Ayurvedic and Unani medicine.
It is sometimes called Indian ginseng or winter cherry, although it is not actually a member of the ginseng family.
The plant is native to parts of India, Africa, and the Middle East and naturally grows in warm, relatively dry conditions. It belongs to the nightshade family, Solanaceae, which also includes tomatoes, peppers, eggplants, and potatoes.
Ashwagandha is particularly valued for its roots, which contain naturally occurring compounds called withanolides.
The plant has been used traditionally for thousands of years, while modern research has investigated its potential effects on areas such as stress and sleep.
However, research is still developing, and different studies have used different preparations of the plant.
For gardeners, however, the first question is much simpler: Can you grow it at home?
In the right conditions, yes.
Why Grow Ashwagandha in Your Garden?
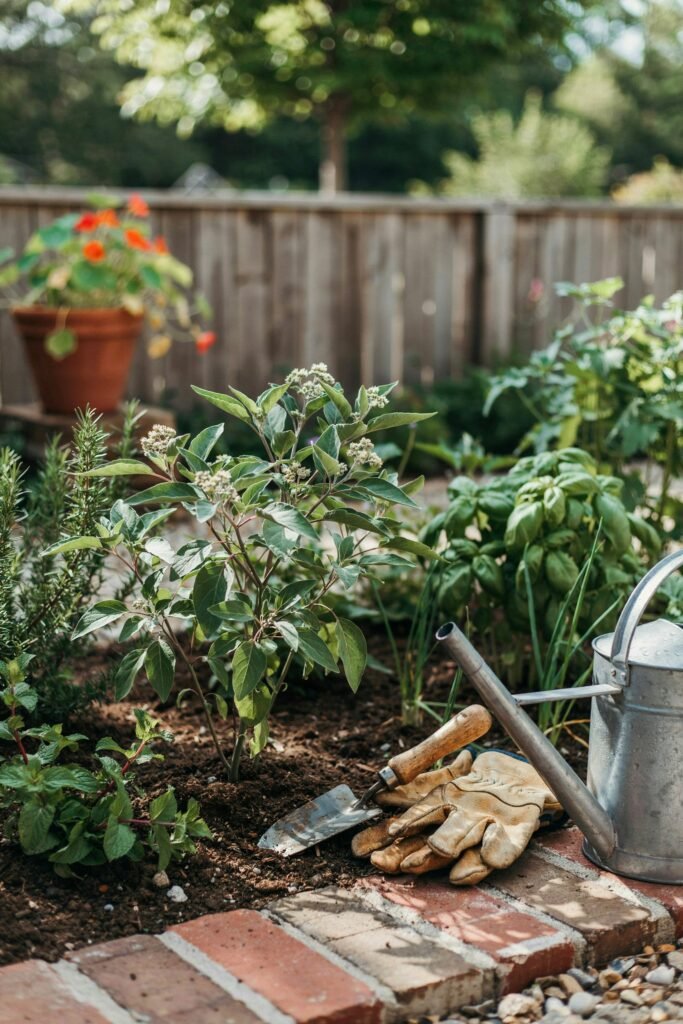
Ashwagandha makes an interesting addition to an herb garden for several reasons.
It enjoys warm weather
This plant naturally comes from warm regions, so it generally appreciates plenty of sunshine and warmth.
It tolerates dry conditions
Once established, ashwagandha is relatively drought tolerant. This makes it especially appealing if you don’t want another plant that needs frequent watering.
It doesn’t require rich soil
Ashwagandha can grow in moderately fertile soil as long as the soil drains well. Extremely rich soil isn’t necessary.
It has attractive foliage
The soft, gray-green leaves give the plant a slightly silvery appearance that can add texture to an herb garden.
It develops useful roots
The roots are the part most traditionally associated with ashwagandha, which makes growing the plant especially interesting for gardeners who enjoy cultivating traditional herbs.
Where Should You Grow Ashwagandha?
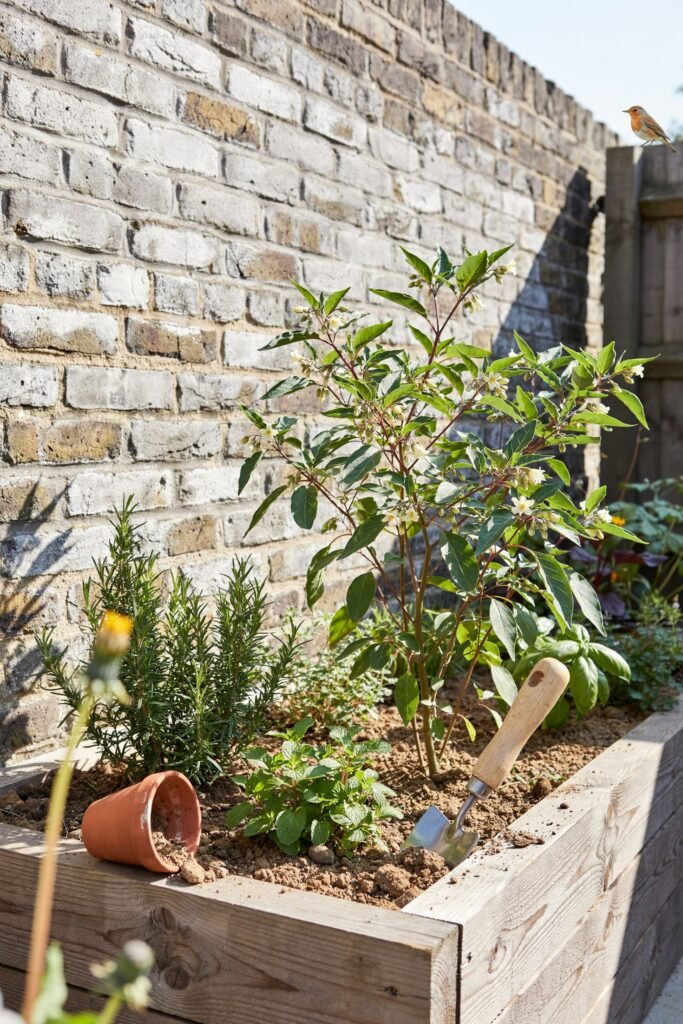
Choosing the right location is one of the easiest ways to make growing ashwagandha successful.
Look for a location that receives full sun for most of the day. Ideally, the plant should receive around six or more hours of direct sunlight.
A warm area beside a sunny wall, raised bed, herb garden, or container patio can work well.
Avoid planting it in a spot where water collects after rain. Ashwagandha prefers relatively dry conditions, and constantly wet soil can cause problems with the roots.
If your garden has naturally heavy clay soil, improving drainage before planting can make a major difference.
Soil Requirements
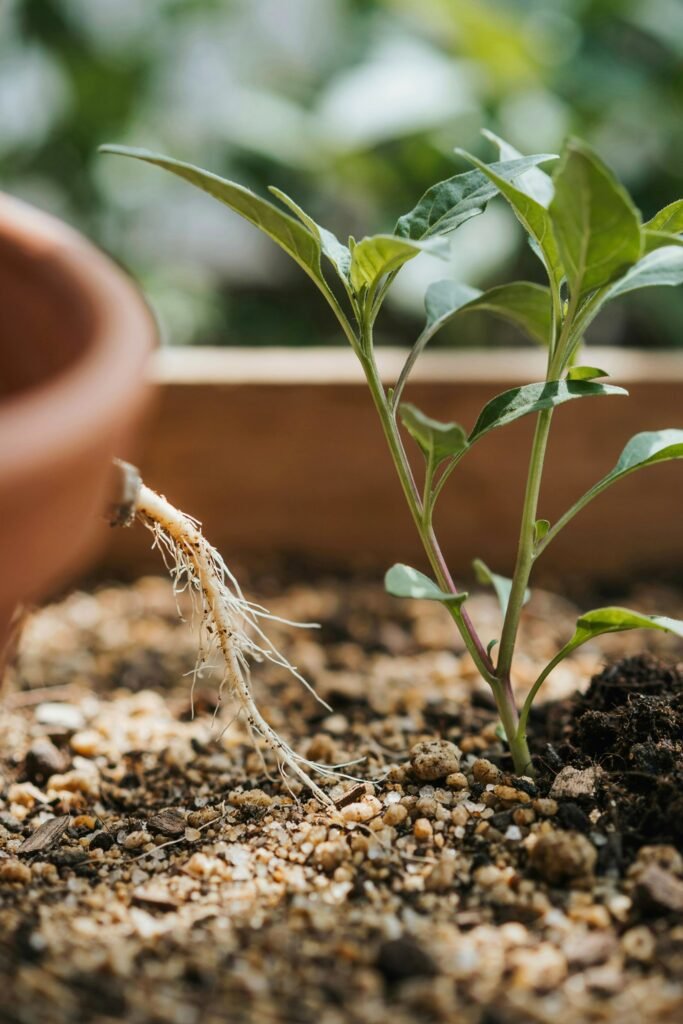
Ashwagandha isn’t particularly demanding about soil, but drainage is extremely important.
A good growing mixture should:
- Drain excess water quickly
- Hold enough moisture for the roots
- Contain some organic matter
- Avoid becoming compacted
- Have moderate fertility
If your garden soil is heavy, mix in finished compost and another material that improves drainage.
For containers, a quality potting mix is usually a better choice than digging ordinary garden soil into a pot.
The goal isn’t to create the richest soil possible. Instead, aim for loose, well-draining soil that allows the roots to develop easily.
How to Grow Ashwagandha From Seed
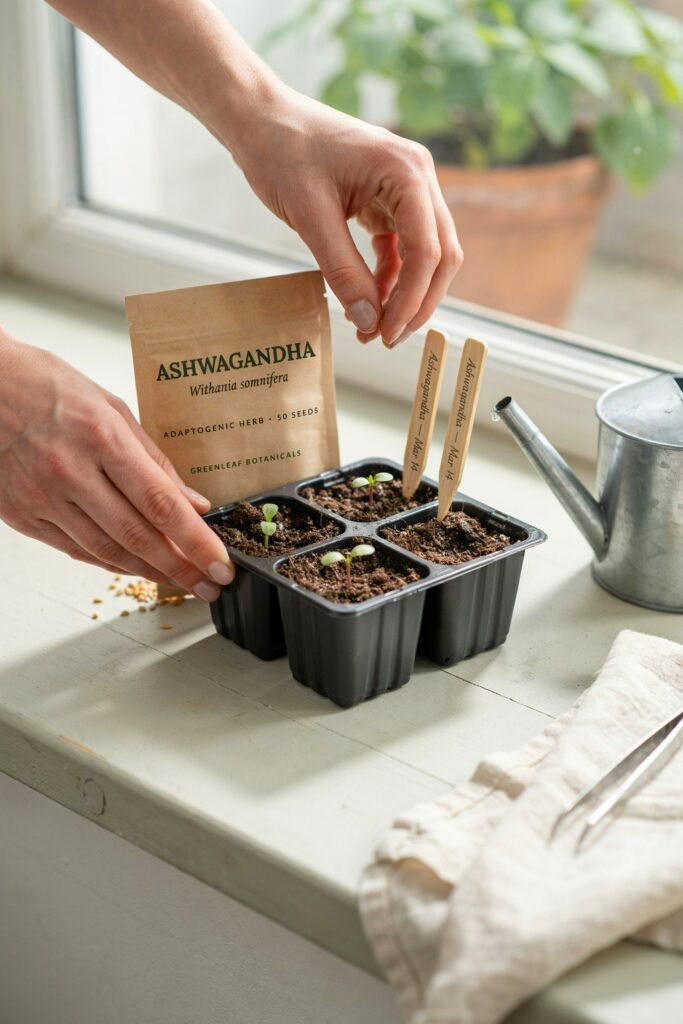
Starting ashwagandha from seed is one of the easiest ways to grow this herb.
1. Start with fresh seeds
Begin with seeds from a reputable garden or seed supplier. Older seeds may have reduced germination.
2. Prepare your growing medium
Use a light, well-draining seed-starting mix. Avoid heavy soil that stays wet for long periods.
3. Sow the seeds
Scatter the seeds over the surface and cover them lightly with a thin layer of growing medium.
They don’t need to be planted deeply.
4. Keep the soil lightly moist
Water gently so you don’t wash the tiny seeds away.
The growing medium should remain lightly moist during germination but shouldn’t become soggy.
5. Provide warmth and light
Place the seed tray somewhere warm with plenty of light.
Once seedlings appear, give them as much sunlight as practical so they can develop sturdy growth.
6. Thin the seedlings
If several seedlings emerge close together, thin them so the strongest plants have enough room to grow.
Crowded seedlings compete for light, water, and nutrients and can become weak or stretched.
When Should You Plant Ashwagandha?
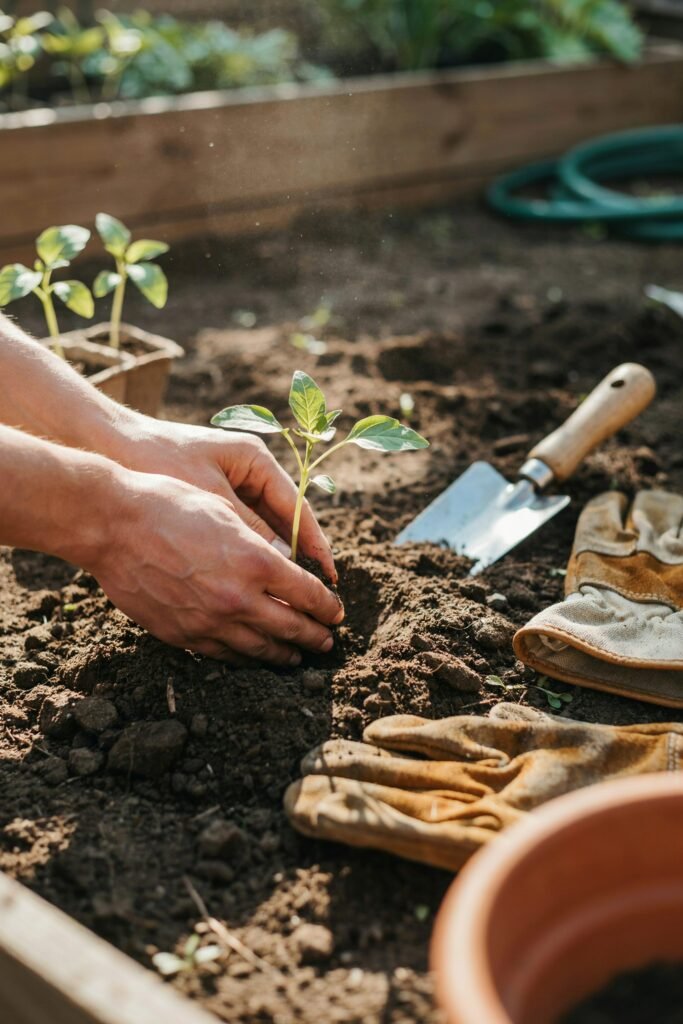
Timing depends heavily on your climate.
Ashwagandha prefers warm growing conditions and does not appreciate frost. Gardeners in colder climates often grow it as an annual, while gardeners in sufficiently warm climates may be able to grow it for longer.
The simplest rule is:
Plant after the danger of cold weather has passed and the soil has warmed.
In warm climates, seeds can be started when growing conditions are consistently favorable.
If you live somewhere with cool winters, starting seeds indoors and moving young plants outside after the weather warms can give them a useful head start.
Growing Ashwagandha in Containers
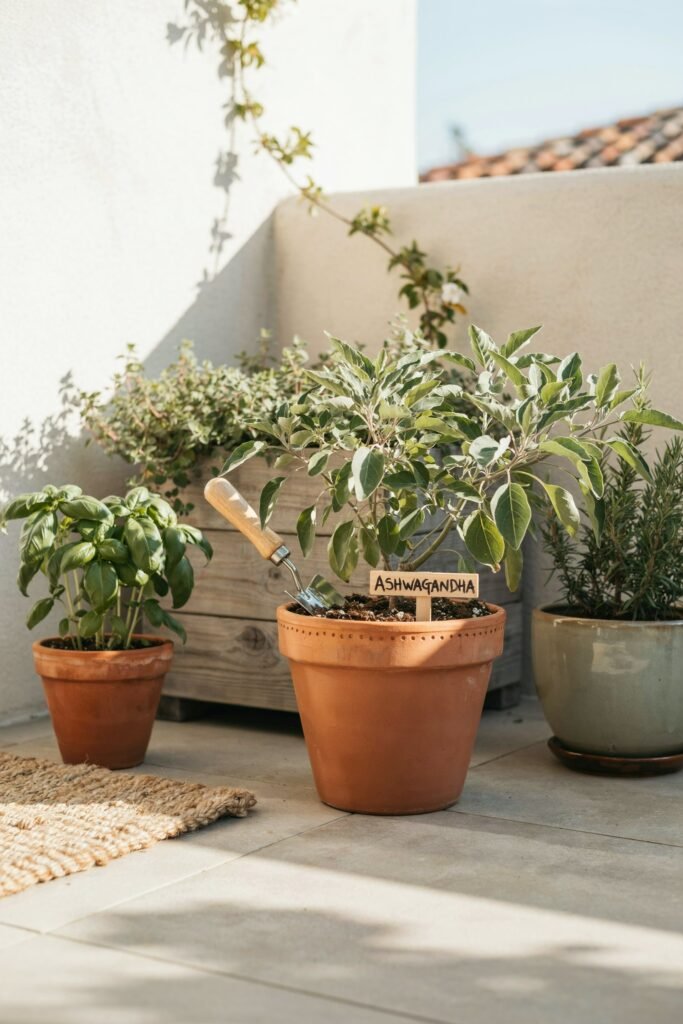
You don’t need a large garden to grow ashwagandha.
A reasonably large container can work very well, particularly if you’re growing only a few plants.
Choose a pot with:
- Good drainage holes
- Enough depth for root development
- A quality potting mixture
- Enough width for the plant to spread
Place the container somewhere sunny.
One advantage of container growing is that you can easily move the plant if the weather changes or if you need to protect it from excessive rain.
The biggest mistake to avoid is keeping the container constantly wet. Always allow excess water to drain away.
Watering Ashwagandha
Ashwagandha generally prefers a moderate-to-dry watering routine rather than constantly damp soil.
When young, seedlings need more consistent moisture because their roots are still developing.
Once established, the plant can tolerate periods of dryness much better.
A simple approach is to check the soil before watering.
If the upper layer has dried out, water thoroughly and allow the excess to drain away.
Don’t automatically water every day just because it’s an herb.
Overwatering can be more troublesome than allowing established plants to experience a short dry period.
How Much Fertilizer Does Ashwagandha Need?
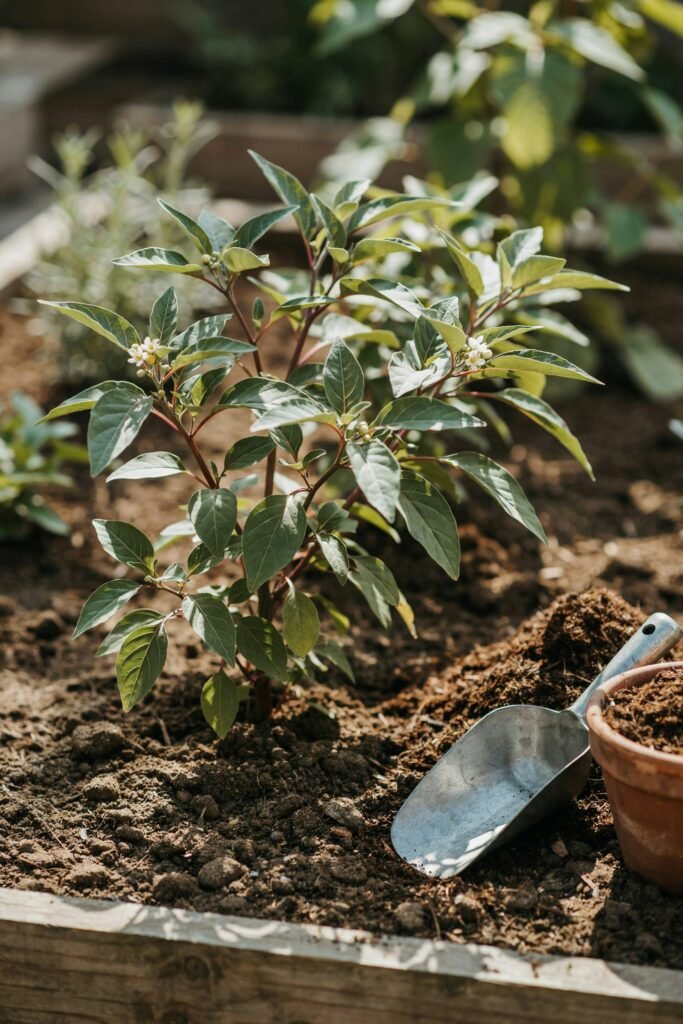
Ashwagandha doesn’t need heavy feeding.
If your soil already contains a reasonable amount of organic matter, a small amount of finished compost worked into the soil before planting may be enough.
Too much fertilizer can encourage excessive leafy growth when your goal is a healthy, well-developed plant.
Instead of constantly feeding it, focus on:
- Good sunlight
- Proper drainage
- Healthy soil
- Appropriate watering
- Enough growing space
Good growing conditions are often more valuable than a complicated fertilizer schedule.
Caring for Ashwagandha During the Growing Season
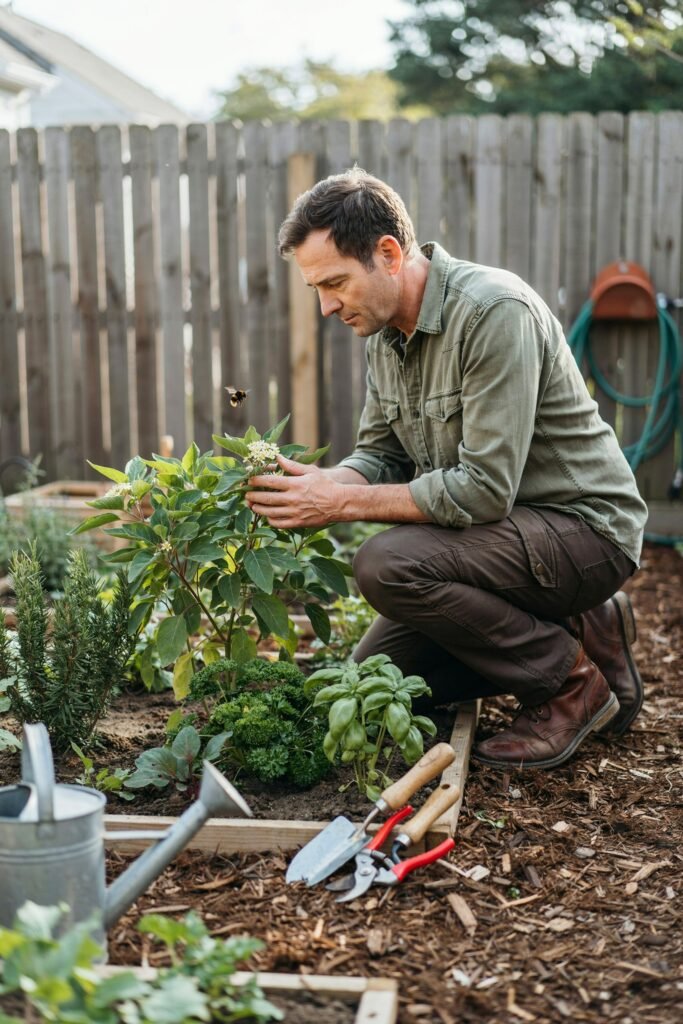
Once established, ashwagandha can be fairly low maintenance.
Check your plants regularly for signs of stress, especially during very hot or unusually wet weather.
Remove weeds around the base so young plants don’t have to compete for moisture and nutrients.
If plants become crowded, give them more room.
You can also add a light layer of organic mulch around the plant, keeping it slightly away from the main stem. Mulch can help moderate soil moisture and reduce weed growth.
However, don’t create a thick, constantly wet layer around the crown of the plant.
Common Problems When Growing Ashwagandha
Ashwagandha is relatively tough, but no plant is completely trouble-free.
Yellowing leaves
Yellow leaves can have several causes. Excessive moisture is one possibility, especially if the soil remains wet for long periods.
Check drainage before adding more fertilizer.
Leggy growth
If plants become tall and weak with large spaces between their leaves, insufficient light may be the problem.
Move container plants to a sunnier location if possible.
Slow growth
Cold temperatures, poor drainage, overcrowding, or inadequate sunlight can all slow growth.
Check the basic growing conditions before trying to solve the problem with additional fertilizer.
Root problems
Constantly wet soil can create unfavorable conditions around the roots.
If your garden stays wet after rainfall, consider a raised bed or container with better drainage.
When Is Ashwagandha Ready to Harvest?
One of the most interesting parts of growing ashwagandha is harvesting the mature roots.
Traditionally, the roots are the primary plant part associated with medicinal preparations. Commercial and traditional cultivation practices generally harvest mature plants toward the end of their growing cycle.
For home gardeners, the exact timing depends on the climate, planting date, and growing conditions.
If you’re growing the plant specifically as a garden herb, don’t rush the harvest. Allow the plant plenty of time to establish a substantial root system.
When harvesting, dig carefully around the plant because the roots are the main part you are trying to preserve.
What About the Berries and Leaves?
Ashwagandha produces small flowers followed by berries enclosed by papery structures, giving the plant its attractive winter-cherry appearance.
Although different parts of the plant have been used traditionally, more plant material does not automatically mean a safer or better herbal preparation.
Modern research often focuses on specific extracts, and preparations can vary considerably in their plant parts, concentrations, and manufacturing methods.
For that reason, I would treat ashwagandha primarily as a fascinating garden herb unless you have appropriate guidance about medicinal use.
Can Ashwagandha Be Grown in a Small Garden?
Absolutely.
You can grow a single plant in a container, tuck several plants into a sunny herb garden, or dedicate a small raised bed to them.
Because the plant doesn’t require extremely rich soil and can tolerate relatively dry conditions once established, it can fit nicely into a low-maintenance garden.
A sunny container is particularly useful for gardeners who aren’t sure whether their local climate is suitable. You can move the plant to a protected location when temperatures become unfavorable.
Tips for Growing Healthier Ashwagandha
If you want to keep things simple, remember these growing tips:
- Give it plenty of sunlight.
- Use well-draining soil.
- Avoid keeping the roots constantly wet.
- Don’t overfertilize.
- Give plants enough room to grow.
- Protect young plants from cold weather.
- Water more consistently while plants are young.
- Allow established plants to dry slightly between waterings.
- Watch for changes in the leaves and overall growth.
- Be patient—the roots need time to develop.
Is Ashwagandha Safe to Use?
This is an important part of growing any medicinal herb.
Ashwagandha has a long history of traditional use, but that doesn’t mean every homemade preparation is automatically safe.
Modern research suggests that some ashwagandha preparations may help with stress and sleep, but studies have often been relatively small and have used different extracts and doses. Long-term safety also isn’t well established.
There have also been rare reports of liver injury associated with products containing Withania somnifera. Health authorities have continued to monitor these reports, so this is an herb that deserves more caution than simply assuming that “natural” means harmless.
Ashwagandha may also interact with certain medicines and may affect thyroid function. It isn’t considered appropriate for everyone, including people who are pregnant or breastfeeding, and people with certain medical conditions should seek professional advice before using it.
For a home gardening article, I think the safest approach is to enjoy learning about and growing the plant without presenting homemade preparations as a substitute for medical treatment.
Final Thoughts
Growing ashwagandha is a fun project for anyone interested in medicinal herb gardens, especially if you have a warm, sunny growing space. The plant is attractive, relatively undemanding, and surprisingly tolerant once established.
What I love most about growing herbs like this is that the garden becomes more than just a collection of pretty plants. You start learning where plants come from, how they grow naturally, which conditions they prefer, and how different cultures have traditionally valued them.
Give ashwagandha plenty of sun, keep its roots from sitting in soggy soil, avoid excessive fertilizer, and give the plant enough time to develop. With those basics in place, you can enjoy watching this unusual medicinal herb become a unique part of your garden.
