
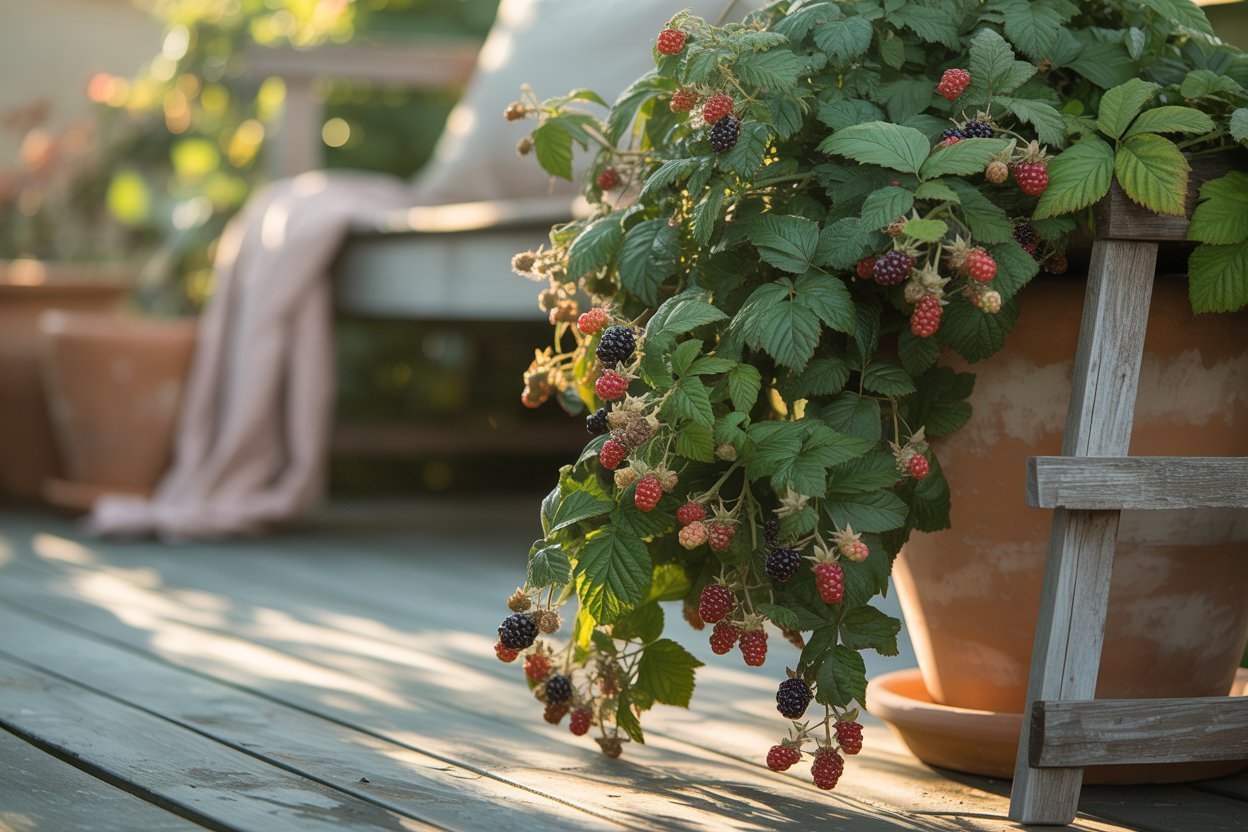
The first time I grew blackberries in a pot, I honestly didn’t expect much. I had limited space, a sunny corner of the patio, and one young blackberry plant that looked far too ambitious for a container.
But season after season, that single plant taught me something important: blackberries are far more forgiving and generous than we give them credit for if you give them the right foundation.
Growing blackberries in pots isn’t about shortcuts. It’s about understanding what the plant truly needs and recreating that environment, even in a container.
When done properly, potted blackberries can produce bowls of juicy fruit, just as satisfying as those grown in the ground.
This guide walks you through every step, gently and clearly, so you can grow blackberries in pots with confidence and consistent yield, even if you’re new to fruit gardening.
shop my amazon essentials
- Blackberries seed
- Seed starter kit
- watering can
- Containers
- Potting soil mix
- Fertilizer
- Seed Starting Mix
- Gardening gloves
- Fine mist spray bottle
Why Growing Blackberries in Pots Works So Well
Blackberries naturally want space, sunlight, and good airflow things we can surprisingly control better in containers than in the ground. Growing them in pots allows you to:
- Control soil quality and drainage
- Prevent aggressive spreading
- Move the plant for better sun exposure
- Reduce pest and disease pressure
- Grow fruit even in small spaces like balconies or patios
When you meet their needs intentionally, blackberries respond generously.
Step 1: Choose the Right Blackberry Variety for Containers

Not all blackberries behave well in pots. Some grow long, aggressive canes that need acres of space.
For container growing, compact or thornless varieties are your best friends.
Look for varieties labeled as:
- Dwarf or semi-compact
- Erect (upright) growth habit
- Thornless, especially if space is tight
Good container-friendly blackberry types include:
- Compact thornless blackberries
- Erect blackberry varieties
- Patio or dwarf cultivars
These varieties focus their energy on fruiting rather than endless spreading, making them ideal for pots.
Step 2: Select a Pot That Truly Supports Growth

This is one of the most important steps and also one of the most overlooked.
Blackberries have deep, thirsty roots, and cramped pots lead to weak growth and poor fruiting.
Ideal pot size:
- Minimum: 16–20 inches wide and deep
- Bigger is always better for long-term health
Pot material tips:
- Plastic retains moisture better in hot climates
- Terracotta looks beautiful but dries out faster
- Fabric grow bags work well if watered consistently
Make sure your pot has multiple drainage holes. Blackberries hate sitting in soggy soil.
Read How to Grow Elderberries at Home: A Gentle, Complete Guide for Home Gardeners
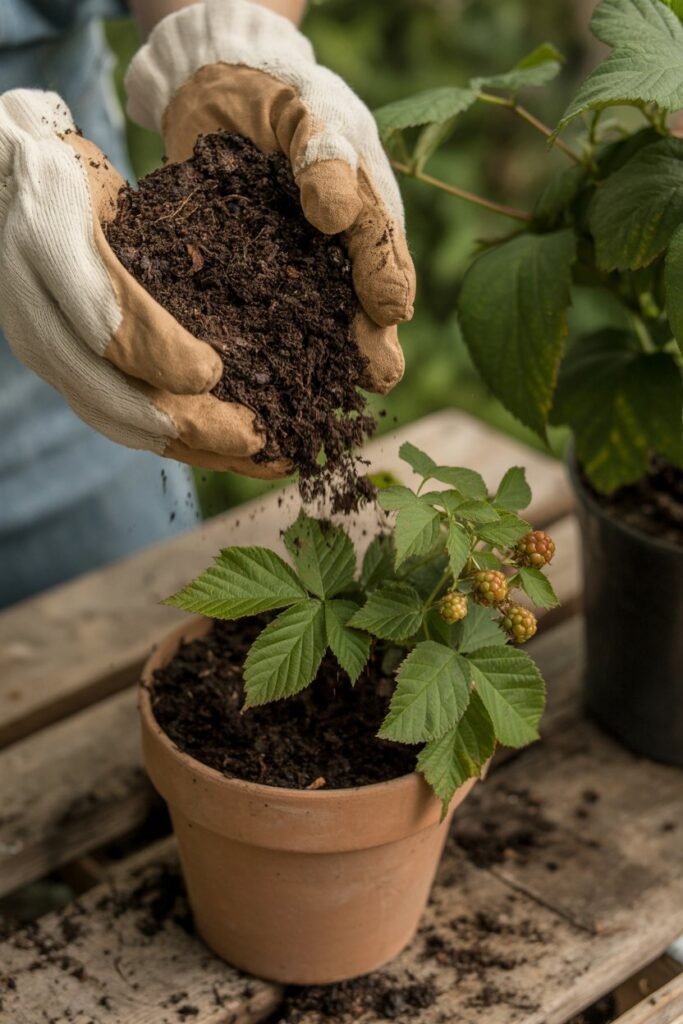
Step 3: Prepare the Right Soil Mix (This Affects Yield More Than Anything)
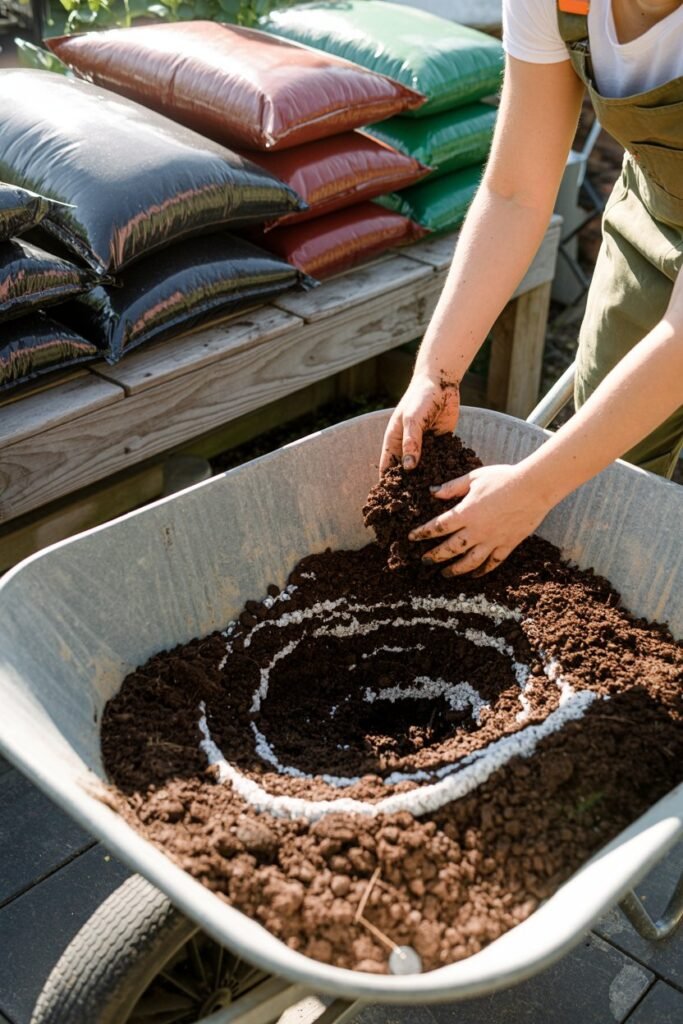
Blackberries thrive in rich, well-draining soil that holds moisture without becoming heavy.
Ideal soil mix:
- 50% high-quality potting soil
- 25% compost or well-rotted manure
- 25% perlite or coarse sand for drainage
This blend gives:
- Nutrients for strong cane growth
- Air pockets for healthy roots
- Moisture retention without rot
Blackberries prefer slightly acidic soil, so adding a small amount of pine bark fines or peat-based compost helps.
Read Growing Blueberries in Containers: A Gentle, Practical Guide for Sweet Harvests
Step 4: Planting Your Blackberry Correctly
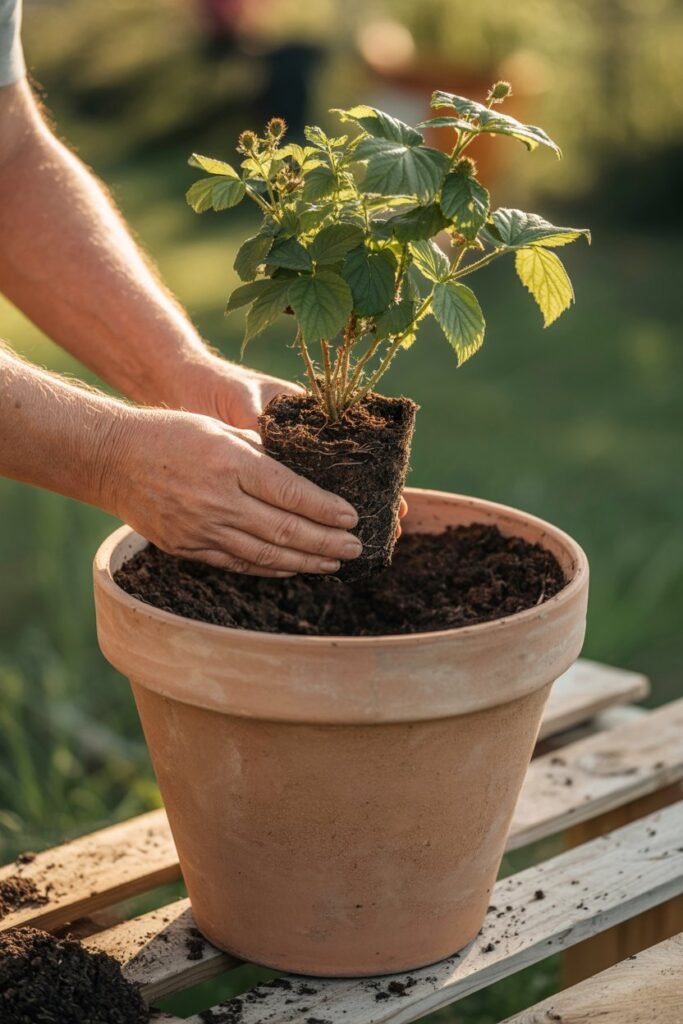
Gentle planting sets the tone for the entire season.
- Fill the pot halfway with prepared soil
- Place the blackberry plant so the root crown sits at soil level
- Backfill gently, pressing lightly to remove air pockets
- Water deeply until water drains from the bottom
Avoid planting too deep buried crowns can rot and delay fruiting.
After planting, let the plant settle for a few days in partial sun before moving it to full sunlight.
Step 5: Give Your Blackberry the Sun It Craves

Blackberries are sun-loving plants. For good yields, they need:
- 6–8 hours of direct sunlight daily
- Morning sun with some afternoon protection in very hot climates
Without enough sun, plants may look healthy but produce very little fruit. If you’re growing on a balcony or patio, rotate the pot occasionally so all sides receive even light.
Read How to Germinate Seeds Faster: A Complete Guide to Speed, Strength, and Better Yields
Step 6: Watering the Right Way (Consistency Matters More Than Quantity)
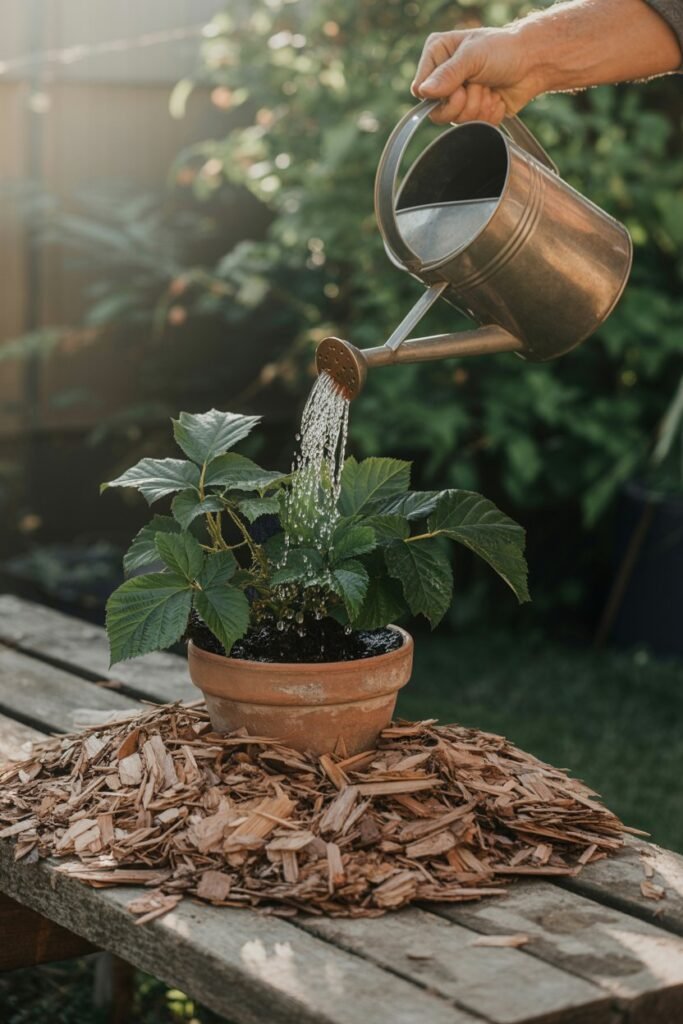
Potted blackberries dry out faster than ground-grown ones, and inconsistent watering is a common reason for poor harvests.
Watering guidelines:
- Water deeply when the top 1–2 inches of soil feel dry
- During hot weather, watering may be needed daily
- Always water at the base, not over the leaves
The goal is even moisture, not extremes. Drought stress can cause small, sour berries or flower drop.
Mulching the top of the pot with straw or bark chips helps retain moisture and keeps roots cool.
Step 7: Feeding for Strong Growth and Fruit Production
Blackberries are heavy feeders, especially in containers where nutrients wash away more quickly.
Feeding schedule:
- Early spring: Balanced fertilizer to support new growth
- Before flowering: Fertilizer slightly higher in potassium
- Mid-season: Light feeding if growth slows
Organic options like compost tea, worm castings, or slow-release organic fertilizers work beautifully and gently.
Avoid excessive nitrogen too much leaf growth can mean fewer berries.
Read How to Layout a Vegetable Garden (A Practical Guide for a Productive and Beautiful Garden)
Step 8: Support and Training the Canes
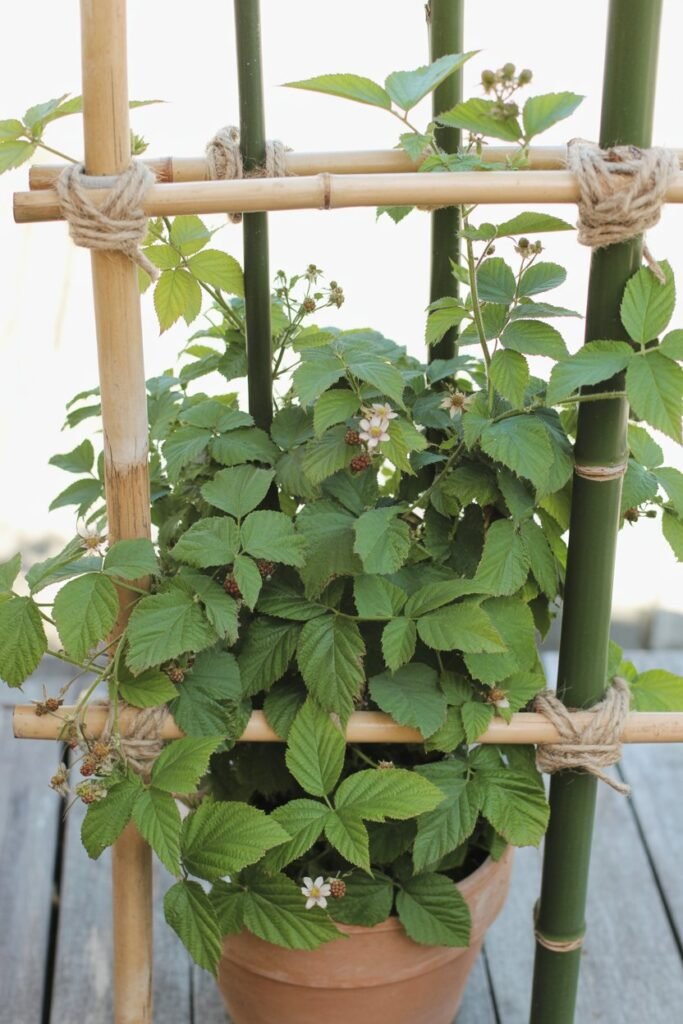
Even compact blackberries benefit from support.
Use:
- A small trellis
- Bamboo stakes
- A tomato cage
Tie canes loosely with garden twine to keep them upright and improve airflow. This reduces disease and helps sunlight reach developing fruit.
Training the canes early makes harvesting easier and keeps the plant tidy.
Step 9: Pruning for Better Yield (This Step Makes a Huge Difference)
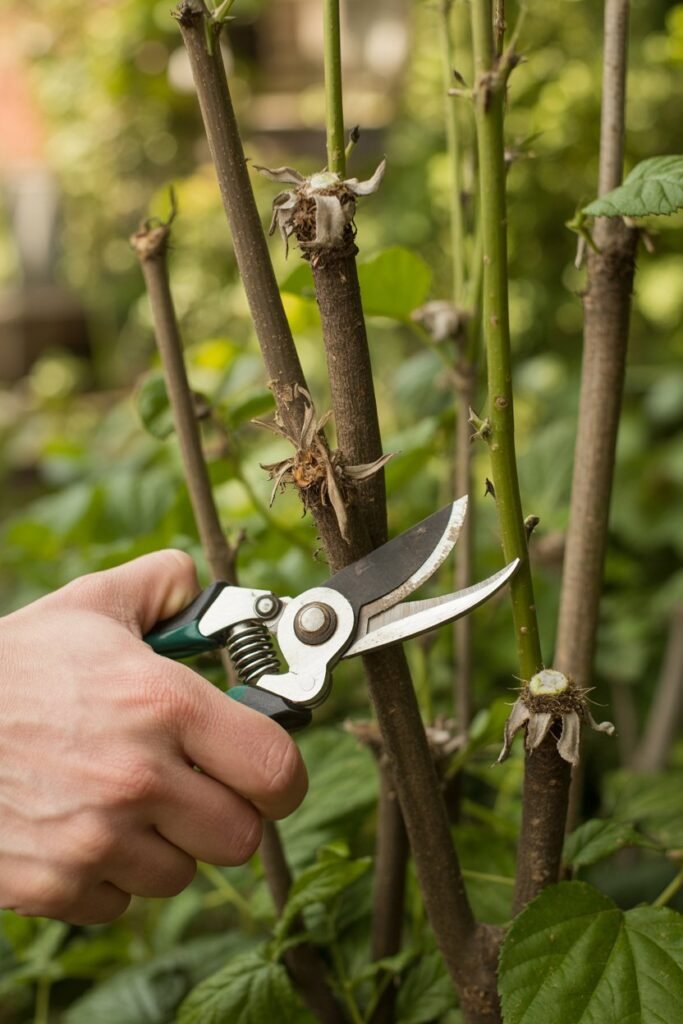
Blackberries fruit on second-year canes, called floricanes. Understanding this is key.
Basic pruning method:
- First-year canes (primocanes): Do not remove
- After fruiting, cut old canes down to soil level
- Leave healthy new canes for next season
Pruning improves:
- Fruit size
- Air circulation
- Overall plant energy
In pots, pruning also keeps growth manageable and balanced.
Step 10: Protecting Your Plant from Stress and Pests

Container-grown blackberries face fewer problems, but they still need observation.
Watch for:
- Aphids or spider mites
- Leaf discoloration
- Wilting despite moist soil
Good airflow, clean pruning tools, and healthy soil prevent most issues. If pests appear, gentle solutions like neem oil or insecticidal soap work well.
Step 11: Harvesting at the Perfect Time
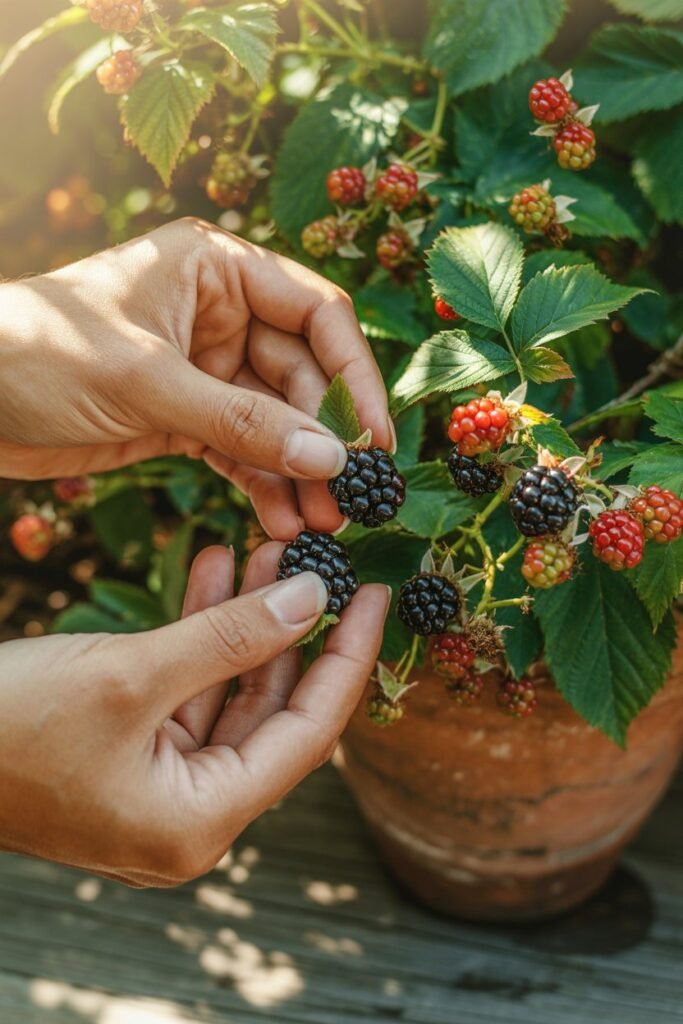
Blackberries do not ripen after picking.
Harvest when:
- Berries are fully black and glossy
- They come off easily with a gentle tug
- They feel plump, not hard
Pick every few days during peak season. Frequent harvesting encourages more fruit to develop.
Step 12: Caring for Your Blackberry After Harvest
After the main harvest:
- Continue watering consistently
- Remove spent canes
- Lightly feed to support root health
This post-harvest care ensures the plant stores energy for the next growing season.
Final Thoughts: Growing Blackberries in Pots Is Truly Worth It
Growing blackberries in pots is one of those gardening decisions that quietly rewards you. It doesn’t demand perfection just patience, observation, and steady care.
With the right container, soil, sunlight, and pruning routine, your plant will give back generously year after year.
That first bowl of warm, sun-ripened blackberries picked straight from your own potted plant makes every step worth it.
And once you experience that, it’s hard not to fall a little deeper in love with growing fruit at home.
