
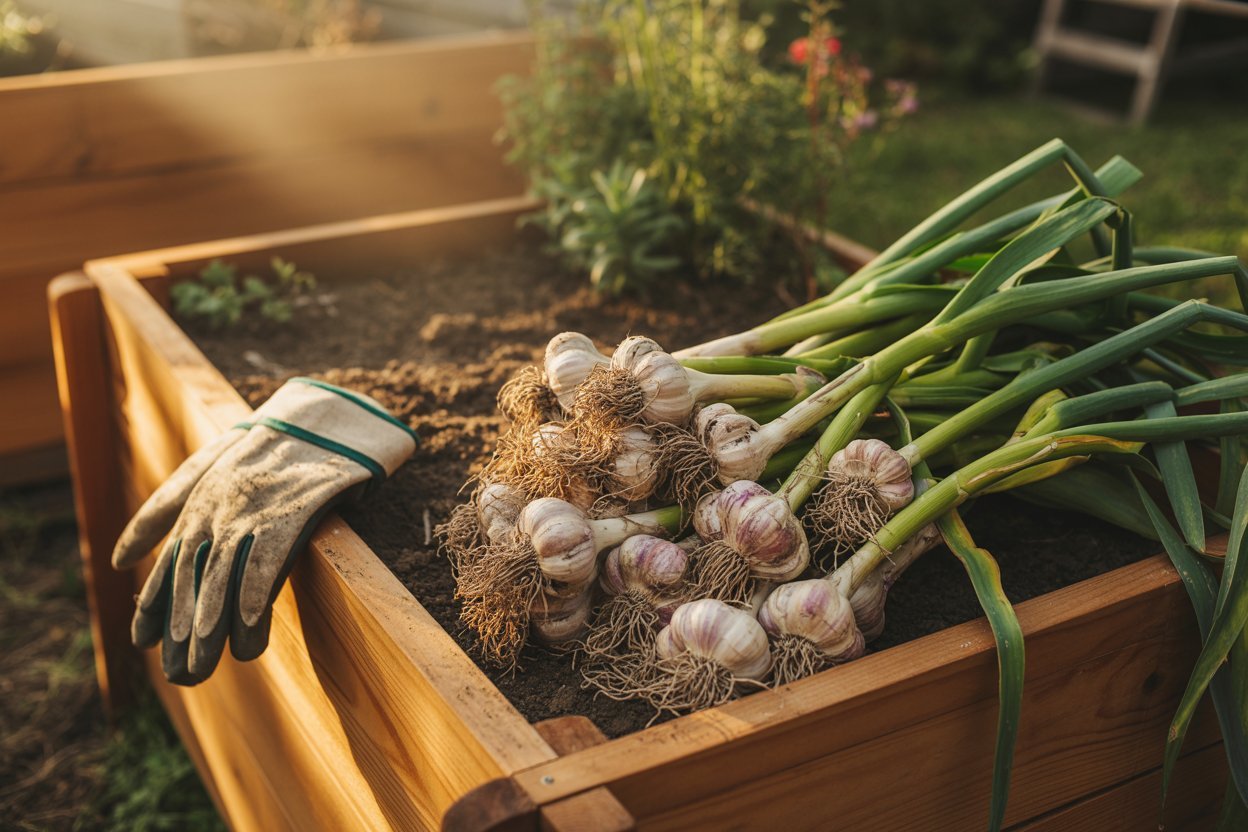
Of all the things I’ve planted in my home garden over the years, garlic is one of those crops that quietly wins your heart.
I still remember the first time I tucked a few cloves into the soil, not fully convinced anything would come of it.
Months later, when I brushed the soil aside and lifted a full, fragrant bulb from the ground, it felt like a small miracle.
Garlic has a way of rewarding patience, and once you grow it yourself, it’s hard to go back to store-bought.
If you’ve ever wondered how to plant garlic at home and actually get a good yield, this guide will walk you through the entire process in a gentle, practical way.
Garlic is not difficult to grow, but it does have specific needs. When you understand those needs and work with them, the results can be deeply satisfying.
Why Growing Garlic at Home Is Worth It

Homegrown garlic is fresher, more flavorful, and often stronger than what you’ll find in the market.
You also get to choose varieties that aren’t commonly sold in stores. Beyond taste, garlic is a low-maintenance crop.
Once it’s planted, it doesn’t ask for much attention until harvest time.
Garlic also fits beautifully into small gardens, raised beds, or even large containers. Whether you’re gardening in a backyard or a sunny corner of your balcony, you can grow garlic successfully with the right setup.
Understanding Garlic Types Before You Plant
Before planting, it helps to know that garlic generally falls into two main categories:
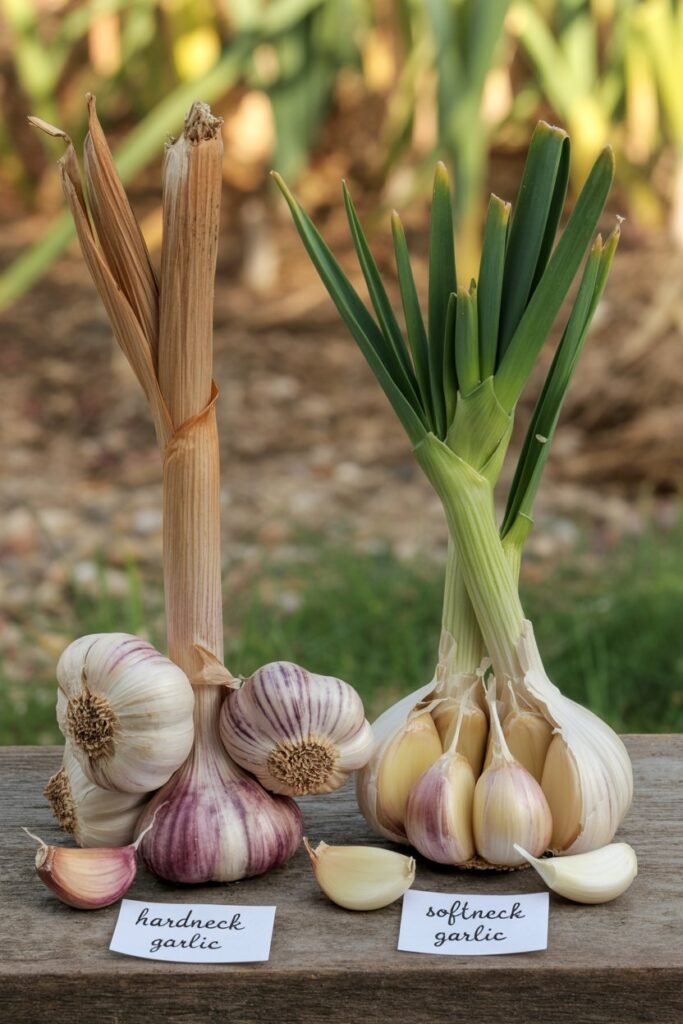
Hardneck Garlic
Hardneck varieties produce a stiff central stalk and usually have fewer but larger cloves.
They’re known for complex flavors and do especially well in cooler climates. An added bonus is garlic scapes the curly flower stalks that can be harvested and cooked in early summer.
Softneck Garlic
Softneck garlic is what you most often see braided in stores. It has more cloves per bulb and stores longer than hardneck varieties.
Softneck types are better suited to warmer climates and are usually the best choice for beginners.
Knowing which type suits your climate will already put you on the path to a healthier harvest.
When Is the Best Time to Plant Garlic?
Timing plays a big role in garlic success.
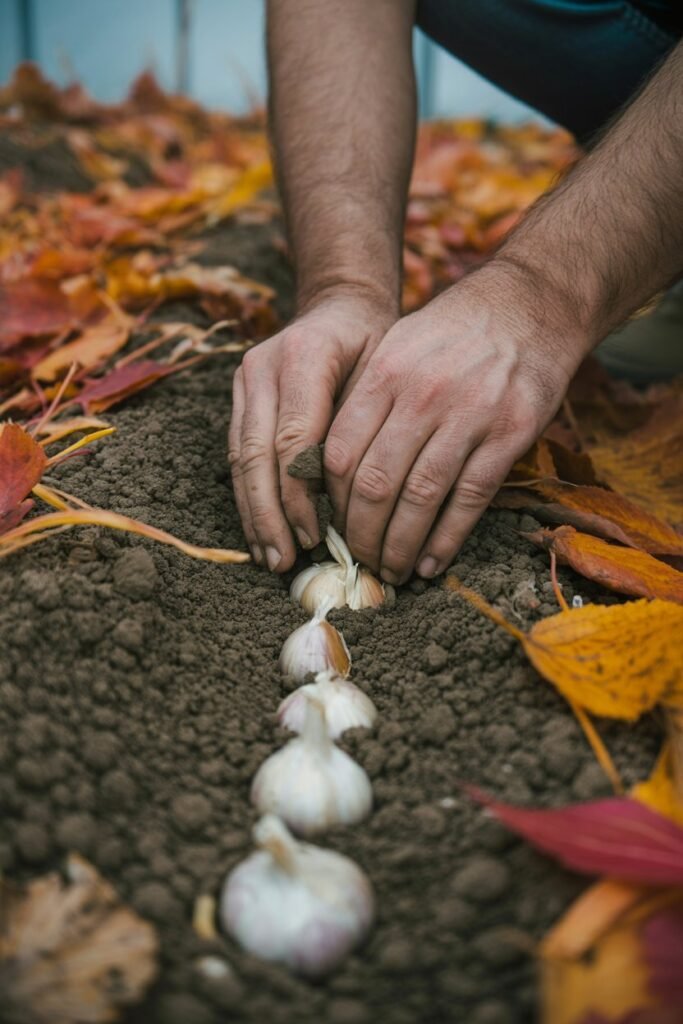
- In cooler climates: Garlic is best planted in the fall, about 4–6 weeks before the ground freezes. This allows roots to establish before winter.
- In warmer climates: Garlic can be planted in late fall or even early winter, once temperatures cool slightly.
Garlic needs a period of cold (called vernalization) to form proper bulbs.
Planting too late can result in smaller heads, while planting too early may encourage too much top growth before winter.
Choosing the Right Garlic for Planting
For the best results, always plant garlic cloves meant for growing, not supermarket garlic. Store-bought garlic is often treated to prevent sprouting and may not perform well in soil.
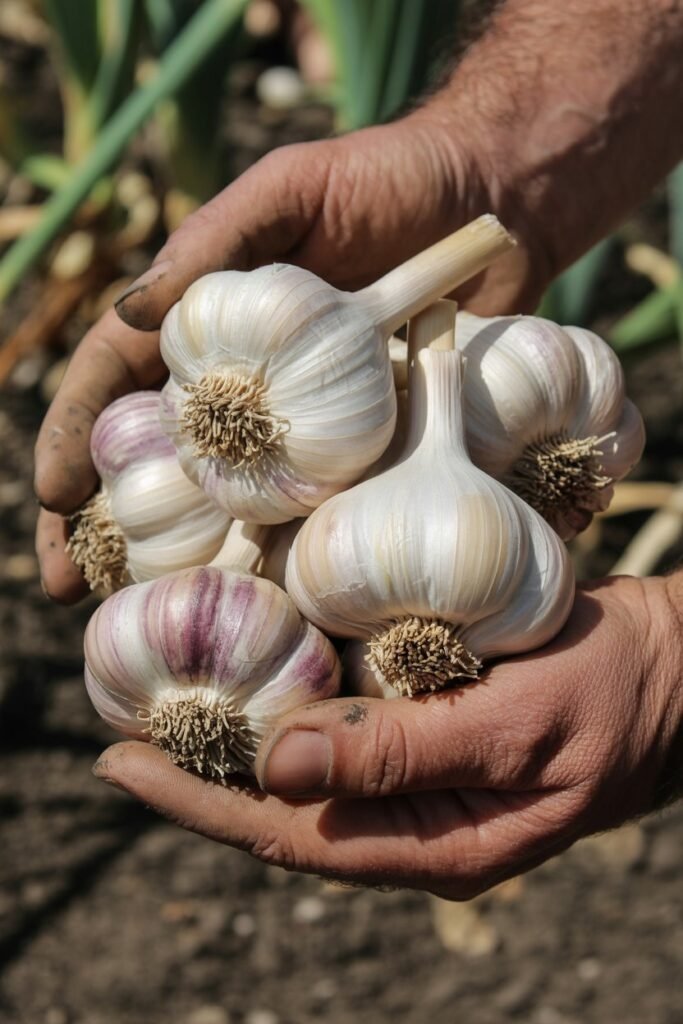
Look for:
- Firm, plump bulbs
- No signs of mold or rot
- Cloves that are intact and healthy
Each clove will grow into one full bulb, so quality at this stage truly matters.
Preparing the Soil for Healthy Garlic Growth
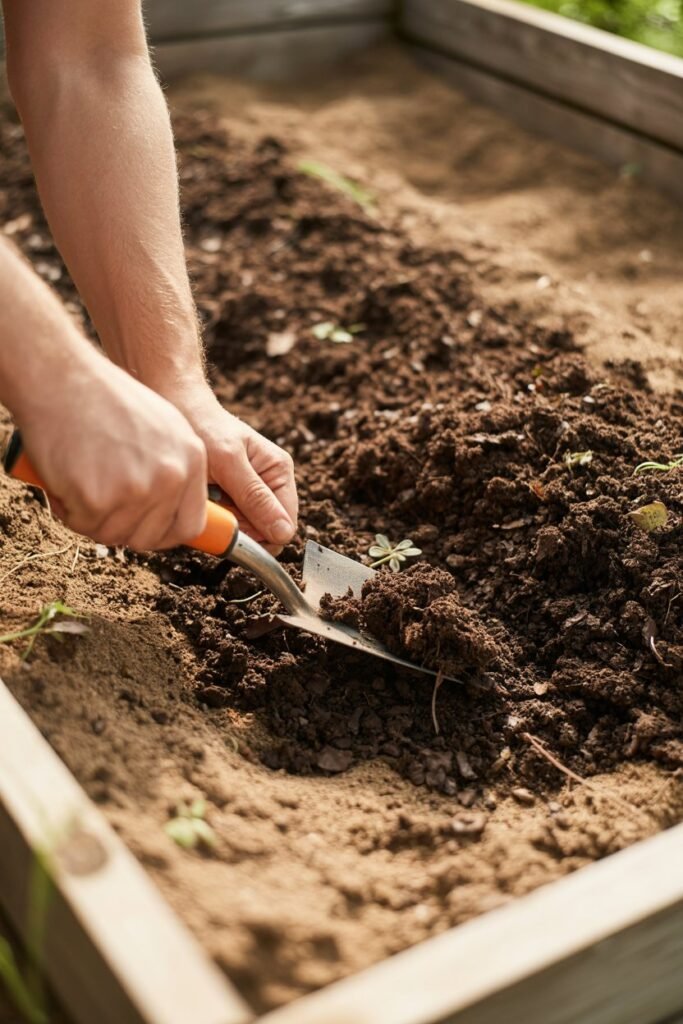
Garlic grows underground for months, so soil preparation is one of the most important steps.
Soil Type
Garlic loves loose, well-draining soil. Heavy clay can cause bulbs to rot, while overly sandy soil may not hold enough nutrients.
Improving Your Soil
- Mix in compost or well-rotted manure before planting.
- Aim for soil that feels crumbly and rich.
- Garlic prefers slightly acidic to neutral soil (pH 6.0–7.0).
Taking time to enrich the soil before planting will directly affect the size and quality of your harvest.
How to Plant Garlic Step by Step
This is where the journey really begins.
Step 1: Separate the Cloves
Just before planting, gently break the bulb into individual cloves. Keep the papery skin intact, as it protects the clove from disease.
Step 2: Choose the Right Spacing
Plant cloves:
- Pointy end facing up
- Flat root end facing down
- About 2–3 inches deep
- 4–6 inches apart
Leave about 8–12 inches between rows to allow bulbs enough room to expand.
Step 3: Cover and Water
Cover the cloves with soil and water gently but thoroughly. You don’t want soggy soil just enough moisture to help roots settle in.
Mulching: A Quiet but Powerful Step
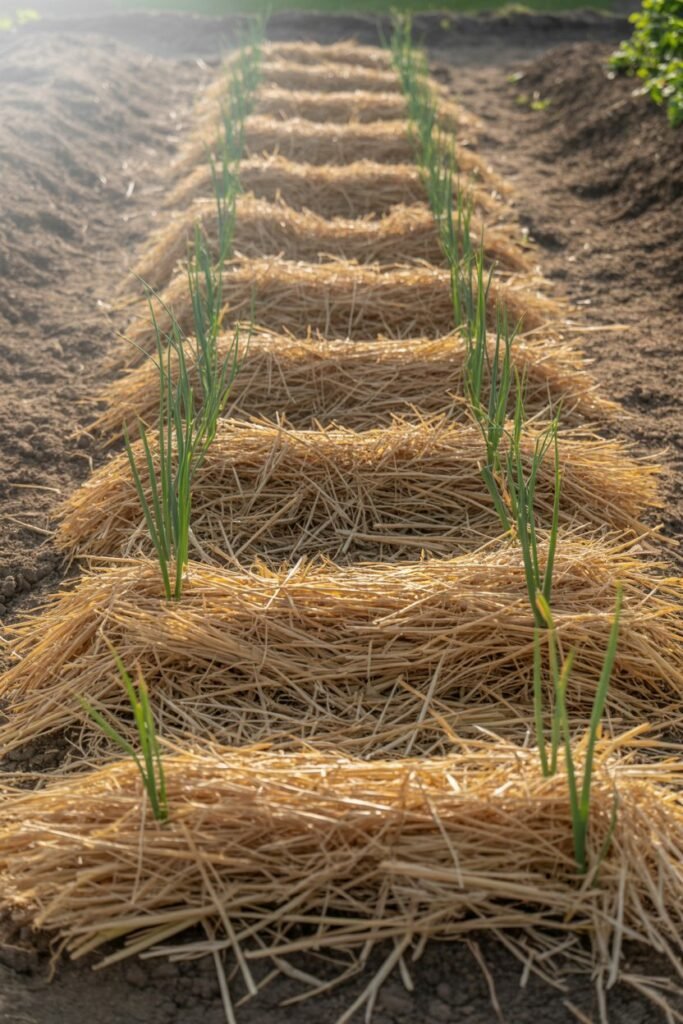
Mulching is often overlooked, but it’s especially helpful for garlic.
Benefits of mulching include:
- Protecting cloves from temperature swings
- Retaining soil moisture
- Suppressing weeds
Use straw, dried leaves, or grass clippings and apply a layer about 2–4 inches thick. In colder regions, mulching is essential for winter protection.
Caring for Garlic as It Grows
Once planted, garlic doesn’t need daily attention, but a little care goes a long way.
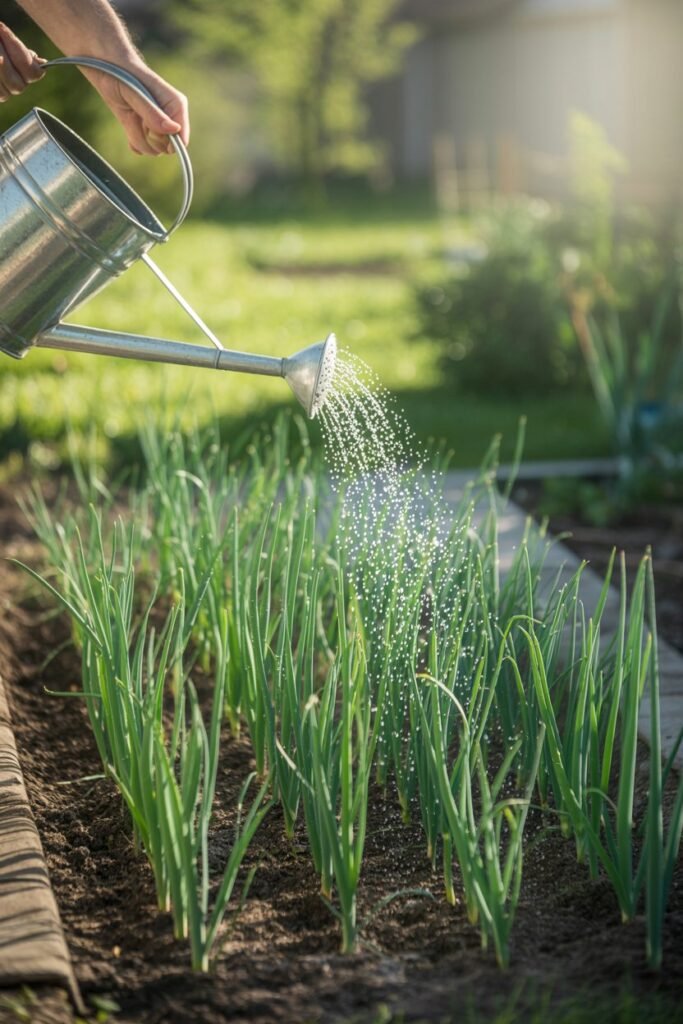
Watering
Garlic prefers consistent moisture, especially during early growth and bulb formation.
- Water deeply but infrequently.
- Reduce watering once the leaves begin to yellow near harvest time.
Overwatering is one of the most common mistakes and can lead to rot.
Feeding
Garlic is a heavy feeder.
- Apply a nitrogen-rich fertilizer or compost in early spring when green shoots appear.
- Avoid fertilizing too late in the season, as this encourages leafy growth instead of bulb development.
Managing Weeds and Competition

Garlic does not compete well with weeds. Because it has a shallow root system, weeds can quickly steal nutrients and water.
- Hand-weed carefully to avoid disturbing bulbs.
- Keep mulch topped up to reduce weed growth naturally.
A weed-free garlic bed almost always produces larger bulbs.
Garlic Scapes: A Bonus Harvest
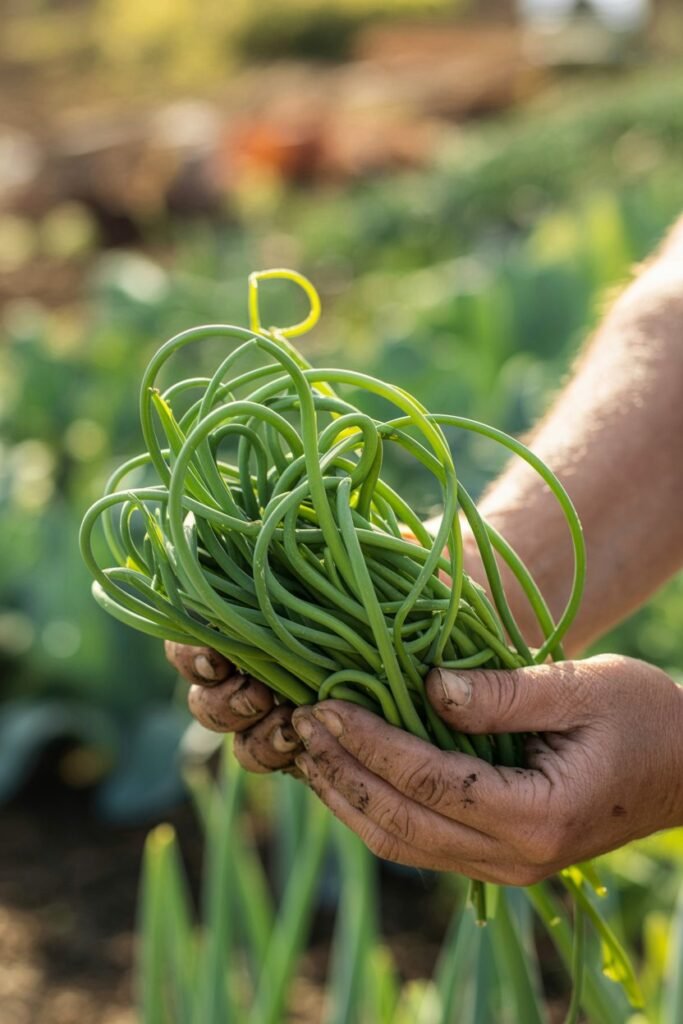
If you’re growing hardneck garlic, you’ll notice curly green stalks forming in late spring or early summer. These are garlic scapes.
Cutting scapes:
- Directs energy back into bulb growth
- Gives you a delicious edible harvest
Scapes can be sautéed, blended into pesto, or added to stir-fries.
Knowing When Garlic Is Ready to Harvest
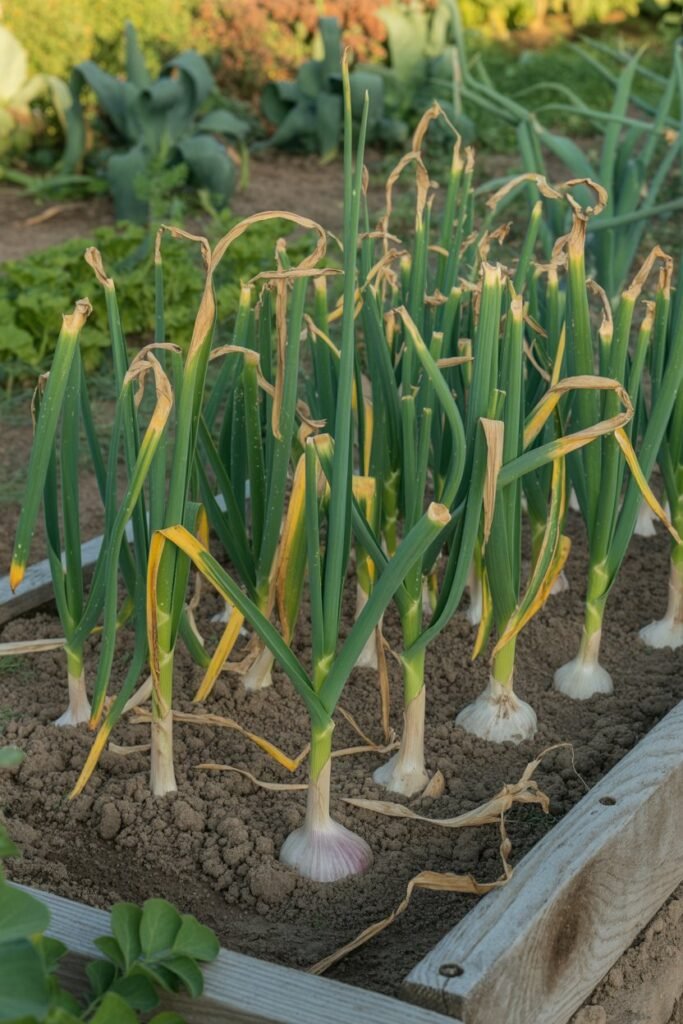
Harvesting at the right time is just as important as planting correctly.
Garlic is usually ready when:
- The lower leaves turn yellow or brown
- About half the leaves are still green
Dig gently around the bulb rather than pulling by the stem. Pulling can damage the bulb or break the stalk.
Curing Garlic for Long-Term Storage
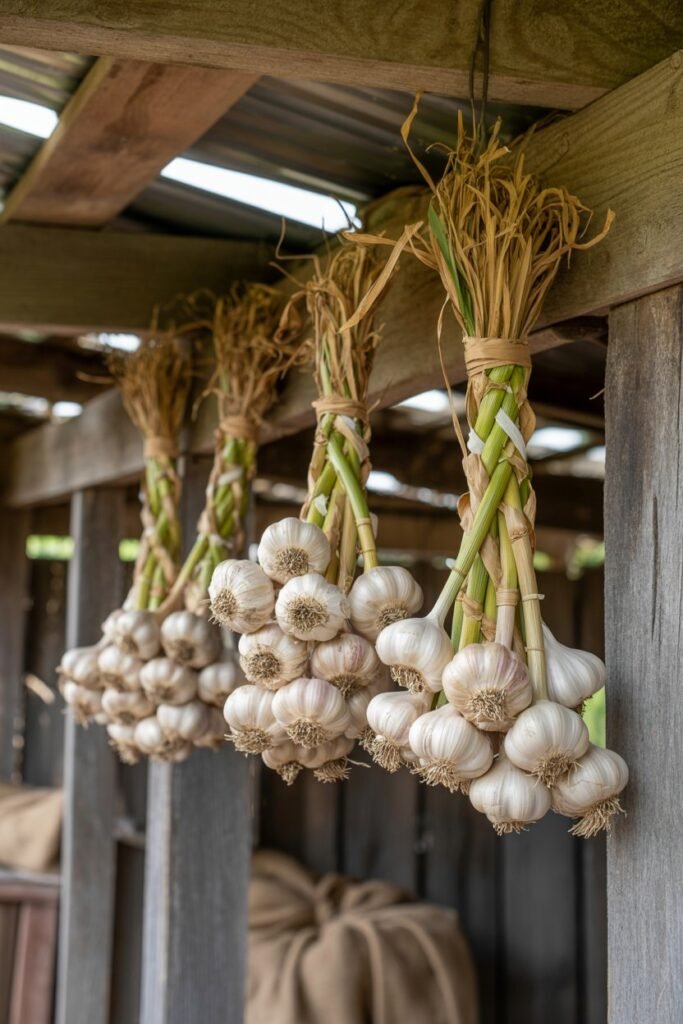
Freshly harvested garlic needs to be cured before storage.
How to Cure Garlic
- Shake off excess soil but don’t wash the bulbs.
- Hang or lay them in a well-ventilated, shaded area.
- Allow them to cure for 2–3 weeks.
Once cured, trim roots and stems, and store bulbs in a cool, dry place.
Proper curing improves flavor and extends shelf life.
Common Garlic Growing Mistakes to Avoid
Even experienced gardeners make mistakes. Here are a few to watch out for:
- Planting cloves upside down
- Using poor-quality planting garlic
- Overwatering late in the season
- Harvesting too early or too late
Being mindful of these small details can make a noticeable difference in yield.
Growing Garlic in Containers
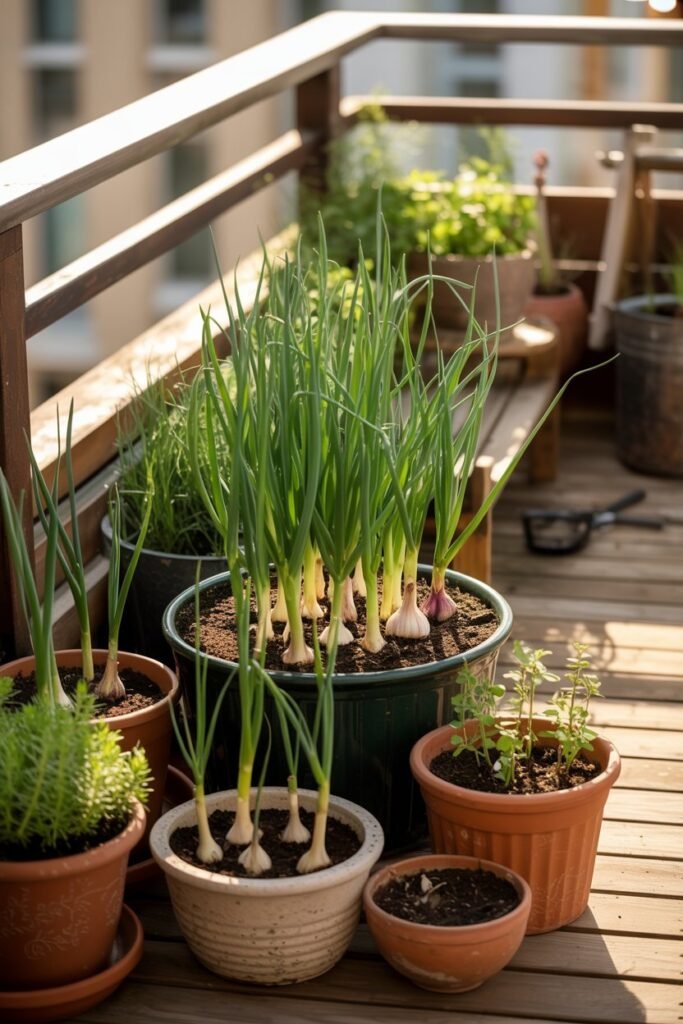
If garden space is limited, garlic grows well in containers.
Tips for container garlic:
- Use a pot at least 8–10 inches deep
- Ensure excellent drainage
- Space cloves properly
- Place containers in full sun
Container garlic may produce slightly smaller bulbs, but the flavor is just as wonderful.
Final Thoughts from the Garden
Planting garlic at home teaches patience in the gentlest way. You plant a small clove, care for it quietly over seasons, and are rewarded with something that feels far bigger than what you started with.
The process is simple, but the joy of harvesting your own garlic never really fades.
If you give garlic good soil, steady moisture, and time, it will do the rest.
And when you finally crack open a homegrown bulb in your kitchen, you’ll understand why so many gardeners make room for garlic year after year.
