
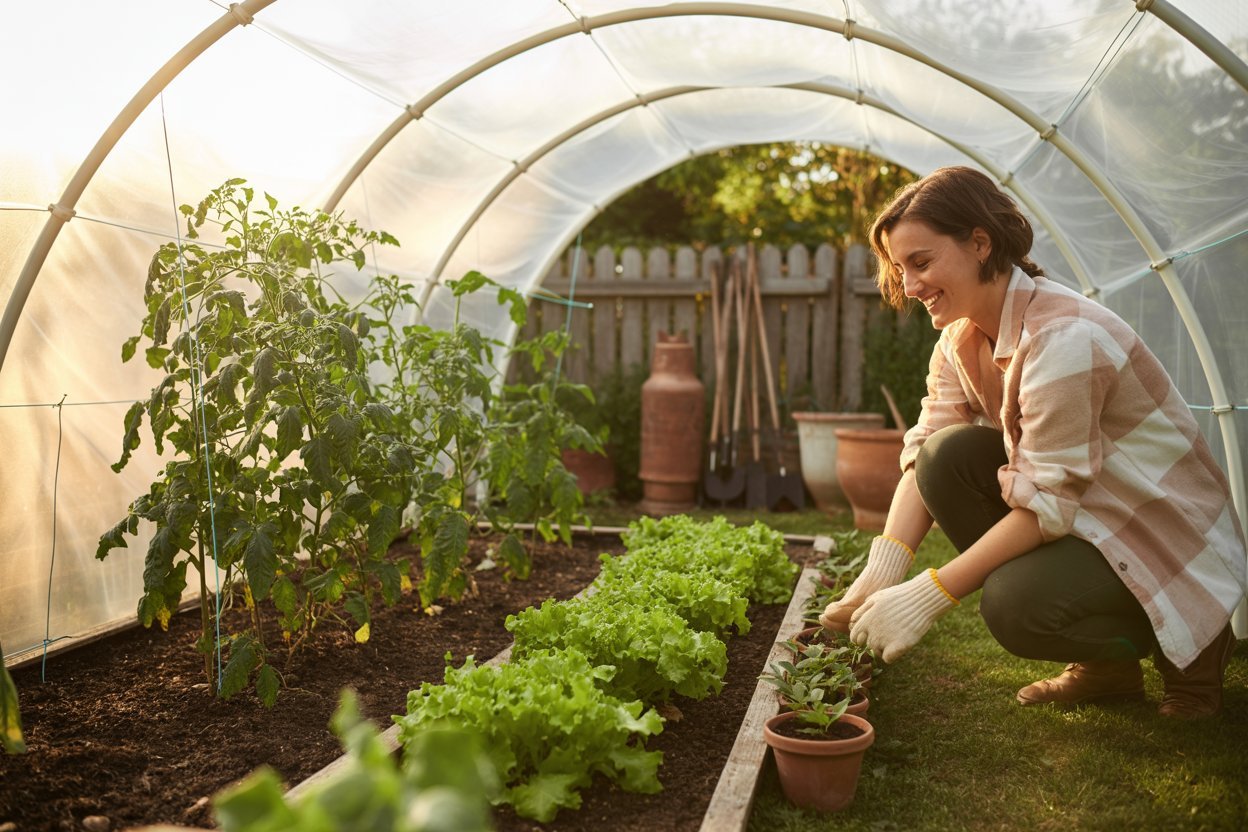
I still remember the quiet frustration that pushed me to build my first hoop house.
It wasn’t dramatic just a few seedlings struggling through chilly nights, leaves curling from wind, and that familiar feeling of wanting to do more for my garden without spending more money.
I wanted protection, warmth, and consistency for my plants, but every greenhouse I found felt far beyond my reach financially.
So one afternoon, with soil still under my nails and hope outweighing doubt, I decided to try something simple.
What came together wasn’t fancy or permanent, but it worked beautifully. That little hoop house changed how I gardened—and how confident I felt doing it.
If you’re here because you want to extend your growing season, protect your plants, or simply try something new without overspending, you’re in the right place.
This guide will gently walk you through building a functional, affordable hoop house greenhouse for around $50, using materials you can easily find on Amazon.
What Exactly Is a Hoop House Greenhouse?

A hoop house greenhouse is a curved tunnel structure made from flexible piping and covered with clear plastic.
Its rounded shape helps trap heat, deflect wind, and protect plants from sudden weather changes.
Unlike traditional greenhouses, hoop houses are:
- Temporary or semi-permanent
- Lightweight and movable
- Easy to customize
- Beginner-friendly
They work by capturing sunlight during the day and holding warmth at night, creating a stable microclimate that plants absolutely love.
Why a Hoop House Is One of the Best Gardening Investments

Even a small hoop house can dramatically change how and what you grow. With one simple structure, you can:
- Start seeds earlier in spring
- Grow later into fall or early winter
- Protect plants from frost, wind, and heavy rain
- Shield crops from pests and animals
- Increase yields without chemical inputs
And perhaps most importantly, it gives you peace of mind. When weather becomes unpredictable, your garden still feels safe.
What Can You Grow in a Hoop House?

A hoop house is surprisingly versatile. With thoughtful care, you can grow:
Cool-Season Crops
- Lettuce
- Spinach
- Arugula
- Kale
- Swiss chard
Warm-Season Crops
- Tomatoes
- Peppers
- Cucumbers
- Eggplants
Extras
- Herbs
- Strawberries
- Cut flowers
- Seedlings and transplants
Many gardeners even use hoop houses to overwinter hardy greens or protect young fruit plants.
Tools You’ll Need (Simple and Amazon-Friendly)
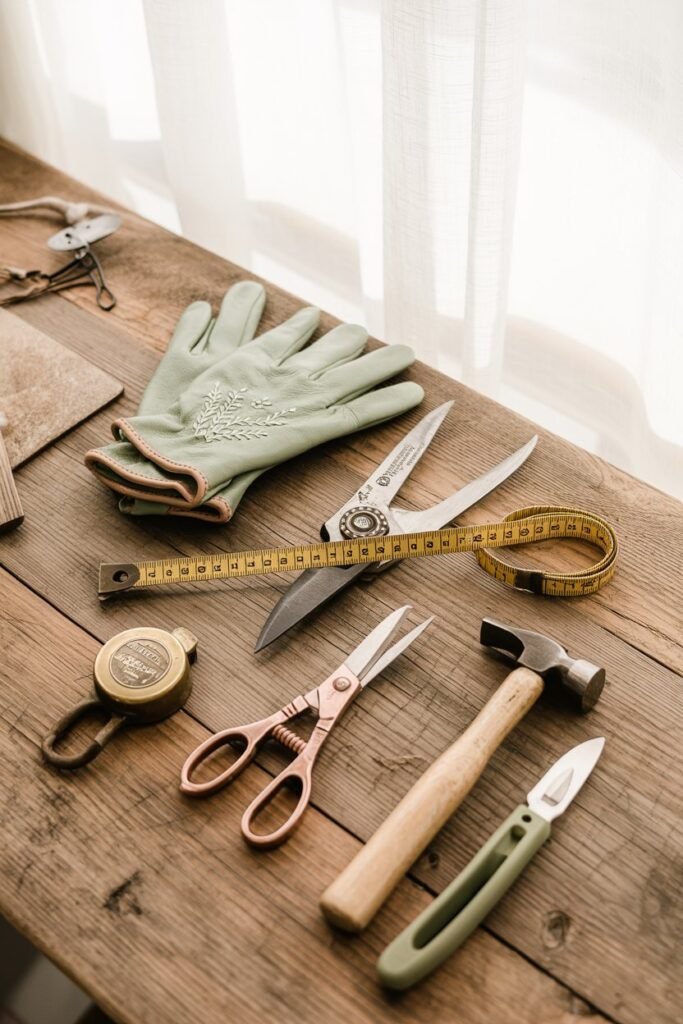
You don’t need special equipment or power tools. Everything listed here is beginner-safe and easy to find on Amazon:
- Measuring tape
- Garden gloves
- Utility knife or heavy scissors
- Hammer or rubber mallet
- Permanent marker (for measurements)
These are tools you’ll use again and again in the garden.
Materials List (All Available on Amazon)
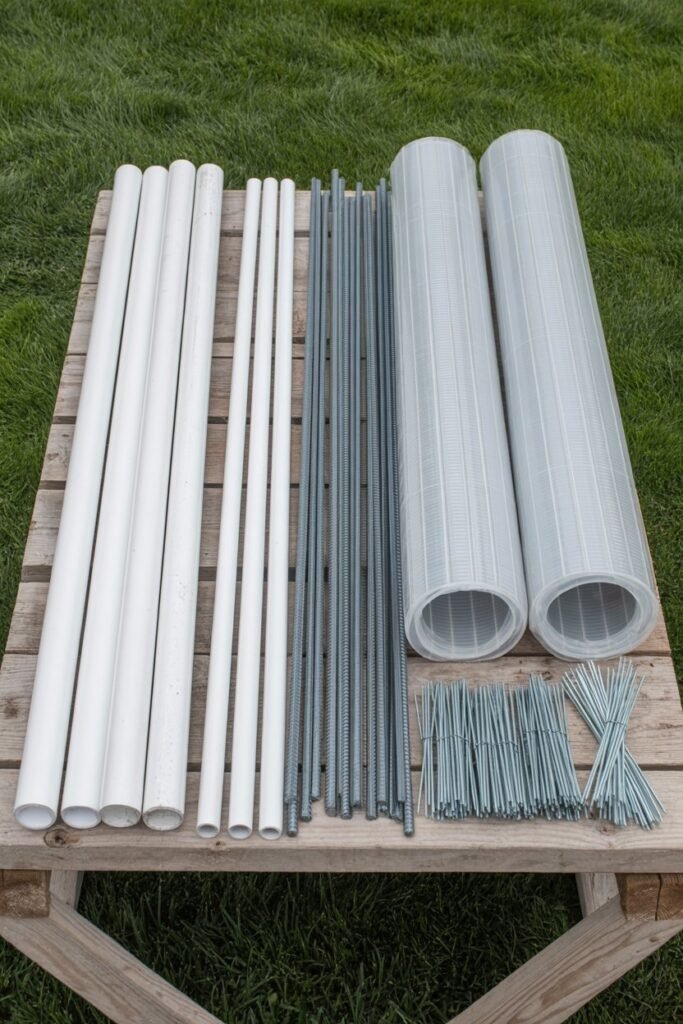
Below is a carefully chosen list that balances affordability, durability, and ease of use. When bought strategically, this setup stays close to $50.
1. PVC Pipes (Hoop Frame)
- Size: ½-inch or ¾-inch diameter
- Length: 10 feet
- Quantity: 6–8 pipes
PVC pipes are flexible enough to bend into arches but sturdy enough to handle wind and light snow. For beginners, ½-inch pipes are easier to work with and more budget-friendly.
2. Rebar Stakes or Heavy-Duty Garden Stakes
- Length: 12–18 inches
- Quantity: 6–8
These anchor your hoop house into the ground and prevent shifting. Garden stakes are a softer alternative if rebar feels intimidating.
3. Greenhouse Plastic or Clear Polyethylene Sheet
- Thickness: 4–6 mil
- Size: At least 6×10 feet
This clear plastic allows sunlight in while holding warmth. UV-resistant plastic lasts longer and resists tearing.
4. Heavy-Duty Zip Ties
- Quantity: 50–100 count
- Weather-resistant recommended
Zip ties are wonderfully forgiving. They allow easy adjustments, repairs, and seasonal changes.
5. Optional Stability Materials
- Wooden boards
- Landscape fabric pins
- Sandbags or stones
These help secure the bottom edges and improve heat retention.
Step-by-Step: Building Your Hoop House Greenhouse
Take your time with these steps. Gardening is never meant to be rushed.
Step 1: Choose a Sunny, Sheltered Location

Your hoop house should receive:
- At least 6–8 hours of sunlight
- Good airflow
- Natural wind protection if possible
Avoid low areas where water pools after rain.
Step 2: Measure and Mark the Area

A practical beginner size:
- Width: 4–6 feet
- Length: 8–10 feet
- Height: 4–5 feet
Mark the corners using stakes or stones. This helps keep everything aligned and balanced.
Step 3: Install the Ground Anchors

- Hammer rebar or stakes into the soil
- Space them evenly on both sides
- Leave 6 inches above ground
This step provides the foundation. A stable base means fewer repairs later.
Step 4: Form the PVC Hoops

- Slide one end of a PVC pipe over a stake
- Gently bend it into an arch
- Secure the other end onto the opposite stake
Repeat until all hoops are standing. Step back and admire your work—it’s already taking shape.
Step 5: Add a Ridge Support (Highly Recommended)
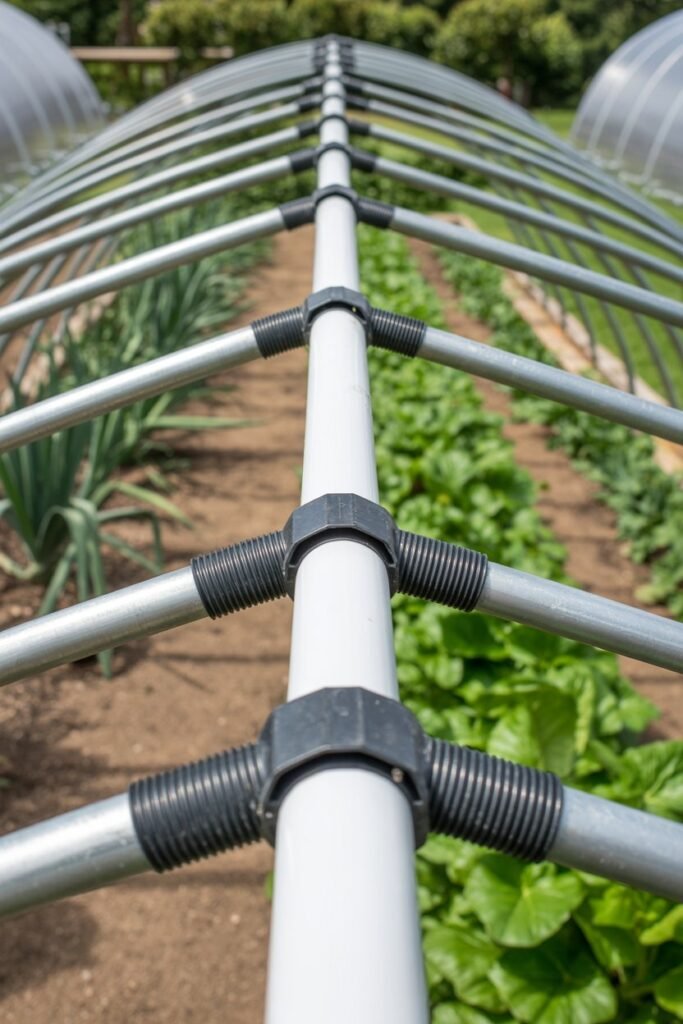
For extra strength:
- Run one PVC pipe along the top center
- Attach it to each hoop using zip ties
This prevents sagging and increases durability during windy days.
Step 6: Drape the Greenhouse Plastic

- Lay the plastic evenly over the frame
- Leave extra length at the ends and sides
- Smooth it gently without overstretching
This extra slack helps prevent tearing during temperature changes.
Step 7: Secure the Plastic to the Frame

- Use zip ties along each hoop
- Space ties every 12–18 inches
- Trim excess zip tie ends for safety
The plastic should feel snug but not tight.
Step 8: Seal and Secure the Bottom Edges

To retain heat:
- Bury the plastic edges with soil
- Use boards or stones
- Pin fabric to the ground
One side should remain adjustable for ventilation.
Step 9: Create a Door or Ventilation Opening

Plants need fresh air to stay healthy.
Simple options:
- Roll up one end and clip it
- Use Velcro strips
- Loosen zip ties during warm days
Proper ventilation prevents overheating and fungal issues.
How to Use Your Hoop House Effectively

Temperature Management
- Open vents on sunny days
- Close tightly at night
- Monitor midday heat
Watering Tips
- Water early in the day
- Avoid soaking foliage
- Check soil moisture often
Pest Control
- Hoop houses naturally reduce pests
- Inspect plants weekly
- Remove damaged leaves promptly
Seasonal Care and Maintenance
Spring
- Start seedlings early
- Gradually harden plants
Summer
- Increase ventilation
- Use shade cloth if needed
Fall
- Extend harvests
- Protect tender crops
Winter
- Grow hardy greens
- Remove snow buildup gently
Common Mistakes (And Gentle Fixes)
- Overheating: Vent early and often
- Loose plastic: Add more zip ties
- Poor drainage: Raise beds if needed
Mistakes are part of learning. Be kind to yourself.
How Long Will a $50 Hoop House Last?
With basic care:
- PVC frame: 3–5 years
- Plastic cover: 1–2 seasons
Replacing plastic is inexpensive and easy.
Final Thoughts From the Garden
Building a hoop house isn’t just about saving money it’s about empowerment. It’s about realizing that you can protect your plants, extend your growing season, and nurture abundance with your own hands and heart.
Your hoop house doesn’t have to be perfect. It only needs to shelter life, warmth, and possibility.
And that, dear gardener, is always worth building.
