
There’s a quiet kind of joy that comes from stepping into the garden with a pair of scissors in hand, brushing past rosemary or basil, and knowing dinner is about to taste better because of something you grew yourself.
Fresh herbs are a gift but they don’t last forever. And that’s where learning how to dry and preserve herbs becomes such a beautiful, empowering skill.
Preserving herbs allows you to stretch that garden abundance through the colder months, save money, reduce waste, and keep real flavor close at hand all year long.
When done properly, dried herbs can retain much of their aroma, taste, and usefulness whether you’re cooking, blending teas, crafting, or caring for your family naturally.
Let’s walk through the process together, slowly and intentionally, so your herbs dry beautifully and stay potent.
Why Proper Herb Drying Matters More Than You Think
Drying herbs isn’t just about removing moisture it’s about preserving essential oils. Those oils are what give herbs their:
- Flavor
- Aroma
- Medicinal properties
- Skin-soothing qualities
Too much heat destroys them. Too much moisture causes mold. Light fades them. Rushing the process weakens them.
The goal is slow, steady, protected drying and once you understand that, everything else falls into place.
Step 1: Harvesting Herbs at Peak Potency

The quality of your dried herbs is decided the moment you harvest.
The Best Time of Day
- Harvest in the morning, after dew has dried but before midday heat.
- Avoid harvesting in the evening essential oils are lower then.
Weather Matters
- Never harvest herbs right after rain.
- Wet herbs trap moisture, which leads to mold during drying.
Harvesting With Intention
Different herbs require different harvesting approaches:
Leafy herbs (basil, mint, lemon balm):
- Cut just above a leaf node to encourage regrowth.
Woody herbs (rosemary, thyme, sage):
- Snip tender, newer growth rather than old woody stems.
Flowering herbs (chamomile, lavender, calendula):
- Harvest when blooms are fully open but not fading.
Always use clean, sharp scissors or shears. Crushing stems bruises the plant and weakens flavor.
Step 2: Preparing Herbs for Drying
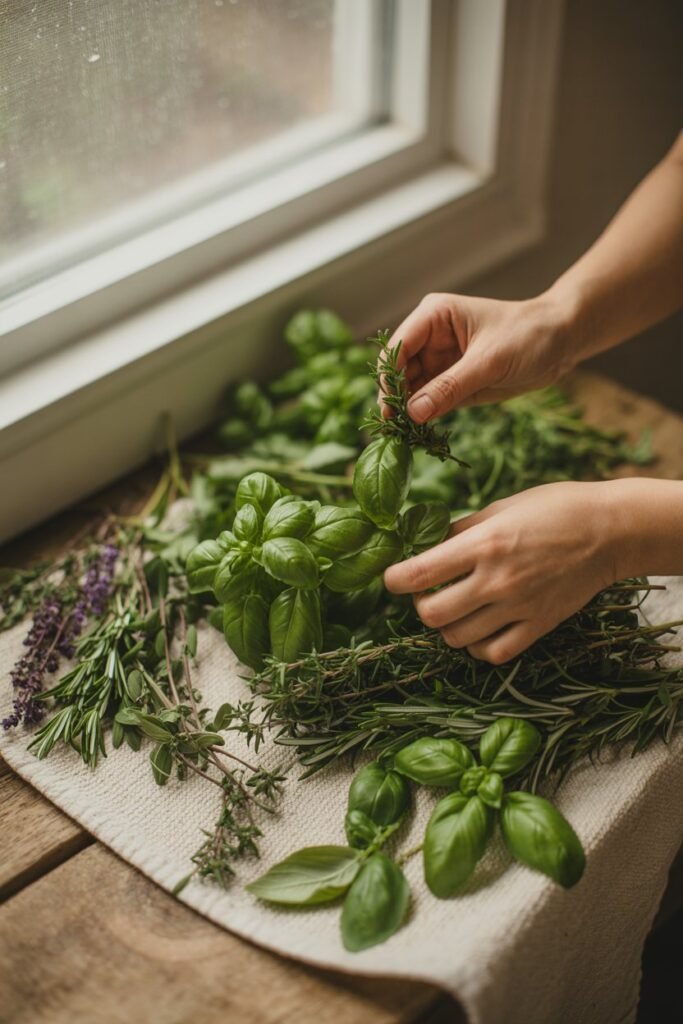
Before drying, herbs need a little care.
Should You Wash Herbs?
- If herbs are clean, don’t wash them extra moisture slows drying.
- If dusty or dirty, rinse gently and dry thoroughly using towels.
- Never start drying until herbs are completely dry to the touch.
Remove:
- Yellowed leaves
- Damaged stems
- Insects hiding near leaf joints
This small step prevents problems later.
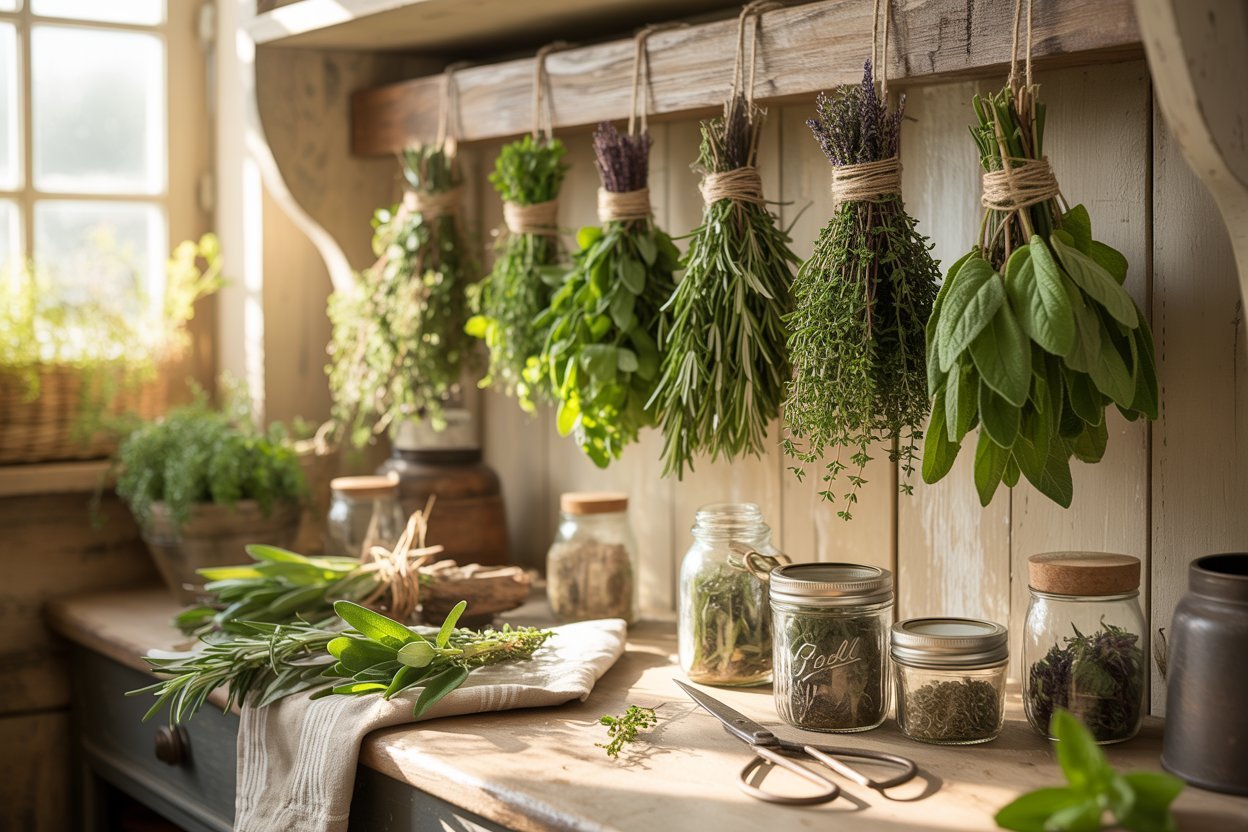
Method 1: Hanging Herbs to Dry (Traditional & Reliable)
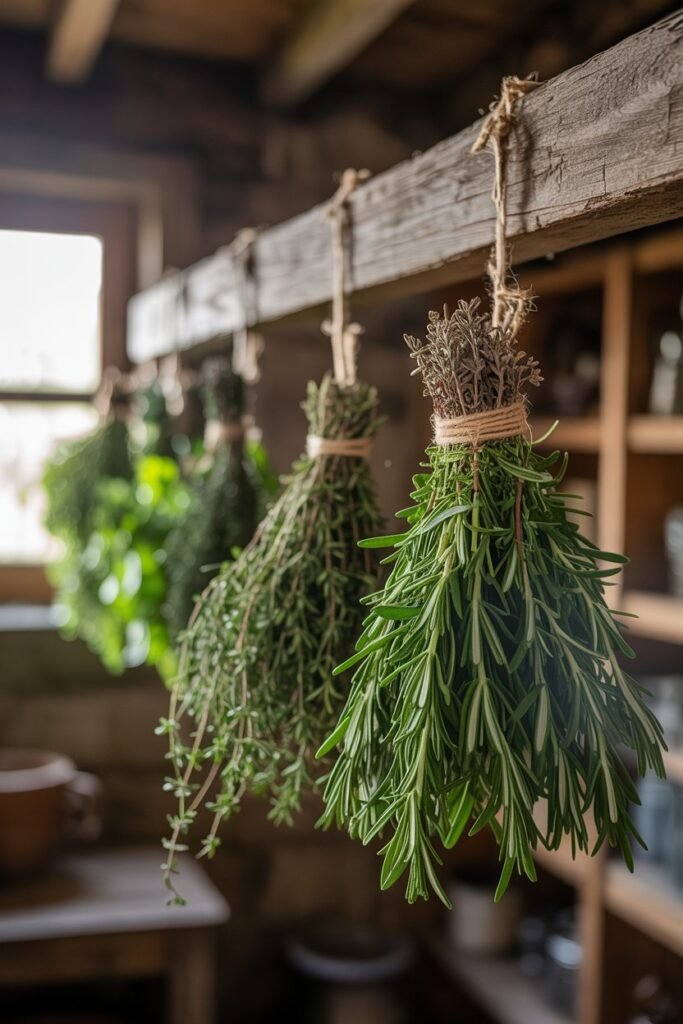
This is the most classic method and works beautifully for herbs with sturdy stems.
Best Herbs for Hanging
- Rosemary
- Thyme
- Oregano
- Sage
- Parsley
- Cilantro
How to Hang Herbs Correctly
- Gather herbs into small, loose bundles (5–10 stems max).
- Tie with twine or jute cord never too tight.
- Hang upside down in a space that is:
- Dark or low-light
- Dry
- Well-ventilated
Light degrades flavor. Darkness protects it.
If you don’t have a dark space, loosely cover bundles with paper bags (poke small holes for airflow).
Drying Time
- 2–4 weeks on average
- High humidity may take longer
- Herbs are ready when leaves crush easily between fingers
Check weekly and remove any herbs showing discoloration or softness.
Method 2: Laying Herbs Flat (For Delicate Leaves & Flowers)
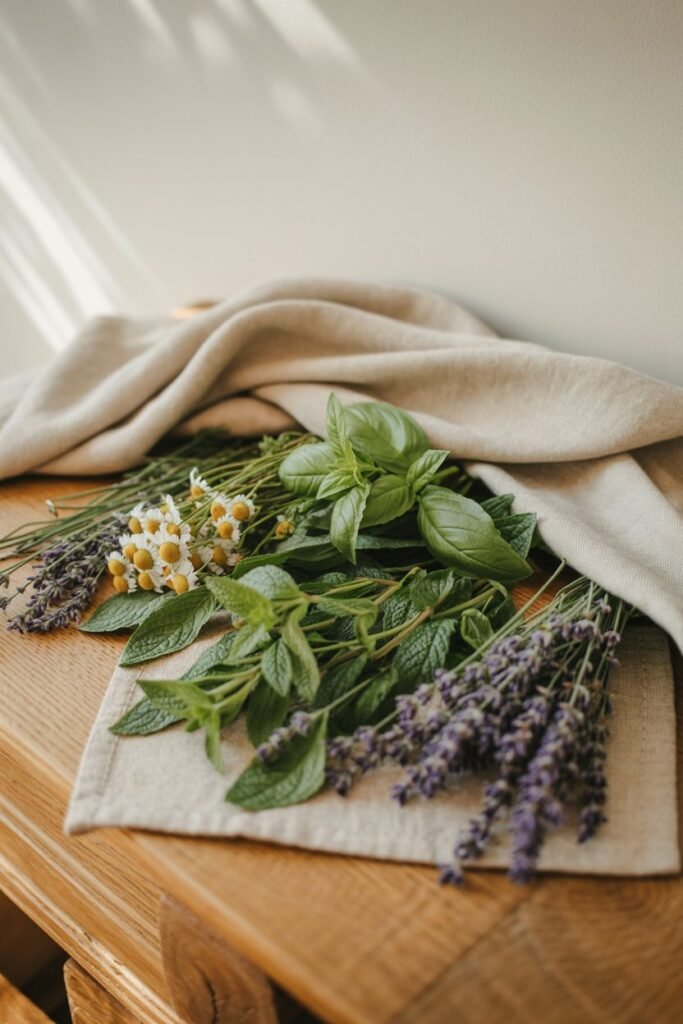
Soft herbs need extra care.
Ideal for:
- Basil
- Mint
- Lemon balm
- Chamomile
- Lavender buds
Flat Drying Process
- Spread herbs in a single layer on:
- Tea towels
- Paper towels
- Drying screens
- Cover lightly to protect from dust.
- Place in a warm, dry room away from sunlight.
- Turn herbs every 2–3 days.
This method preserves color and fragrance but requires patience.
Method 3: Drying Herbs in a Dehydrator

A dehydrator is excellent if:
- You live in a humid climate
- You’re short on space
- You want consistent results
Dehydrator Settings
- Temperature: 95–115°F
- Very humid regions: up to 125°F
- Time: 2–4 hours
Check frequently. Herbs should be dry not brittle and lifeless.
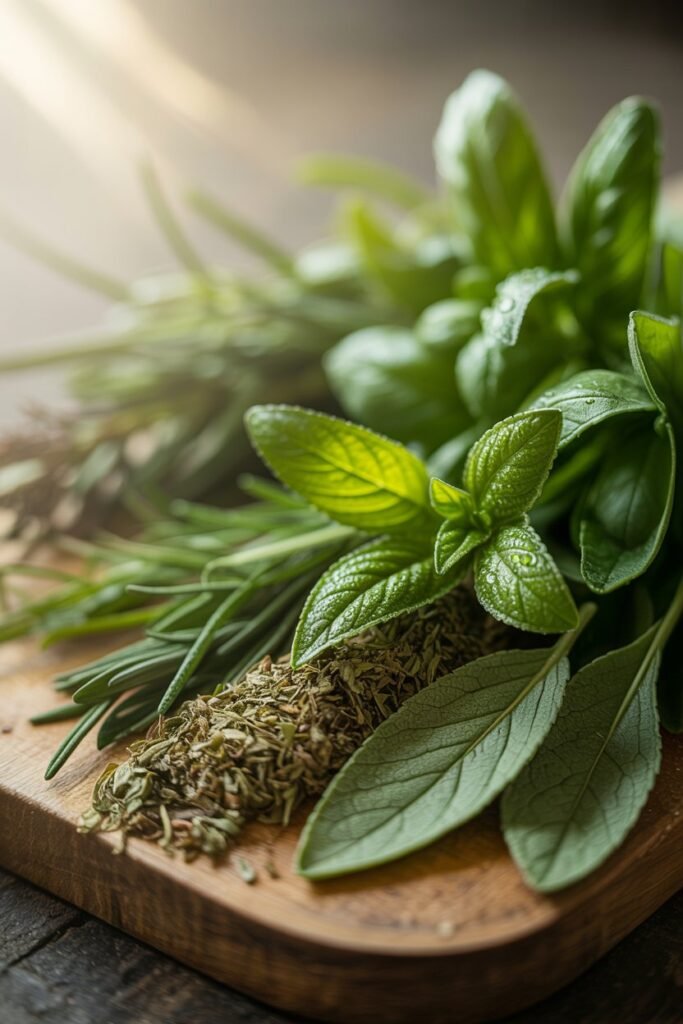
How to Tell When Herbs Are Fully Dry

This step is crucial.
Herbs must be 100% dry before storage.
Signs they’re ready:
- Leaves crumble easily
- Stems snap cleanly
- No coolness or softness remains
If you’re unsure, wait another day.
Step 3: Storing Dried Herbs the Right Way

Even perfectly dried herbs can be ruined by poor storage.
Best Storage Containers
- Glass jars with tight lids
- Small spice jars for kitchen use
- Mason jars for bulk storage
Avoid plastic and metal.
Storage Rules
- Keep herbs whole until use
- Store away from light, heat, and moisture
- Label jars with herb name and date
For best flavor, use within 6–12 months.
Preserving Herbs by Freezing (For Fresh Flavor Lovers)

Freezing keeps herbs closer to their fresh state.
Oil-Freezing Method
- Chop herbs finely.
- Place into ice cube trays.
- Fill with olive oil or avocado oil.
- Freeze solid.
These cubes are perfect for soups, stews, and sautés.
Common Mistakes to Avoid
- Drying herbs in direct sunlight
- Hanging bundles too thick
- Storing herbs before fully dry
- Crushing herbs before storage
- Using plastic containers
Avoiding these keeps herbs vibrant and useful.
What You Can Do With Dried Herbs
Culinary Uses
- Seasonings and rubs
- Homemade spice blends
- Baking and marinades
Tea & Wellness
- Herbal teas
- Calming blends
- Digestive support
DIY & Home Care
- Soaps and lotions
- Bath salts
- Sachets and potpourri
A Gentle Gardener’s Closing Thought
Drying herbs is an act of slowing down.
It’s about paying attention, respecting what the garden gave you, and carrying that care forward into your home.
Once you’ve done it well, you’ll never look at a jar of store-bought herbs the same way again.
