
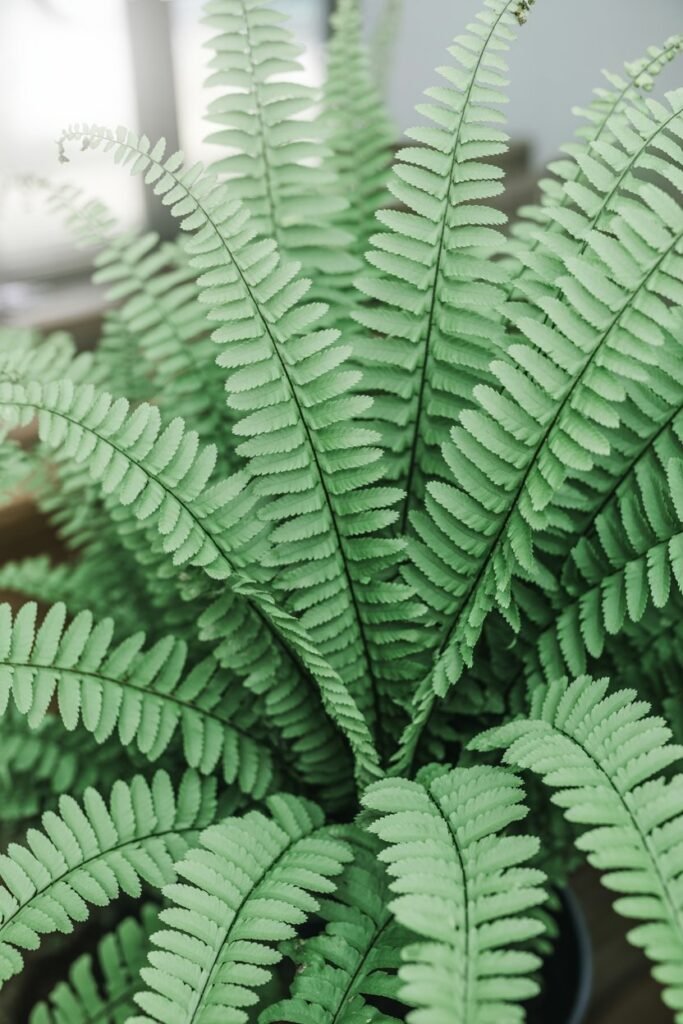
Growing ferns in water is one of those quiet gardening practices that feels almost magical the first time you witness it.
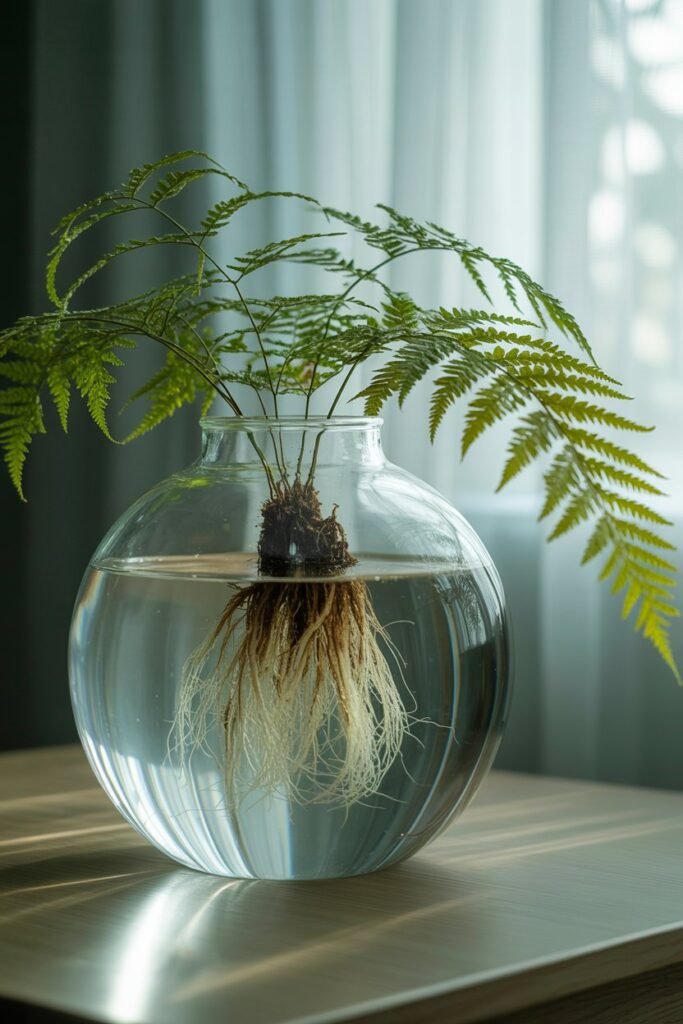
There is something intimate about seeing the bare roots suspended in clear water no soil, no mess, just living green lacework thriving in a simple glass jar.
Many gardeners don’t realize that several common ferns are perfectly capable of living this way long-term.
When cared for properly, they stay lush, glossy, and vibrant without ever touching soil. Best of all, this method is accessible even for people who say they can’t keep plants alive.
This guide blends practical know-how with the gentle, lived rhythm of someone who has kept water-grown ferns on her windowsills for years watching new fronds unfurl, learning which containers they love, and discovering tricks you only find through daily attention.
Let’s begin.
Why Grow Ferns in Water?
There are a few reasons this method is beloved:
1. It’s beginner-friendly.
You skip the complications of soil drainage, compaction, pests and go straight to a clean, minimal setup.
2. It creates a calming aesthetic.
Clear jars filled with delicate green fronds and visible roots add a soft, soothing touch to any room.
3. It reduces pests dramatically.
No soil means fewer fungus gnats, no hidden eggs, and very little mess.
4. You learn your plant more intimately.
You see root growth, hydration levels, and health changes instantly.
5. It’s surprisingly sustainable.
Ferns in water use fewer materials and stay contained in one spot, requiring only weekly water care.
But the biggest reason?
Ferns simply look beautiful in water when they are given the right environment.
Ferns That Thrive in Water
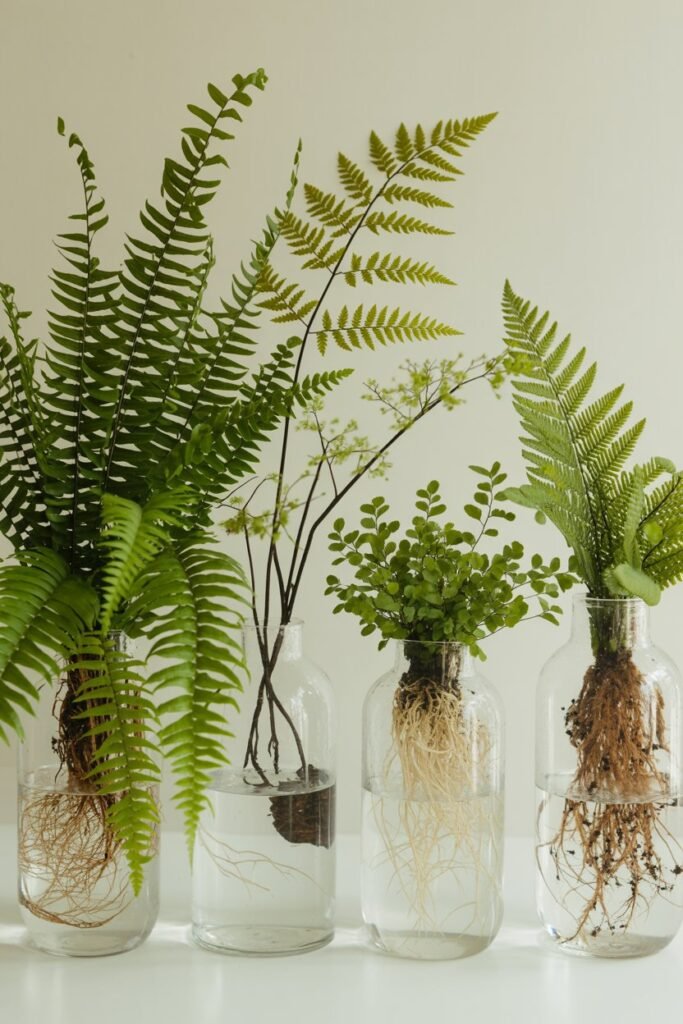
Not every fern adapts well, but these are the most reliable and resilient choices:
- Boston Fern (Nephrolepis exaltata)
- Maidenhair Fern (Adiantum spp.)
- Lemon Button Fern (Nephrolepis cordifolia ‘Duffii’)
- Rabbit’s Foot Fern (Davallia fejeensis)
- Holly Fern (Cyrtomium falcatum)
- Asparagus Fern (Asparagus setaceus and A. densiflorus)
Each of these species tolerates high moisture, grows fine roots suitable for water culture, and doesn’t collapse easily when removed from soil.
Let’s now walk through the full setup carefully and slowly, as someone would teach a friend in their kitchen over a shared cup of tea.
How to Prepare a Fern for Water Culture
Step 1: Choose a Healthy Parent Fern
Pick a fern that has:
- Firm, hydrated fronds
- No signs of yellowing
- Active new growth tips
- A root ball that feels springy rather than mushy
Avoid ferns that look dehydrated or have crispy fronds; they struggle more with transition.
Step 2: Remove the Fern from Soil (Gently, Patiently)
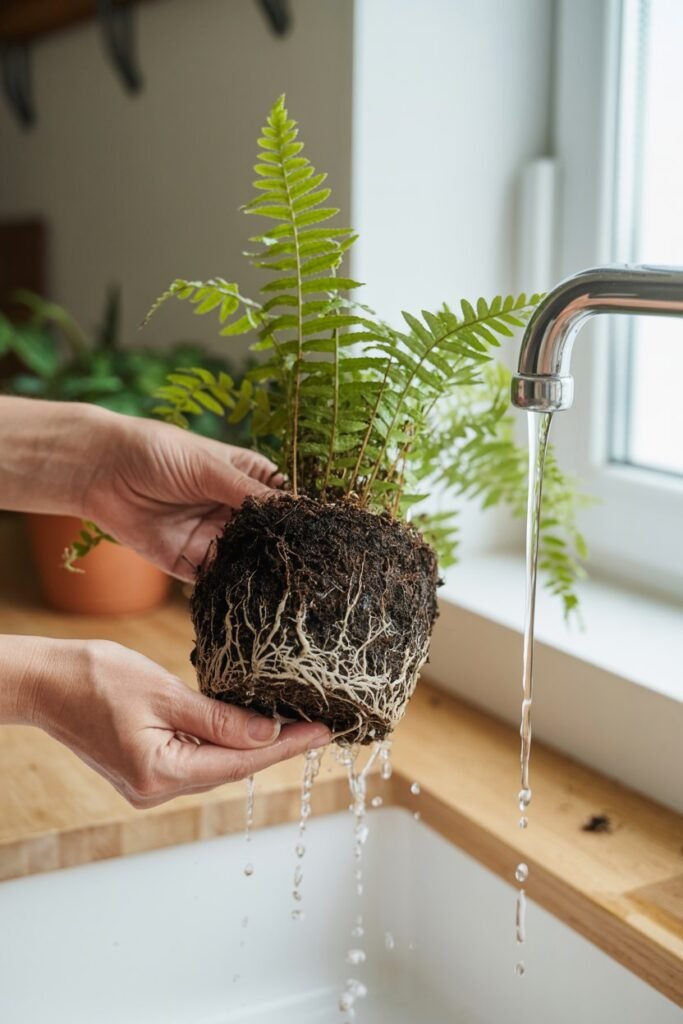
This step can feel like surgery, but it’s deeply important.
- Water the plant an hour before you begin.
This softens the soil and prevents root shock. - Turn the pot sideways and ease the fern out slowly.
- Loosen the soil with your fingers do not tug.
Let the soil crumble away naturally. - Rinse the roots under lukewarm running water.
Not cold, not hot.
Warm water is comforting and helps the roots relax.
Your goal:
Expose clean roots without tearing them.
If you see old brown roots, trim them with sterilized scissors. White or cream-colored roots should remain.
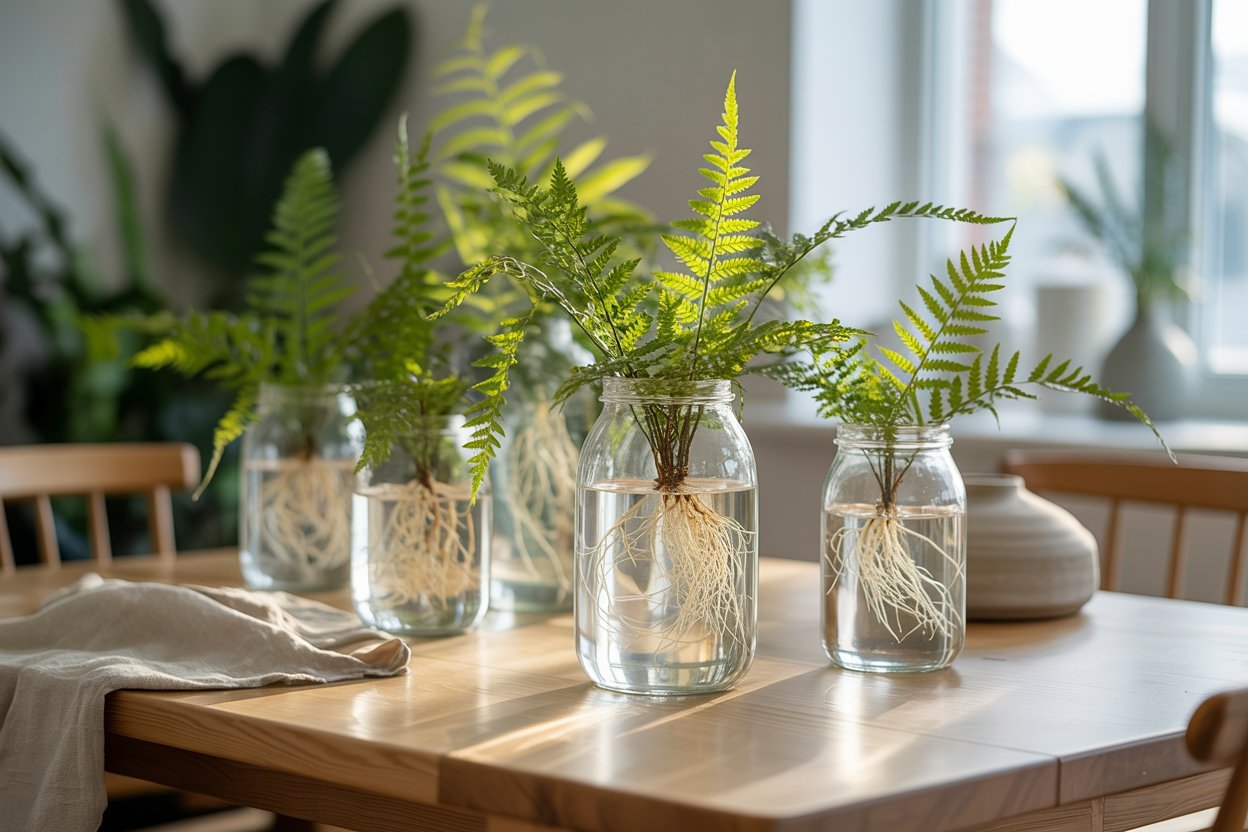
Step 3: Prepare Your Water Container
Choose a vessel that speaks softly to the plant you’d be surprised how much containers matter.
Recommended containers:
- Tall glass jars
- Vintage vases
- Mason jars
- Clear cylinders
- Recycled kombucha bottles (washed thoroughly)
Avoid shallow bowls ferns prefer deeper vessels that support upright growth.
Key rule:
The opening should not squeeze the plant’s base. Fern crowns bruise easily.
Step 4: Fill the Jar With the Right Water
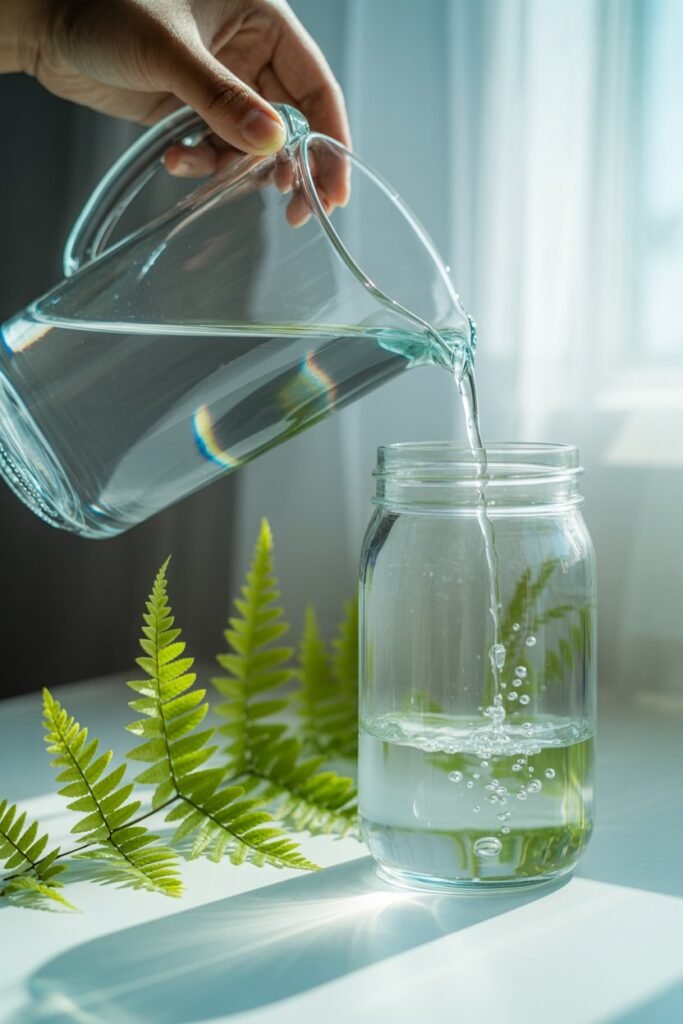
This is a detail many guides skip, but it matters greatly.
Best water options:
- Filtered water
- Rainwater
- Left-out tap water (rested 24 hours to release chlorine)
Avoid:
- Hard water
- Chlorinated water
- Recently boiled water
- Icy cold water
Fill the jar halfway. Keep the water level just below the crown (the center where fronds emerge). Crowns submerged in water rot quickly.
Placing Your Fern in Water
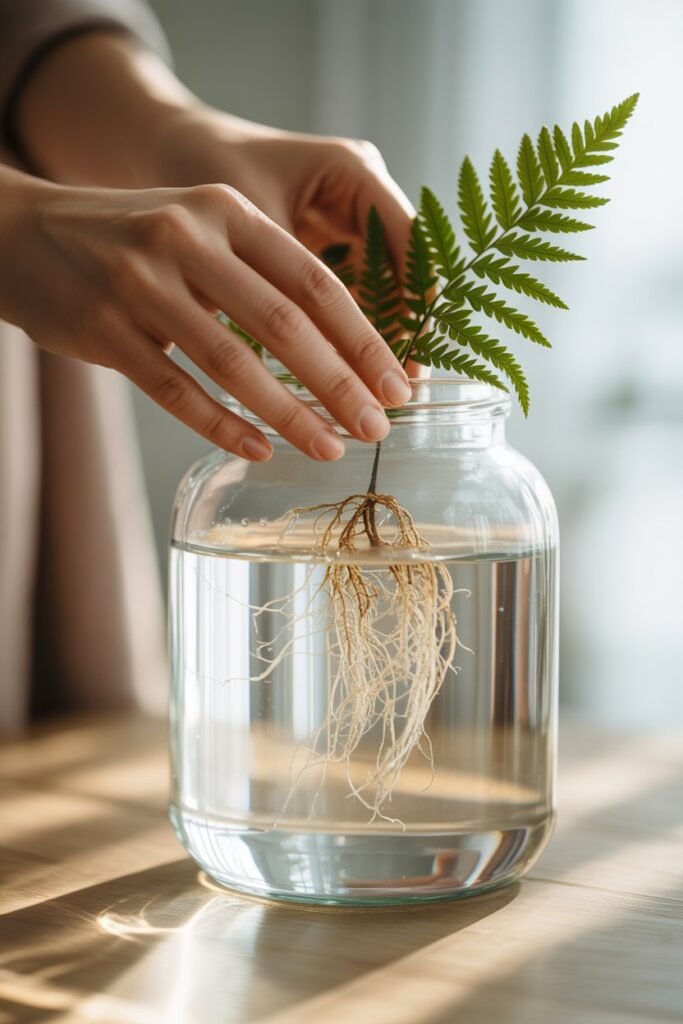
Lower the roots into the jar and hold the plant upright. Let the roots float naturally, then adjust until the crown rests slightly above the water line.
Take a moment here this is where the fern begins its transition.
The plant may wilt slightly on day one. This is normal.
By day three, the fronds usually perk back up.
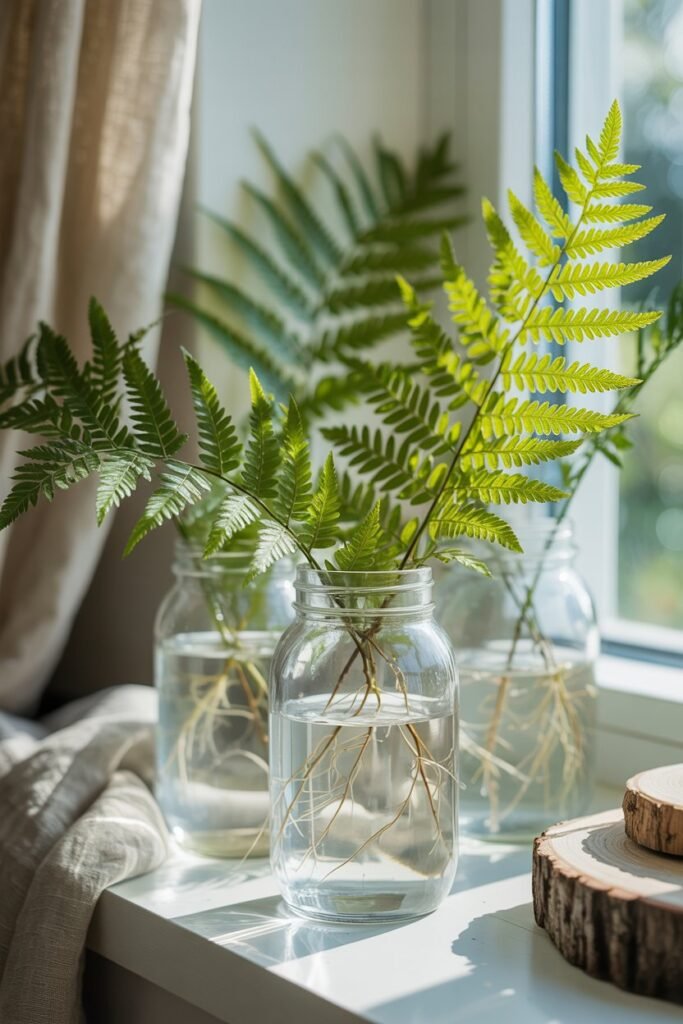
Where to Place Your Water-Grown Fern

Ferns grown in water need:
1. Soft, indirect light
Morning light is perfect. Harsh midday sun will scorch the leaves.
2. Stable room temperature
They prefer 65–75°F (18–24°C).
Avoid drafts and AC vents.
3. Humidity
Unlike soil ferns, water-grown ferns don’t demand extreme humidity. But they still appreciate a room that isn’t bone dry.
Place them by:
- Bathrooms with natural light
- Kitchen counters
- East-facing windowsills
- Shelves away from harsh sun
Weekly Care Routine (The Method That Keeps Them Alive for Years)
1. Change the water every 5–7 days.
Old water suffocates the roots.
2. Rinse the container.
A quick swish prevents algae buildup.
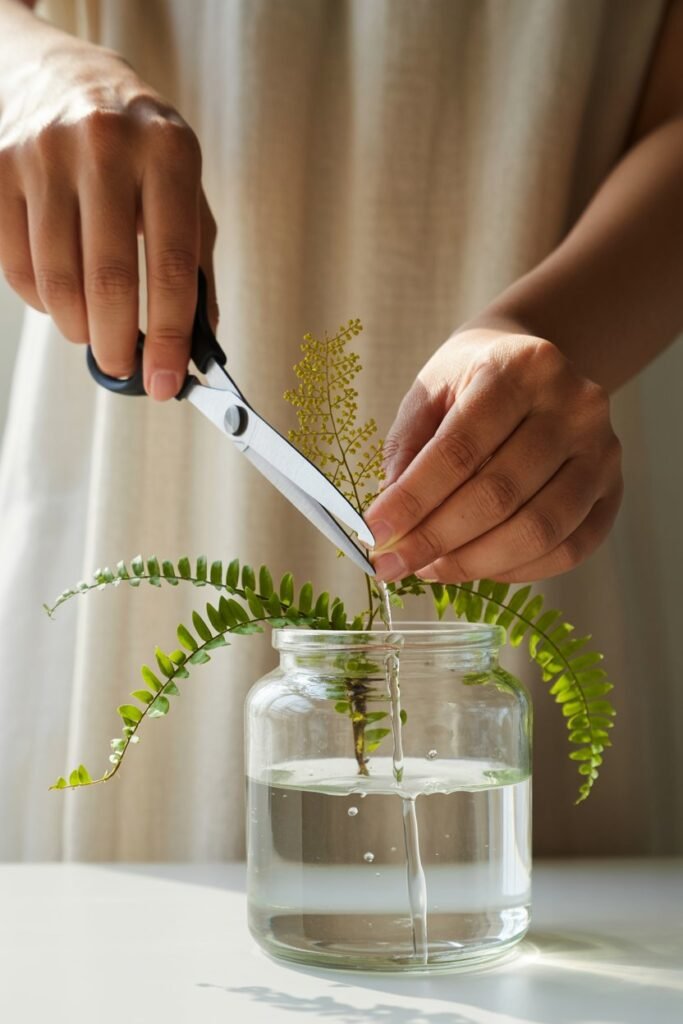
3. Trim tired or yellowing fronds.
Ferns love a light grooming.
4. Wipe the roots with your fingers.
Not forcefully just enough to remove any slimy buildup.
5. Add fresh, tepid water.
Again, keep the crown above water.
This simple routine keeps the fern breathing and thriving.
Do Water-Grown Ferns Need Fertilizer?
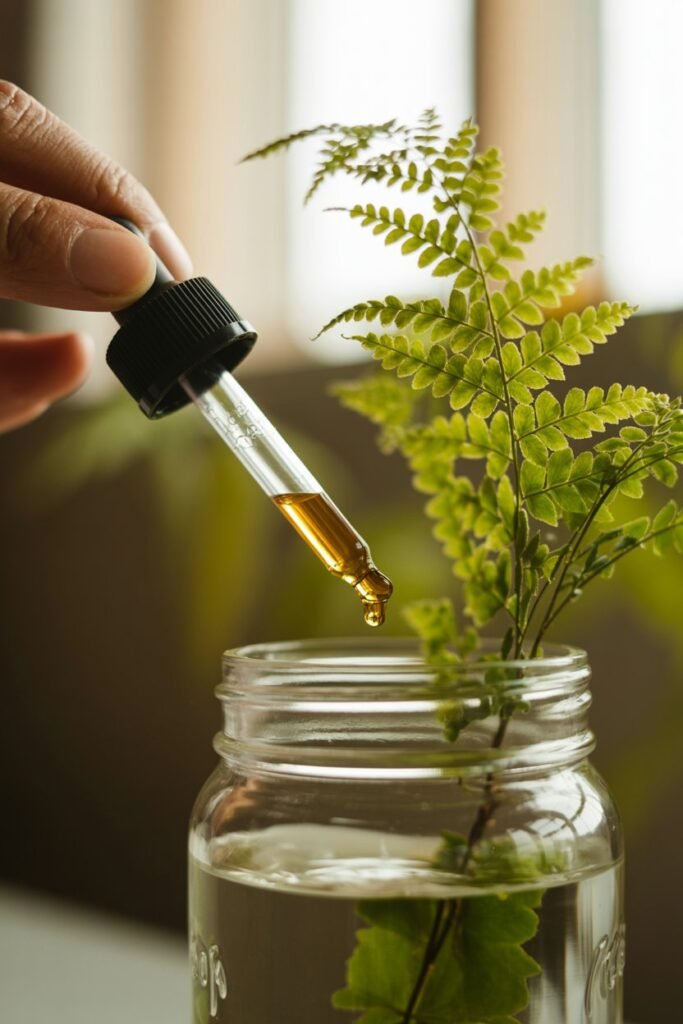
Yes but very sparingly.
Once a month, add:
- ½ teaspoon of liquid houseplant fertilizer
diluted in 1 liter of water
Or use:
- A drop of seaweed extract
- A drop of fish emulsion (very diluted)
Too much fertilizer burns roots easily since there is no soil to buffer the nutrients.
How Long Can Ferns Live in Water?
With gentle care:
- Boston ferns: 1–3 years
- Maidenhair ferns: 8–12 months
- Lemon button ferns: 2–4 years
- Rabbit’s foot ferns: indefinitely (their rhizomes love water culture)
You can always transfer them back to soil later but many gardeners simply replace older fronds with new propagated pieces over time to maintain the display.
Troubleshooting Common Problems
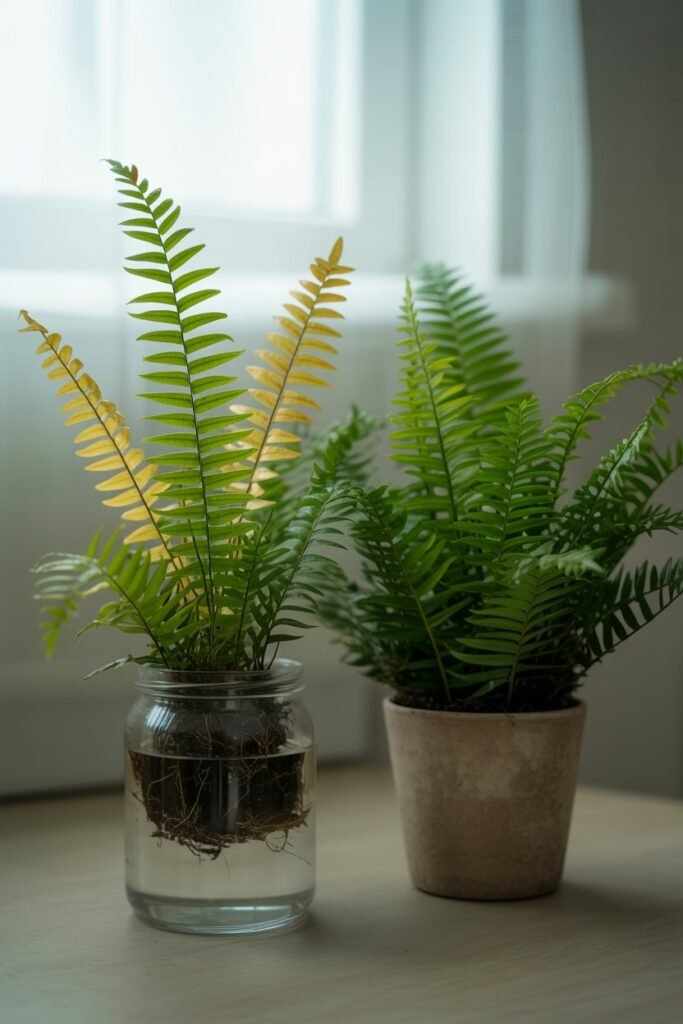
1. Fronds turning yellow
Cause: Too much direct sun or chlorine in the water
Fix: Move to softer light; switch to filtered water
2. Roots turning brown and mushy
Cause: Crown submerged or water not changed
Fix: Keep crown above water; refresh weekly
3. Brown crispy tips
Cause: Very dry air
Fix: Move to a slightly more humid room
4. Algae growth
Cause: Too much light
Fix: Move jar slightly farther from window; clean weekly
Final Thoughts
Growing ferns in water isn’t just a technique it’s a gentle ritual.
It slows you down, invites you to observe tiny shifts in color and growth, and turns even an ordinary kitchen counter into a living, breathing corner of calm.
When you grow a fern this way, you aren’t just caring for a plant.
You’re participating in its quiet resilience its ability to thrive with nothing more than water, light, and your attentive hands.
