
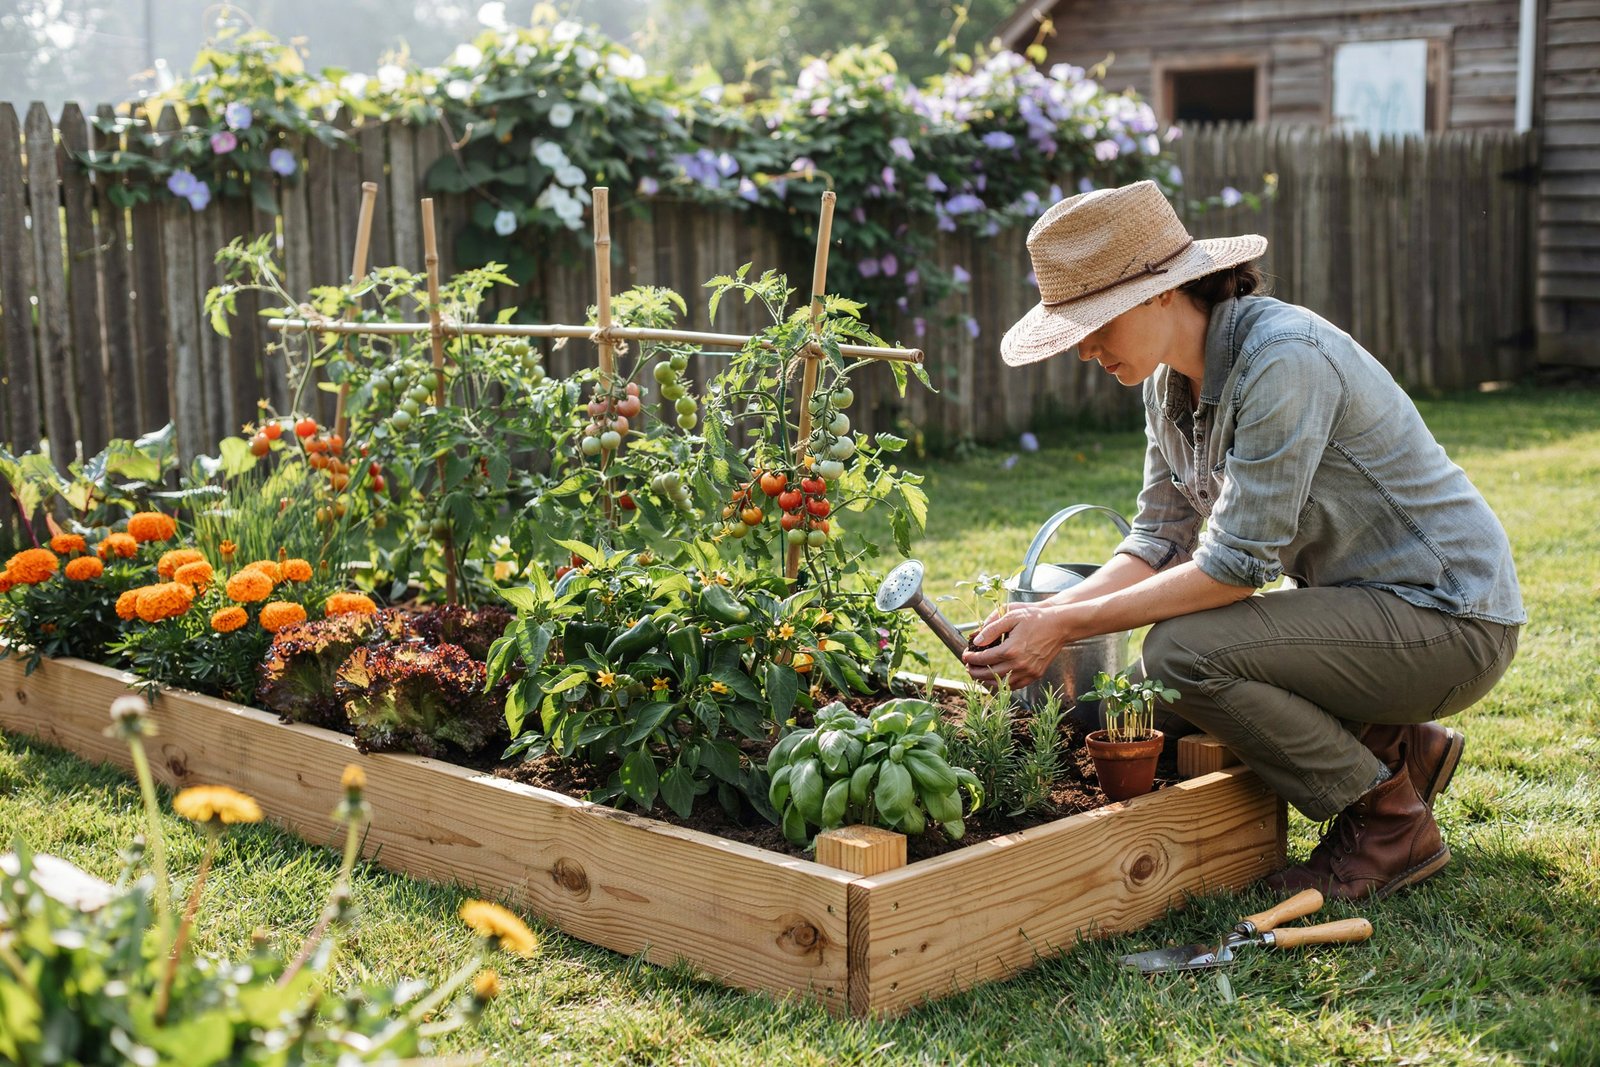

Building your own raised garden bed doesn’t have to drain your wallet. One of my favorite things about gardening is discovering simple projects that make a huge difference without costing a fortune.
A sturdy raised bed can give your vegetables, herbs, and flowers healthier soil, fewer weeds, better drainage, and a more organized growing space all while staying well within a modest budget.
With a little creativity and a free afternoon, you can build a beautiful raised bed for under $50 using easy-to-find materials.
This guide will walk you through affordable ideas, practical tips, and step-by-step instructions that help you create a productive garden you’ll enjoy for many seasons.
Why Raised Garden Beds Are Worth Building
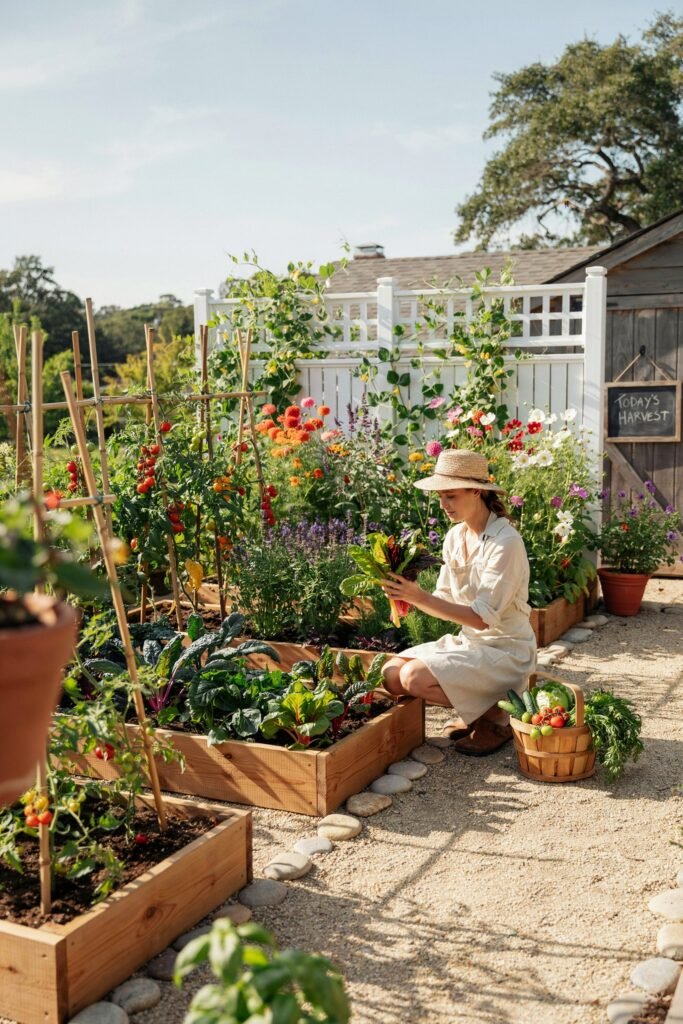
Before gathering your materials, it’s helpful to understand why raised beds have become such a favorite among beginner and experienced gardeners alike.
A raised bed creates a controlled growing environment where you decide exactly what goes into the soil. Instead of struggling with poor native soil, heavy clay, or rocky ground, you can fill your bed with nutrient-rich soil that plants love.
Some of the biggest benefits include:
- Better drainage after heavy rain
- Faster soil warming in spring
- Easier weed control
- Less soil compaction
- Healthier root development
- Improved accessibility
- More organized planting
- Easier pest monitoring
- Higher yields in smaller spaces
Another advantage is comfort. Since you don’t need to bend as far, gardening becomes much easier on your knees and back.
The best part? You don’t need expensive cedar kits costing hundreds of dollars. A homemade raised bed can perform just as well for a fraction of the cost.
Can You Really Build a Raised Bed for Under $50?
Absolutely.
Many gardeners assume raised beds require expensive lumber and fancy hardware, but that’s far from true.
Your total cost depends on:
- The size of the bed
- The materials you choose
- Whether you already own basic tools
- If you can reuse or recycle supplies
A simple 4 x 4-foot or 4 x 6-foot raised bed can often be built for $25–$50.
If you repurpose materials like reclaimed wood, leftover fence boards, concrete blocks, or old bricks, your costs may drop below $20.
The biggest expense usually isn’t the frame it’s filling the bed with quality soil.
How Much Does It Cost to Fill a Raised Bed?
Many first-time builders spend all their energy trying to save money on lumber while overlooking the cost of soil.
For example:
A 4 x 4-foot raised bed that is 10 inches deep needs approximately:
- 11 cubic feet of soil
Buying premium garden soil by the bag can become expensive.
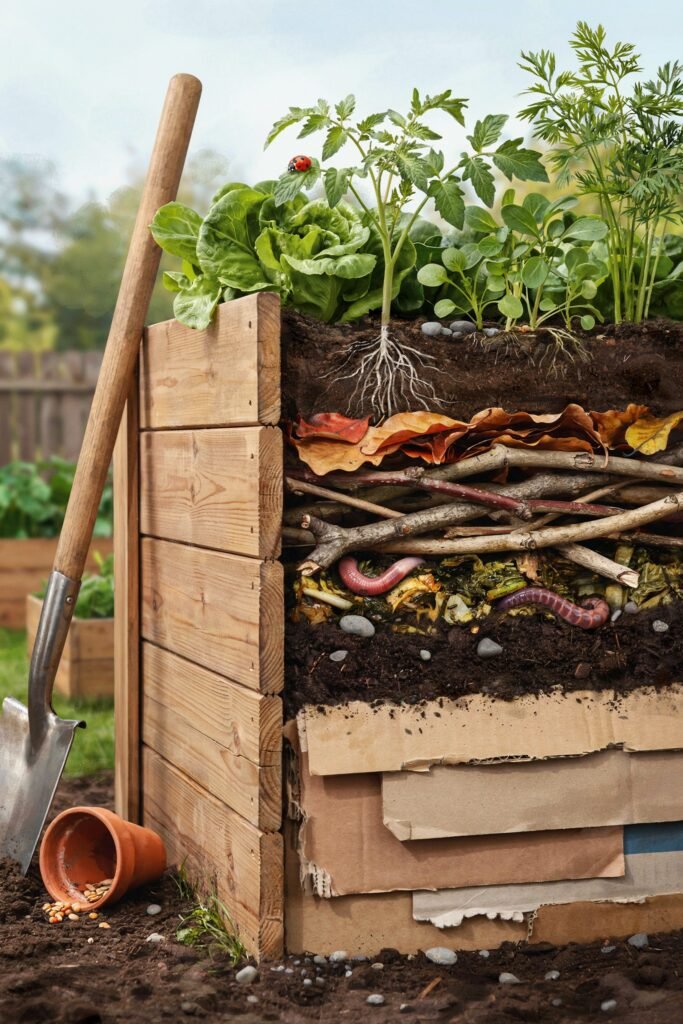
Instead, save money using the “layering method.”
Fill the bottom with:
- Small branches
- Sticks
- Pine cones
- Cardboard
- Fallen leaves
- Grass clippings (chemical-free)
Then add:
- Compost
- Garden soil
- Topsoil blend
This approach reduces soil costs while improving long-term soil health as the organic materials decompose.
Choosing the Best Size for a Budget Raised Bed
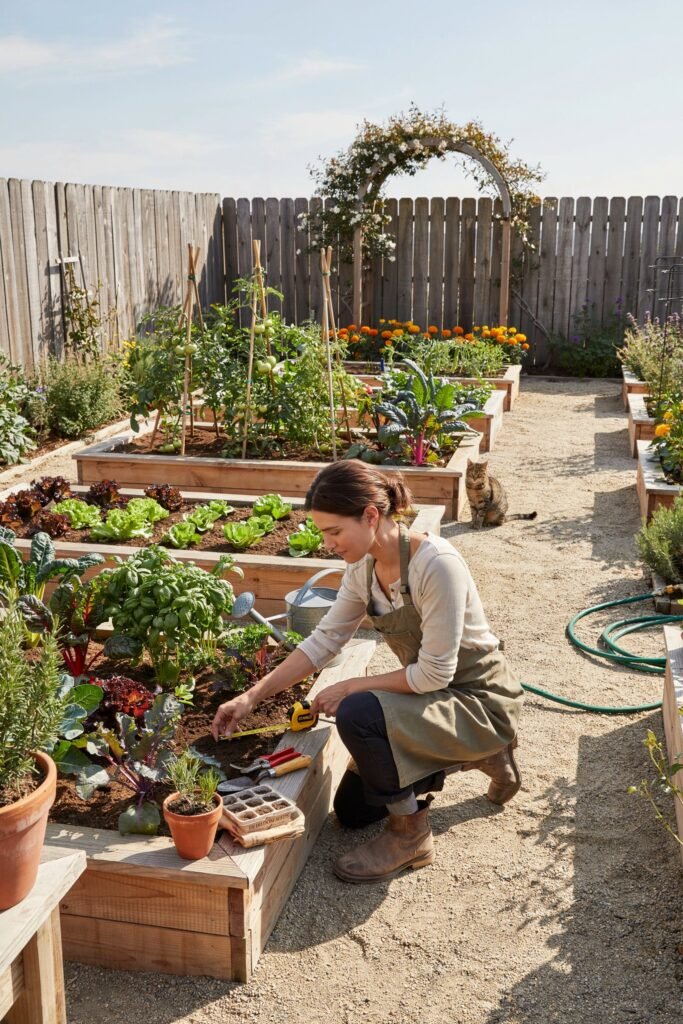
One mistake beginners often make is building a bed that’s too wide.
A good raised bed should allow you to reach the center without stepping into the soil.
Ideal dimensions include:
| Size | Good For |
|---|---|
| 3 x 6 feet | Small gardens |
| 4 x 4 feet | Beginners |
| 4 x 6 feet | Vegetables |
| 4 x 8 feet | Large harvests |
Aim for:
- Width: No more than 4 feet
- Height: 8–12 inches
- Length: Whatever fits your space and budget
Keeping the width manageable helps prevent soil compaction because you can reach every plant without walking on the bed.
Materials That Keep Costs Low
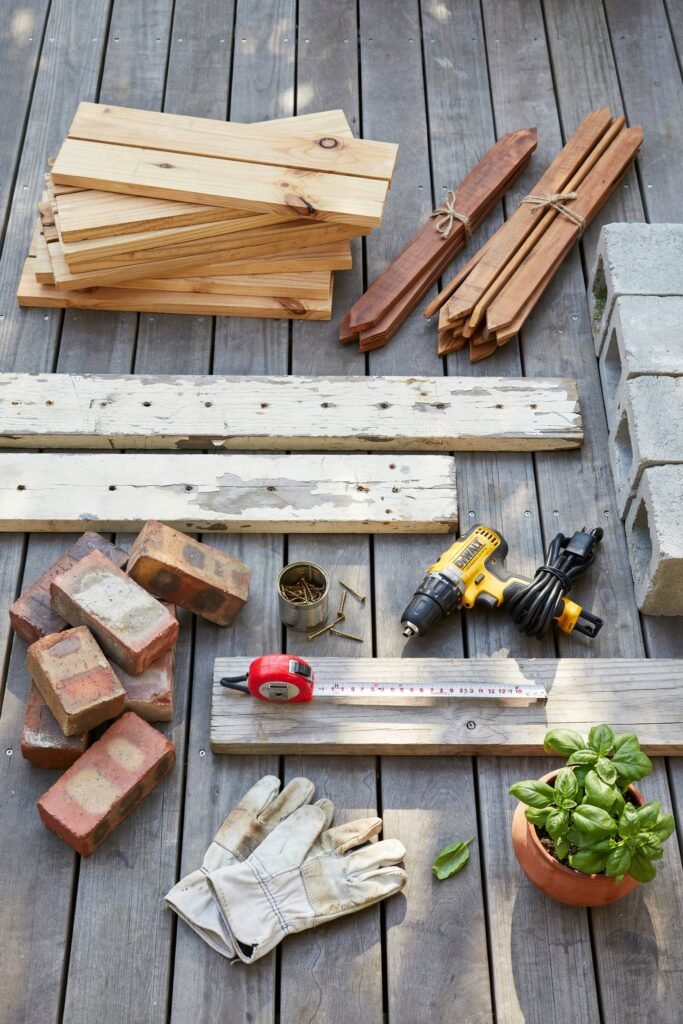
One of the easiest ways to stay under budget is by choosing affordable, durable materials.
Many items can even be sourced secondhand or repurposed from projects around your home. Before using reclaimed materials, always make sure they are safe for growing food and free from harmful chemicals or treatments.
Here are some excellent budget-friendly options:
Untreated Pine Boards
Untreated pine is one of the most affordable choices available. While it doesn’t last as long as cedar, it typically provides several productive growing seasons with proper care.
Pros:
- Inexpensive
- Easy to cut and assemble
- Widely available
Cons:
- Shorter lifespan than hardwoods
- May need replacing after several years
Cedar Fence Pickets
Fence pickets are often cheaper than thick dimensional lumber while still offering cedar’s natural resistance to rot and insects.
Pros:
- Naturally durable
- Lightweight
- Attractive appearance
Cons:
- Thinner than standard boards
- May require extra support
Concrete Blocks
Concrete blocks are easy to stack and require very little construction.
Pros:
- Extremely durable
- No cutting required
- Can double as planting pockets
Cons:
- Heavy
- More difficult to move later
Bricks
If you already have old bricks, they can create charming, long-lasting raised beds.
Reclaimed Lumber
Old deck boards, barn wood, or fencing can often be reused.
Only use reclaimed wood if you’re confident it hasn’t been treated with chemicals that could leach into the soil, especially when growing edible plants.
Corrugated Metal Panels with Wooden Frames
These beds have become popular because they combine durability with a modern farmhouse look.
While buying new metal panels can increase costs, using leftover roofing sheets or secondhand panels can keep the project within budget.
Tools You’ll Need
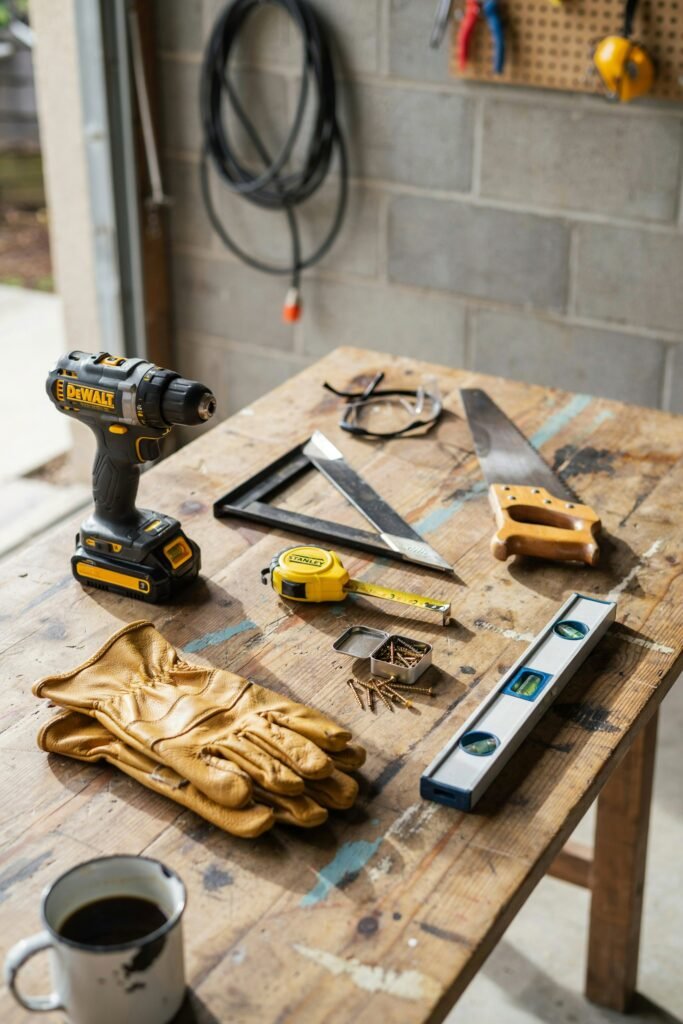
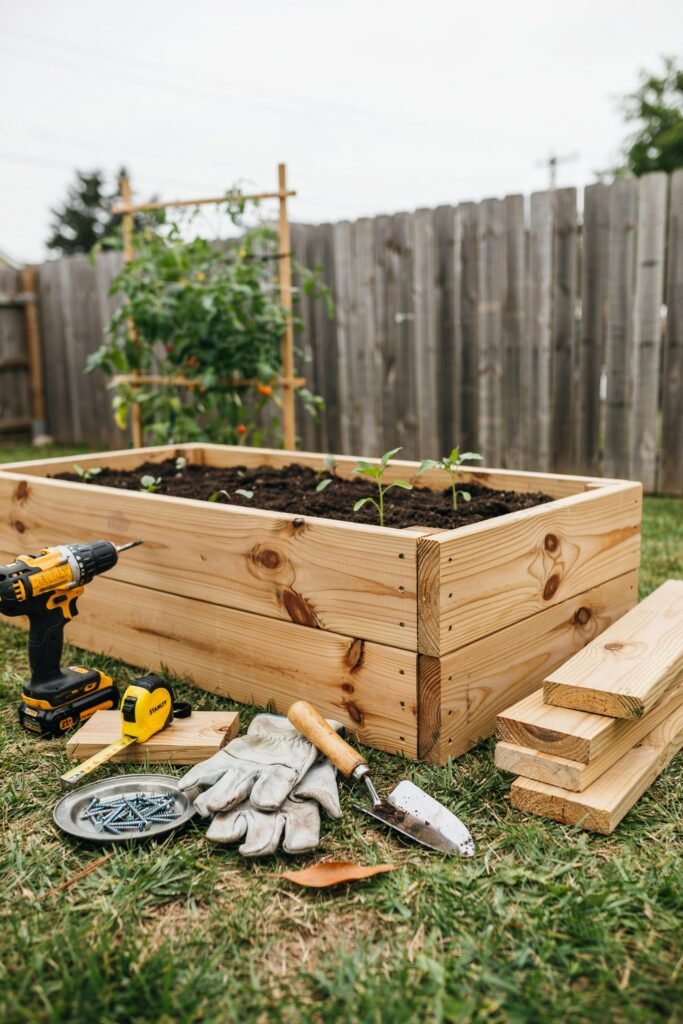
Most DIY raised bed projects require only a few basic tools:
- Tape measure
- Pencil
- Circular saw or handsaw
- Drill or screwdriver
- Wood screws
- Carpenter’s square
- Work gloves
- Safety glasses
- Level (optional but helpful)
If you don’t own power tools, many hardware stores offer tool rentals, or you may be able to borrow them from a friend or neighbor.
Planning Your Raised Bed Before You Build
A little planning goes a long way toward creating a bed that is productive and easy to maintain.
Before you begin:
- Observe how much sunlight the area receives. Most vegetables thrive with at least 6–8 hours of direct sunlight each day.
- Choose a level spot whenever possible. If your yard slopes, level the area or build up one side to keep the bed stable.
- Make sure there is enough room to walk around the bed comfortably.
- Place the bed close to a water source if you can. Carrying watering cans across the yard every day quickly becomes tiring.
- Think about what you’ll grow. Leafy greens, herbs, and flowers can do well in shallower beds, while root vegetables appreciate deeper soil.
Planning these details now helps prevent problems later and makes gardening much more enjoyable.
DIY Raised Bed Project 1: Simple Wooden Raised Bed (Under $50)
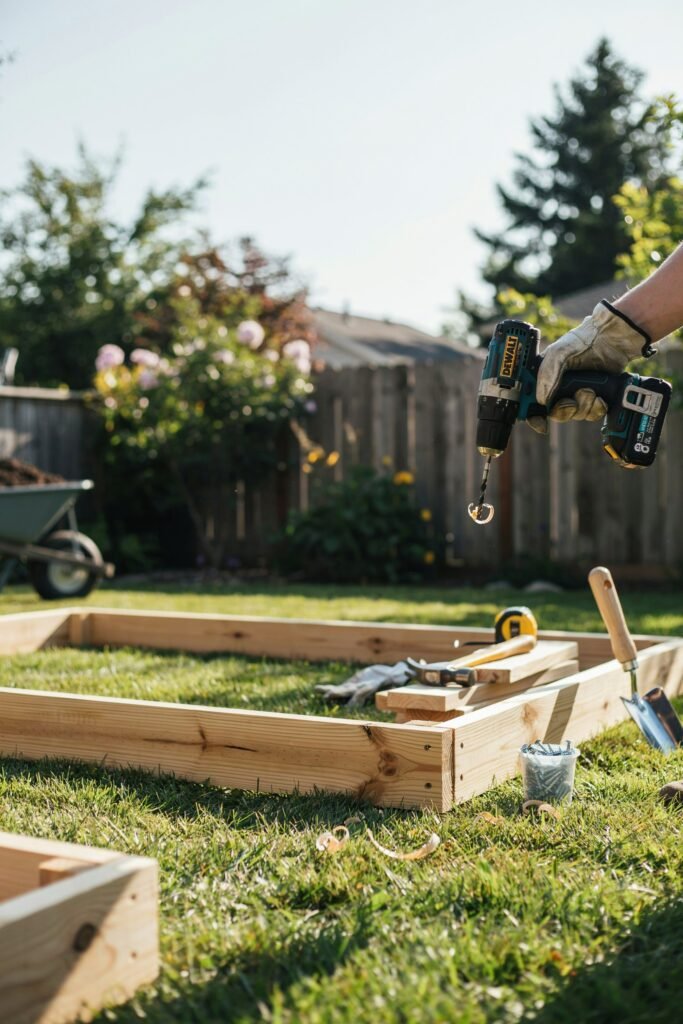
This classic design is beginner-friendly, affordable, and perfect for growing vegetables, herbs, or flowers.
Materials
- Two 2×6 untreated pine boards (8 feet long)
- Two 2×6 untreated pine boards (4 feet long, or cut from longer boards)
- Exterior-grade wood screws
- Four corner stakes or 2×2 supports (optional for extra strength)
Basic Steps
- Measure and cut your boards if needed.
- Arrange the boards into a rectangle.
- Drill pilot holes to prevent splitting.
- Screw the corners together securely.
- Add corner stakes inside the bed for additional support.
- Place the frame in its final location.
- Lay cardboard over the grass to suppress weeds.
- Fill with layered organic material and quality soil.
This design is simple enough to complete in an afternoon and provides years of productive growing space with minimal maintenance.
DIY Raised Bed Project 2: Concrete Block Raised Bed (No Power Tools Needed)
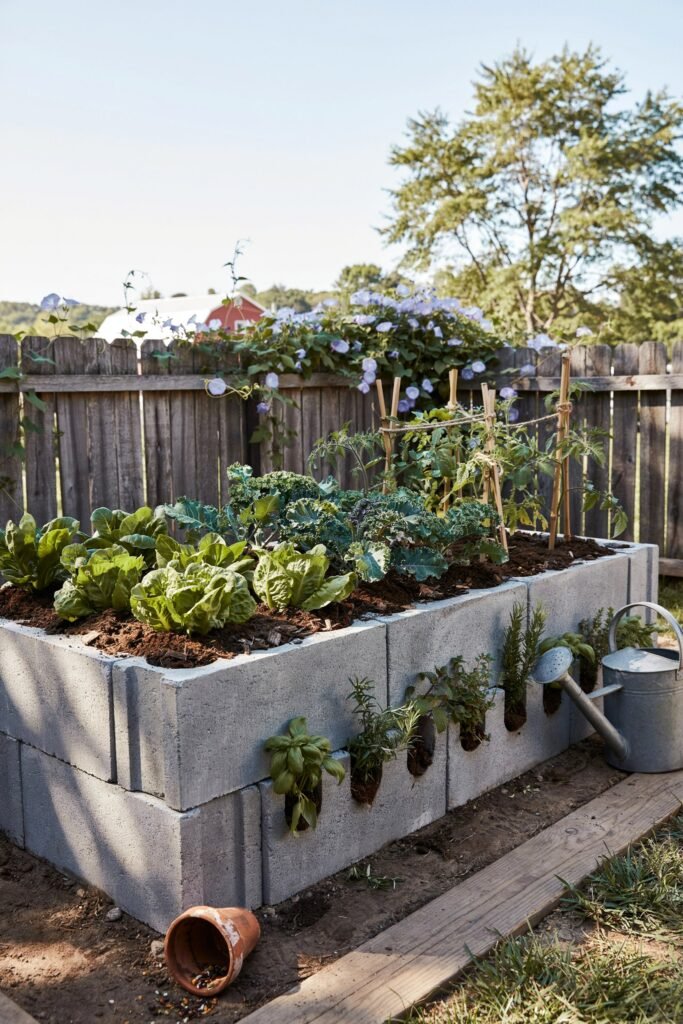
If you’d rather skip cutting lumber and using drills, a concrete block raised bed is one of the easiest and most affordable options. It’s especially great for beginners, renters (if allowed), or anyone who enjoys a rustic garden style.
Estimated Cost
- Concrete blocks: $2–$4 each (about 16 blocks for a 4 x 4 bed)
- Total cost: $35–$50, depending on local prices
Why You’ll Love It
- No carpentry skills required
- Extremely durable
- Won’t rot or warp
- Easy to expand later
- The holes in the blocks can even be planted with herbs or flowers
How to Build It
- Choose a flat location with plenty of sunlight.
- Remove any large weeds or rocks.
- Lay cardboard over the grass to help suppress weeds.
- Arrange the concrete blocks in a square or rectangle.
- Check that each block is level.
- Fill the inside with layers of organic material and soil.
- Plant your vegetables or flowers.
Best Plants:
- Lettuce
- Spinach
- Kale
- Tomatoes
- Peppers
- Marigolds
DIY Raised Bed Project 3: Cedar Fence Picket Raised Bed
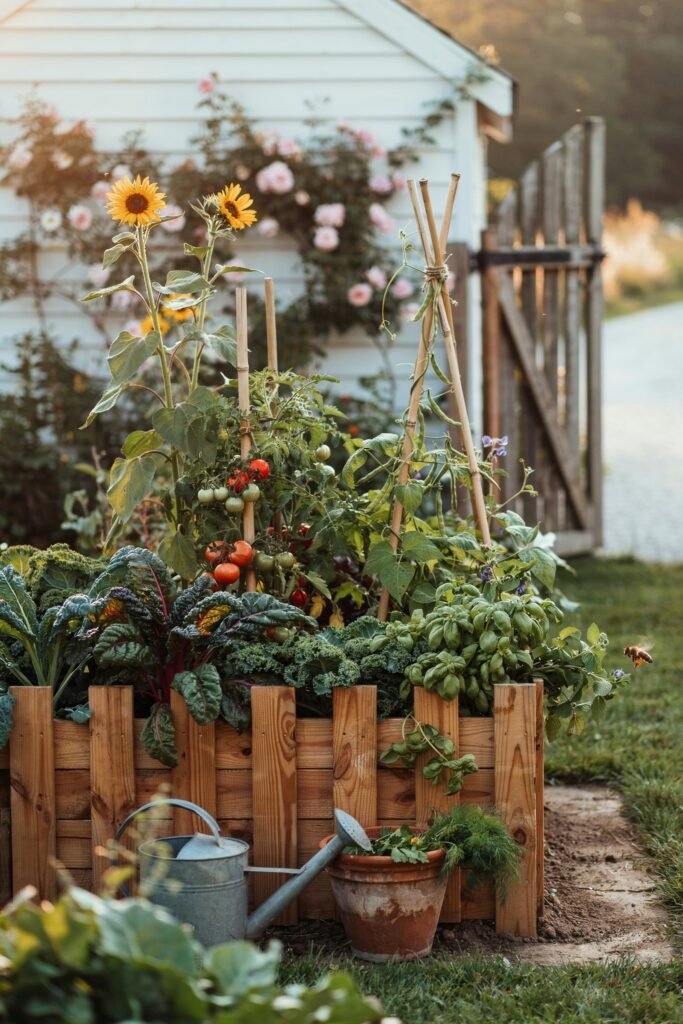
If you love a cottage garden look but still want to stay on budget, cedar fence pickets are a wonderful choice. They’re lightweight, naturally resistant to decay, and often much less expensive than cedar lumber.
Estimated Cost
- Cedar fence pickets
- Wood screws
- Corner supports
Estimated Total: $40–$50
Although the pickets are thinner than regular boards, adding simple corner braces makes the bed surprisingly sturdy.
Pros
- Beautiful natural wood
- Resistant to insects
- Long-lasting
- Lightweight
- Budget-friendly
DIY Raised Bed Project 4: Recycled Pallet Raised Bed
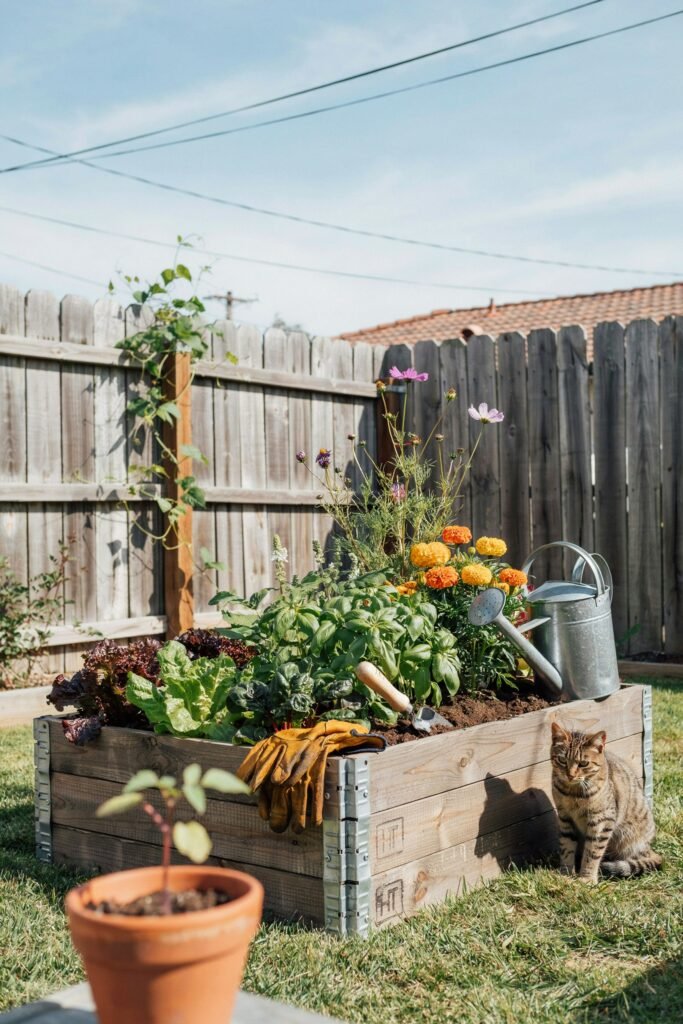
Wood pallets are often available for free from local businesses, warehouses, or garden centers. However, not every pallet is safe for gardening, so it’s important to choose wisely.
Look for the HT Stamp
Only use pallets marked:
HT = Heat Treated
Avoid pallets marked:
- MB (Methyl Bromide)
- Unknown markings
- Pallets with oil stains or chemical spills
Estimated Cost
- Free pallets
- Screws
- Landscape fabric (optional)
Total cost can be under $20 if you already have basic tools.
Best Uses
- Herbs
- Salad gardens
- Pollinator flowers
- Small vegetable gardens
DIY Raised Bed Project 5: Brick Raised Bed
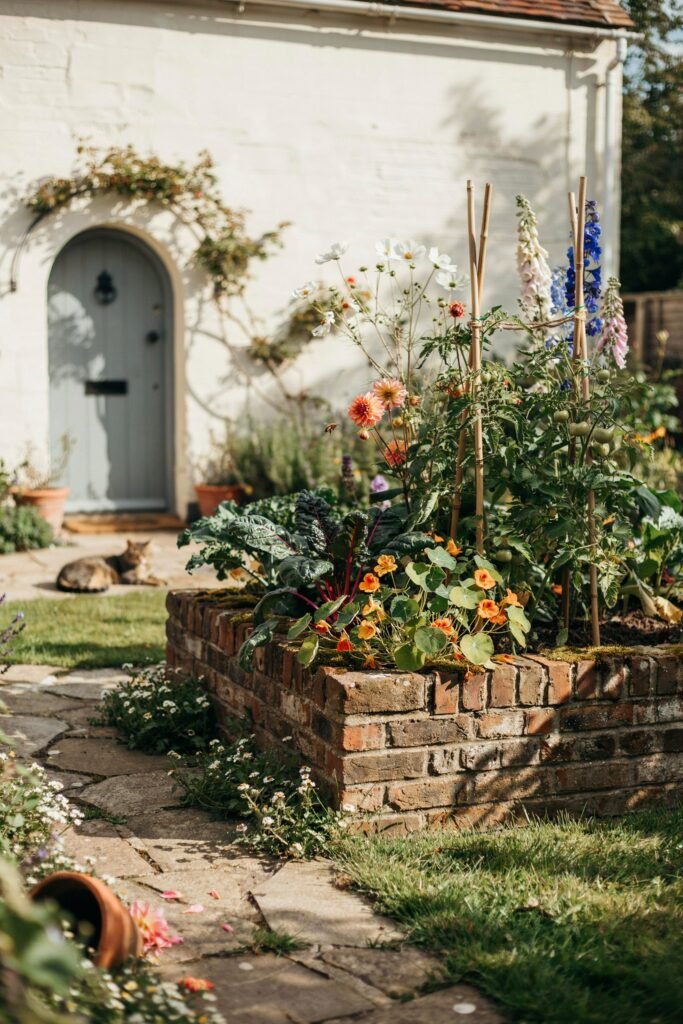
If you’ve been collecting old bricks over the years, now is the perfect time to put them to good use. A brick raised bed has a timeless look that blends beautifully into almost any garden.
Benefits
- Very durable
- Little to no maintenance
- Attractive appearance
- Can last for decades
Budget Tip
Check online marketplaces, community groups, or local construction sites (with permission) for leftover bricks. Many people are happy to give them away after renovation projects.
Step-by-Step Guide to Building Your Raised Bed
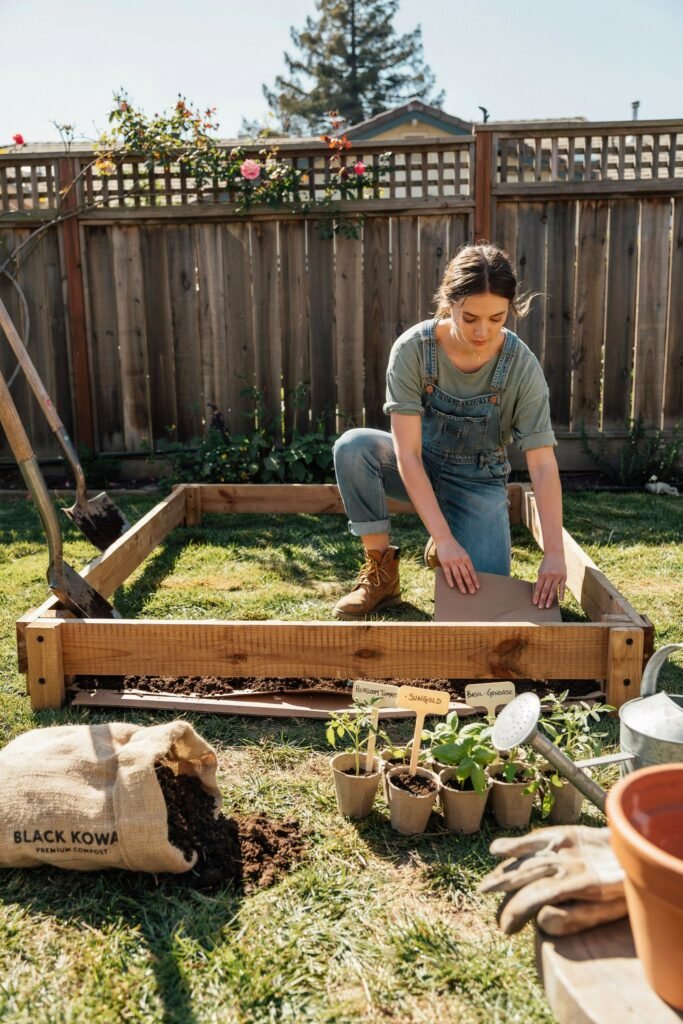
No matter which material you choose, the building process follows many of the same steps.
Step 1: Pick the Right Location
Choose an area that receives at least 6–8 hours of direct sunlight if you’re growing vegetables.
Avoid low spots where water tends to collect after rain.
Step 2: Measure Your Space
Mark the outline of your raised bed using:
- Stakes
- String
- Garden hose
- Spray paint
Double-check your measurements before building.
Step 3: Prepare the Ground
You don’t have to remove every blade of grass.
Instead:
- Mow the grass short.
- Lay down plain cardboard (remove tape and labels).
- Water the cardboard thoroughly.
The cardboard will gradually decompose while helping suppress weeds.
Step 4: Assemble the Frame
Build your frame according to the material you’ve chosen.
Take your time to ensure the corners are square and everything is level.
Step 5: Fill the Bed
Instead of filling the entire bed with expensive soil, use layers.
A simple layering method:
Bottom Layer
- Small branches
- Twigs
- Pine cones
Middle Layer
- Leaves
- Grass clippings
- Compostable garden waste
Top Layer
- Compost
- Garden soil
- High-quality topsoil
This method saves money while improving soil structure over time.
Step 6: Water Thoroughly
Water the soil well before planting. This helps settle the layers and reveals if you need to add more soil.
Step 7: Start Planting
Choose healthy seedlings or sow seeds according to their spacing requirements.
Finish by adding a layer of mulch to retain moisture and reduce weeds.
The Best Vegetables to Grow in Raised Beds
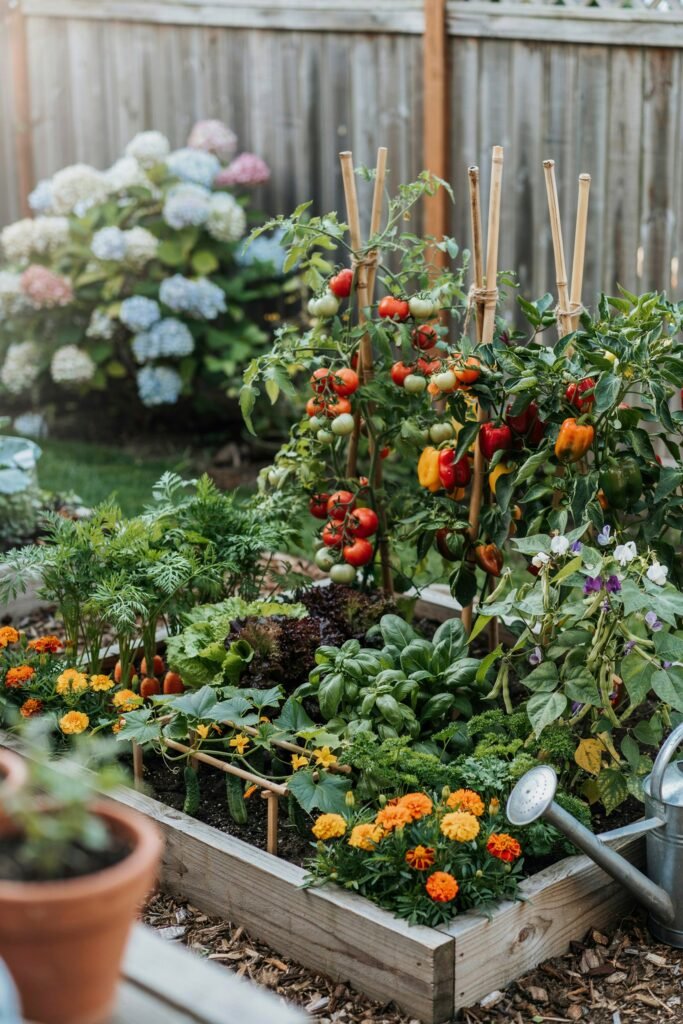
Raised beds are incredibly versatile, but some vegetables perform especially well in them.
Tomatoes
Tomatoes appreciate the warm, well-drained soil of raised beds. Add sturdy cages or stakes early to support healthy growth.
Peppers
Peppers love warm roots and fertile soil. Raised beds warm up faster in spring, giving them an excellent start.
Lettuce
Leaf lettuce grows quickly in raised beds and is easy to harvest over several weeks.
Carrots
Loose soil allows carrots to grow long, straight roots without becoming forked or misshapen.
Radishes
One of the fastest vegetables to harvest, radishes thrive in the fluffy soil of raised beds.
Cucumbers
Train cucumbers up a trellis to save space and improve airflow, which can reduce disease.
Bush Beans
Bush beans are compact, productive, and easy to grow in smaller raised beds.
Spinach
Cool-season spinach grows beautifully in nutrient-rich soil and is ideal for spring and fall gardens.
Herbs
Raised beds are perfect for herbs such as:
- Basil
- Parsley
- Cilantro
- Dill
- Chives
- Thyme
- Oregano
Budget-Friendly Ways to Fill Your Raised Bed
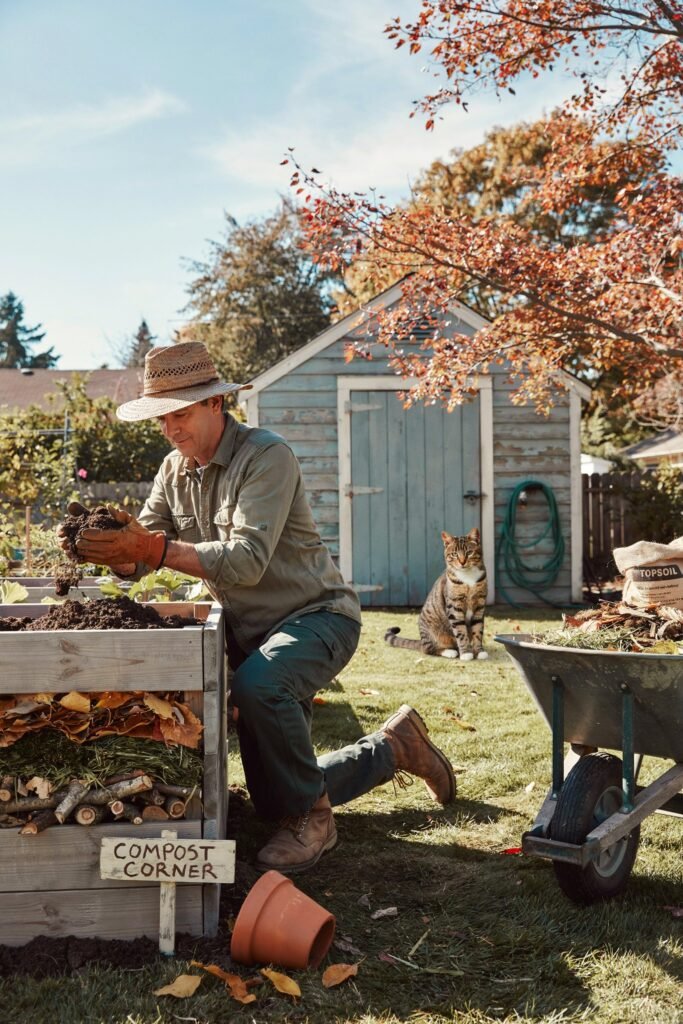
Many gardeners are surprised to learn that soil often costs more than the frame itself. Fortunately, there are several smart ways to reduce that expense.
Make Your Own Compost
Kitchen scraps, coffee grounds, eggshells, grass clippings, and dry leaves can all be composted into rich organic matter over time. Homemade compost improves soil fertility while reducing waste.
Collect Fallen Leaves
Autumn leaves are a gardener’s treasure. Shredded leaves break down into valuable organic matter and make an excellent filler for the lower layers of a raised bed.
Use Grass Clippings Carefully
Fresh grass clippings can add nitrogen to your bed, but only use clippings from lawns that haven’t been treated with herbicides or pesticides.
Ask for Free Wood Chips
Many tree service companies are happy to drop off wood chips for free. Use them as mulch around your raised beds rather than mixing fresh chips directly into the planting soil.
Buy Soil in Bulk
If you’re building multiple raised beds, purchasing soil by the cubic yard from a local landscape supplier is usually much cheaper than buying dozens of individual bags.
Common Mistakes to Avoid
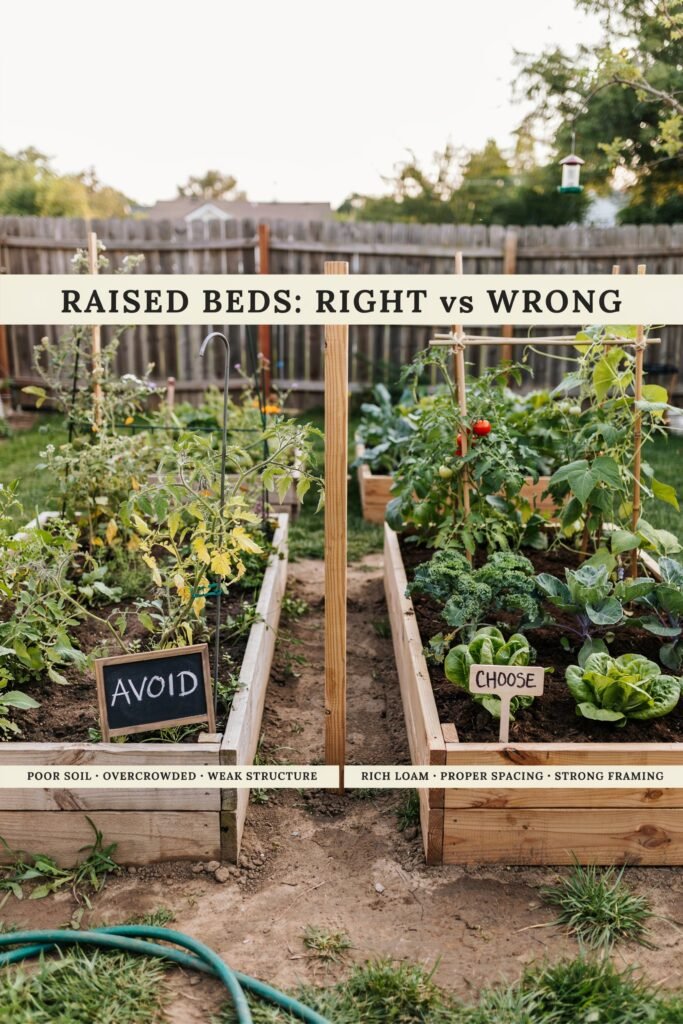
Even a simple raised bed can cause frustration if a few key details are overlooked.
Here are some common mistakes and how to avoid them:
- Using treated lumber for edible gardens: Modern treated lumber is generally considered safer than older formulations, but many gardeners still prefer untreated wood for growing food to avoid any concerns.
- Making the bed too wide: Keep it no wider than 4 feet so you can comfortably reach the center.
- Skipping weed barriers: A layer of cardboard beneath the bed helps reduce persistent weeds.
- Choosing poor soil: Healthy plants begin with quality soil, so don’t skimp on the top layer.
- Overcrowding plants: Follow recommended spacing to improve airflow and reduce disease.
- Ignoring sunlight: Most vegetables need full sun to produce their best harvest.
- Building in a hard-to-reach spot: Place your raised bed where you’ll enjoy visiting and caring for it regularly.
How to Make Your DIY Raised Bed Last Longer

One of the best things about a raised bed is that it can serve your garden for many years with just a little care.
Whether you build yours from untreated pine, cedar, concrete blocks, or reclaimed materials, a few simple maintenance habits can greatly extend its lifespan.
Keep the Wood Dry When Possible
Wood naturally absorbs moisture, and constant exposure to wet soil can speed up rot.
While some wear is inevitable, you can slow the process by ensuring your bed has good drainage and isn’t sitting in standing water after heavy rain.
If your yard tends to stay soggy, consider placing a layer of gravel beneath the bed before building or improving drainage around the area.
Refresh the Soil Every Year
Plants remove nutrients from the soil throughout the growing season, so it’s important to replenish them annually.
Each spring or fall, add:
- 2–3 inches of compost
- A layer of well-aged manure (if available)
- Organic fertilizer based on the needs of your crops
This simple routine keeps your soil rich and productive without needing to replace everything.
Mulch the Surface
A layer of mulch offers several benefits:
- Helps soil retain moisture
- Keeps weeds from sprouting
- Reduces soil erosion during heavy rain
- Regulates soil temperature
- Slowly adds organic matter as it breaks down
Great mulch options include:
- Straw
- Shredded leaves
- Pine needles (around acid-loving plants)
- Wood chips (around pathways, not mixed into the soil)
Tighten Loose Screws
Wood naturally expands and contracts with changing weather. At the beginning and end of each growing season, inspect your raised bed for loose screws or shifting boards.
A quick five-minute check can prevent bigger repairs later.
Watch for Rot or Damage
Inspect the corners and the bottom edges of wooden beds every year. These areas are most likely to stay damp and begin deteriorating first.
Replacing a single board is much easier and cheaper than rebuilding the entire bed.
Creative Ways to Personalize Your Raised Bed
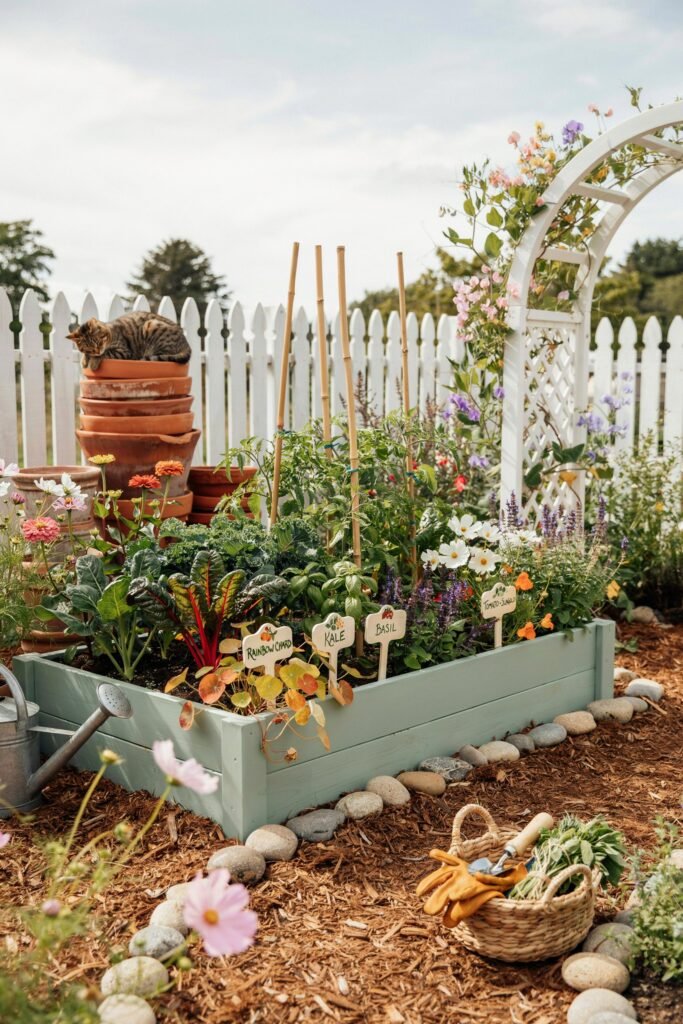
One of my favorite parts of building a raised bed is adding those little personal touches that make the garden feel warm and welcoming. These finishing details don’t have to cost much, but they can make your garden look thoughtfully designed.
Here are a few ideas:
Paint the Outside
If you’re growing edible plants, avoid painting the inside of the bed where it comes into contact with the soil. Instead, paint only the exterior using an outdoor-safe paint or stain.
Soft colors such as sage green, creamy white, dusty blue, or charcoal gray can complement a cottage-style or modern garden beautifully.
Add Plant Labels
Simple wooden markers, painted rocks, or metal labels help you remember what’s planted where, especially if you’re growing several varieties.
Install a Trellis
A simple DIY trellis made from bamboo poles, wooden stakes, or cattle panels allows climbing crops to grow vertically, saving valuable space.
Perfect for:
- Cucumbers
- Pole beans
- Peas
- Small melons
Create a Mulched Path
Surround your raised bed with wood chips, gravel, or bark mulch to create clean, mud-free walkways. This also helps suppress weeds around the bed and gives the garden a polished appearance.
Add Companion Flowers
Flowers don’t just make your raised bed prettier they also attract pollinators and beneficial insects.
Some wonderful companions include:
- Marigolds
- Nasturtiums
- Calendula
- Sweet alyssum
- Zinnias
- Cosmos
These blooms bring color while helping support a healthier garden ecosystem.
Frequently Asked Questions
What is the cheapest material for a raised garden bed?
Concrete blocks, reclaimed lumber, and heat-treated pallets are often the most affordable choices. If you can source secondhand materials in good condition, it’s possible to build a sturdy raised bed for well under $50.
How deep should a raised bed be?
For most vegetables, a depth of 8 to 12 inches is sufficient. However, root crops like carrots, parsnips, and potatoes benefit from 12 to 18 inches of loose soil for the best growth.
Can I build a raised bed directly on grass?
Yes. Simply mow the grass as short as possible and cover it with plain cardboard before placing the raised bed on top. The cardboard blocks light, suppresses weeds, and naturally decomposes over time.
What wood should I avoid?
Avoid using old pressure-treated lumber of unknown age, railroad ties, or wood that has been exposed to chemicals, oil, or paint. These materials may contain substances that can contaminate the soil, especially when growing food crops.
Do raised beds need a bottom?
In most cases, no. Leaving the bottom open allows plant roots to grow deeper and encourages earthworms and beneficial soil organisms to move freely into the bed.
However, if burrowing pests such as gophers or moles are a problem in your area, attaching galvanized hardware cloth to the bottom before filling the bed can help protect your crops.
How often should I replace the soil?
You usually don’t need to replace all of the soil. Instead, refresh it each year by adding compost, organic matter, and any amendments your plants need. This keeps the soil healthy and productive while saving money.
Final Thoughts
Building a DIY raised bed for under $50 proves that you don’t need a large budget to grow a beautiful and productive garden.
With a little planning, a few affordable materials, and some creativity, you can create a space that makes gardening easier, more enjoyable, and far more rewarding.
Whether you choose untreated pine, cedar fence pickets, concrete blocks, reclaimed wood, or recycled pallets, the most important ingredient is the care you put into your garden.
A thoughtfully built raised bed gives your plants the healthy foundation they need while making everyday tasks like watering, weeding, and harvesting much simpler.
Start with one bed if that’s what your budget allows. As your confidence grows, you can always add more over time.
Every season will teach you something new, and before long, you’ll have a thriving garden filled with fresh vegetables, fragrant herbs, colorful flowers, and the satisfaction of knowing you built it yourself without spending a fortune.
