
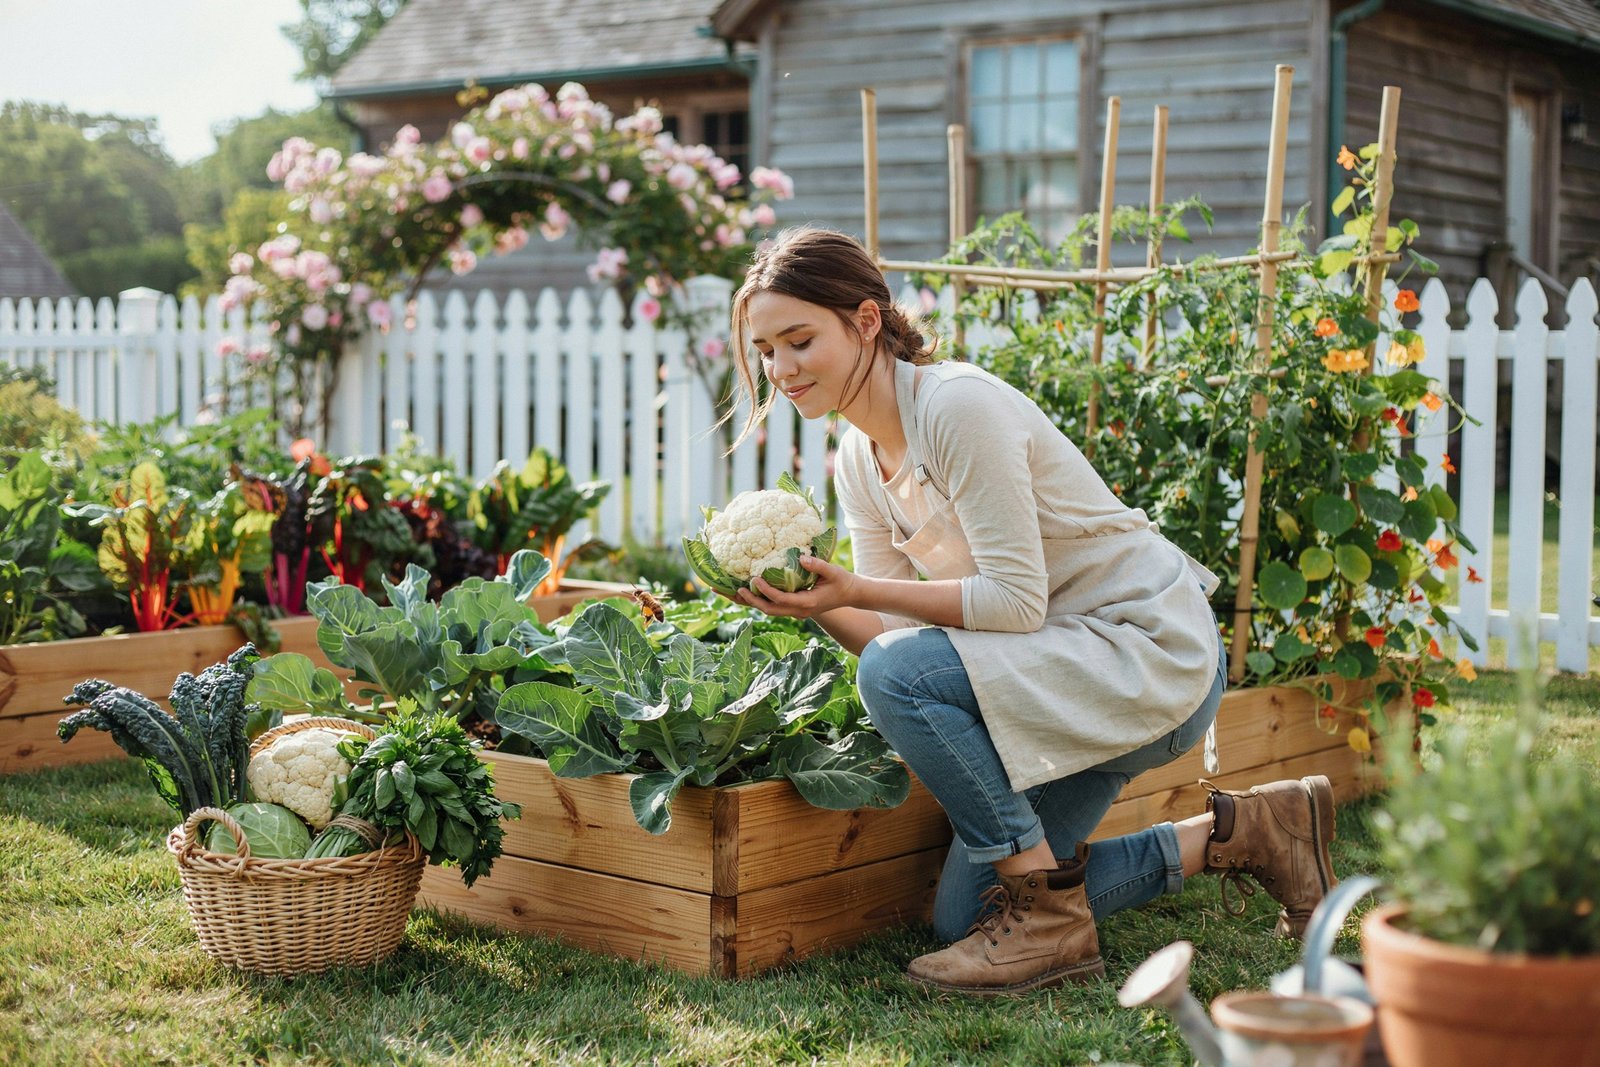

I still remember the first time I grew cauliflower in my garden.
I expected it to be just another cool-season vegetable, but I quickly learned that cauliflower likes a little extra attention compared to broccoli or cabbage.
After a few growing seasons, I discovered that once you understand what this beautiful vegetable needs, growing large, creamy-white heads becomes much easier.
Whether you’re planting in a backyard garden, raised bed, or even a large container, cauliflower can reward you with delicious harvests that taste far better than store-bought ones.
This complete guide will walk you through every step from choosing the best variety to harvesting perfect heads so you can grow healthy, flavorful cauliflower with confidence.
Why Grow Your Own Cauliflower?
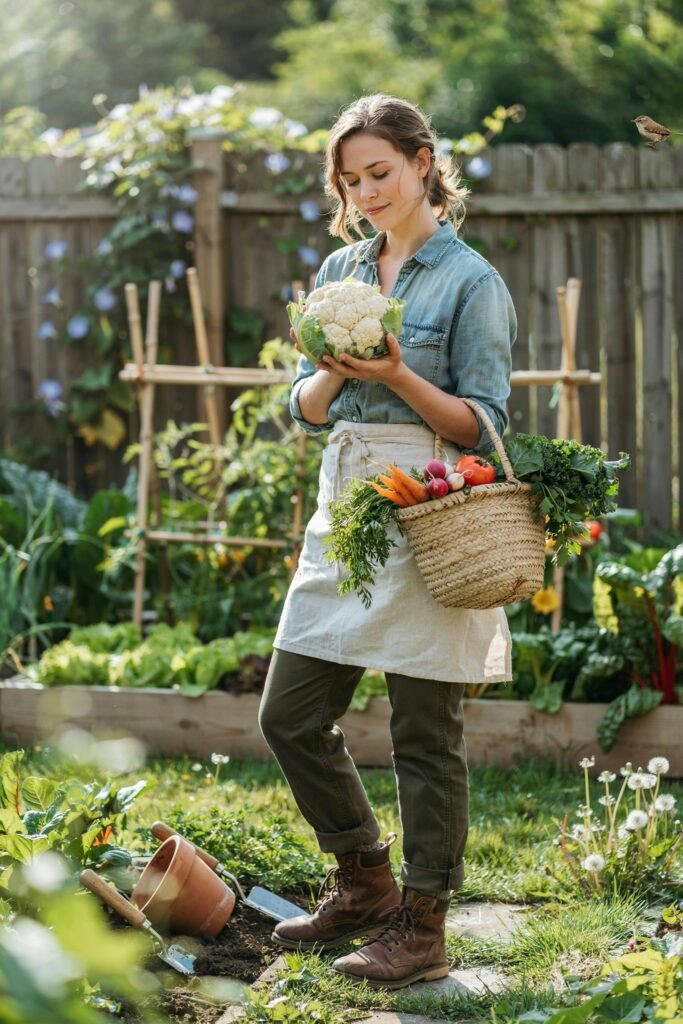
Cauliflower is one of the most rewarding vegetables to grow at home. Freshly harvested heads have a sweeter flavor, firmer texture, and richer nutrients than many grocery store varieties.
Growing your own cauliflower also allows you to:
- Enjoy fresher vegetables packed with nutrients.
- Save money during the growing season.
- Grow organic produce without unnecessary chemicals.
- Harvest exactly when the heads are at their peak.
- Experiment with white, purple, orange, and green varieties.
- Add beauty and diversity to your vegetable garden.
Once you understand its growing requirements, cauliflower becomes a dependable addition to your cool-season garden.
Understanding Cauliflower
Cauliflower (Brassica oleracea var. botrytis) belongs to the cabbage family alongside broccoli, kale, Brussels sprouts, and cabbage.
Unlike leafy vegetables, cauliflower is grown for its compact flower head, often called the curd. The head forms in the center of the plant and consists of tightly packed flower buds that haven’t opened yet.
Because the edible portion develops during cool weather, cauliflower performs best in spring and fall gardens.
Best Time to Grow Cauliflower
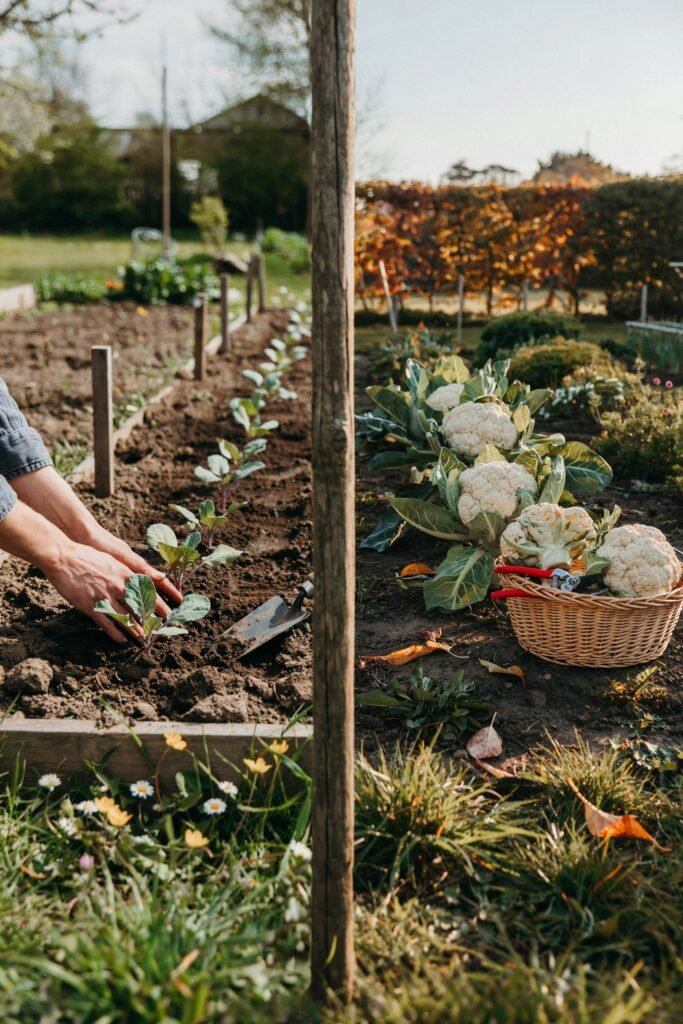
Timing is one of the biggest secrets to growing beautiful cauliflower.
Unlike tomatoes or peppers, cauliflower dislikes extreme heat. Hot temperatures often cause:
- Small heads
- Loose curds
- Bitter flavor
- Premature flowering (bolting)
Spring Planting
Start seeds indoors about 6–8 weeks before your last frost date.
Transplant seedlings outdoors 2–4 weeks before the last expected frost, once the soil can be worked.
Fall Planting
Many experienced gardeners actually prefer growing cauliflower in the fall because temperatures stay cooler as the plants mature.
Start seeds indoors or sow them directly about 10–12 weeks before your first expected fall frost.
Fall crops often produce larger, sweeter heads.
USDA Growing Zones
Cauliflower grows successfully in USDA Zones 2 through 11, although planting times vary.
- Zones 2–5: Spring and short summer crops
- Zones 6–8: Spring and fall crops
- Zones 9–11: Primarily fall and winter crops
Always schedule planting so head development occurs during cool weather.
Choosing the Best Cauliflower Variety
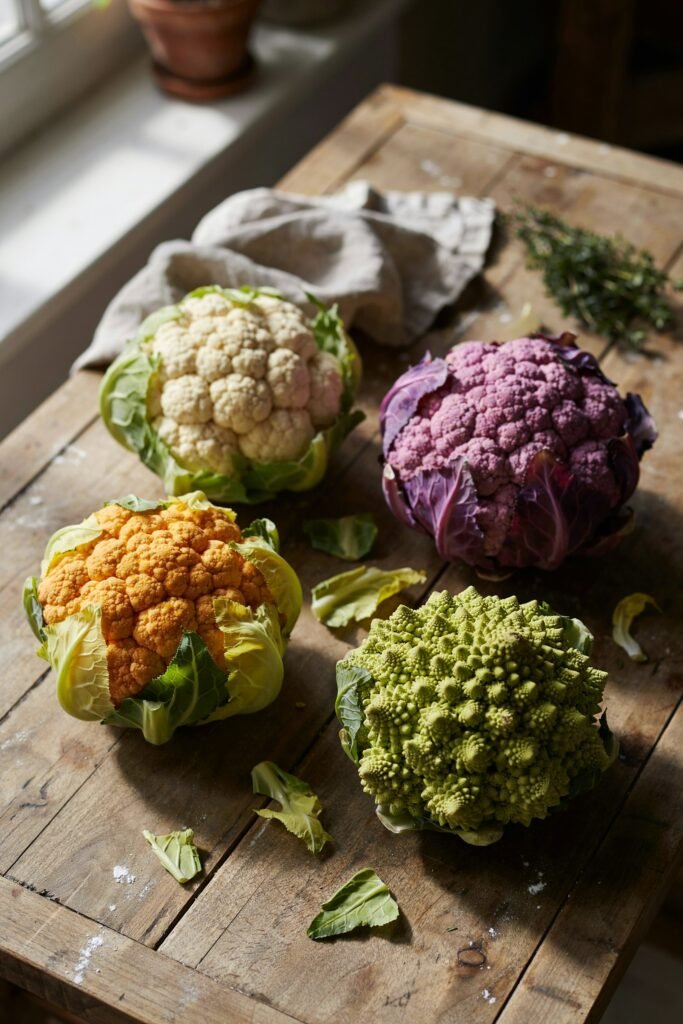
Different varieties mature at different speeds and come in several beautiful colors.
Snowball
One of the most popular heirloom varieties.
Color: White
Days to Harvest: 60–75
Best for beginners and home gardens.
Amazing
Produces large white heads with excellent disease resistance.
Days to Harvest: 75–80
Great for consistent harvests.
Cheddar
Produces vibrant orange heads rich in beta-carotene.
Its flavor is slightly sweeter than traditional white cauliflower.
Graffiti
This stunning purple variety keeps much of its color when lightly cooked.
Rich in antioxidants and incredibly attractive in the garden.
Romanesco
Known for its beautiful spiral-shaped heads.
Its nutty flavor makes it a favorite among gardeners looking for something unique.
What You’ll Need
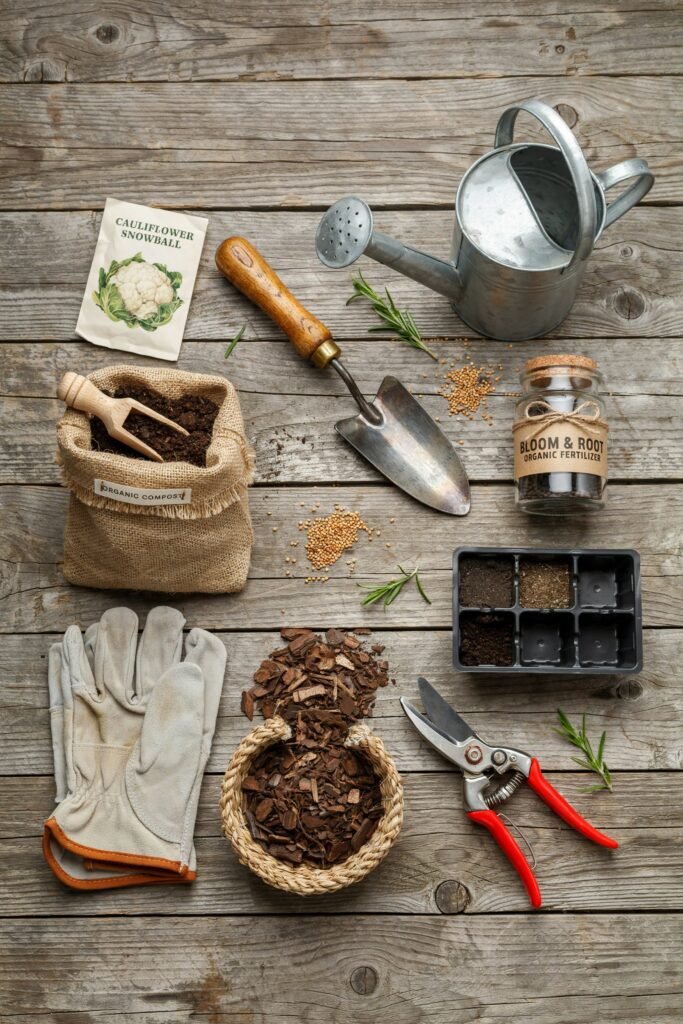
Having everything ready before planting makes the process much smoother.
Seeds or Seedlings
Purchase seeds from a trusted supplier or healthy nursery-grown seedlings.
Garden Bed or Raised Bed
Cauliflower appreciates loose, fertile soil with excellent drainage.
Raised beds warm up faster in spring and provide better drainage.
Quality Compost
Organic compost improves:
- Soil fertility
- Water retention
- Root development
- Beneficial microorganisms
Mix several inches into the soil before planting.
Organic Fertilizer
Choose a balanced vegetable fertilizer such as:
- 5-5-5
- 10-10-10
- Fish emulsion
- Compost tea
Avoid excessive nitrogen once heads begin forming.
Mulch
Good mulch options include:
- Straw
- Shredded leaves
- Grass clippings
- Pine straw
Mulch helps regulate soil temperature while reducing weeds.
Watering Can or Garden Hose
Consistent watering is critical because uneven moisture often causes poor head development.
Choosing the Perfect Growing Location
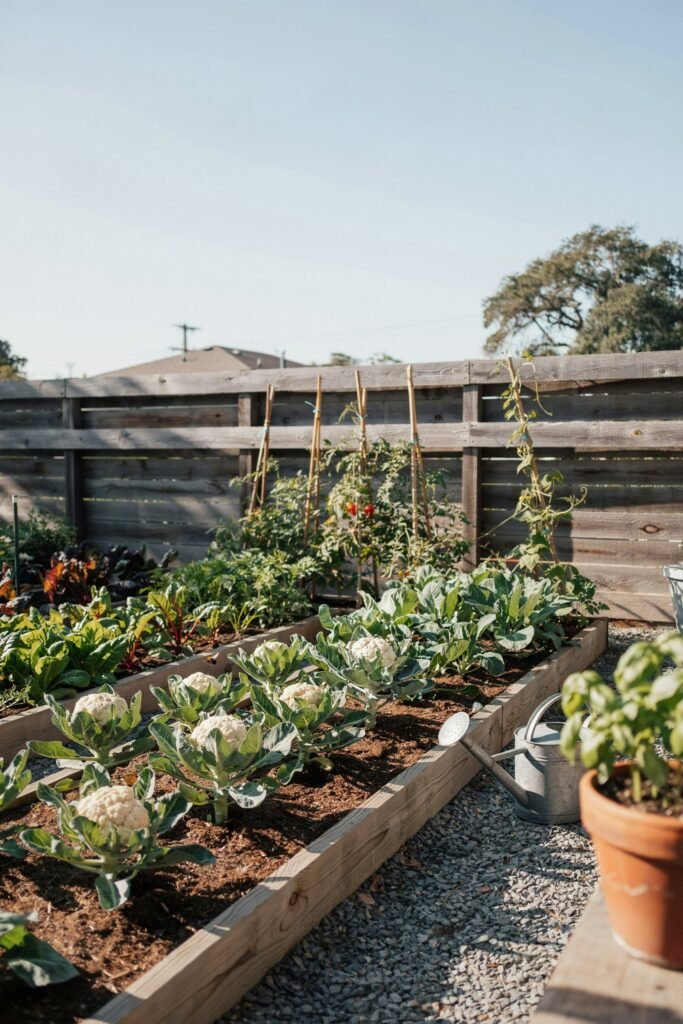
Location plays a huge role in your success.
Look for a spot that receives:
- 6–8 hours of direct sunlight daily
- Good air circulation
- Rich, fertile soil
- Excellent drainage
Avoid low areas where water tends to collect after rain.
Sunlight Requirements
Cauliflower grows best in full sun.
Provide at least:
6–8 hours of sunlight each day
In warmer climates, light afternoon shade can help prevent heat stress.
Plants that receive too little sunlight often produce:
- Smaller heads
- Slower growth
- Weak stems
Soil Requirements
Healthy soil is the foundation of a successful cauliflower crop.
Ideal soil should be:
- Loose
- Rich in organic matter
- Moist but well-draining
- Slightly acidic to neutral
Ideal Soil pH
Aim for a soil pH between 6.0 and 7.0.
Testing your soil before planting helps determine whether amendments are needed.
If the soil is too acidic, add garden lime several months before planting.
Preparing the Garden Bed
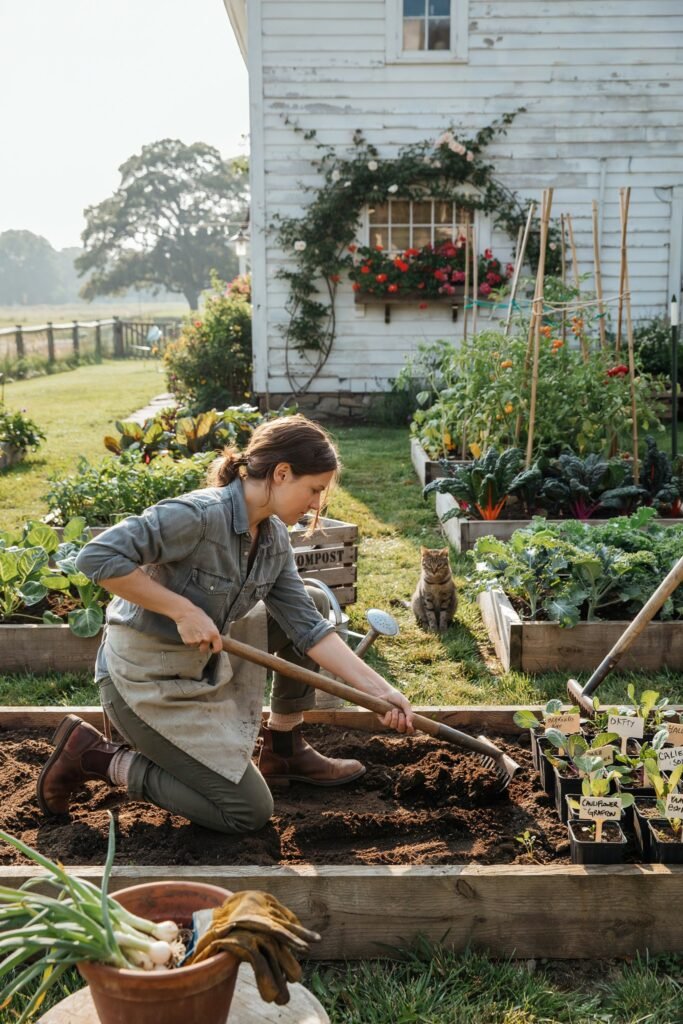
Preparing the soil properly gives cauliflower the strong start it needs.
Step 1: Remove Weeds
Clear away all weeds, grass, and old plant material.
Removing competition allows young cauliflower plants to establish quickly.
Step 2: Loosen the Soil
Use a garden fork or shovel to loosen the soil about 10–12 inches deep.
Deep, loose soil encourages healthy root growth.
Step 3: Add Compost
Spread 2–4 inches of compost over the bed.
Work it thoroughly into the soil.
Compost improves:
- Drainage
- Soil structure
- Nutrient availability
- Moisture retention
Step 4: Add Fertilizer
Mix a balanced vegetable fertilizer into the top few inches of soil according to the package instructions.
This provides nutrients for strong early growth.
Step 5: Rake Smooth
Level the planting area with a rake.
Remove rocks, sticks, and large soil clumps.
The bed is now ready for planting.
How to Grow Cauliflower from Seed
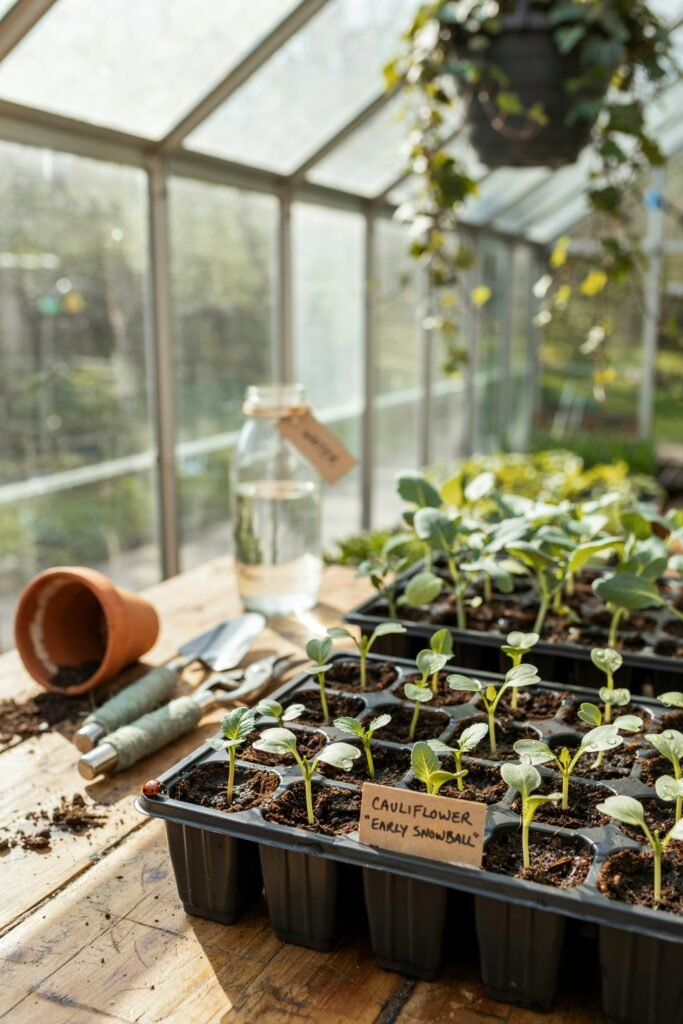
Growing cauliflower from seed gives you access to a wider variety of cultivars and is often the most economical option. Starting seeds indoors also gives your plants a head start before outdoor conditions are ideal.
Step 1: Start Seeds Indoors
Sow seeds 6–8 weeks before your last spring frost or 10–12 weeks before your first fall frost. Fill seed trays or small pots with a high-quality seed-starting mix that is light, sterile, and drains well.
Plant each seed about ¼ inch deep and gently cover it with soil. Mist the surface with water until evenly moist but not soggy.
Step 2: Keep Seeds Warm
Place the trays in a warm location where temperatures stay between 65°F and 75°F (18°C–24°C). Using a heat mat can improve germination, especially in cooler homes.
Seeds usually sprout within 5–10 days.
Step 3: Provide Plenty of Light
As soon as seedlings emerge, move them under grow lights or into a bright sunny window. They need 12–16 hours of light each day to grow sturdy stems.
Keep grow lights just a few inches above the seedlings, raising them as the plants grow.
Step 4: Thin the Seedlings
If more than one seed sprouts in a cell or pot, snip off the weaker seedling with scissors, leaving the strongest one to continue growing. This prevents overcrowding and encourages healthier development.
Step 5: Harden Off Before Planting
About a week before transplanting, begin hardening off your seedlings. Place them outdoors in a sheltered location for a few hours each day, gradually increasing their time outside.
This helps them adjust to wind, sunlight, and cooler temperatures, reducing transplant shock.
How to Transplant Cauliflower Seedlings
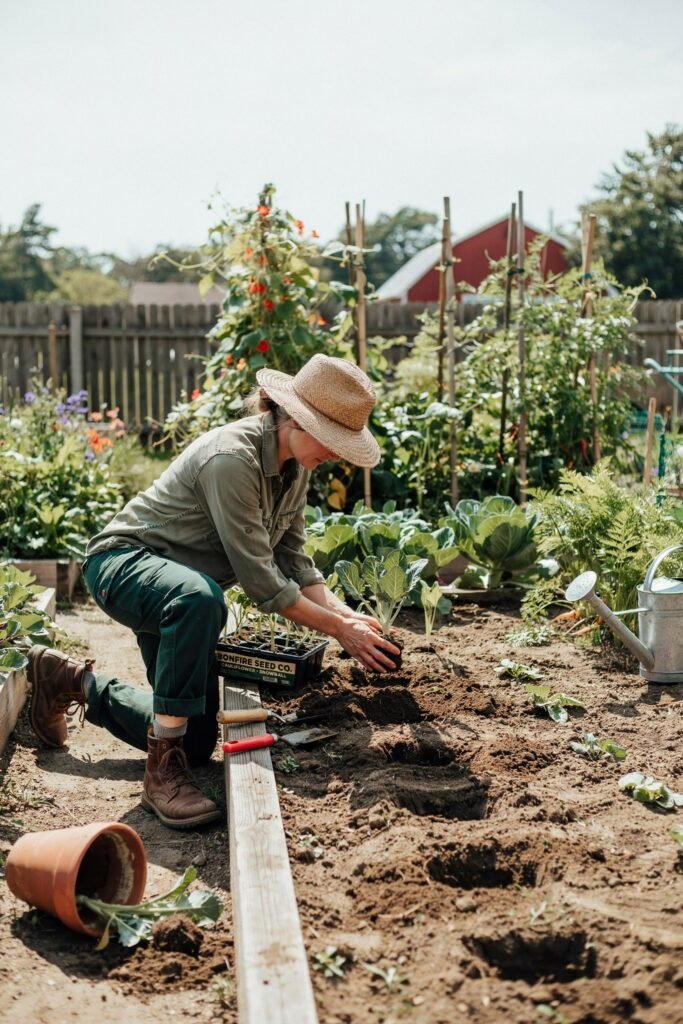
Once your seedlings have developed 4–6 true leaves and have been hardened off, they’re ready to move into the garden.
Transplanting on a cool, cloudy day or in the evening helps reduce stress and gives the plants time to settle before facing the full sun.
Step 1: Water the Seedlings
Water your seedlings an hour before transplanting. Moist roots are less likely to be damaged during the move and recover more quickly.
Step 2: Dig the Planting Holes
Make holes deep enough to hold the root ball without bending the roots.
Space each hole:
- 18–24 inches apart between plants
- 24–36 inches apart between rows
Proper spacing improves airflow, reduces disease problems, and allows each plant enough room to develop a full-sized head.
Step 3: Plant at the Correct Depth
Carefully remove the seedling from its pot without disturbing the roots.
Place it into the hole so the soil sits at the same level as it did in the container. Planting too deeply can encourage stem rot, while planting too shallowly may expose the roots.
Step 4: Firm the Soil
Gently press the soil around the base of each plant to remove air pockets while keeping the soil loose enough for roots to spread.
Step 5: Water Thoroughly
Immediately water each transplant until the soil is evenly moist around the root zone.
A deep watering helps settle the soil and encourages roots to grow downward.
Step 6: Apply Mulch
Spread 2–3 inches of organic mulch around each plant, leaving a small gap around the stem to prevent rot.
Mulch helps:
- Retain soil moisture
- Reduce weeds
- Keep roots cool
- Prevent soil from splashing onto the leaves during rain
Growing Cauliflower in Containers
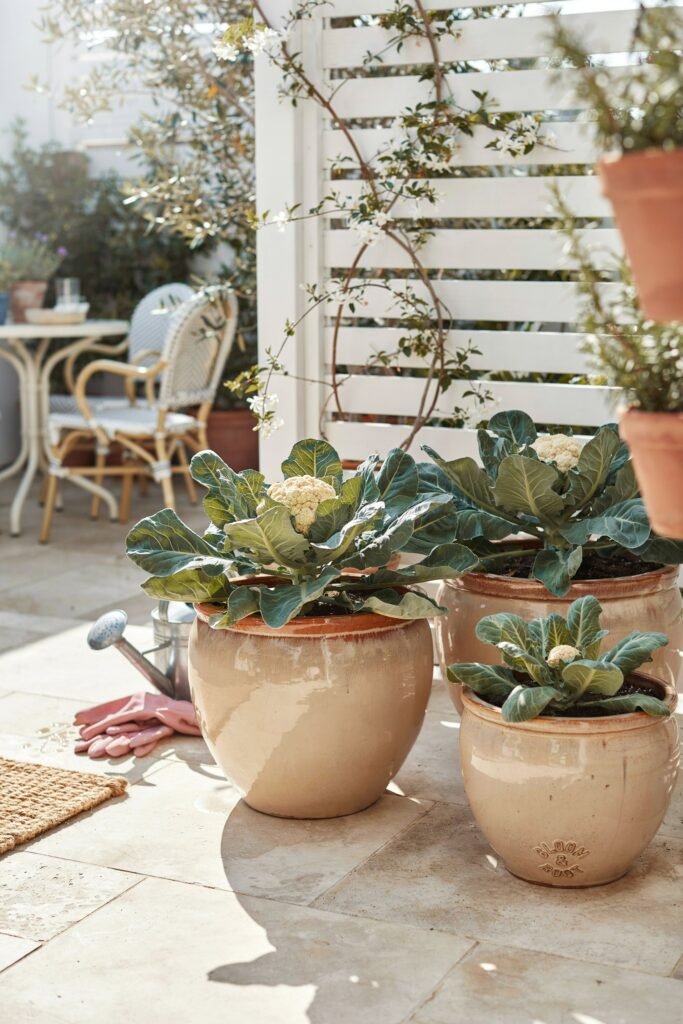
Don’t let limited garden space stop you from growing cauliflower. With the right container and care, it performs surprisingly well on patios, balconies, and small outdoor spaces.
Choose the Right Container
Select a pot that is:
- At least 12–18 inches deep
- 16–20 inches wide
- Equipped with several drainage holes
Larger containers hold moisture more consistently, which is important because cauliflower dislikes drying out.
Use Quality Potting Mix
Avoid using garden soil in containers. Instead, fill your pot with a premium vegetable potting mix enriched with compost.
A good mix should be:
- Loose and airy
- Rich in organic matter
- Fast-draining while still holding moisture
Plant One Cauliflower Per Pot
Although it may seem spacious, one healthy cauliflower plant will fill the container as it matures. Crowding multiple plants into one pot reduces head size and increases competition for nutrients.
Water More Frequently
Container-grown plants dry out faster than those in the ground. Check the soil daily, especially during warm weather, and water whenever the top inch feels dry.
Fertilize Regularly
Since nutrients wash out of containers more quickly, feed your plants every 2–3 weeks with a balanced liquid fertilizer or compost tea.
Watering Cauliflower Correctly
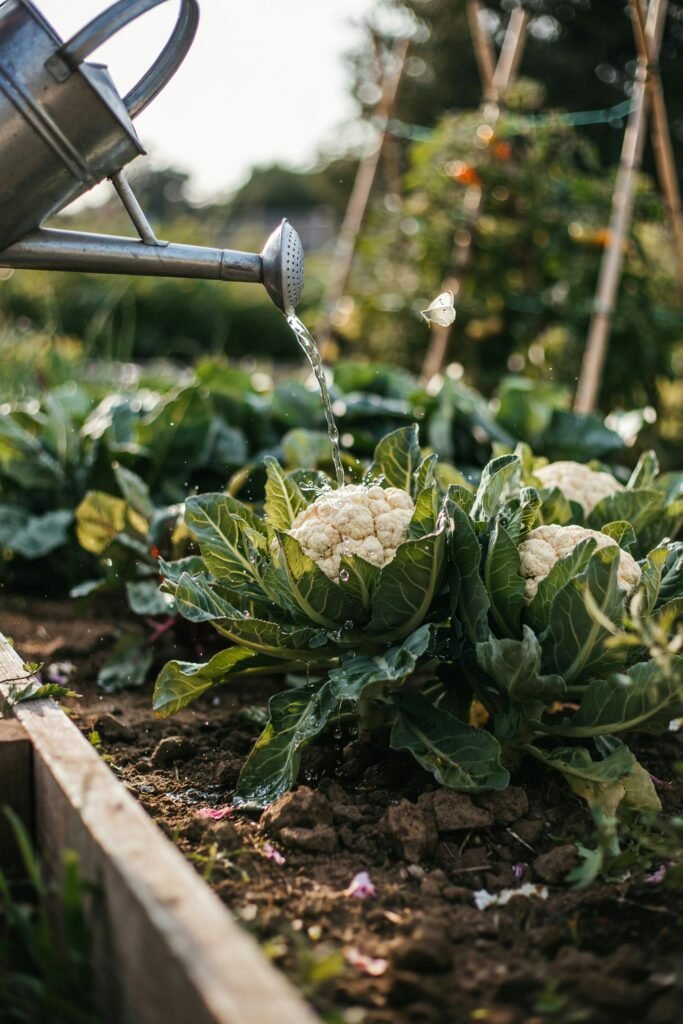
Consistent moisture is one of the most important factors in growing large, dense cauliflower heads.
Uneven watering can cause:
- Small heads
- Loose curds
- Bitter flavor
- Split heads
- Stunted growth
How Much Water Does Cauliflower Need?
Aim to provide about 1–1½ inches of water per week, including rainfall.
During hot, dry, or windy conditions, plants may require additional watering.
Water Deeply
Rather than watering lightly every day, give your plants a deep soaking once or twice a week. Deep watering encourages roots to grow farther into the soil, making plants stronger and more drought-tolerant.
Water at the Base
Direct water to the soil instead of wetting the leaves. Wet foliage can encourage fungal diseases like downy mildew and black rot.
A soaker hose or drip irrigation system works especially well for cauliflower.
Check Soil Moisture
Insert your finger about 2 inches into the soil.
- If it feels moist, wait another day.
- If it feels dry, water thoroughly.
Fertilizing for Healthy Growth
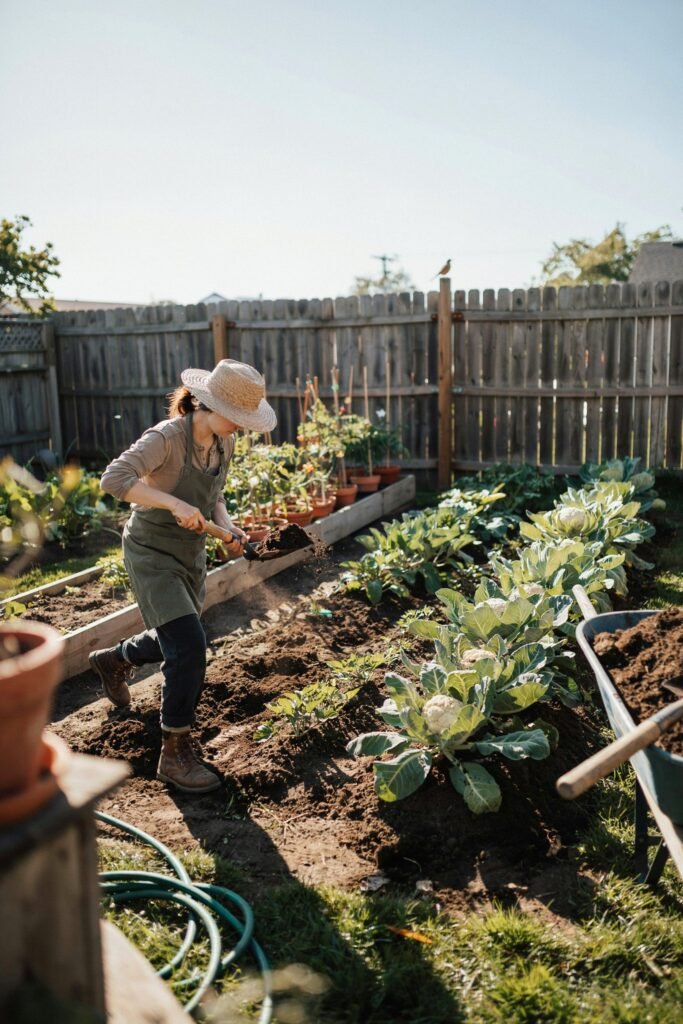
Cauliflower is considered a heavy feeder because it uses a lot of nutrients to produce its large leaves and compact heads.
Before Planting
Incorporate compost and a balanced vegetable fertilizer into the soil before transplanting.
During Growth
About 3–4 weeks after planting, apply a side dressing of compost or a balanced fertilizer around the plants.
Repeat every 3–4 weeks until heads begin to form.
Best Nutrients for Cauliflower
A balanced fertilizer supplies:
- Nitrogen for leafy growth
- Phosphorus for healthy roots
- Potassium for strong stems and overall plant health
Micronutrients such as boron, calcium, and magnesium also play important roles in preventing growth disorders.
Avoid Too Much Nitrogen
While nitrogen encourages leafy growth, too much after head formation can delay curd development and result in smaller or loose heads.
Blanching Cauliflower Heads
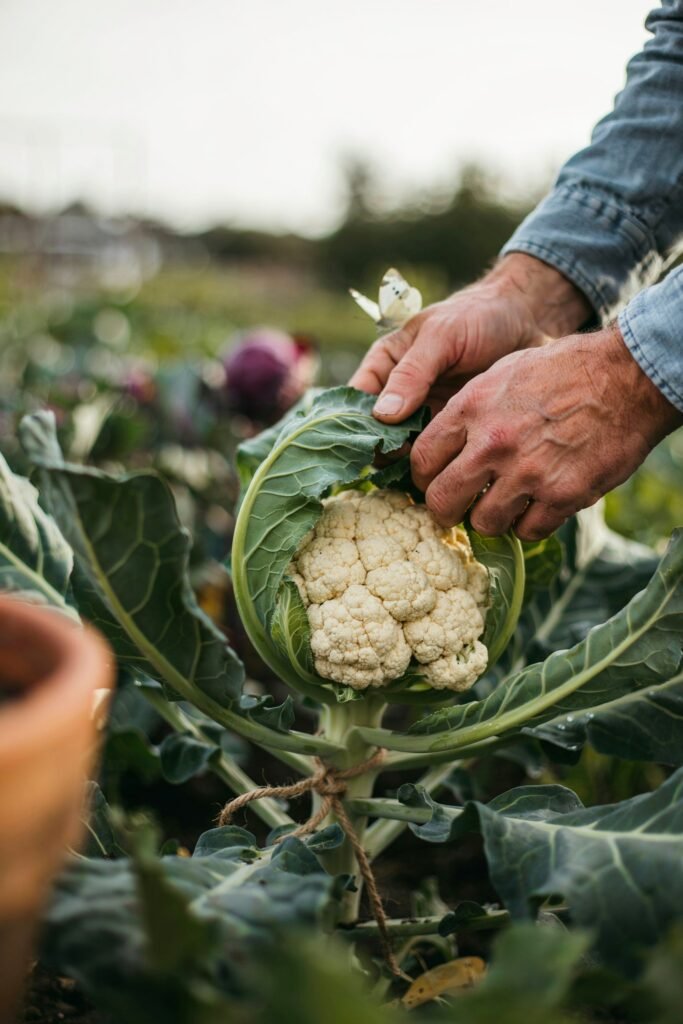
One of the unique care tasks for white cauliflower is blanching. This simply means protecting the developing head from direct sunlight.
Without blanching, white heads can turn creamy yellow, greenish, or develop a stronger flavor.
Note: Purple, orange, and green cauliflower varieties generally do not need blanching because their natural colors are meant to develop in sunlight.
When to Blanch
Begin blanching when the head reaches about 2–3 inches across, before it is fully developed.
How to Blanch
- Gently gather the large outer leaves over the head.
- Tie them loosely together using soft twine, a rubber band, or a clothespin.
- Leave enough space for air circulation to prevent moisture buildup.
- Check every few days to ensure the head remains dry and continues growing.
Most heads need to stay covered for 7–14 days before harvest.
Companion Planting for Cauliflower
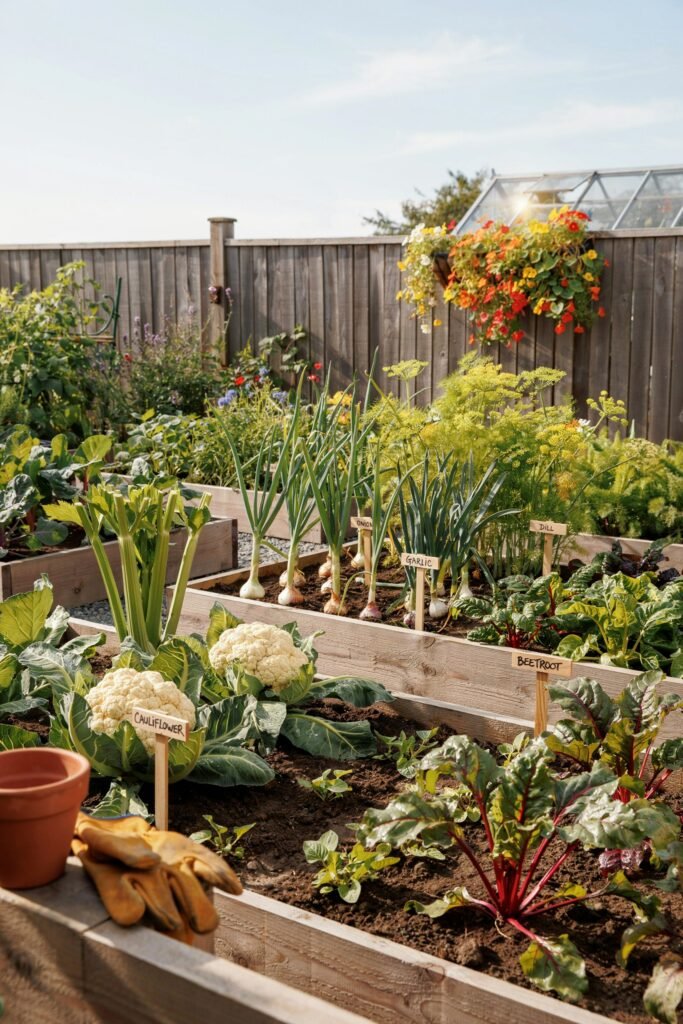
Companion planting helps improve garden health by attracting beneficial insects, discouraging pests, and making efficient use of space.
Best Companion Plants
Onions
Their strong scent helps confuse pests such as cabbage worms and aphids.
Garlic
Garlic naturally repels many insects that commonly attack brassicas.
Dill
Dill attracts beneficial insects like ladybugs, lacewings, and parasitic wasps, which help control aphids and caterpillars.
Chamomile
Chamomile attracts pollinators and beneficial insects while contributing to overall garden biodiversity.
Beets
Beets grow well alongside cauliflower because they use different soil nutrients and don’t compete heavily for space.
Celery
Celery and cauliflower thrive in similar growing conditions and make good neighbors in the vegetable garden.
Plants to Avoid
Keep cauliflower away from:
- Tomatoes
- Strawberries
- Pole beans
- Peppers
- Eggplants
These plants can compete for nutrients or create less favorable growing conditions.
Common Problems When Growing Cauliflower
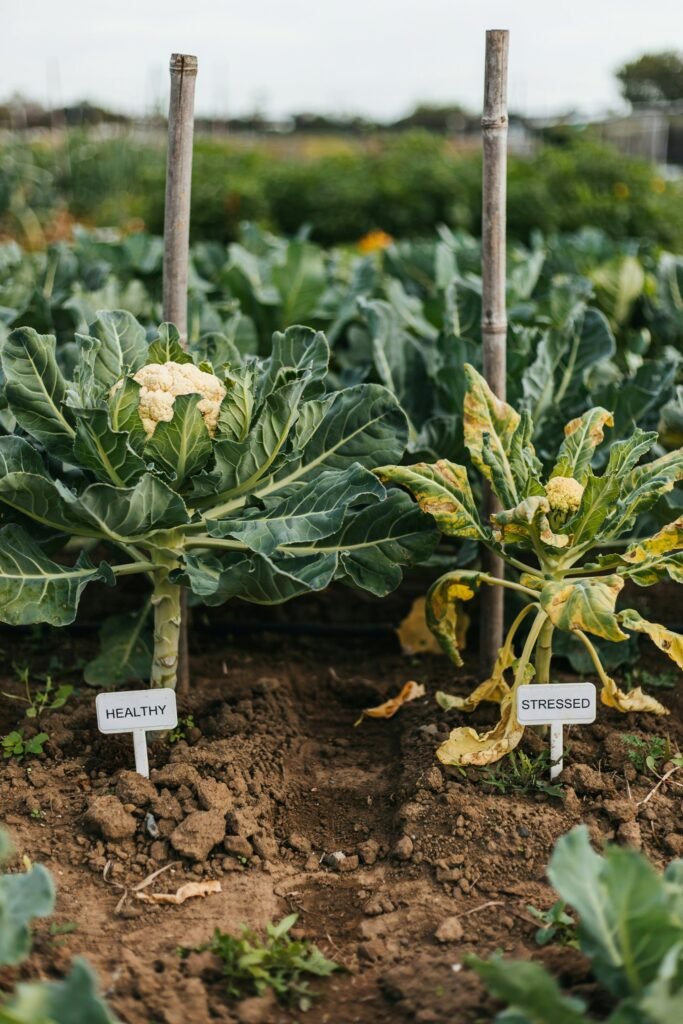
Even experienced gardeners run into challenges with cauliflower. Fortunately, most problems can be corrected once you know what to look for.
Small Heads (Buttoning)
If your cauliflower forms tiny heads instead of large ones, it’s often due to stress.
Possible causes:
- Planting too late
- Temperature fluctuations
- Lack of nutrients
- Root disturbance
- Water stress
- Poor-quality seedlings
Solution:
Plant at the correct time, keep the soil consistently moist, and feed plants regularly with compost and balanced fertilizer.
Loose or Ricey Heads
Loose, grainy curds usually result from high temperatures during head development.
Solution:
Schedule planting so the heads mature during cool weather, and keep plants well-watered.
Yellow Heads
White cauliflower exposed to sunlight may lose its bright color.
Solution:
Blanch the heads by tying the outer leaves over them as soon as they begin to develop.
Bolting
Bolting occurs when the plant sends up flower stalks instead of producing a quality head.
Causes include:
- Heat stress
- Drought
- Temperature swings
- Planting at the wrong time
Once bolting begins, the head becomes bitter and is no longer ideal for harvesting.
Common Pests That Attack Cauliflower
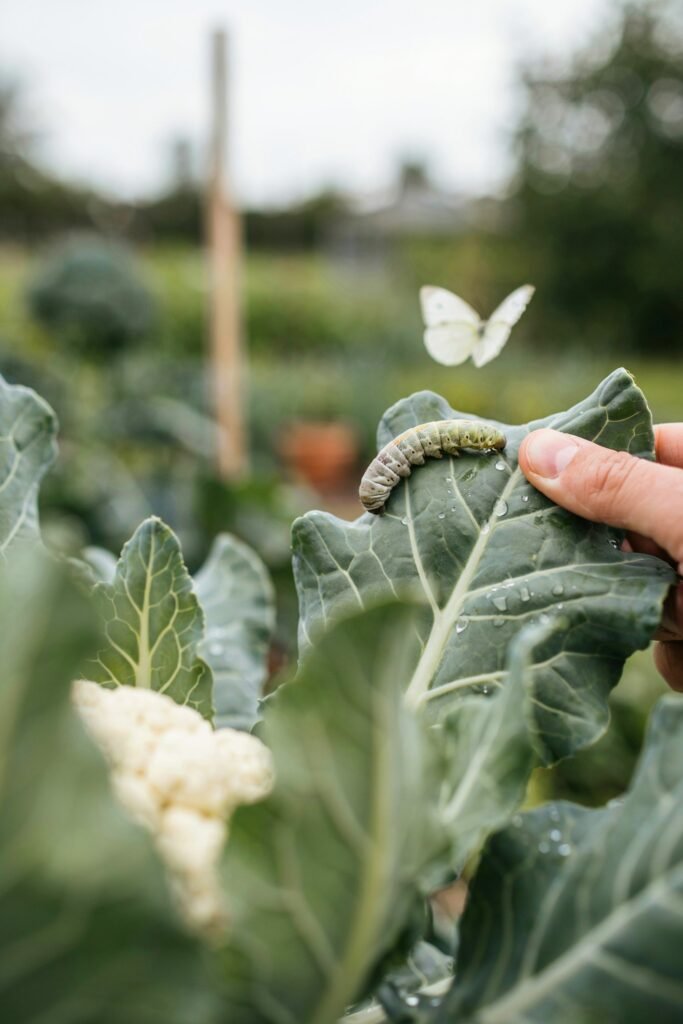
Healthy cauliflower plants can still attract insects, especially because they belong to the cabbage family.
The good news is that regular inspection and early action can prevent most pest problems without relying on harsh chemicals.
1. Cabbage Worms
Cabbage worms are one of the most common pests you’ll encounter. They are the green caterpillars of white cabbage butterflies and can quickly chew holes through the leaves.
Signs
- Large holes in leaves
- Green caterpillars on the undersides of leaves
- Dark green droppings on the foliage
How to Prevent
- Cover young plants with floating row covers.
- Inspect plants every few days.
- Remove caterpillars by hand.
- Encourage birds and beneficial insects in your garden.
Treatment
If the infestation is severe, apply an organic Bacillus thuringiensis (Bt) spray according to the product label. Bt targets caterpillars while being safe for most beneficial insects when used correctly.
2. Aphids
Aphids are tiny, soft-bodied insects that gather on new growth and feed by sucking plant sap.
Signs
- Curling leaves
- Sticky residue (honeydew)
- Clusters of green, black, or gray insects
Prevention
- Plant flowers that attract ladybugs and lacewings.
- Avoid over-fertilizing with nitrogen, which encourages tender new growth.
- Keep weeds under control.
Treatment
Spray plants with a strong stream of water or use insecticidal soap if needed.
3. Cabbage Loopers
These green caterpillars move in a looping motion and feed aggressively on leaves.
Signs
- Ragged holes in foliage
- Caterpillars hiding beneath leaves
Control
- Hand-pick caterpillars.
- Use row covers.
- Apply Bt if populations become difficult to manage.
4. Flea Beetles
These tiny black beetles jump when disturbed and chew many small holes in leaves.
Signs
- Numerous tiny holes
- Young seedlings becoming weak
Prevention
- Use floating row covers early in the season.
- Keep the garden free of weeds that can harbor beetles.
- Mulch around plants to reduce soil splash and discourage movement.
5. Cutworms
Cutworms feed at night and often cut young seedlings off at the soil line.
Prevention
- Place cardboard or paper collars around young transplants.
- Remove plant debris before planting.
- Check the soil around damaged plants for hidden larvae.
Common Diseases
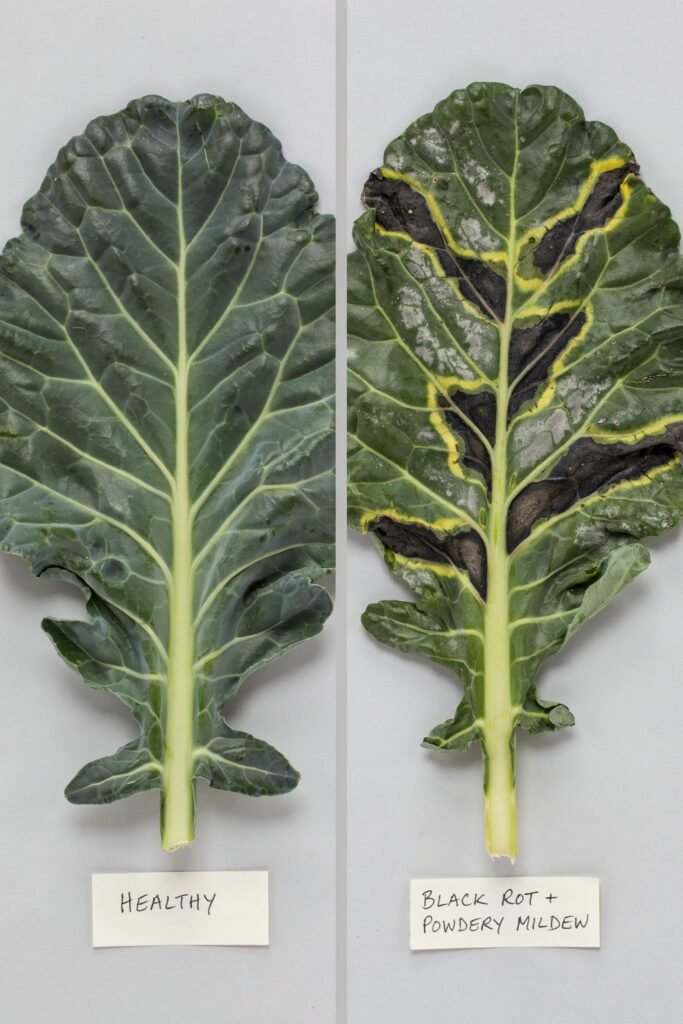
Good garden hygiene and proper spacing go a long way toward preventing disease.
Black Rot
Black rot is a bacterial disease that spreads easily in warm, wet conditions.
Symptoms
- Yellow V-shaped patches on leaves
- Blackened leaf veins
- Stunted growth
Prevention
- Use certified disease-free seed.
- Rotate crops.
- Avoid overhead watering.
- Remove infected plants immediately.
Clubroot
Clubroot is a soil-borne disease that causes swollen, distorted roots.
Symptoms
- Wilting despite moist soil
- Poor growth
- Enlarged roots
Prevention
- Maintain a soil pH close to neutral.
- Rotate brassica crops every 3–4 years.
- Avoid planting in infected soil.
Downy Mildew
This fungal-like disease develops during cool, damp weather.
Symptoms
- Yellow spots on upper leaf surfaces
- Gray or white fuzzy growth underneath leaves
Prevention
- Space plants properly.
- Water early in the day.
- Improve air circulation.
- Remove infected foliage.
Powdery Mildew
Although less common on cauliflower than on some other vegetables, powdery mildew can appear in warm, dry conditions with humid nights.
Prevention
- Avoid overcrowding.
- Water the soil instead of the leaves.
- Remove affected leaves promptly.
How Long Does Cauliflower Take to Grow?
Most cauliflower varieties mature in 60–100 days, depending on the variety and growing conditions.
General timeline:
- Seed germination: 5–10 days
- Seedling stage: 4–6 weeks
- Vegetative growth: 4–6 weeks
- Head formation: 2–4 weeks
- Harvest: 60–100 days after planting
Cool, steady temperatures produce the best-quality heads.
How to Harvest Cauliflower
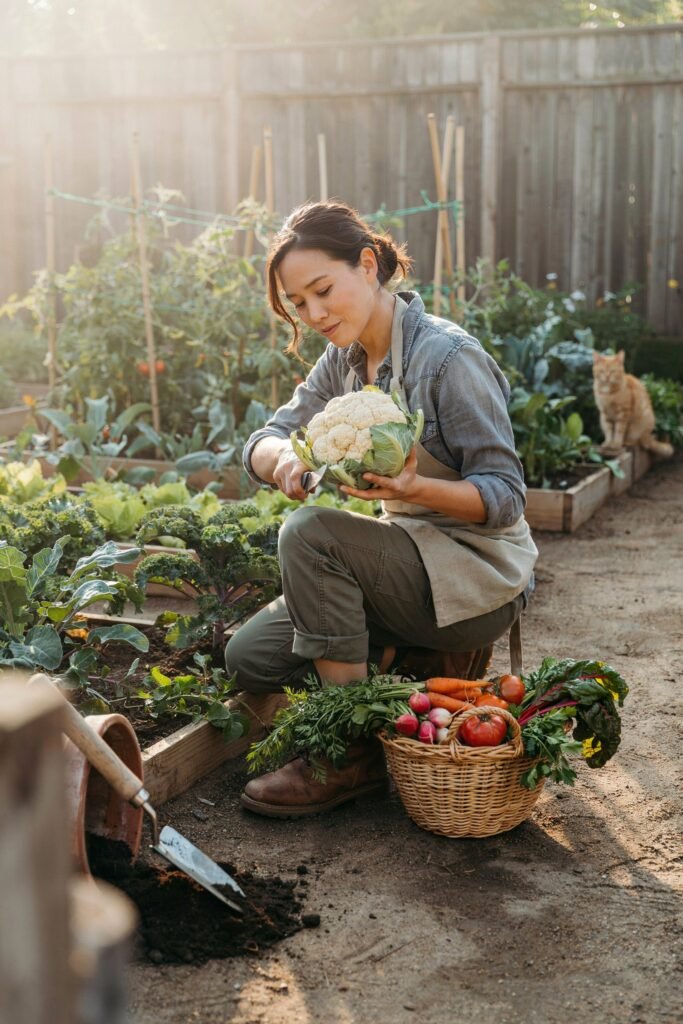
Harvesting at the right time makes all the difference in flavor and texture.
When to Harvest
Harvest when the head is:
- Firm
- Compact
- Fully developed
- Typically 6–8 inches across, depending on the variety
- Bright white (or its natural color for colored varieties)
Don’t wait too long. Overmature heads begin to separate, become grainy, or start flowering.
Step-by-Step Harvesting
Step 1: Use a clean, sharp knife.
Step 2: Cut the main stem about 2–3 inches below the head.
Step 3: Leave several outer leaves attached to protect the curd during handling.
Step 4: Harvest during the cool morning hours for the best quality.
How to Store Fresh Cauliflower
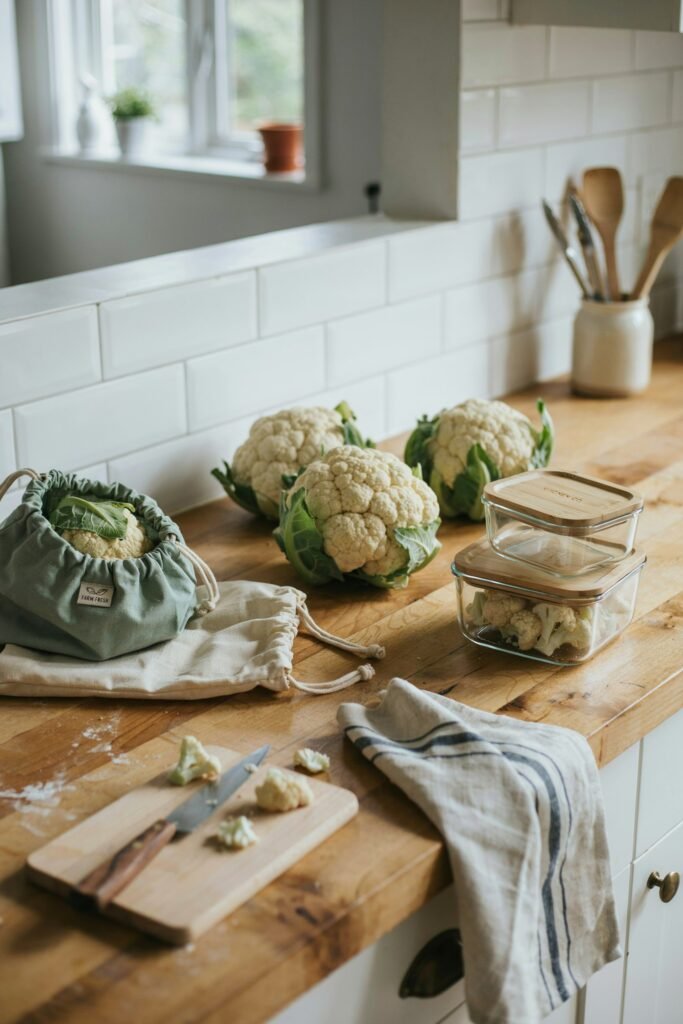
Fresh cauliflower stores surprisingly well when handled properly.
Refrigerator
Place the unwashed head in a perforated plastic bag or wrap it loosely in a damp paper towel before refrigerating.
It typically stays fresh for 1–2 weeks.
Freezing
For longer storage:
- Wash the cauliflower thoroughly.
- Cut it into florets.
- Blanch in boiling water for 3 minutes.
- Transfer immediately to ice water.
- Drain and dry well.
- Freeze in airtight freezer bags or containers.
Frozen cauliflower keeps its best quality for 8–12 months.
Can You Save Cauliflower Seeds?
Yes, but it requires patience because cauliflower is a biennial plant.
In most climates, the plant flowers and produces seed in its second growing season after experiencing a period of cold.
Allow the flower stalks to mature fully, then let the seed pods dry on the plant before collecting and storing the seeds in a cool, dry place.
Keep in mind that cauliflower can cross-pollinate with other brassicas, so isolation is important if you want true-to-type seeds.
Common Mistakes to Avoid
Avoiding these common mistakes can dramatically improve your harvest.
Planting Too Late
Warm weather during head formation often leads to poor-quality cauliflower.
Solution: Time your planting so heads develop during cool temperatures.
Inconsistent Watering
Allowing the soil to dry out and then overwatering stresses the plant.
Solution: Keep the soil evenly moist throughout the growing season.
Poor Soil Preparation
Cauliflower is a heavy feeder and struggles in nutrient-poor soil.
Solution: Add plenty of compost and use a balanced fertilizer.
Crowding Plants
Plants that are too close together compete for sunlight, nutrients, and airflow.
Solution: Follow the recommended spacing of 18–24 inches between plants.
Forgetting to Blanch White Varieties
Direct sunlight can discolor white heads.
Solution: Tie the outer leaves over the developing head once it reaches 2–3 inches across.
Ignoring Pests
Small infestations quickly become large ones.
Solution: Inspect plants every few days and deal with problems early.
Frequently Asked Questions
Why is my cauliflower not forming a head?
This is usually caused by high temperatures, poor nutrition, inconsistent watering, or planting at the wrong time. Cauliflower performs best when head development occurs during cool weather.
Can cauliflower tolerate frost?
Yes. Mature plants can handle light frosts, and a touch of frost often improves flavor. However, prolonged hard freezes can damage the heads.
Can I grow cauliflower indoors?
Cauliflower is generally too large to grow indoors to maturity. It performs much better outdoors or in large containers placed in full sun.
How many heads does one plant produce?
Most cauliflower plants produce one main head. After harvesting, some varieties may produce a few small side shoots, but they are much smaller than the main curd.
Is cauliflower difficult to grow?
Cauliflower has a reputation for being more demanding than some vegetables because it prefers consistent cool temperatures and steady care.
With good timing, fertile soil, regular watering, and proper maintenance, it can be a very rewarding crop for home gardeners.
Final Thoughts
Growing cauliflower may take a little more planning than some other vegetables, but the results are well worth the effort.
By giving your plants rich soil, plenty of sunlight, consistent moisture, and cool growing conditions, you’ll be rewarded with dense, flavorful heads that are far fresher than anything from the grocery store.
Don’t be discouraged if your first crop isn’t perfect every season teaches something new.
With practice and the tips in this guide, you’ll gain the confidence to grow beautiful cauliflower year after year, enjoying delicious harvests straight from your own garden.
Quick Growing Cheat Sheet
| Requirement | Recommendation |
|---|---|
| Botanical Name | Brassica oleracea var. botrytis |
| Plant Type | Cool-season annual vegetable |
| USDA Zones | 2–11 (timing varies by region) |
| Sunlight | 6–8 hours of full sun |
| Soil | Rich, fertile, well-draining |
| Soil pH | 6.0–7.0 |
| Water | 1–1½ inches per week |
| Plant Spacing | 18–24 inches |
| Row Spacing | 24–36 inches |
| Days to Harvest | 60–100 days |
| Head Size | 6–8 inches (variety dependent) |
| Best Season | Spring and fall |
| Companion Plants | Onions, garlic, dill, chamomile, beets, celery |
| Avoid Planting Near | Tomatoes, peppers, eggplants, pole beans, strawberries |
