


Growing rice at home might sound like something that requires a large rice field, but you can actually experiment with growing it in containers.
I love the idea of growing a crop that feels completely different from the usual tomatoes, herbs, and flowers we keep around the garden.
Rice can be grown in a bucket, large tub, or another watertight container as long as you give it enough sunlight, warmth, water, and space.
It does take patience, but watching those little rice plants develop from seedlings into tall, golden stalks is incredibly rewarding. If you want to try something unusual this season, rice is a fun place to start.
Can You Really Grow Rice in a Container?

Yes, you can grow rice in containers at home.
Rice naturally grows well in wet conditions, and many varieties can handle growing in shallow standing water. You don’t need a huge backyard or a traditional rice paddy to give it a try.
Container growing is especially useful if you:
- Have a small garden
- Live in an apartment or rented home
- Don’t have suitable garden soil
- Want to experiment with growing grains
- Want a fun gardening project
- Have a sunny patio, balcony, or backyard
The biggest difference between growing rice and growing many common vegetables is the amount of water it needs. Rice enjoys consistently moist conditions, and some growing methods keep a shallow layer of water around the plants.
You don’t need to keep the plants completely submerged. The goal is to keep the growing medium consistently wet while giving the roots enough oxygen and the plants enough sunlight.
Read Best Crops for a 5 Gallon Bucket: Grow Big Harvests in Small Spaces
What You Need to Grow Rice in Containers

Before planting, gather everything you need. Fortunately, you don’t need expensive equipment.
1. A Large Container
Choose a large bucket, storage tub, planting tub, or similar container.
A container that holds around 5 gallons or more can work for a small experiment, although larger containers will give the plants more room.
The container should be:
- Food-safe if possible
- Strong enough to hold wet soil
- Wide rather than extremely narrow
- Able to hold water
- Free from harmful chemicals
A wider container is generally easier to manage than a very tall, narrow one.
If you’re growing several plants, using a large plastic tub can be more practical than several small pots.
2. Rice Seeds
Look for rice seed from a reliable gardening or agricultural supplier.
You can experiment with different types of rice, including short-, medium-, or long-grain varieties, depending on what is available in your area.
For the best results, use actual planting seed rather than ordinary polished rice from the grocery store. Most white rice sold for cooking has been processed and won’t grow.
If you’re unsure which variety to choose, ask a local seed supplier for a rice variety that performs well in your climate.
3. Heavy Garden Soil
Rice does not need fancy potting soil.
A heavier soil that holds moisture works well. You want something that won’t dry out quickly or float away when you add water.
A simple mixture can include:
- Heavy garden soil
- A little mature compost
- A small amount of well-rotted organic matter
Avoid filling the container with very light, fluffy potting mix because it can become difficult to manage when constantly wet.
4. Water
Water is one of the most important parts of growing rice.
You’ll need a reliable water source because the soil should not be allowed to dry out during the main growing period.
5. A Sunny Location
Rice is a warm-season crop and needs plenty of sunlight.
Choose a location that receives around 6–8 hours of direct sunlight each day if possible.
A warm patio, sunny backyard, or bright growing area can work well.
Step 1: Choose the Right Time to Plant

Rice prefers warm weather, so don’t rush to plant it while temperatures are still cold.
The exact planting time depends on your climate, but generally, rice should be started when the weather is consistently warm and there is no immediate risk of cold temperatures.
If you live in a warm climate, you may have a longer growing window.
For gardeners in cooler areas, starting rice indoors can give the plants a head start before moving them outside.
Warm soil is especially important for good germination.
Step 2: Soak the Rice Seeds

One simple way to encourage rice seeds to germinate is to soak them before planting.
Place your seeds in a clean container of water and allow them to soak for approximately 24 hours.
After soaking, drain the water.
Some gardeners allow the seeds to begin sprouting before planting, while others plant the soaked seeds directly.
If you want to pre-sprout them, place the soaked seeds somewhere warm and keep them slightly moist. Tiny roots should begin appearing after several days under suitable conditions.
Be gentle when handling sprouted seeds because the young roots are delicate.
Read Easily Grow Broccoli at Home in a Container (Step-by-Step Guide)
Step 3: Prepare Your Container

Start by filling your container with several inches of heavy soil.
You don’t need to fill the entire container to the very top.
Leave some space at the top so you can add water without it immediately overflowing.
Smooth the surface of the soil with your hand.
At this stage, the soil should be thoroughly wet but not necessarily covered with several inches of standing water.
If your container has drainage holes, you can use it, but managing water becomes easier with a watertight container.
For a watertight container, make sure excess water doesn’t create an unsafe or stagnant situation around your growing area.
Step 4: Plant the Rice Seeds

Scatter your soaked rice seeds over the wet soil.
Try not to pile them all in one place.
Gently press the seeds into the surface of the soil so they make good contact with the growing medium.
Cover them with a thin layer of soil.
You don’t want to bury them deeply.
Keep the soil very moist while the seeds are germinating.
Place the container somewhere warm and sunny.
Depending on the variety and conditions, germination can take several days.
Once the seedlings appear, give them plenty of sunlight so they don’t become weak and stretched.
Step 5: Thin the Seedlings

When your rice seedlings become established, you may notice that some areas are crowded.
This is a good time to thin them.
Crowded plants compete for:
- Sunlight
- Nutrients
- Water
- Root space
- Air circulation
You don’t need to remove every extra plant. Simply aim to give the healthiest seedlings enough room to develop.
If you started your rice in a separate seed tray, you can also transplant young seedlings into the larger container.
Handle them carefully and avoid damaging the roots.
Step 6: Keep the Rice Well Watered

This is one of the most important parts of growing rice successfully.
Rice likes consistently wet conditions.
As the plants grow, you can maintain a shallow layer of water over the soil surface. You don’t need to create a deep pond.
A shallow layer is usually easier for a home gardener to manage.
Check the container regularly, especially during hot weather.
The water can disappear surprisingly quickly when the container is sitting in full sunlight.
Don’t allow the growing medium to dry completely.
At the same time, avoid creating stagnant, foul-smelling water. If the water becomes unpleasant or conditions seem unhealthy, adjust your setup and water management.
The goal is moist, healthy growing conditions rather than simply keeping the plants underwater.
Step 7: Give Your Rice Plenty of Sunlight

Rice is a sun-loving crop.
Place your container in the brightest suitable location you have.
Ideally, the plants should receive at least 6 hours of direct sunlight each day, with more sunlight often being helpful during the growing season.
Good sunlight helps the plants produce energy and develop strong green growth.
If your plants are pale, weak, or leaning heavily, insufficient light may be one possible reason.
Try to avoid constantly moving the container from one location to another. Pick a suitable sunny spot and allow the plants to settle.
Step 8: Feed the Rice Plants
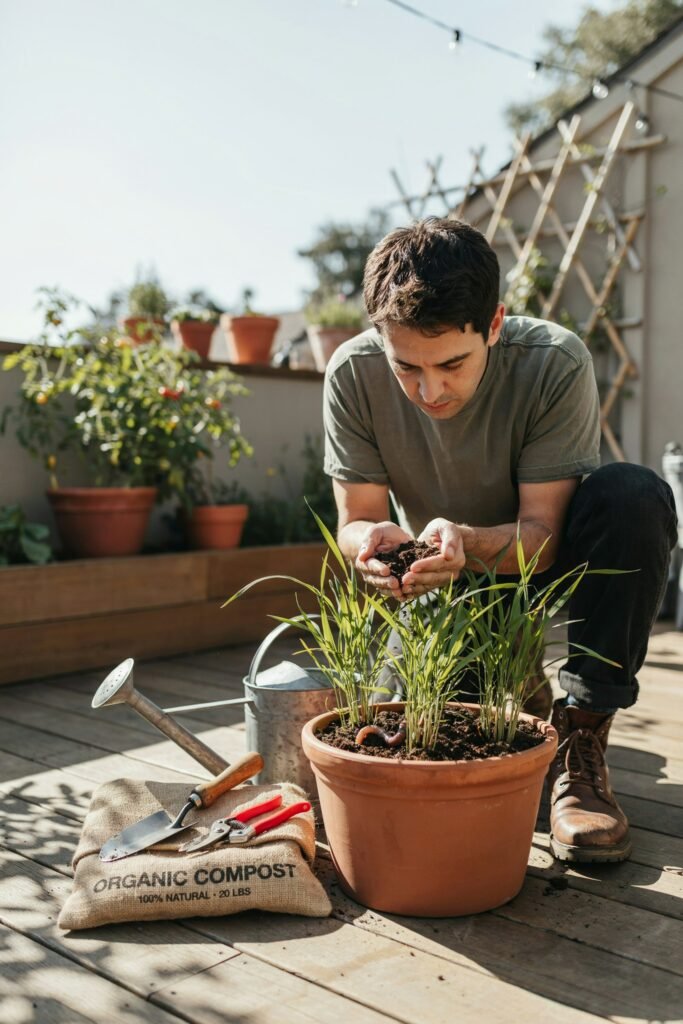
Rice is a grain crop, so it needs nutrients to produce healthy growth and eventually develop grain.
If you added mature compost to your soil before planting, your plants already have some available nutrients.
However, container plants have limited access to nutrients compared with plants growing directly in the ground.
A balanced fertilizer can be used according to the product’s directions.
Avoid applying excessive fertilizer.
Too much nitrogen can encourage lots of leafy growth without necessarily giving you the result you’re hoping for.
If you’re growing rice primarily as a fun home experiment, a modest feeding program is usually easier to manage than constantly adding fertilizer.
Step 9: Watch for Pests and Plant Problems

Rice grown in containers can still experience pests and diseases.
Keep an eye on your plants throughout the growing season.
Look for:
- Chewed leaves
- Discolored leaves
- Stunted growth
- Unusual spots
- Insects around the stems
- Weak or collapsing seedlings
- Mold or unhealthy-looking growth
Inspect the plants regularly rather than waiting until a problem becomes severe.
Good sunlight, clean containers, healthy soil, and sensible watering can all help create better growing conditions.
If you notice pests, identify them before choosing a treatment. Avoid spraying something simply because you see an insect; some insects are harmless or beneficial.
Step 10: Be Patient as the Rice Grows
One thing I would remind any beginner is that rice isn’t a quick crop.
The plants will spend a lot of time producing green leaves and tall stems before the rice heads become obvious.
Depending on the variety and growing conditions, rice can take several months to mature.
This is why container rice is such a fun gardening experiment.
You get to watch the crop change through several stages:
Seed → Seedling → Tall green plant → Flowering → Rice grains → Golden mature stalks
Don’t become discouraged if your plants seem to grow slowly at first.
Warm temperatures, sunlight, water, nutrition, and variety all affect how quickly they develop.
When Does Rice Start Producing Grain?
As the plants mature, they eventually produce flowering heads known as panicles.
These panicles contain the rice grains.
At first, they may look small and green.
As they mature, the grains become larger and the plants may begin changing from a deep green color toward yellow or golden tones.
This is an exciting stage because you can finally see the crop you’re growing.
Try not to harvest too early.
The grains need time to mature and harden.
How to Know When Rice Is Ready to Harvest
Knowing when to harvest is important.
Generally, mature rice plants begin turning yellow or golden, and the grain heads become heavier.
The grains should feel firm rather than soft and immature.
You may also notice the stems bending under the weight of the mature grain heads.
At this stage, reduce watering and allow the crop to move toward harvest.
Don’t let the plants remain excessively wet indefinitely once they’re approaching maturity.
How to Harvest Rice From a Container
Harvesting homegrown rice is fairly simple, although processing it afterward takes some work.
Cut the mature stalks near the base.
Gather the stalks into small bundles.
Allow them to dry thoroughly in a clean, dry, well-ventilated location.
Once the grain is dry, you need to separate the rice grains from the harvested plant material. This process is called threshing.
For a small home harvest, you can carefully thresh the dried heads by hand.
After threshing, you’ll still have the outer husks around the rice.
Removing the husk is called hulling.
This is one of the biggest differences between growing rice for fun and producing rice for the kitchen. Growing the plant is relatively straightforward, but processing a small harvest into edible rice can take considerable time.
For your first attempt, think of the project as both a gardening experiment and a learning experience.
How Much Rice Can You Grow in One Container?
Don’t expect a single bucket to provide a large supply of rice.
Container growing is mainly useful for experimenting, learning, and enjoying the process.
Your final harvest depends on:
- Container size
- Rice variety
- Number of plants
- Sunlight
- Water management
- Soil quality
- Fertilization
- Growing season
- Pest pressure
A larger container with more healthy plants will generally give you a larger harvest than a tiny pot.
If your first harvest is small, don’t consider it a failure. Growing a grain crop at home teaches you a lot about the amount of space, water, and time food production can require.
Common Mistakes When Growing Rice in Containers
1. Using Ordinary White Rice
Rice from your kitchen isn’t necessarily suitable for planting.
Use viable planting seed from a reliable source instead.
2. Choosing a Tiny Container
Rice needs room to grow.
A tiny flowerpot can become crowded quickly.
Choose a wide container with enough room for the plants to develop.
3. Letting the Soil Dry Out
Rice doesn’t appreciate being repeatedly dried out and soaked again.
Try to maintain consistent moisture.
4. Growing in Too Much Shade
Rice needs plenty of sunlight.
A shady location can result in weak growth.
5. Overfertilizing
More fertilizer doesn’t automatically mean more rice.
Too much fertilizer can cause unnecessary plant growth and may damage the plants.
Always follow the fertilizer label.
6. Planting Too Deep
Rice seeds don’t need to be buried deeply.
Plant them shallowly and keep the growing medium moist.
7. Harvesting Too Early
Green, immature grain isn’t ready for harvesting.
Wait until the plants and grain heads show signs of maturity.
8. Ignoring the Water
A container can lose water quickly in hot weather.
Check it frequently and adjust your watering routine as needed.
Tips for Growing Better Rice in Containers
If you want to make your first attempt easier, keep these simple tips in mind.
Start With One Container
You don’t need to turn your backyard into a rice farm.
Start with one container and learn how the crop behaves.
Choose a Sunny Spot
Good sunlight is one of the easiest ways to give your plants a strong start.
Use Healthy Soil
Avoid soil that is contaminated, extremely sandy, or unable to hold moisture.
Don’t Overcrowd the Plants
Give your rice enough room to grow.
Keep Water Consistent
Check your container frequently, especially during hot weather.
Be Patient
Rice takes time.
Don’t expect a quick harvest like you might get with herbs or leafy greens.
Keep Notes
I recommend writing down your planting date, rice variety, watering routine, and harvest date.
These notes will make your next growing attempt much easier.
Can You Grow Rice in a 5-Gallon Bucket?
Yes, a 5-gallon bucket can be used for a small rice-growing experiment.
A bucket gives you enough space to try growing several plants, although the exact number depends on the variety and how you arrange them.
Make sure the bucket is sturdy and suitable for gardening.
Because rice needs consistently wet conditions, a container that holds water can make management easier.
However, don’t assume that a 5-gallon bucket will produce a large harvest.
Think of it as a compact growing experiment rather than a replacement for a rice field.
Can Rice Grow Indoors?
Rice can be started indoors, particularly if you want to give seedlings a head start.
However, growing mature rice indoors can be difficult because the plants need lots of light and space.
A sunny greenhouse, conservatory, or outdoor growing area is generally more practical.
If you want to experiment indoors, provide strong natural light or an appropriate grow light and make sure your container can safely handle the water.
Remember that rice plants can become surprisingly tall.
What Happens After Harvest?
After harvesting, your rice needs to be dried and processed.
Freshly harvested rice still has the outer husk attached.
The basic process involves:
- Harvesting the mature stalks
- Drying the grain
- Threshing the grain from the stalk
- Removing the husk
- Cleaning the rice
- Storing it properly
If you grow only a small amount, processing everything by hand can take longer than you expect.
But that’s also part of the fun.
Growing rice at home gives you a much better appreciation for how much work goes into producing something that seems so simple when you buy it at the grocery store.
Final Thoughts
Growing rice in containers is one of those gardening projects that is more about the experience than producing a huge harvest. You get to watch a tiny seed develop into a tall grass-like plant and eventually produce actual grains of rice.
If you’re a beginner, start small. Choose a suitable container, use good-quality rice seed, provide plenty of sunlight, keep the soil consistently moist, and give the plants enough time to mature.
Don’t worry if your first harvest isn’t enormous. Container rice is a wonderful way to learn about grain production while making the most of a small growing space.
And honestly, there’s something incredibly satisfying about looking at those mature golden rice heads and knowing you grew them yourself.
If you have a sunny corner, a large container, and a little patience, rice could be a surprisingly enjoyable addition to your home garden.
