
Growing vanilla indoors has become one of the most special parts of my gardening journey. It’s not fast or effortless, but that’s what makes it so meaningful.
Watching the vine slowly climb, caring for its needs, and learning its rhythm taught me patience in the most beautiful way. Vanilla isn’t just a plant it’s an experience that unfolds over time.
In this guide, I’ll share everything I’ve learned to help you grow your own vanilla beans indoors with confidence, from creating the right environment to finally harvesting those fragrant, precious pods you nurtured yourself.
Understanding the Vanilla Plant
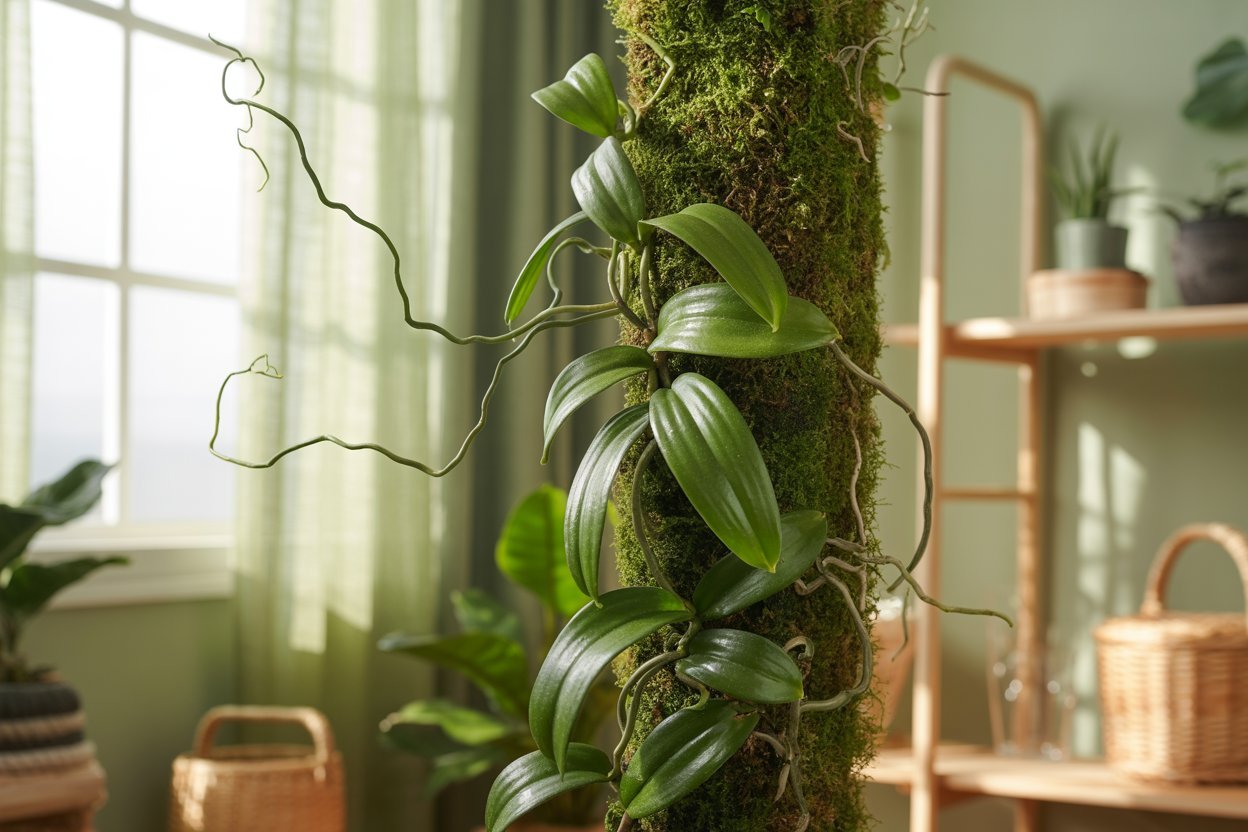
Vanilla beans come from a tropical orchid known as Vanilla planifolia. Unlike most orchids, this one is a climbing vine that can grow several meters long. Indoors, it can adapt beautifully when given the right environment.
What makes vanilla unique:
- It is a tropical orchid vine, not a shrub or tree
- It requires warmth, humidity, and patience
- It takes 2–4 years to flower
- Each flower must be hand-pollinated indoors
- Pods take 8–9 months to mature
Growing vanilla is not instant gratification it’s slow, intentional, and deeply satisfying.
Choosing the Right Vanilla Plant
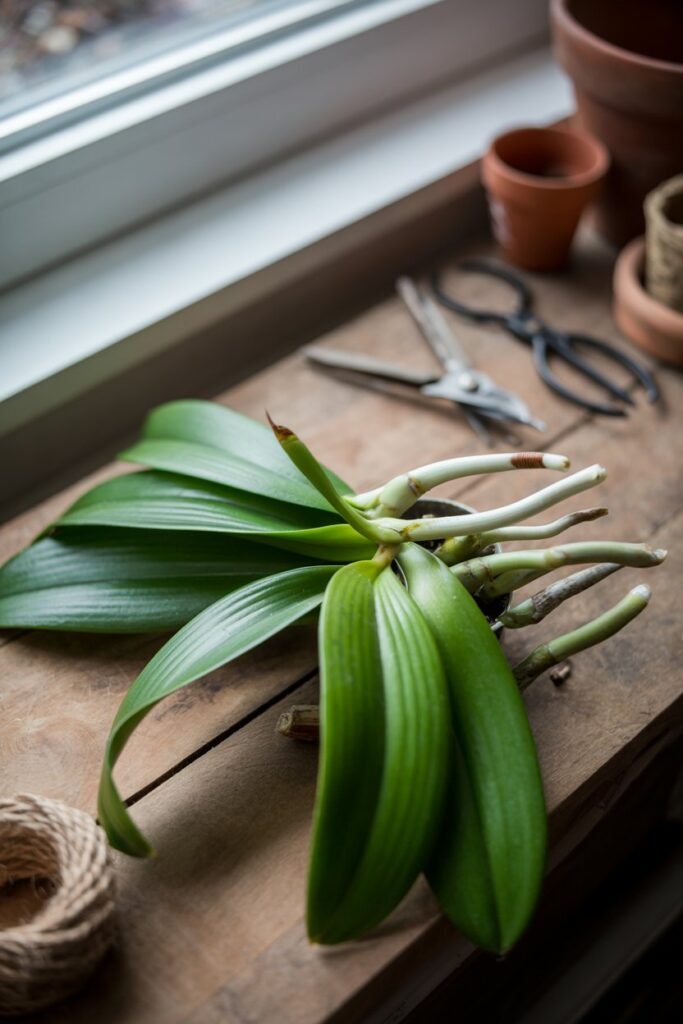
Starting with the right plant sets the tone for your success.
Best option:
- A healthy cutting of Vanilla planifolia (most reliable for indoor growing)
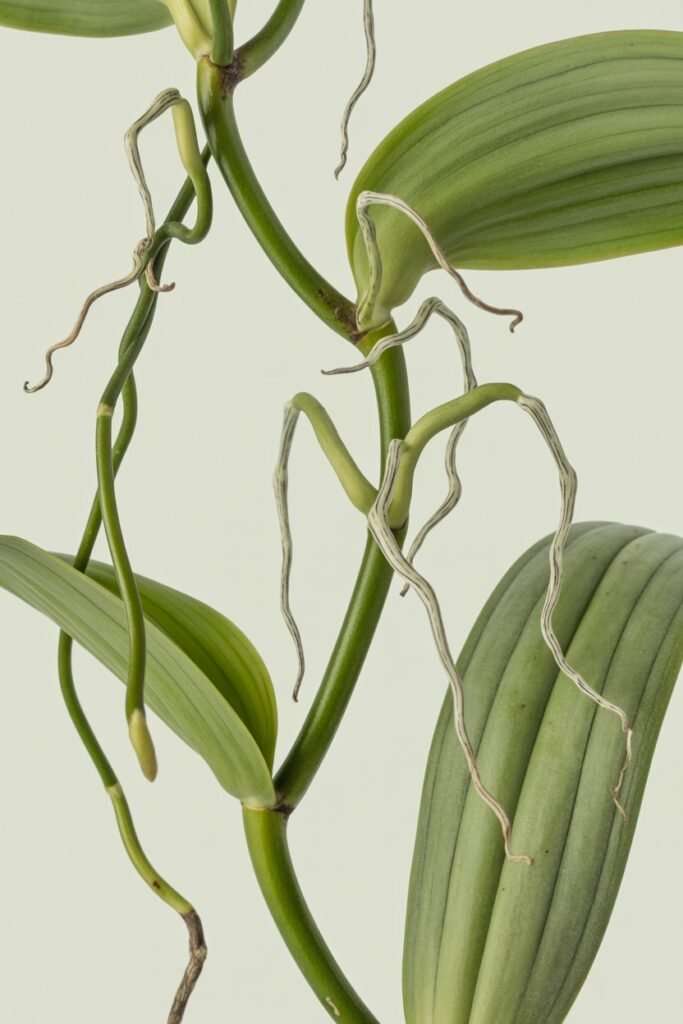
What to look for:
- Bright green, firm leaves
- No signs of rot or yellowing
- At least 12–24 inches long
- Visible nodes (small bumps where roots and leaves grow)
Tip:
Cuttings root faster and establish more quickly than seeds, which are extremely difficult to germinate.
Creating the Perfect Indoor Environment
Vanilla plants are tropical by nature, so recreating that gentle rainforest atmosphere indoors is essential.
Light Requirements
Vanilla thrives in bright, indirect light.
Ideal setup:
- Near an east- or south-facing window
- Filtered sunlight through sheer curtains
Avoid:
- Harsh, direct afternoon sun (can scorch leaves)
- Deep shade (slows growth and delays flowering)
Bonus tip:
If natural light is limited, use a grow light for 10–12 hours daily.
Temperature Needs
Vanilla loves warmth think soft, consistent tropical air.
Ideal range:
- Day: 75–85°F (24–29°C)
- Night: 65–75°F (18–24°C)
Important:
Avoid sudden temperature drops. Vanilla is sensitive and may stop growing if stressed.
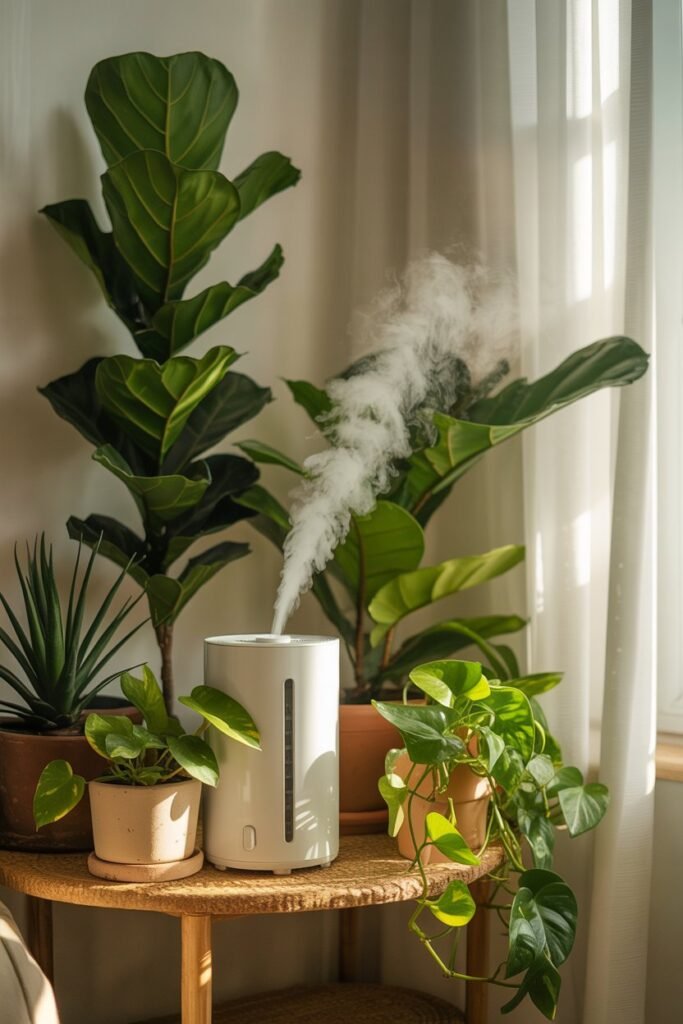
Humidity: The Secret to Success
Humidity is where most indoor growers struggle but it’s also where success begins.
Ideal humidity:
- 60%–80%
How to maintain it:
- Use a humidifier
- Place a tray of water with pebbles under the plant
- Mist lightly (but don’t soak leaves constantly)
- Group plants together to create a microclimate
Gentle reminder:
Dry air is the quickest way to stall your vanilla vine.
Choosing the Right Pot and Soil
Vanilla orchids need a balance of moisture and airflow.
Pot Selection
Choose:
- A pot with excellent drainage holes
- Medium to large size (to support root growth)
Optional:
- A moss pole or trellis inside the pot
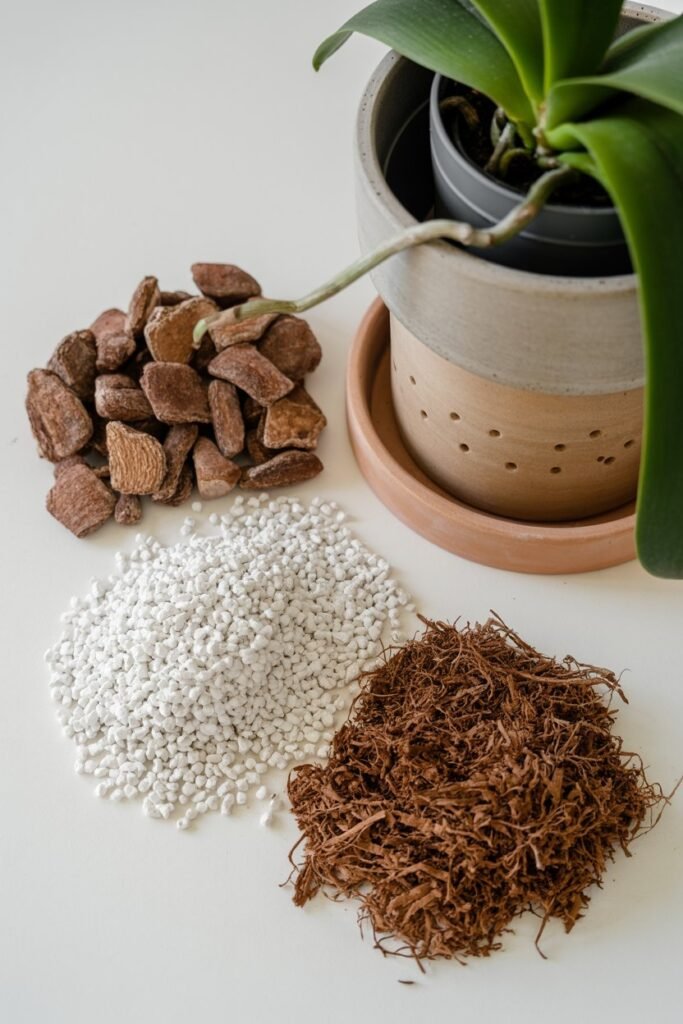
Soil Mix
Vanilla doesn’t like regular garden soil.
Ideal mix:
- Orchid bark
- Coco coir or peat moss
- Perlite
This creates a light, airy, well-draining medium that mimics its natural environment.
Supporting Your Vanilla Vine
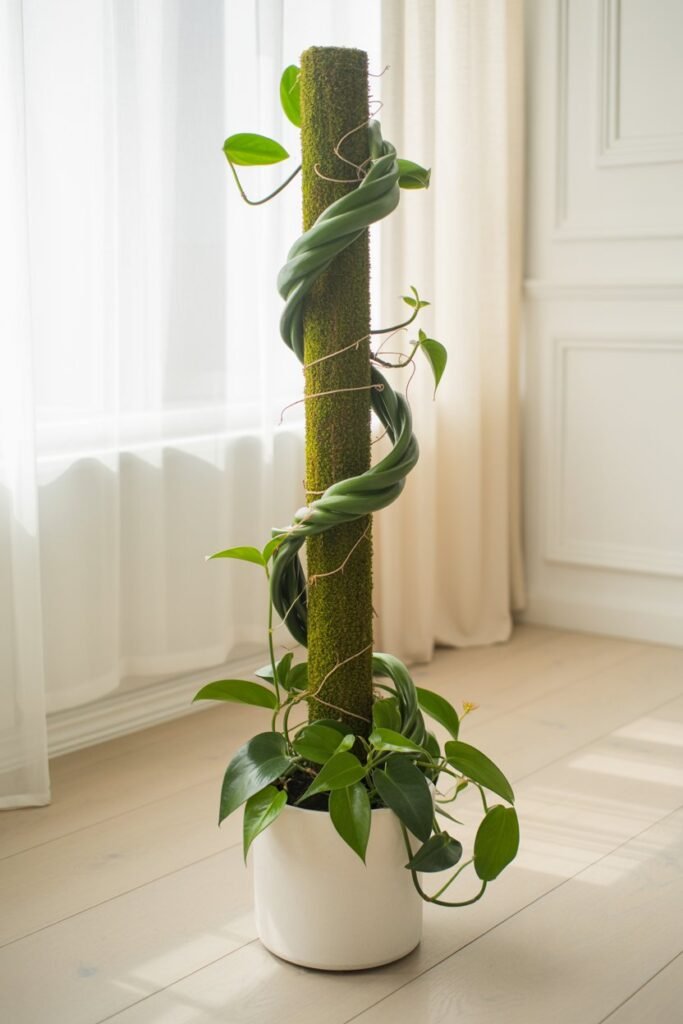
Vanilla is a climber, and giving it support is essential for growth and eventual flowering.
Best support options:
- Moss pole
- Wooden trellis
- Bamboo stakes
Why support matters:
- Encourages vertical growth
- Helps plant mature faster
- Promotes flowering when mature
Pro tip:
As the vine grows, gently wrap it around the support structure to guide it.
Watering Your Vanilla Plant

Watering is all about balance never too much, never too little.
General rule:
- Keep soil slightly moist but never soggy
Watering routine:
- Water when the top inch of soil feels dry
- Reduce watering slightly in cooler months
Avoid:
- Standing water (causes root rot)
- Letting the plant dry out completely
Gentle tip:
Think of your vanilla plant as someone who enjoys steady care not extremes.
Feeding for Healthy Growth
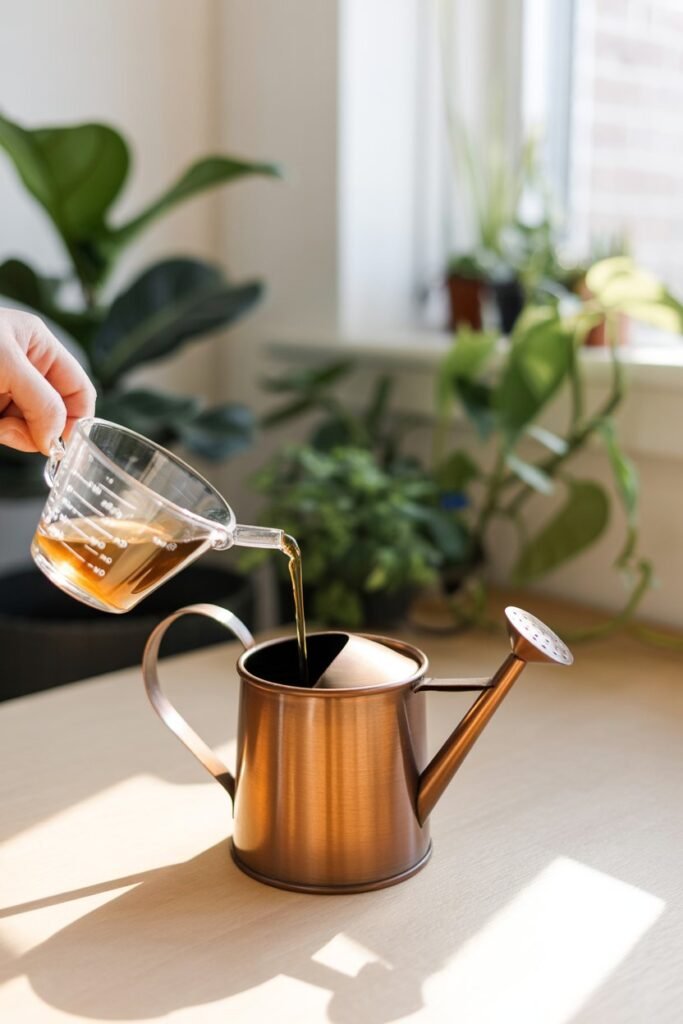
Vanilla plants are moderate feeders and benefit from consistent nourishment.
Fertilizer:
- Balanced liquid fertilizer (like 10-10-10 or orchid fertilizer)
Feeding schedule:
- Every 2–4 weeks during active growth
- Reduce feeding in winter
Organic option:
- Compost tea or diluted fish emulsion
Key tip:
Overfeeding can harm the plant gentle, consistent feeding is best.
Training and Pruning Your Vanilla Vine
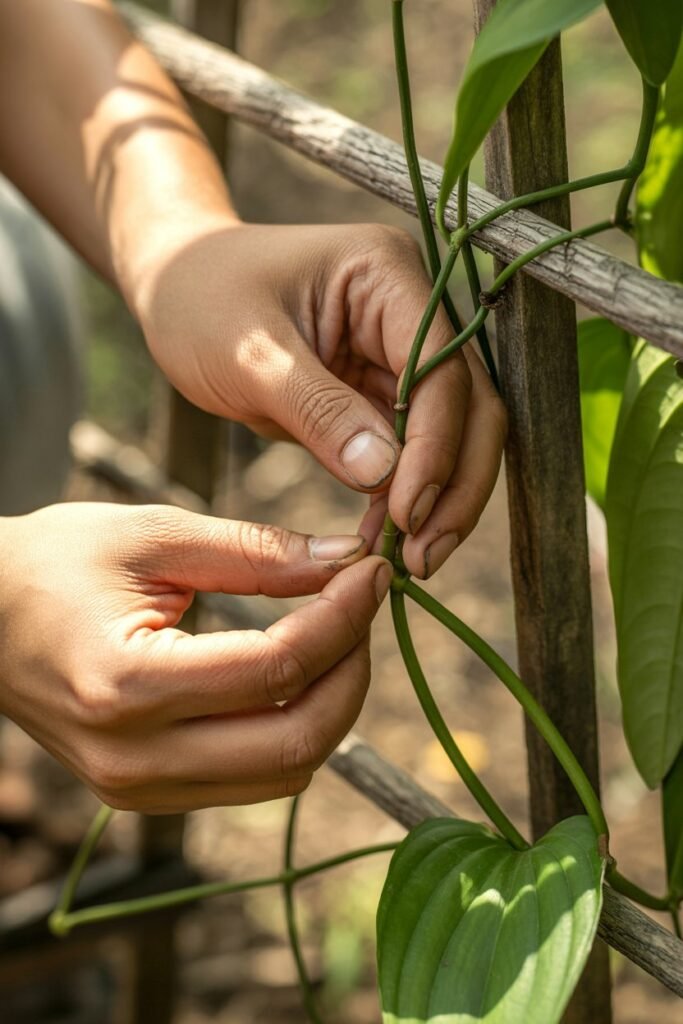
As your vine grows, it will need a little guidance.
Training:
- Wrap gently around trellis or pole
- Avoid forcing or bending too hard
Pruning:
- Trim to control length
- Encourage branching
- Remove damaged or yellow leaves
Why it matters:
A well-trained vine is healthier and more likely to flower.
Encouraging Your Vanilla Plant to Flower
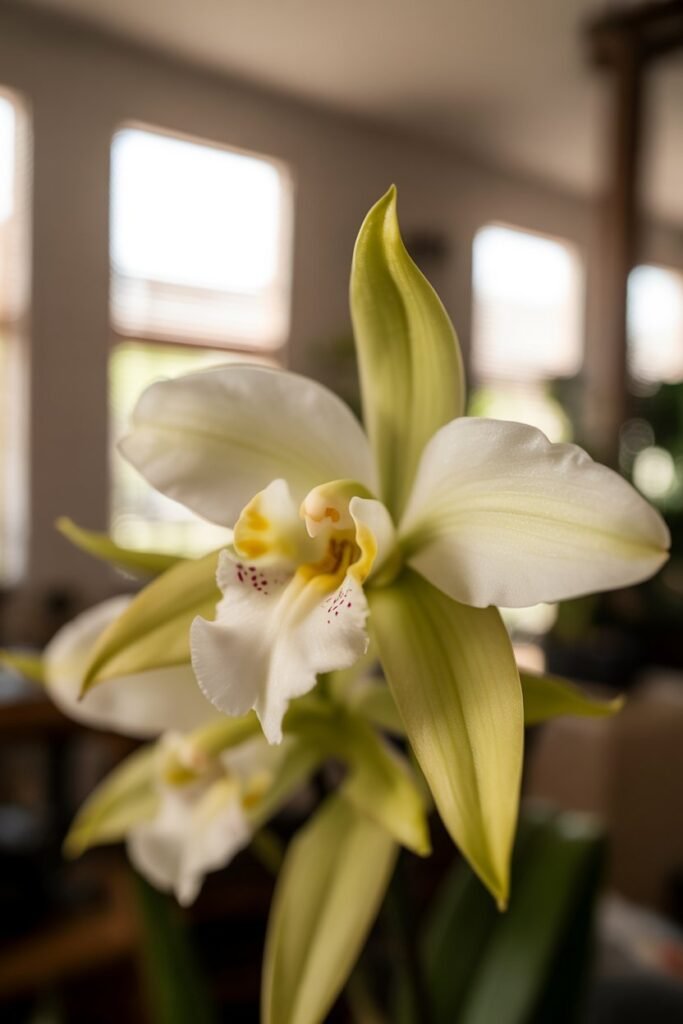
This is the moment every grower waits for.
When does it flower?
- Typically after 2–4 years
- When the vine is mature and long enough
How to encourage flowering:
- Maintain consistent warmth and humidity
- Provide adequate light
- Allow the vine to grow long (don’t over-prune)
Advanced tip:
Some growers gently loop the vine downward this can sometimes trigger flowering.
Hand Pollination: The Most Important Step
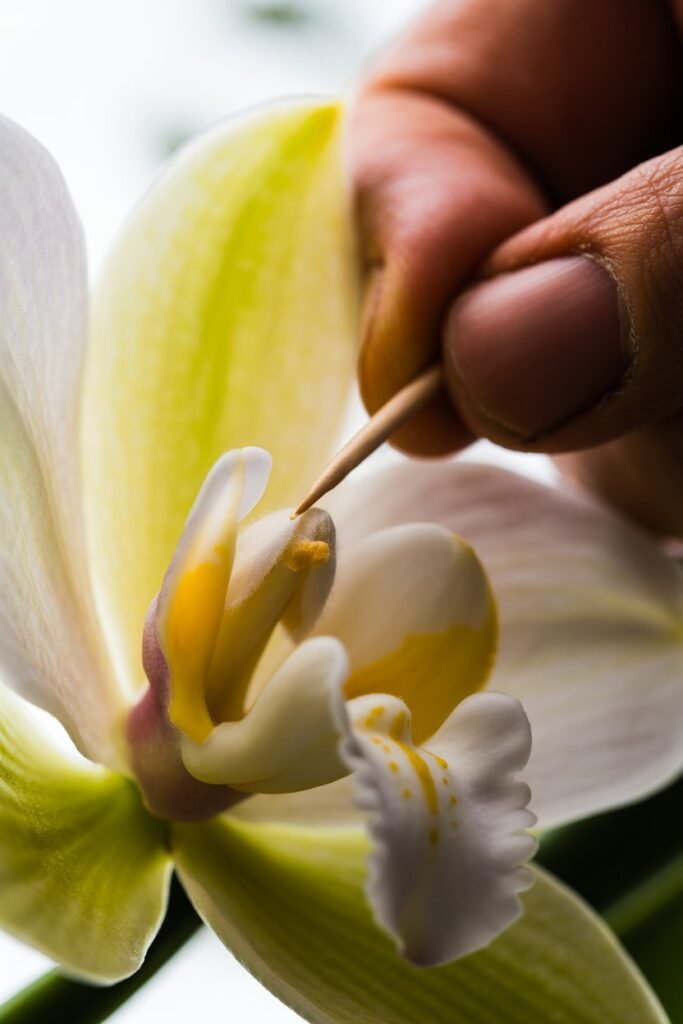
Indoors, natural pollinators are absent, so you must step in.
Timing:
- Flowers open in the morning and last just one day
What you’ll need:
- A toothpick or small brush
Steps:
- Locate the flower’s central column
- Lift the small flap (rostellum)
- Press pollen onto the stigma
- Gently secure contact
After pollination:
- If successful, the flower will wilt and a pod will begin forming
Gentle encouragement:
This step may feel delicate and it is but with practice, it becomes second nature.
Growing and Harvesting Vanilla Beans

After pollination, patience becomes your closest companion.
Pod development:
- Takes 8–9 months
When to harvest:
- Pods turn slightly yellow at the tip
Important:
Do not wait too long overripe pods can split.
Curing Vanilla Beans (The Magic Step)
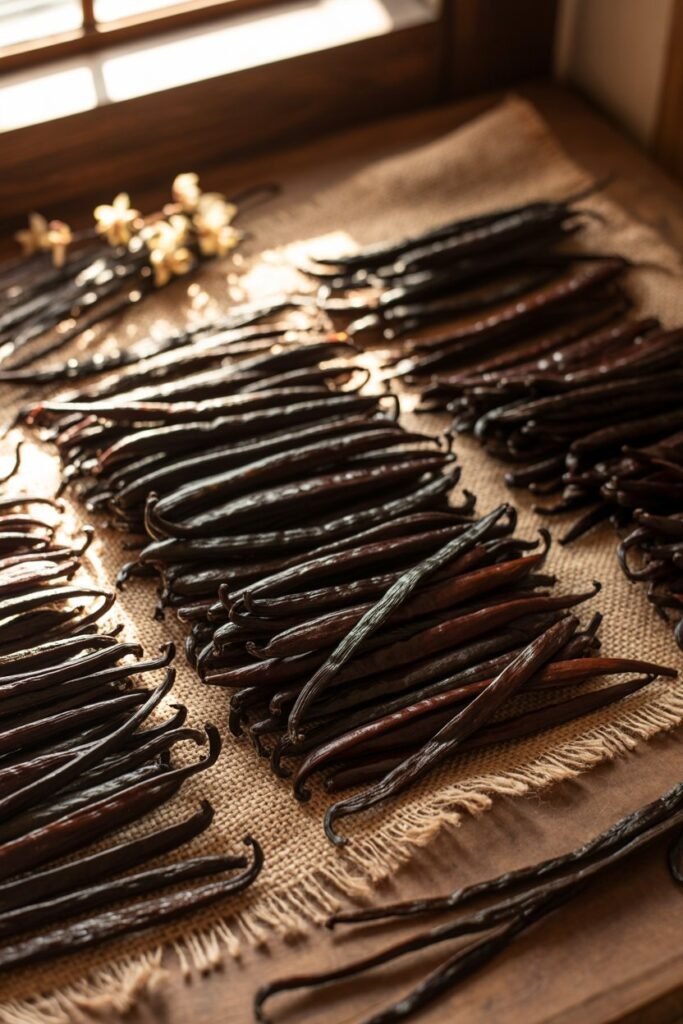
Fresh vanilla beans have no aroma until cured.
The curing process includes:
- Killing (blanching in hot water briefly)
- Sweating (wrapping in cloth to develop flavor)
- Drying (sun or air drying over weeks)
- Conditioning (storing in airtight containers for months)
Result:
Rich, fragrant vanilla beans with deep flavor
Common Problems and Gentle Solutions
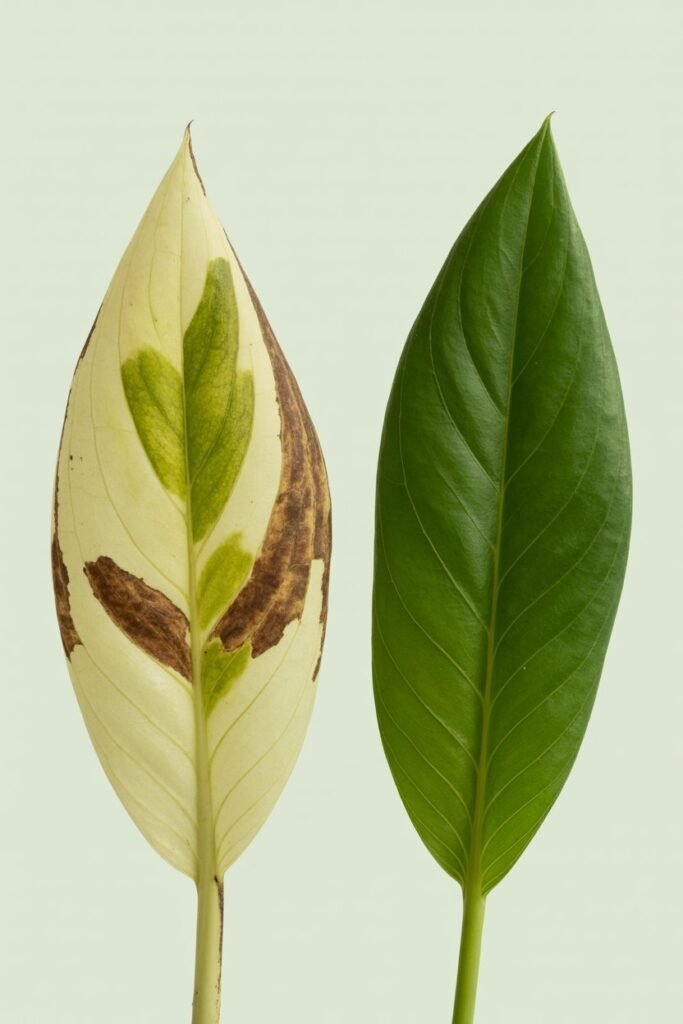
Even the most attentive gardener encounters challenges.
Yellow Leaves
- Cause: Overwatering or poor drainage
- Solution: Adjust watering and improve soil
Slow Growth
- Cause: Low light or low humidity
- Solution: Increase light and moisture
No Flowers
- Cause: Immature plant or inconsistent care
- Solution: Be patient and maintain stable conditions
Root Rot
- Cause: Waterlogged soil
- Solution: Repot and reduce watering
Tips for Better Yield
If your goal is a generous harvest, these gentle strategies will help:
1. Let the vine grow long
Longer vines are more likely to flower.
2. Maintain consistent humidity
Fluctuations stress the plant and reduce productivity.
3. Feed regularly
Healthy plants produce better flowers and pods.
4. Master pollination timing
Pollinate early in the day for best success.
5. Be patient
Vanilla rewards consistency, not speed.
Is Growing Vanilla Indoors Worth It?
Yes but it’s not for the impatient gardener.
Growing vanilla indoors is:
- A long-term commitment
- A deeply rewarding process
- A chance to grow something truly rare and valuable
The experience itself watching your vine climb, bloom, and eventually produce fragrant pods is just as meaningful as the harvest.
A Soft Closing Thought
Caring for a vanilla plant indoors feels a bit like tending to something quietly extraordinary. It asks for warmth, attention, and patience but in return, it offers beauty, growth, and a connection to something rare.
Every leaf, every vine, every flower is a gentle reminder that the most valuable things often take time.
And when you finally hold your own homegrown vanilla beans in your hands, you’ll know it was all worth it.
