
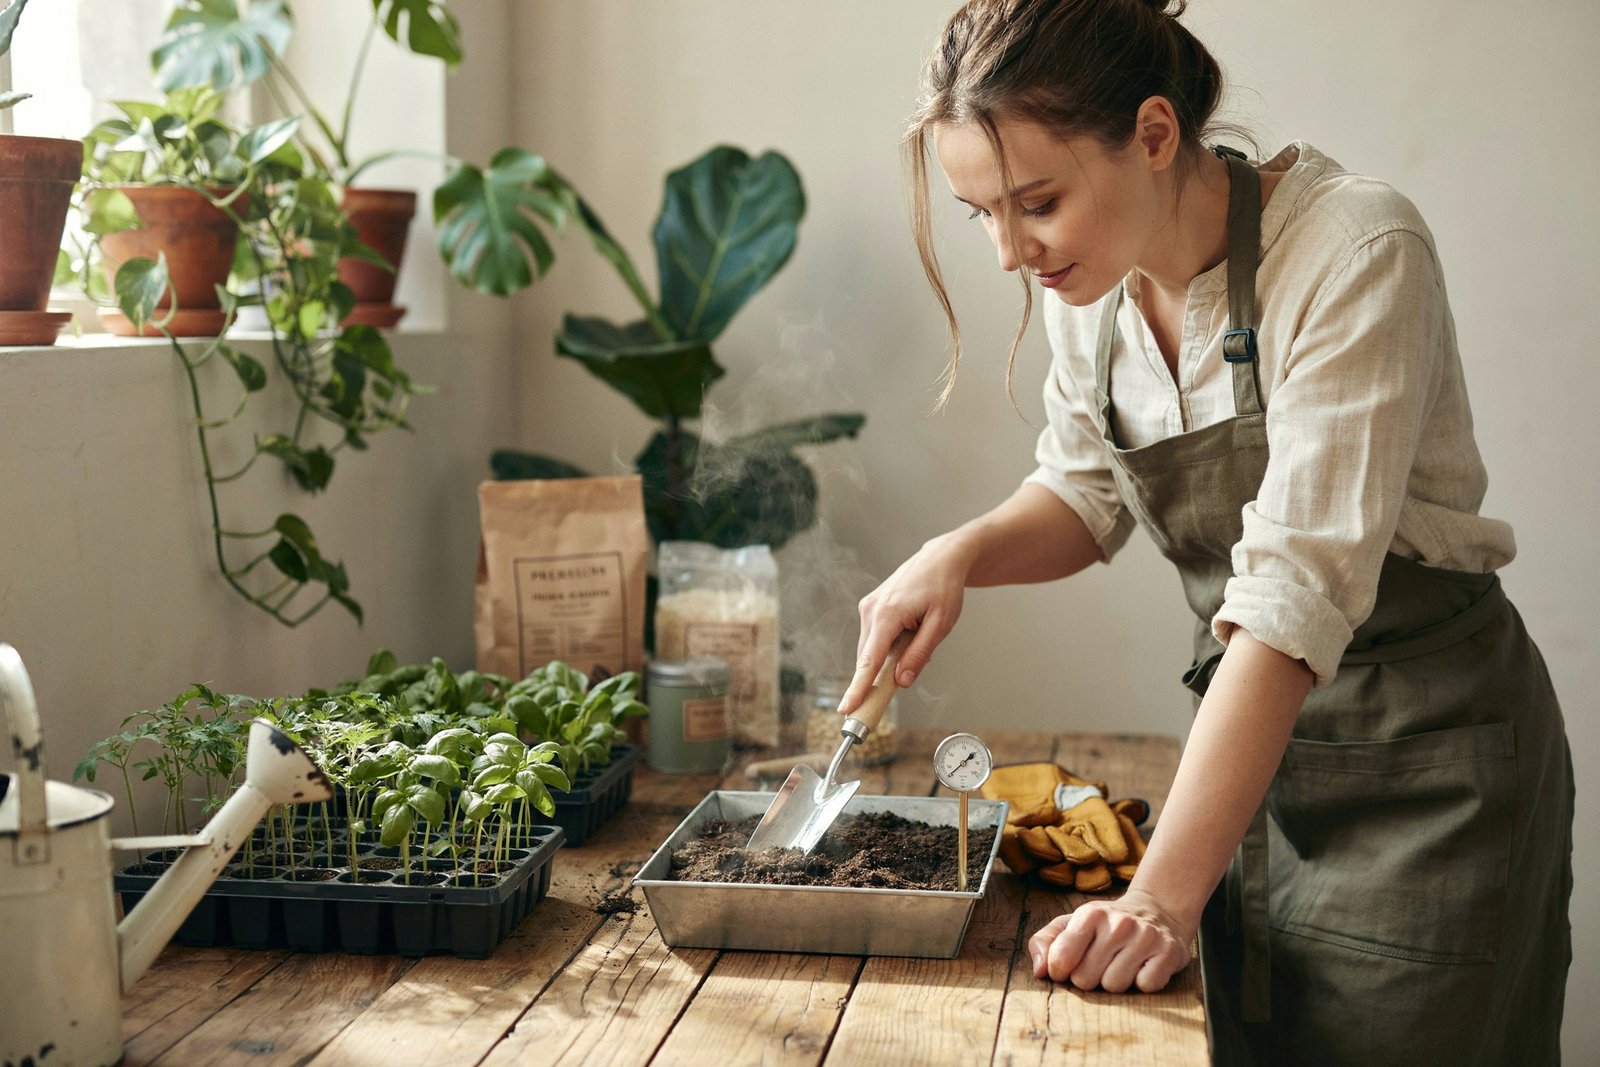

I learned pretty quickly that healthy plants start with what happens below the surface.
A few years ago, I reused some old potting soil for seedlings and ended up with weak plants, unwanted weeds, and several seedlings that simply refused to thrive.
That experience taught me an important gardening lesson: sometimes the soil needs a little extra attention before planting.
If you’re using homemade soil, old potting mix, or compost for starting seeds, properly treating it can help reduce weed seeds and certain soil-borne pests and pathogens.
In this guide, I’ll show you exactly how to do it safely and correctly.
What Does It Mean to Sterilize Potting Soil?
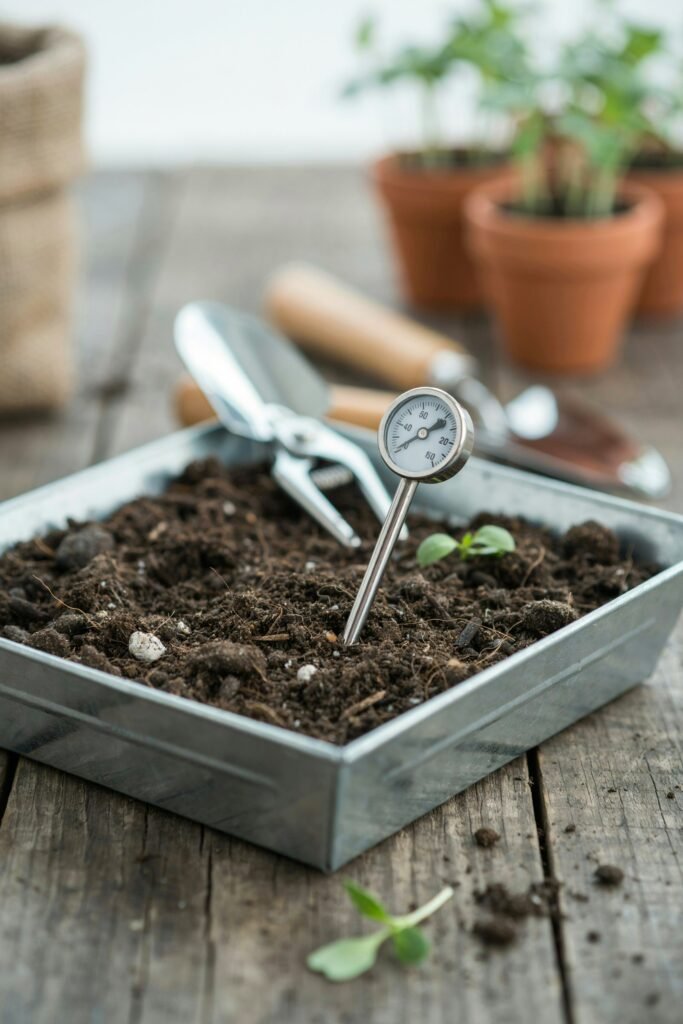
When gardeners talk about “sterilizing” soil, they often mean pasteurizing or sanitizing the soil, rather than making it completely sterile.
Complete sterilization would mean eliminating essentially all living organisms from the growing medium. That’s not usually the goal for a home gardener and it isn’t necessarily desirable.
Instead, the practical goal is to reduce harmful organisms, weed seeds, insects, and other unwanted pests while avoiding excessive heat that can damage the soil and destroy too many beneficial microorganisms.
Oregon State University Extension recommends controlled heat treatment of soil and potting media.
Their guidance explains that heating media to approximately 140–162°F (60–72°C) can sanitize the material while reducing the risk of phytotoxic effects and unnecessary destruction of beneficial microorganisms.
So throughout this article, when I use the word “sterilize,” I’m talking about the home-gardening practice of heat-treating or pasteurizing potting soil.
Why Would You Sterilize or Pasteurize Potting Soil?
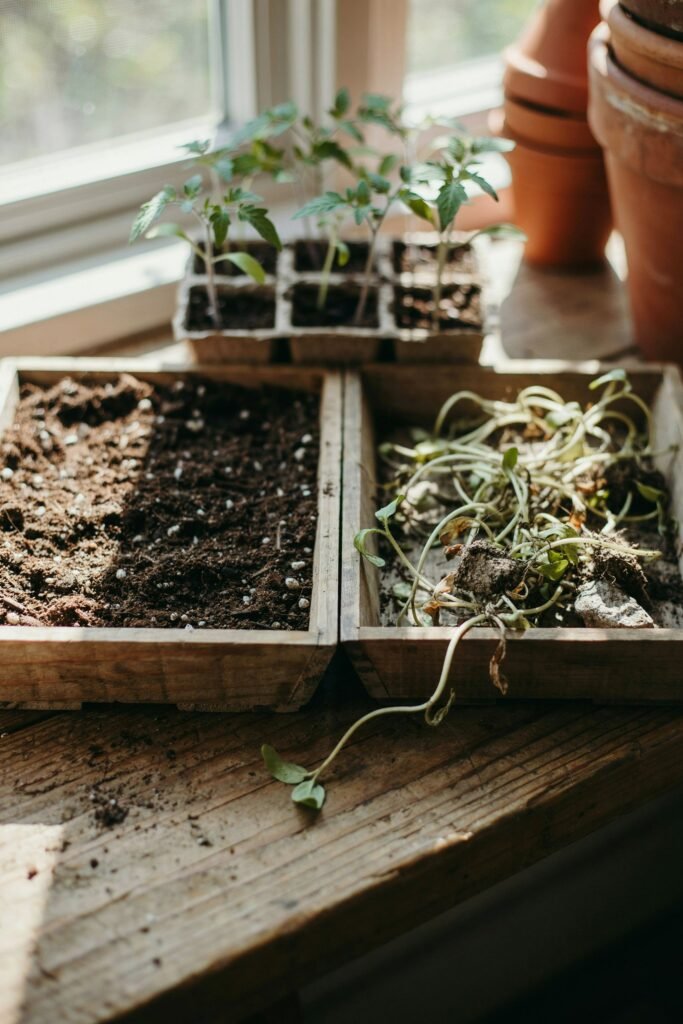
Fresh commercial potting mix is often the easiest choice for starting seeds because it is designed specifically for container growing and seed starting.
University of Minnesota Extension recommends sterile, lightweight seed-starting mixes for starting seeds indoors because they provide the drainage and texture young seedlings need.
However, there are situations when gardeners may want to treat their own soil or compost.
1. To Reduce Weed Seeds
Garden soil can contain hundreds or even thousands of dormant weed seeds.
You may carefully plant your tomato or flower seeds, only to discover little weeds appearing alongside your seedlings.
Treating soil with controlled heat can reduce many weed seeds and make seed-starting much easier.
2. To Reduce Certain Soil-Borne Pathogens
Some diseases can survive in soil or growing media.
This can be particularly troublesome when you’re growing young seedlings because small plants have limited root systems and can be more vulnerable to unfavorable growing conditions.
Heat treatment can reduce populations of certain plant pathogens.
Oregon State University Extension notes that moist heat around 140°F (60°C), maintained for an appropriate exposure period, can kill Phytophthora, while higher temperatures affect additional groups of organisms.
3. To Reduce Soil Pests
Old soil can sometimes harbor insects, larvae, and other unwanted organisms.
A properly controlled heat treatment can reduce many of these organisms.
4. When Reusing Homemade Growing Media
If you’re mixing your own growing medium using soil and compost, pasteurization can be useful before using the mixture for seed starting.
5. When Starting Valuable Seeds
I especially like taking extra precautions when starting seeds that I’ve spent a lot of time and money collecting.
Seedlings are delicate, so giving them a clean, suitable growing medium can help eliminate one potential source of problems.
Should You Sterilize Every Bag of Potting Soil?
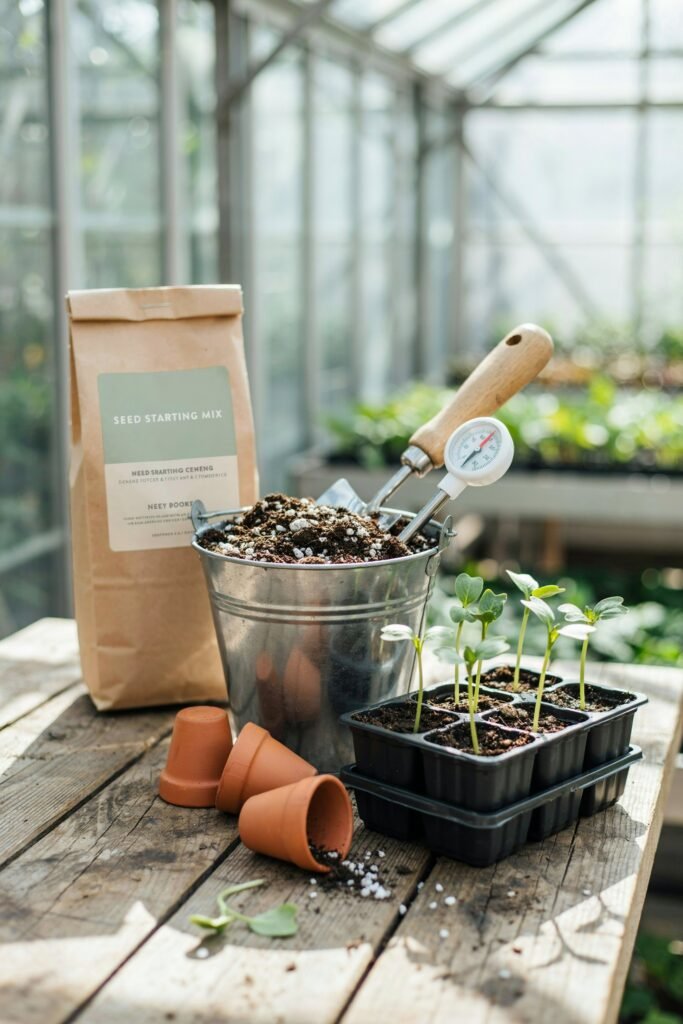
If you’ve purchased a quality commercial seed-starting mix specifically intended for seedlings, you generally don’t need to heat-treat it at home.
In fact, commercial seed-starting mixes are commonly designed to provide appropriate drainage, moisture retention, and texture for young seedlings.
I would consider treatment primarily when you’re using:
- Homemade potting soil
- Garden soil
- Homemade compost
- Previously used growing media
- Soil that has been sitting outdoors
- Soil containing obvious weed seeds
- Soil from an area where disease has previously been a problem
For routine seed starting, buying a fresh, reputable seed-starting mix is often simpler.
Sterilization vs. Pasteurization: What’s the Difference?
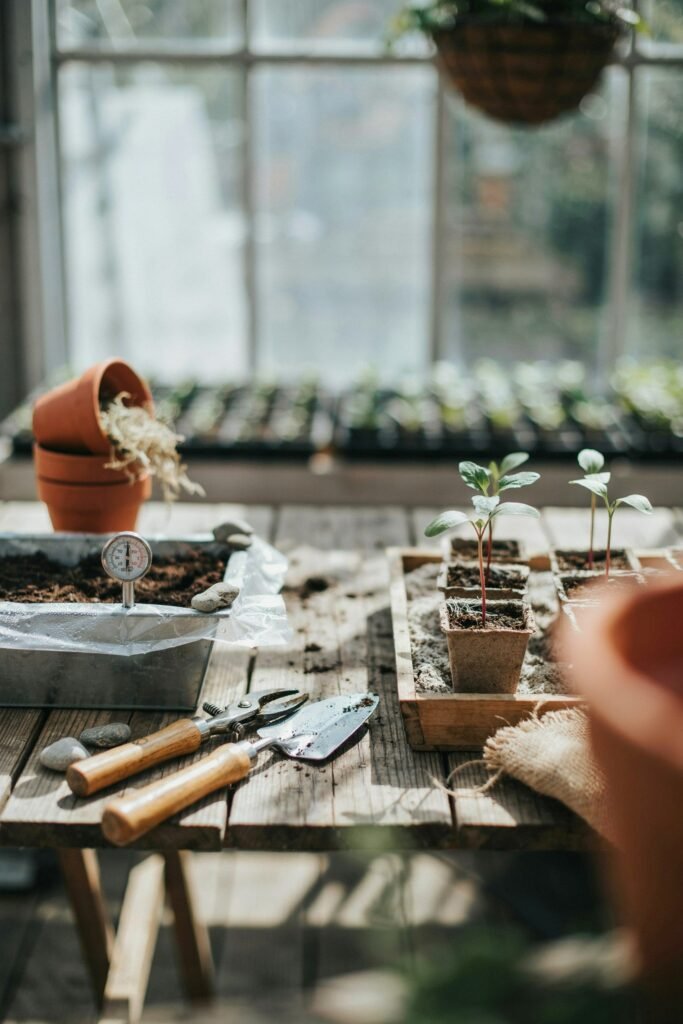
This distinction is important.
Sterilization
Sterilization attempts to eliminate virtually all living organisms.
For home gardening, this isn’t usually necessary.
Pasteurization
Pasteurization uses controlled heat to reduce harmful organisms while trying to preserve some beneficial biological activity.
That’s generally the more appropriate goal for homemade soil.
Oregon State University Extension cautions that excessive heating particularly around 176–212°F (80–100°C) can destroy beneficial soil microorganisms and potentially create a biological vacuum that may later be recolonized by unwanted organisms.
That’s why hotter isn’t automatically better.
What You’ll Need
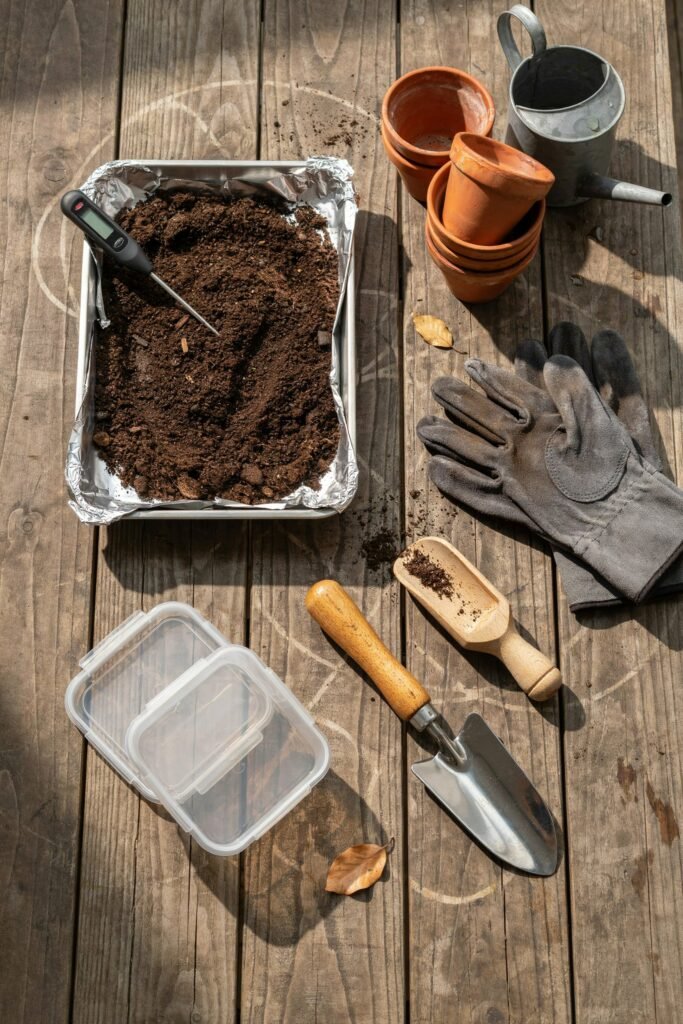
If you’re treating a small amount of soil at home, gather these supplies before you begin.
Basic supplies
- Soil or compost you want to treat
- Heat-resistant baking pan or container
- Aluminum foil or a suitable cover
- Oven
- Meat or candy thermometer capable of measuring the target temperature
- Heat-resistant gloves
- Clean bucket or container for the treated soil
- Clean scoop or trowel
- Clean storage container or bag
You’ll also want:
- A well-ventilated area
- A clean work surface
- Access to water for cleaning your equipment afterward
Important: Working with a heated oven, hot containers, and hot soil can cause burns. If you’re a younger gardener, have an adult handle the oven and hot materials.
Before You Treat the Soil
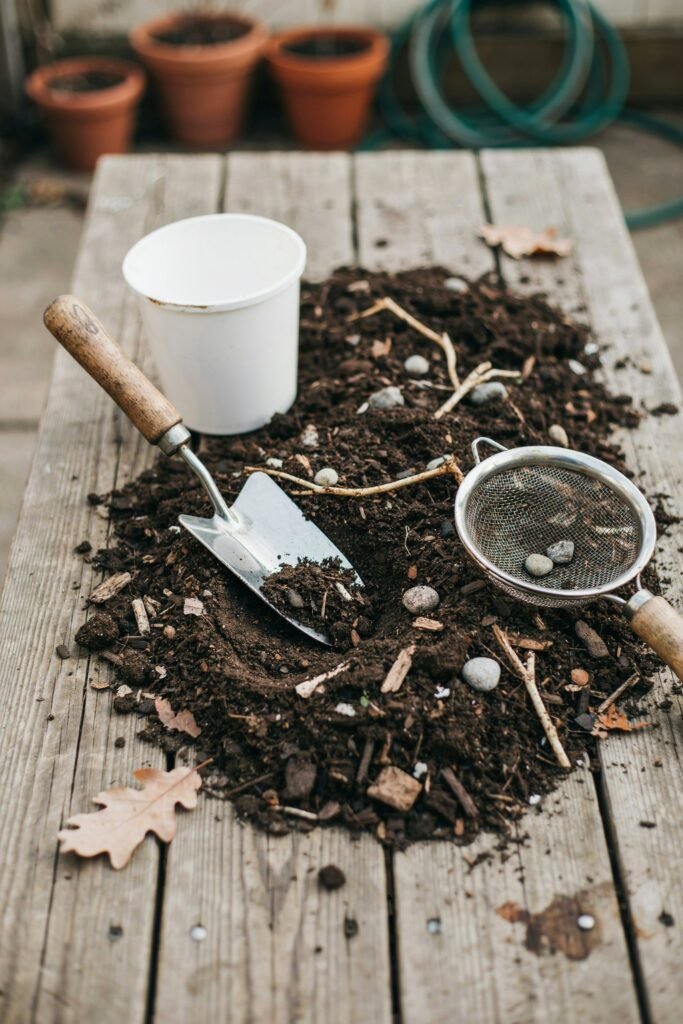
Don’t simply scoop soil into a pan and put it into the oven.
A little preparation makes the process much more effective.
Step 1: Remove Large Debris
Start by removing:
- Sticks
- Large roots
- Stones
- Pieces of plastic
- Large pieces of bark
- Dead plant material
You want a reasonably consistent growing medium.
If the soil is very clumpy, break up the larger pieces.
Step 2: Moisten the Soil Slightly
The soil should be slightly moist rather than completely dry or soaking wet.
Moist heat is an important part of effective soil pasteurization.
Oregon State University’s home-gardening guidance recommends slightly moistening soil or compost before heat treatment.
Think of the texture as damp soil that holds together lightly when squeezed, without dripping water.
You don’t want a muddy mixture.
Step 3: Place the Soil in a Heat-Resistant Pan
Spread the soil into a relatively shallow layer rather than creating a huge mound.
A shallow layer makes it easier for heat to reach the middle of the material.
Don’t pack the soil tightly.
Cover the pan with foil or an appropriate lid.
The cover helps retain moisture during treatment.
Step 4: Preheat the Oven
Oregon State University Extension’s home method recommends placing slightly moist soil or compost in a covered, heat-resistant container and using an oven set to 250°F.
The important part is not simply setting the oven temperature; the soil itself needs to reach the target temperature.
This is why a thermometer is so useful.
The oven temperature and the actual temperature of the soil are not the same thing.
Step 5: Monitor the Soil Temperature
Place your thermometer into the soil so you can monitor the temperature of the material itself.
For the home method described by Oregon State University Extension, the soil is heated until the soil itself reaches approximately 180°F (82°C) and is then held there for 30 minutes.
This is a more aggressive home pasteurization method than the lower-temperature controlled heat treatment discussed in Oregon State’s nursery guidance.
The key lesson is:
Follow a tested temperature-and-time method rather than simply heating soil as hot as possible.
Avoid guessing.
Step 6: Do Not Overheat the Soil
This is one of the biggest mistakes I would avoid.
It may seem logical that higher temperatures would mean better sterilization.
Unfortunately, that’s not necessarily true.
Excessive heating can damage soil structure and destroy beneficial microorganisms.
Oregon State University specifically warns against excessive heat treatment because it can create an environment where beneficial organisms are lost.
So don’t leave the soil baking for hours.
Don’t turn the oven temperature extremely high.
And don’t assume that burning or drying the soil will make it healthier.
Controlled heat is the goal.
Step 7: Allow the Soil to Cool Completely
Once the treatment is finished, turn off the heat and allow the soil to cool.
Don’t immediately plant seeds into hot soil.
Young roots are sensitive to high temperatures, and handling a hot container can also cause burns.
Keep the soil covered while it cools if possible.
This also helps reduce the chance of clean soil being contaminated again before you use it.
Step 8: Store the Treated Soil Properly
Once completely cool, transfer the treated soil into a clean container or bag.
Keep it:
- Covered
- Dry enough to prevent mold
- Off the ground
- Away from dirty gardening tools
- Away from untreated soil
- Away from diseased plant material
Oregon State University recommends storing potting materials in sealed bags or containers and keeping them off the ground to reduce contamination risks.
This step is easy to overlook.
You could carefully treat your soil and then contaminate it again by dumping it onto a dirty surface.
An Important Tip: Don’t Use a Dirty Scoop
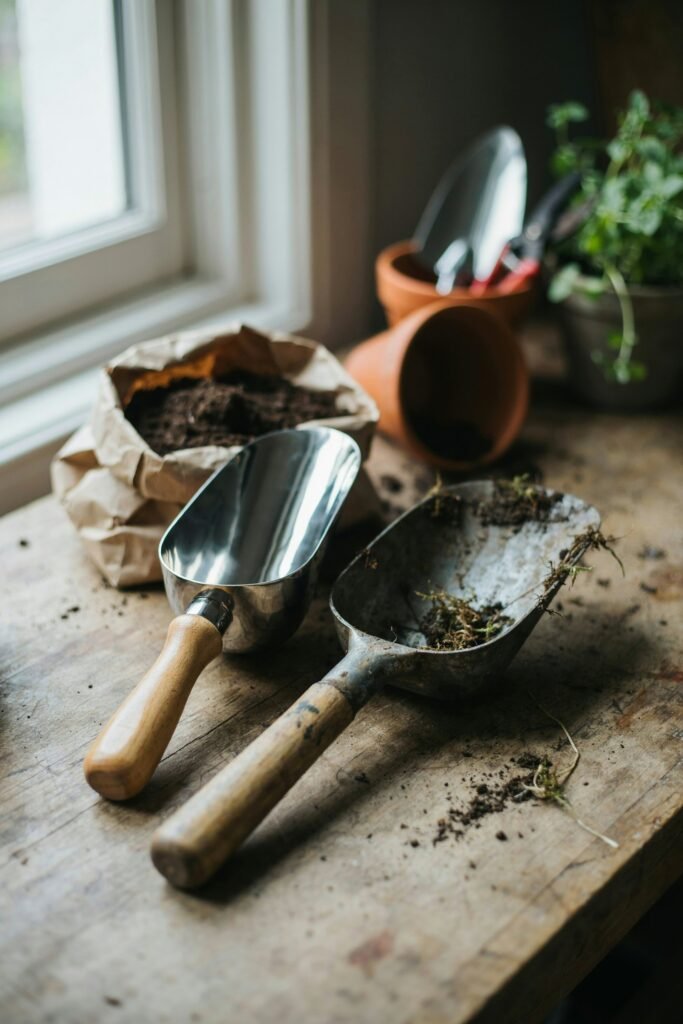
I learned that clean soil is only as clean as the equipment touching it.
Before handling treated soil, clean your:
- Scoop
- Trowel
- Buckets
- Seed trays
- Pots
- Work surface
University of Minnesota Extension recommends cleaning used containers and tools before starting plants because old plant debris and contaminated equipment can introduce disease back into the growing environment.
How to Pasteurize Soil Without an Oven
If you don’t want to use an oven, there are other approaches.
Method 1: Solarization
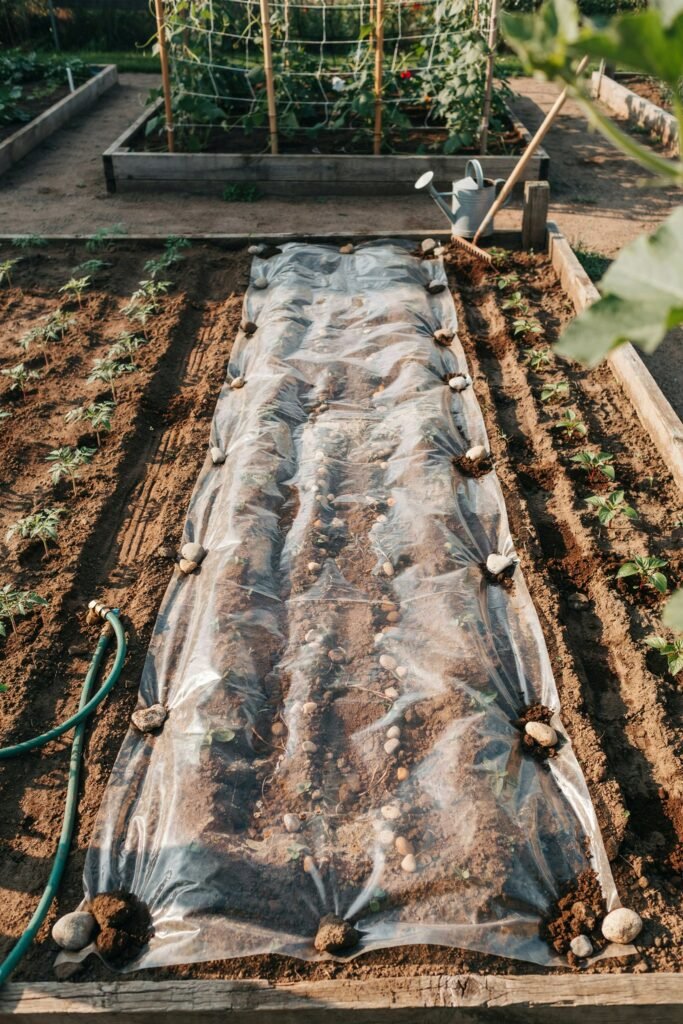
Solarization uses the sun to heat soil underneath clear plastic.
This is particularly useful for larger outdoor garden beds rather than a small container of potting mix.
University of Minnesota Extension describes solarization as covering soil with clear plastic so that solar energy heats the soil underneath.
The technique can help manage weeds and can also reduce some soil-borne pathogens.
What You’ll Need
- Clear plastic sheeting
- Water
- Garden rake
- Soil thermometer, if available
- Weights or soil to secure the edges
How to Solarize a Garden Bed
Start by clearing the area.
Remove large weeds and debris.
Rake the soil relatively smooth.
Water the soil thoroughly before covering it because moisture helps the solarization process.
Lay clear plastic tightly over the soil.
Secure the edges so heat doesn’t escape and wind doesn’t lift the plastic.
The University of Minnesota notes that clear plastic sheeting approximately 2–6 mil thick can be used for solarization and that hot, sunny conditions improve its effectiveness.
Solarization commonly takes several weeks, depending on climate and conditions.
Why Clear Plastic Works Better Than Black Plastic for Solarization
This surprised me when I first learned about it.
For solarization, clear plastic allows sunlight to pass through and heat the soil beneath it.
Black plastic absorbs sunlight at the surface, but it doesn’t produce the same greenhouse effect in the soil.
University of Minnesota Extension explains that clear plastic generally heats soil more effectively than black plastic during solarization.
So if your goal is specifically solarization, don’t automatically assume black plastic is the better option.
Method 2: Steam Treatment
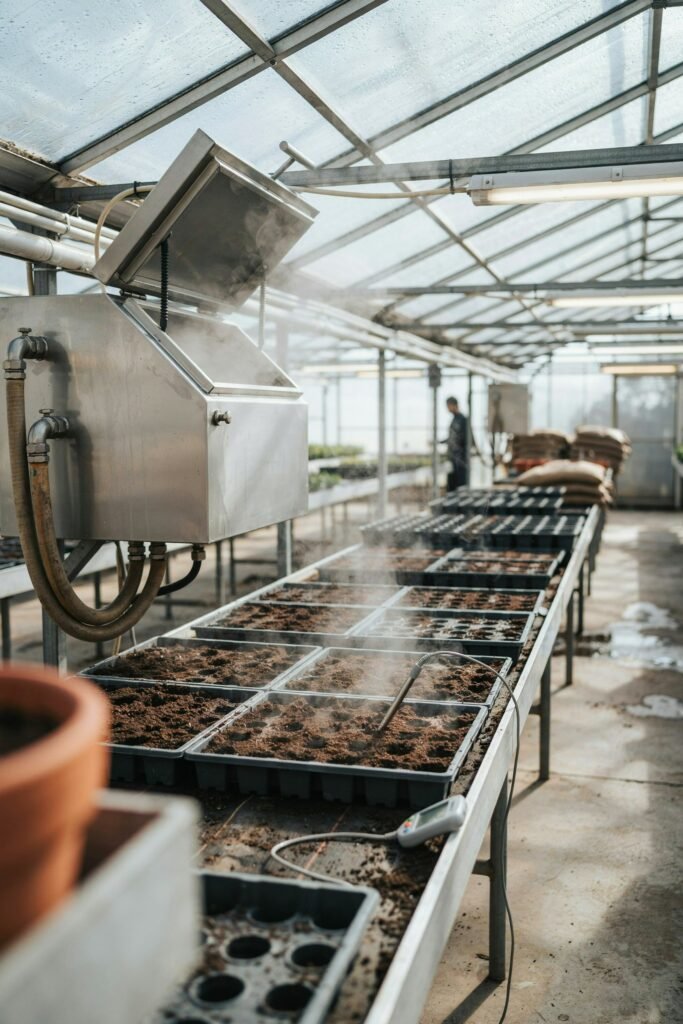
Steam is another method used to heat-treat soil and potting media.
However, it’s much more commonly used in nursery and professional settings because it requires appropriate equipment and careful temperature monitoring.
Oregon State University Extension identifies steam and aerated steam as heat-treatment methods for potting media and soil.
For most home gardeners, I wouldn’t recommend trying to improvise a high-temperature steam system.
A controlled home oven method for a small amount of soil or solarization for an outdoor bed is generally more practical.
What Soil Should You Avoid Reusing?
Not every batch of old potting soil deserves to be rescued.
I would be especially cautious with soil that came from plants that suffered from severe disease.
For example, if a container held a plant with obvious root or soil-borne disease, simply treating the soil may not be the best choice.
University of Minnesota Extension recommends using new potting mix rather than reusing potting mix for seedling trays when preventing damping-off problems.
For valuable seedlings, fresh commercial seed-starting mix is often the safer and easier choice.
Can You Sterilize Regular Garden Soil?
Technically, you can heat-treat small quantities of garden soil.
But that doesn’t automatically make garden soil a good seed-starting medium.
Garden soil tends to be heavier than seed-starting mixes and may compact inside small containers.
Oregon State University Extension notes that ordinary backyard soil can be too compacted for seedlings, may contain weed seeds, and may not provide the drainage characteristics needed for successful seed starting.
So don’t think:
“If I sterilize garden soil, it becomes perfect potting soil.”
It doesn’t.
The physical structure still matters.
How to Make a Simple Seed-Starting Mix
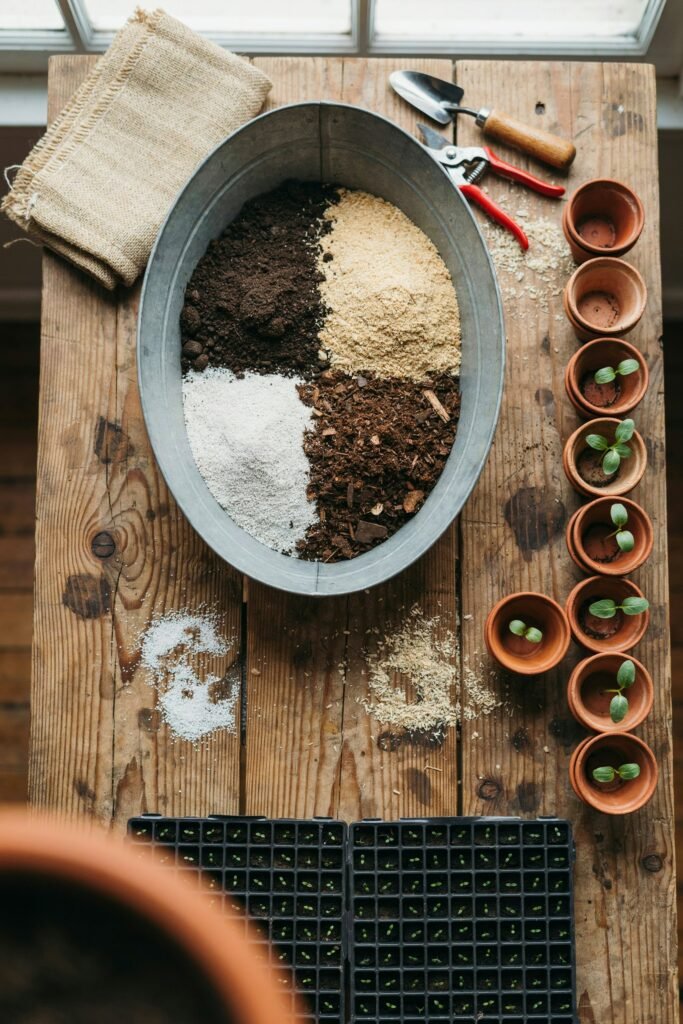
After pasteurizing soil or compost, you can combine it with lighter materials.
Oregon State University Extension provides a basic homemade formula consisting of approximately:
- One-third pasteurized soil or compost
- One-third sand, vermiculite, or perlite
- One-third coconut coir or peat moss
This creates a lighter medium than straight garden soil.
The exact recipe can be adjusted depending on the plants you’re growing and the materials available to you.
Why Drainage Matters So Much
Even perfectly treated soil can cause problems if it holds too much water.
Young seedlings are particularly vulnerable to damping-off when conditions are cool and overly wet.
University of Minnesota Extension notes that damping-off pathogens thrive in cool, wet conditions and recommends well-draining growing media and keeping the mix moist rather than soggy.
So after treating your soil, pay attention to its texture.
If water sits on top of the mixture instead of draining through it, the problem isn’t necessarily contamination.
It may simply be poor drainage.
How to Prevent Your Freshly Treated Soil From Becoming Contaminated Again
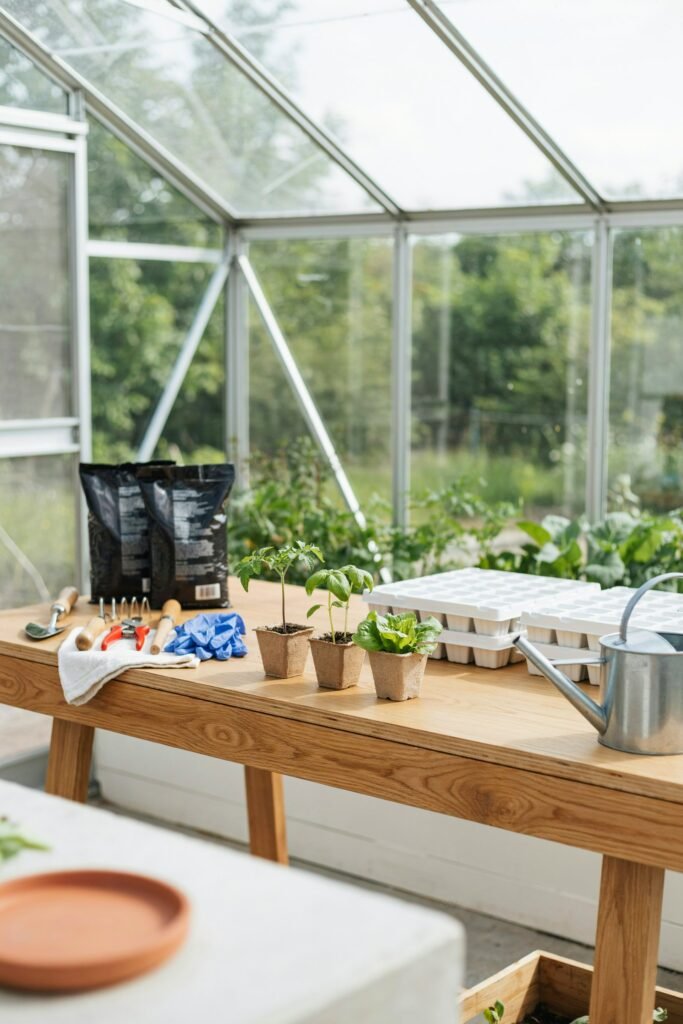
This is probably one of the most important parts of the entire process.
Imagine spending time treating your soil, then filling your containers with it using a dirty trowel.
You’ve just created an opportunity for contamination.
Instead:
Keep treated soil covered
Don’t leave it exposed outdoors.
Use clean containers
Wash old pots and trays before filling them.
Clean your tools
Remove old soil and plant debris from trowels and scoops.
Keep treated soil away from garden soil
Don’t set the clean container directly on bare ground.
Avoid diseased plant material
Don’t place infected leaves or roots near your treated growing medium.
Don’t overwater seedlings
Wet soil creates conditions that can favor damping-off.
Should You Sterilize Your Pots Too?
Yes but use a different approach.k
Soil and containers aren’t treated in exactly the same way.
You generally don’t need to heat plastic pots in an oven.
Instead, clean containers thoroughly and then sanitize them using an appropriate disinfectant according to the product label.
University of Minnesota Extension recommends cleaning used pots and trays and using an appropriate disinfecting solution before starting seedlings.
The order matters:
Clean first, then disinfect.
Dirt and plant debris can interfere with disinfectants.
Signs Your Soil May Need Extra Attention
You don’t necessarily need to treat soil simply because it’s old.
But I’d pay attention if you notice:
- A large number of weed seedlings
- Repeated seedling losses
- Previous disease problems
- Unusual mold growth
- Insects or larvae
- Poorly decomposed organic material
- A history of diseased plants in the container
- Soil that has been sitting uncovered outdoors
These signs don’t automatically mean the soil is unusable.
They simply mean you should consider whether fresh growing media would be a better option.
Common Mistakes to Avoid
Mistake 1: Heating Soil Without Measuring It
Don’t rely on the oven’s temperature setting.
The soil itself needs to reach the target temperature.
Use a thermometer.
Mistake 2: Trying to Make the Soil as Hot as Possible
More heat isn’t always better.
Excessive temperatures can damage the soil and destroy beneficial organisms.
Mistake 3: Using Completely Dry Soil
Moist heat is important for effective heat treatment.
Slightly moisten the soil before using the appropriate treatment method.
Mistake 4: Treating Huge Quantities at Once
A very deep pile of soil can heat unevenly.
For home treatment, smaller batches are easier to monitor.
Mistake 5: Planting Immediately
Always allow treated soil to cool completely.
Mistake 6: Forgetting the Containers
Clean soil won’t help much if your seed trays contain old plant debris.
Mistake 7: Reusing Soil From Seriously Diseased Plants
Sometimes discarding contaminated soil is more sensible than trying to rescue it.
Mistake 8: Overwatering After Treatment
Pasteurization doesn’t prevent every seedling problem.
Water management, light, temperature, airflow, and drainage still matter.
Does Sterilized Soil Still Contain Nutrients?
Heat treatment doesn’t magically turn poor soil into rich soil.
If your starting material has limited nutrients, heating it won’t make it nutrient-rich.
This is particularly important with seed-starting mixes because many seedlings don’t need heavy fertilization immediately after germination.
Once seedlings develop several true leaves, their nutrient requirements increase.
The best approach is to think about soil treatment and soil fertility as two separate issues.
First create a clean, suitable growing medium. Then manage nutrition according to the plants you’re growing.
What Happens After Soil Is Treated?
Your soil isn’t permanently “sterile.”
Once exposed to air, water, tools, roots, and microorganisms, it will naturally become recolonized by microorganisms.
That’s completely normal.
The purpose of heat treatment isn’t to create a permanently lifeless environment.
The goal is to reduce problematic organisms before you begin planting.
This is another reason I prefer using the word pasteurize rather than promising completely sterile soil.
A Simple Soil Pasteurization Checklist
Before you begin:
- Choose soil or compost appropriate for your project.
- Remove sticks, roots, stones, and large debris.
- Slightly moisten the material.
- Place it in a heat-resistant container.
- Cover the container.
- Use a thermometer to monitor the soil itself.
- Follow a tested temperature-and-time method.
- Avoid excessive heating.
- Allow the soil to cool completely.
- Transfer it to a clean container.
- Keep it covered until needed.
- Clean your pots and trays.
- Clean your gardening tools.
- Use a well-draining growing mix.
- Keep seedlings moist but not soggy.
My Recommended Approach for Most Home Gardeners
If I’m starting a few trays of vegetable or flower seeds, I wouldn’t automatically reach for the oven.
My first choice would be a fresh, reputable seed-starting mix.
It’s simple, convenient, and already formulated for young seedlings.
If I wanted to make my own mix, I’d use clean ingredients and follow a tested pasteurization method.
For an outdoor garden bed, I’d consider solarization when weather and sunlight make it practical.
And if I were dealing with a large quantity of soil, I’d avoid improvised heating methods and look toward professional or extension-recommended approaches.
Frequently Asked Questions
Can I sterilize potting soil in the oven?
Small quantities of soil or compost can be heat-treated in an oven using a controlled method.
Oregon State University Extension describes a home method involving slightly moist soil, a covered heat-resistant container, an oven set to 250°F, and monitoring the soil with a thermometer until it reaches 180°F, followed by a 30-minute holding period.
Because the material and container become very hot, use appropriate heat protection and have an adult handle the oven and hot materials if needed.
How hot does soil need to get?
It depends on the organism you’re trying to control and the treatment method.
Oregon State University Extension notes that approximately 140°F (60°C) can control Phytophthora with an appropriate exposure time, while higher temperatures affect additional pests and pathogens.
This is why temperature and time should be considered together.
Can I sterilize soil in a microwave?
I wouldn’t make microwave treatment my first recommendation for home gardeners because heating can be uneven and the method is harder to monitor consistently.
A controlled oven method for small quantities or solarization for outdoor soil is easier to explain and manage.
Does sterilizing soil kill beneficial bacteria?
Intense heat can.
That’s why excessive heating isn’t recommended.
Oregon State University warns that temperatures around 176–212°F (80–100°C) can destroy beneficial microorganisms.
The goal should be controlled treatment rather than making the soil completely lifeless.
Can I reuse sterilized potting soil?
You can reuse treated soil in some situations, but its physical structure and nutrient content still matter.
For delicate seed starting, fresh commercial seed-starting mix may be preferable, particularly if the original soil came from diseased plants.
Does sterilization prevent damping-off?
No treatment can guarantee that seedlings won’t develop damping-off.
Damping-off is influenced by several factors, including moisture, temperature, drainage, airflow, and growing conditions.
University of Minnesota Extension specifically recommends well-draining media, avoiding soggy conditions, and using clean containers and growing materials.
Can I sterilize compost?
Compost can be pasteurized using a controlled heat-treatment method.
However, excessive heating can negatively affect beneficial organisms, so controlled temperatures and exposure times are important.
Is garden soil okay for seed starting after sterilization?
Not necessarily.
Sterilizing garden soil doesn’t change its basic physical structure.
Garden soil can still be heavy and compact inside containers, which makes it less suitable for young seedlings than a lightweight seed-starting mix.
Final Thoughts
I’ve come to think of soil preparation as one of those small gardening jobs that can make a surprisingly big difference.
You don’t need to sterilize every handful of potting soil you use, and you certainly don’t need to turn your growing medium into a completely lifeless material.
For most home gardeners, the smarter goal is controlled pasteurization reducing troublesome organisms and weed seeds while keeping the growing medium suitable for healthy roots.
