
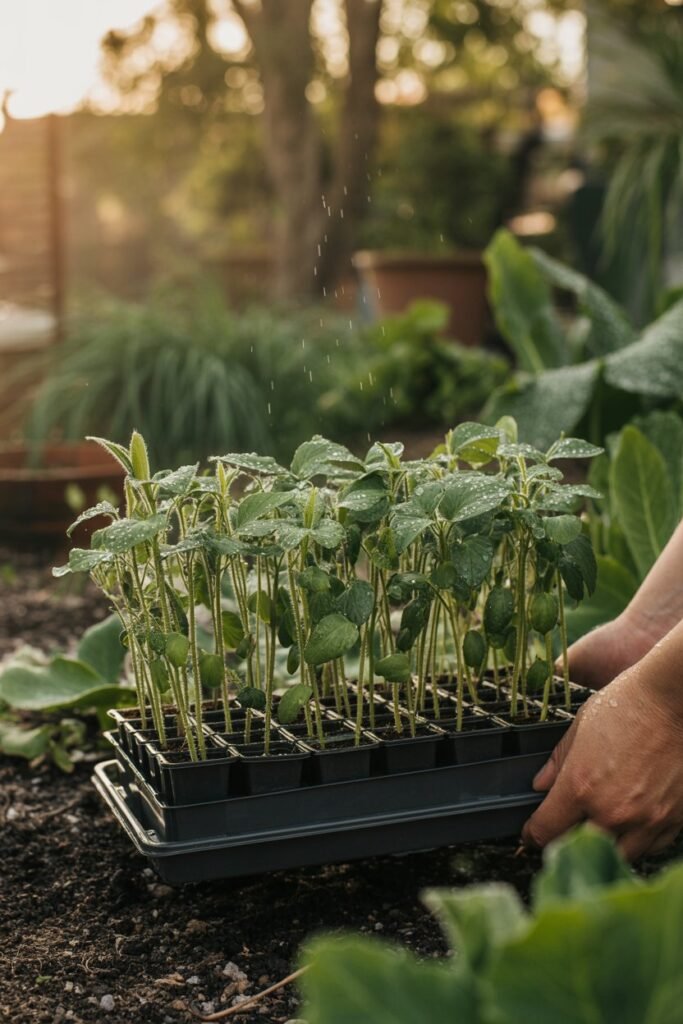
Starting seeds indoors is one of those quiet, deeply satisfying gardening rituals that makes you feel connected to life in the most beautiful way.
It’s where patience meets possibility where tiny seeds become thriving plants under your care.
Whether you’re dreaming of a lush vegetable garden, vibrant flowers, or simply want a head start on the growing season, learning how to start seeds indoors gives you control, confidence, and better results.
In this guide, I’ll gently walk you through everything you need to know from choosing the right seeds to nurturing strong seedlings ready for the outdoors.
Think of this as your cozy companion through the process, filled with practical tips, honest advice, and little details that truly make a difference.
Lets dive into this How To Start Seeds Indoors
Why Start Seeds Indoors?
Starting seeds indoors isn’t just about getting an early harvest it’s about creating the ideal environment for your plants right from the beginning.
1. Get a Head Start on the Growing Season
In many climates, outdoor conditions aren’t warm enough for seeds to germinate early in the year. By starting indoors, you give your plants several extra weeks (sometimes months) to grow before transplanting them outside.
2. Better Control Over Growing Conditions
Indoors, you control:
- Temperature
- Light exposure
- Moisture levels
- Soil quality
This means fewer surprises and stronger, healthier plants.
3. Save Money
Buying seedlings can be expensive. A single packet of seeds often costs less and produces many plants.
4. Grow More Variety
Garden centers usually stock popular plants, but starting seeds allows you to grow unique or heirloom varieties you might not find locally.
What Seeds Should You Start Indoors?
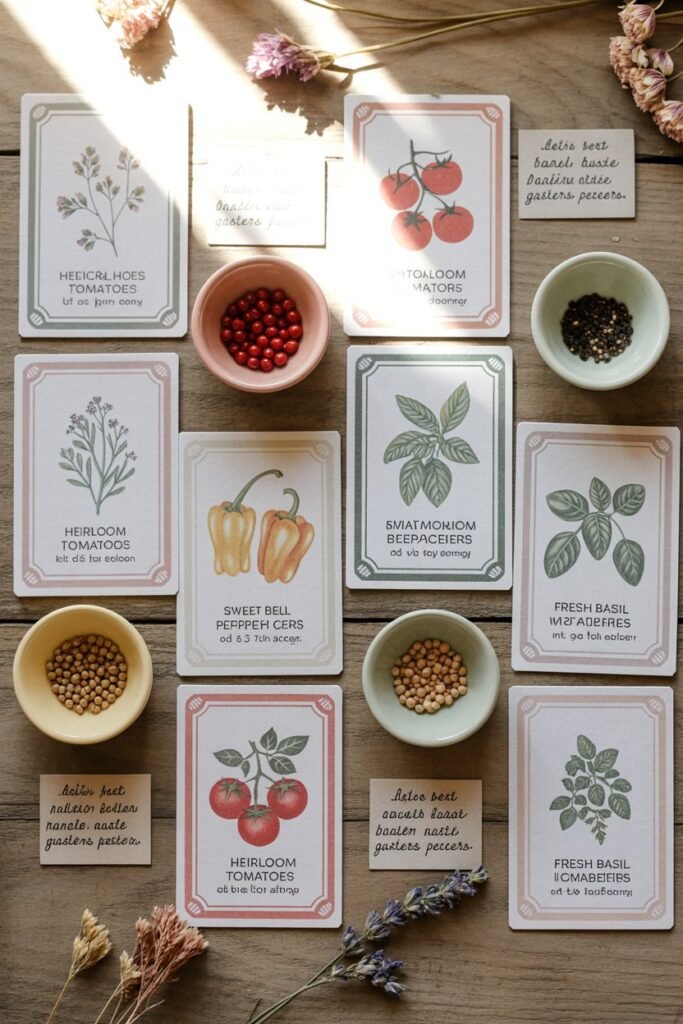
Not every plant loves being started indoors, so choosing the right ones makes all the difference.
Great Seeds to Start Indoors
- Tomatoes
- Peppers
- Eggplant
- Lettuce
- Cabbage
- Broccoli
- Herbs like basil and parsley
Seeds Better Sown Directly Outdoors
- Carrots
- Radishes
- Beans
- Corn
These don’t transplant well or grow quickly enough that indoor starting isn’t necessary.
When to Start Seeds Indoors
Timing is everything.
Understand Your Last Frost Date
Your planting schedule depends on your region’s last expected frost. Seeds are typically started:
- 6–8 weeks before the last frost (for most vegetables)
- 8–10 weeks for slower growers like peppers
Read Seed Packets Carefully
Each seed packet provides:
- Ideal planting time
- Germination period
- Transplanting guidelines
Trust these they’re your roadmap.
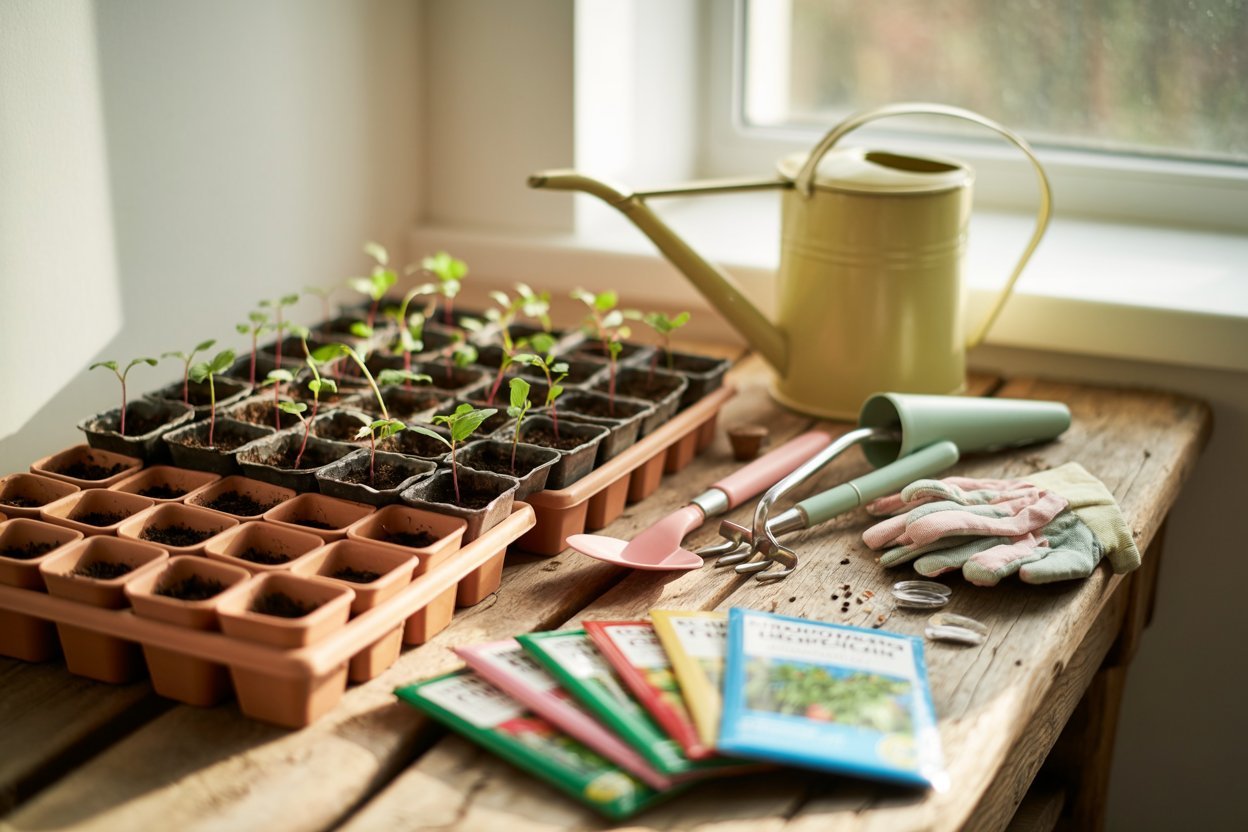
Essential Supplies You’ll Need
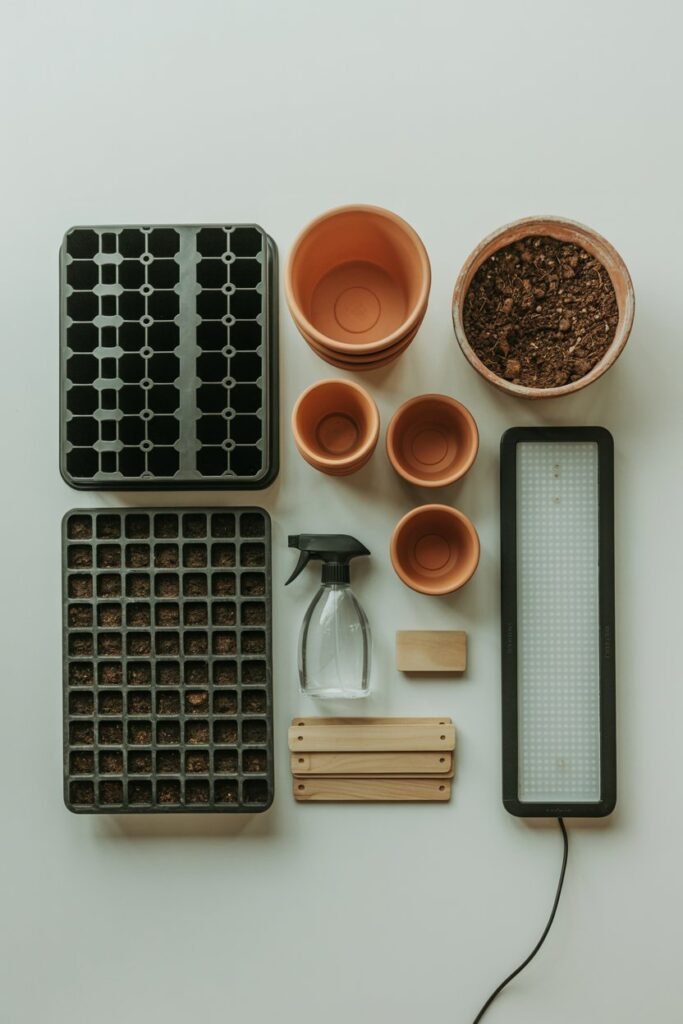
Starting seeds indoors doesn’t require anything fancy, but having the right tools makes it easier and more successful.
1. Seed Starting Containers
Options include:
- Seed trays
- Small pots
- Recycled containers (yogurt cups, egg cartons)
Make sure they have drainage holes.
2. Seed Starting Mix
Use a light, well-draining mix not regular garden soil. Seed starting mix:
- Prevents compaction
- Reduces disease risk
- Helps roots develop easily
3. Seeds
Choose high-quality seeds from trusted sources.
4. Light Source
Seedlings need strong light:
- A sunny window (south-facing is best)
- Or grow lights for consistent results
5. Watering Tools
- Spray bottle for gentle watering
- Small watering can
6. Humidity Dome or Plastic Cover
Helps retain moisture during germination.
Step-by-Step: How To Start Seeds Indoors
Let’s walk through this together.
Step 1: Prepare Your Containers
Fill your containers with seed starting mix. Lightly press it down but don’t compact it.
Step 2: Moisten the Soil
Before planting, water the soil until it’s evenly moist but not soggy.
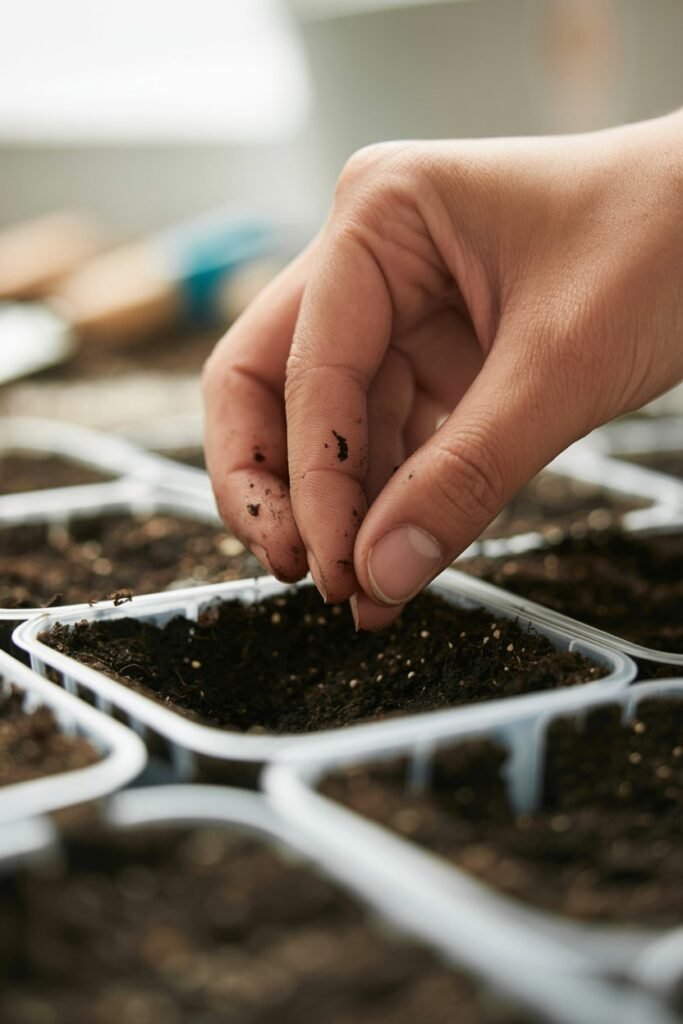
Step 3: Plant the Seeds
Follow the depth instructions on the seed packet:
- Tiny seeds: press gently onto the surface
- Larger seeds: plant about 2–3 times their size deep
Step 4: Label Everything
Trust me everything looks the same at this stage. Label each container clearly.
Step 5: Cover and Create Humidity
Use a dome or plastic wrap to trap moisture and warmth.
Step 6: Place in a Warm Area
Most seeds germinate best at:
- 18–24°C (65–75°F)
Warmth is more important than light at this stage.
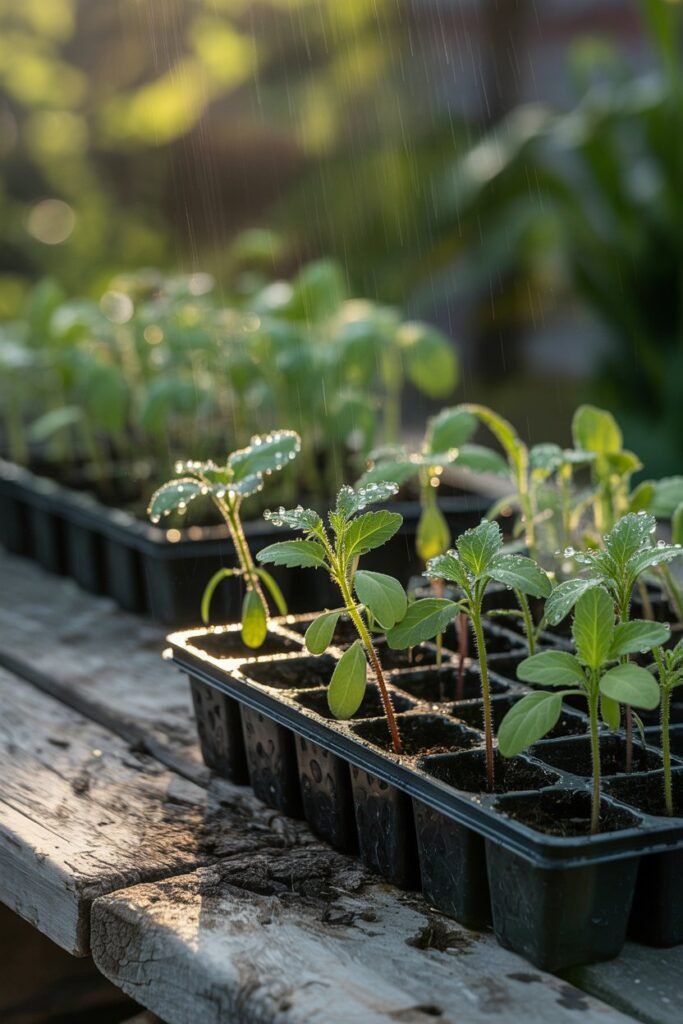
Caring for Seeds During Germination

This stage is delicate but magical.
Keep Soil Moist
- Mist gently to avoid disturbing seeds
- Never let the soil dry out
Check Daily
Seeds can sprout quickly, and you don’t want to miss it.
Remove Cover After Sprouting
Once seedlings appear:
- Remove humidity cover
- Provide fresh air to prevent mold
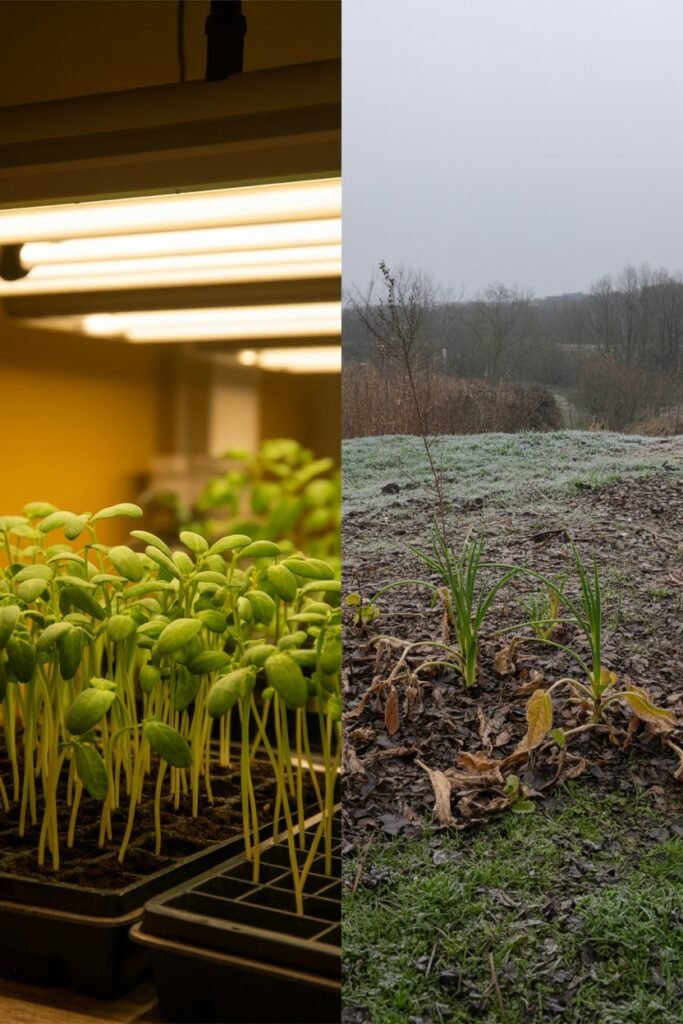
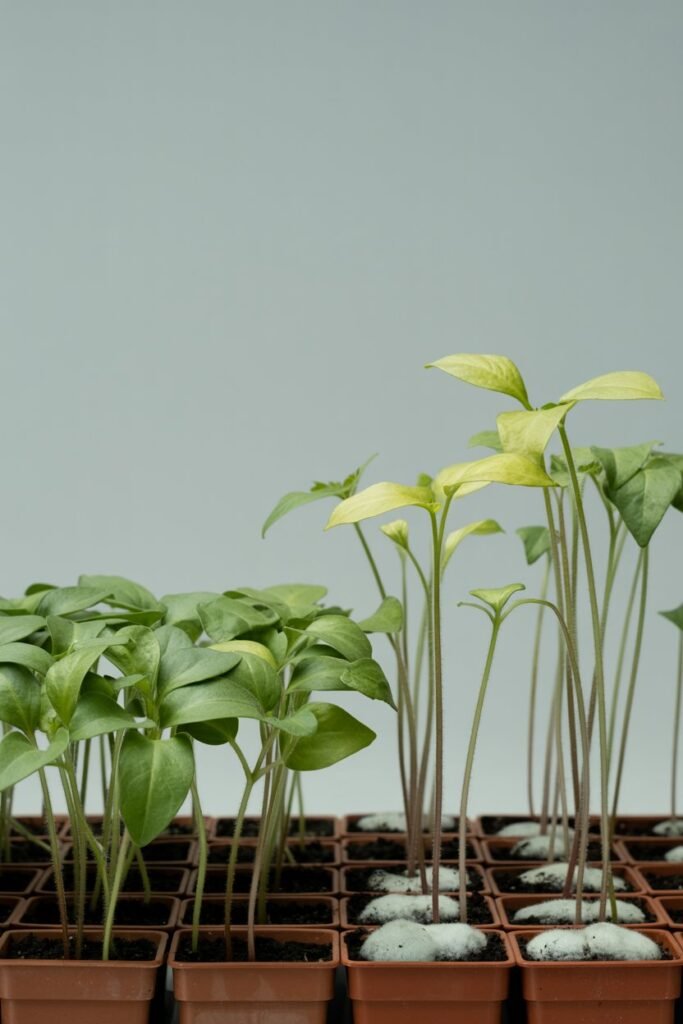
Giving Your Seedlings the Light They Need
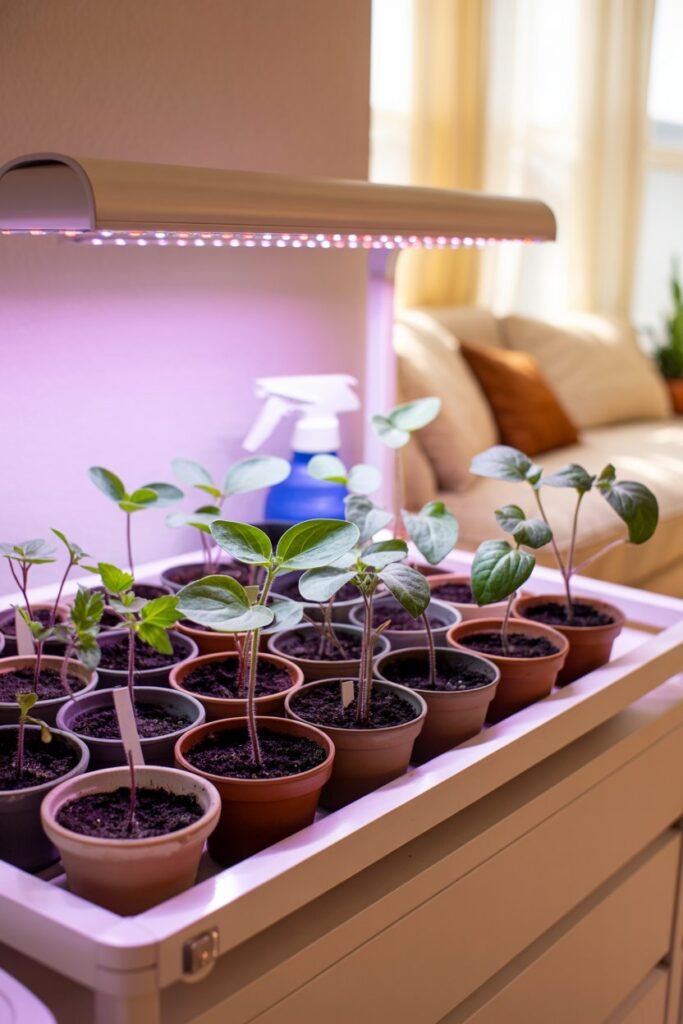
Light is where many beginners struggle, so let’s make this simple.
Natural Light
Place seedlings near a bright window:
- South-facing is best
- Rotate trays daily for even growth
Grow Lights (Highly Recommended)
- Keep lights 2–3 inches above seedlings
- Provide 12–16 hours of light daily
Without enough light, seedlings become leggy (tall, weak, and fragile).
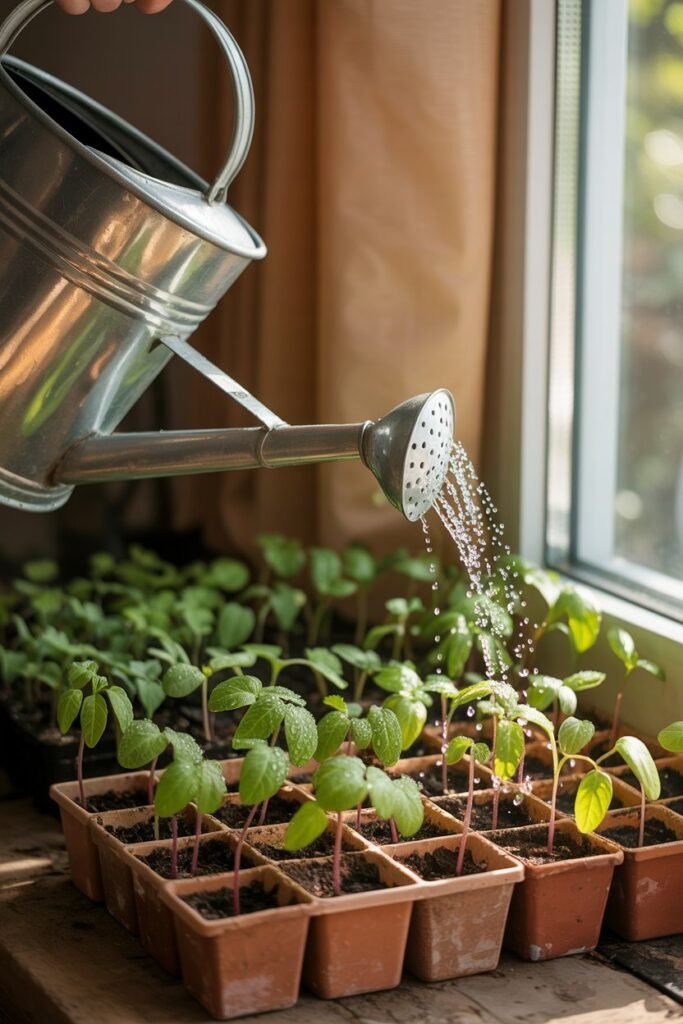
Watering Seedlings the Right Way
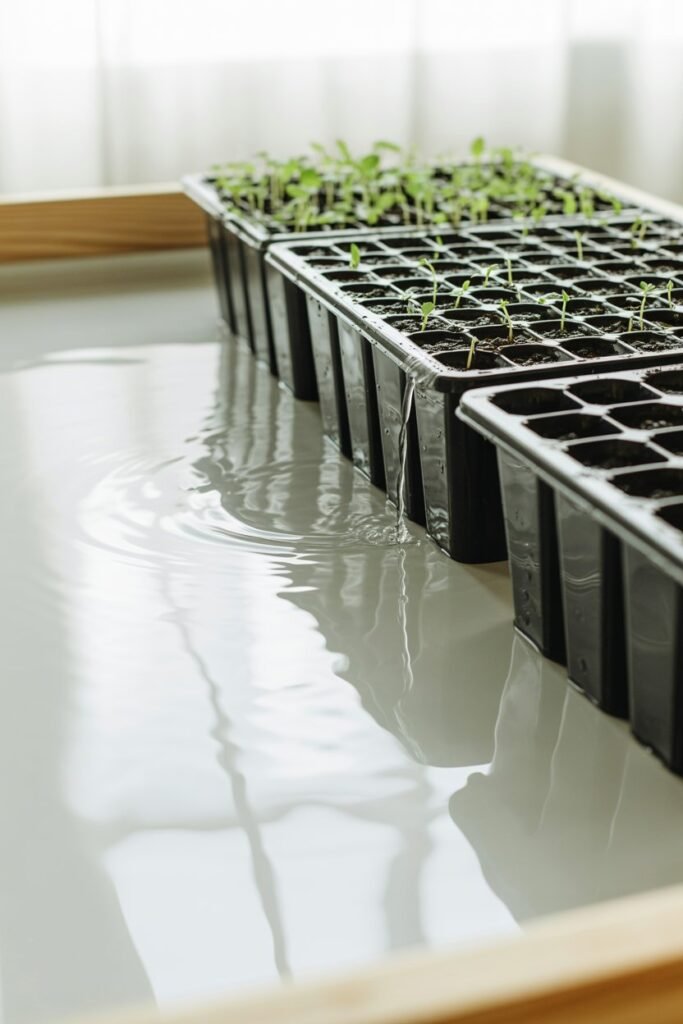
Too much love (water) can harm them.
Bottom Watering Method
Place containers in a tray of water:
- Let them absorb moisture from below
- Prevents overwatering and fungus
Avoid Overwatering
Signs include:
- Yellow leaves
- Mold on soil
- Weak stems
Keep soil moist not soaked.
Thinning Seedlings (Yes, It’s Necessary)
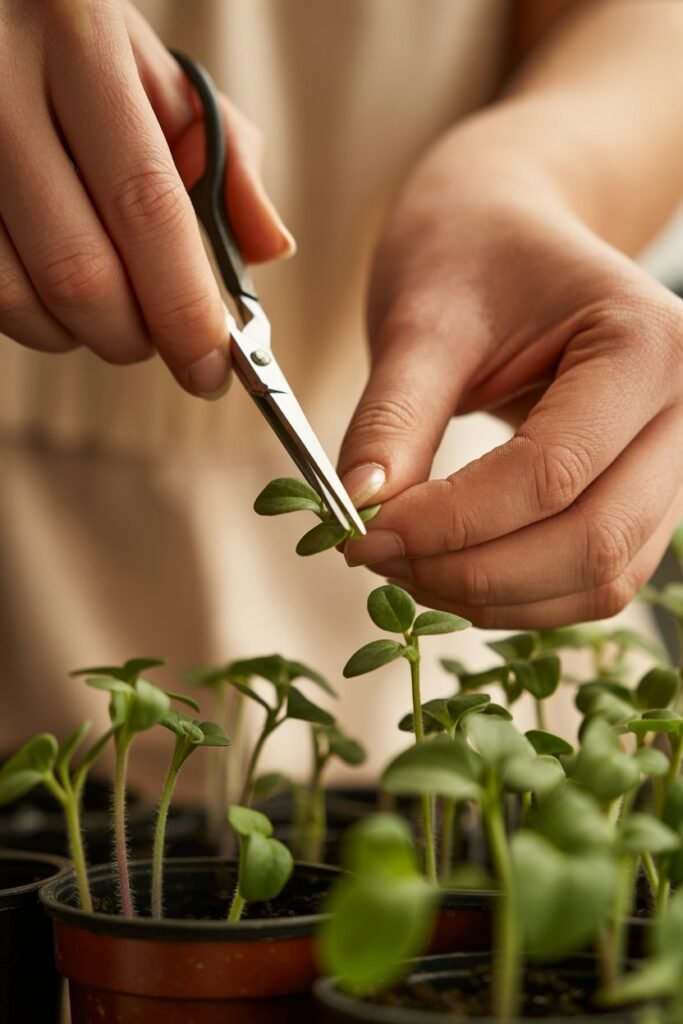
It can feel hard, but it helps your plants thrive.
Why Thin?
Multiple seedlings compete for:
- Nutrients
- Light
- Space
How To Do It
- Snip weaker seedlings at soil level
- Leave the strongest one in each container
Feeding Your Seedlings
Seed starting mix has very few nutrients.
When to Start Fertilizing
Once seedlings develop their first true leaves:
- Use a diluted liquid fertilizer (about half strength)
How Often
- Every 1–2 weeks
This supports steady, healthy growth.
Preventing Common Problems
Let’s keep your seedlings happy and strong.
1. Damping-Off Disease
A fungal issue that kills seedlings suddenly.
Prevent it by:
- Using clean containers
- Avoiding overwatering
- Ensuring airflow
2. Leggy Seedlings
Caused by lack of light.
Fix it by:
- Moving lights closer
- Increasing light duration
3. Mold on Soil
Often due to excess moisture.
Solution:
- Reduce watering
- Improve air circulation
Hardening Off: Preparing for the Outdoors
This step is essential and often overlooked.
What Is Hardening Off?
Gradually exposing seedlings to outdoor conditions.
How To Do It
Over 7–10 days:
- Start with 1–2 hours outside in shade
- Gradually increase time
- Slowly introduce sunlight
Why It Matters
Indoor plants are delicate. Sudden exposure can shock or kill them.
Transplanting Seedlings Outdoors
Now comes the rewarding part.
Choose the Right Time
- After the last frost
- When soil is warm enough
Transplant Carefully
- Water seedlings beforehand
- Handle by leaves, not stems
- Plant at the same depth (or deeper for tomatoes)
Water Immediately
This helps roots settle into their new home.
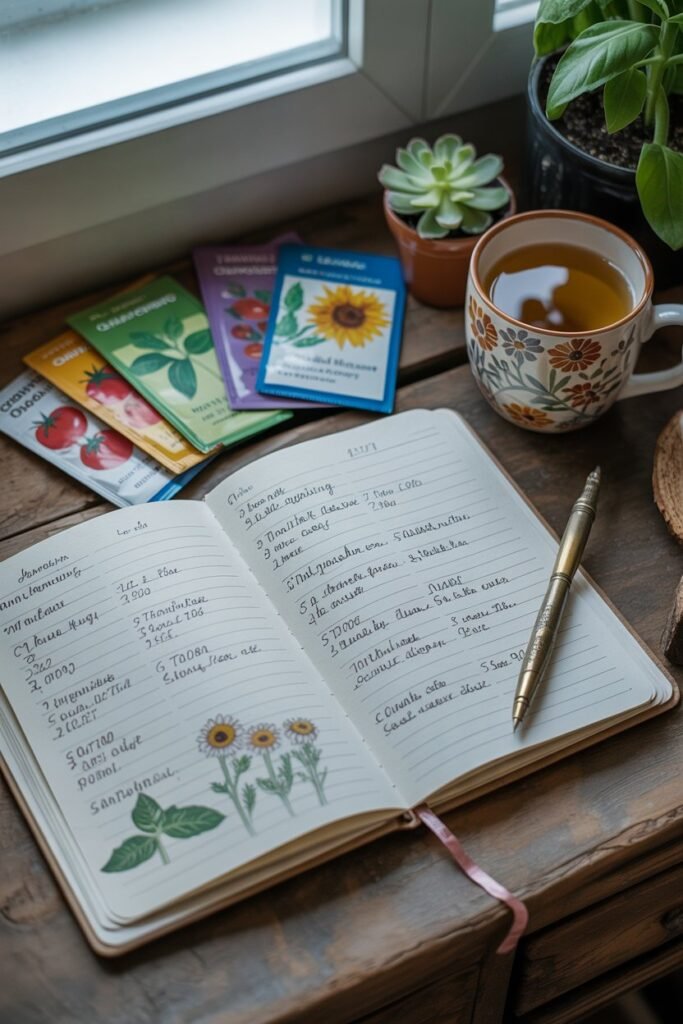
Helpful Tips for Better Results
These little details can make a big difference:
- Start small your first time don’t overwhelm yourself
- Keep a gardening journal to track what works
- Clean tools and containers to avoid disease
- Use a fan indoors for gentle airflow
- Talk to your plants (it sounds silly, but it keeps you attentive)
Creating a Simple Indoor Seed Starting Setup
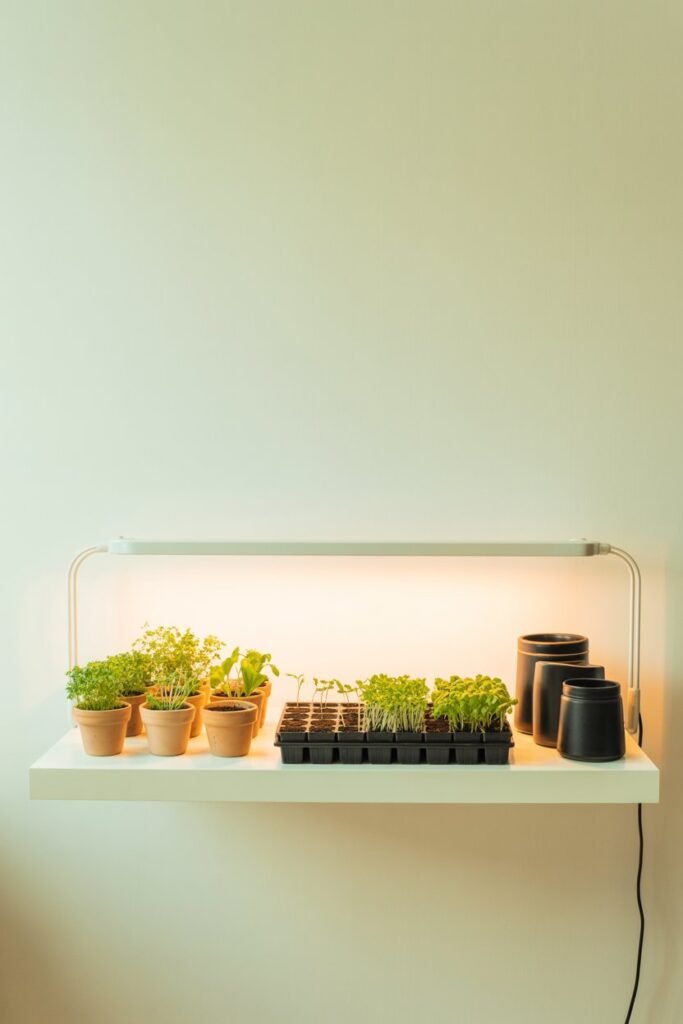
You don’t need a fancy system.
Beginner-Friendly Setup
- Table or shelf near a window
- Seed trays with drainage
- Basic grow light
- Tray for bottom watering
Keep it simple and expand as you gain confidence.
The Emotional Joy of Starting Seeds
There’s something deeply comforting about nurturing seeds indoors. Watching them sprout reminds you that growth takes time, care, and consistency. It teaches patience in a gentle, rewarding way.
Even if a few seeds don’t make it (and that’s completely normal), the experience itself is worth it. Each season, you’ll learn a little more, grow a little better, and feel more connected to your garden.
Final Thoughts
Starting seeds indoors is one of the most empowering skills you can learn as a gardener. It allows you to take control of your growing journey from the very beginning, creating healthier plants and a more abundant garden.
With the right timing, simple tools, and a bit of care, you can turn tiny seeds into thriving plants ready to flourish outdoors. Take it step by step, enjoy the process, and don’t rush it nature has its own beautiful rhythm.
And remember, every strong plant you see started just like this small, quiet, and full of potential.
