
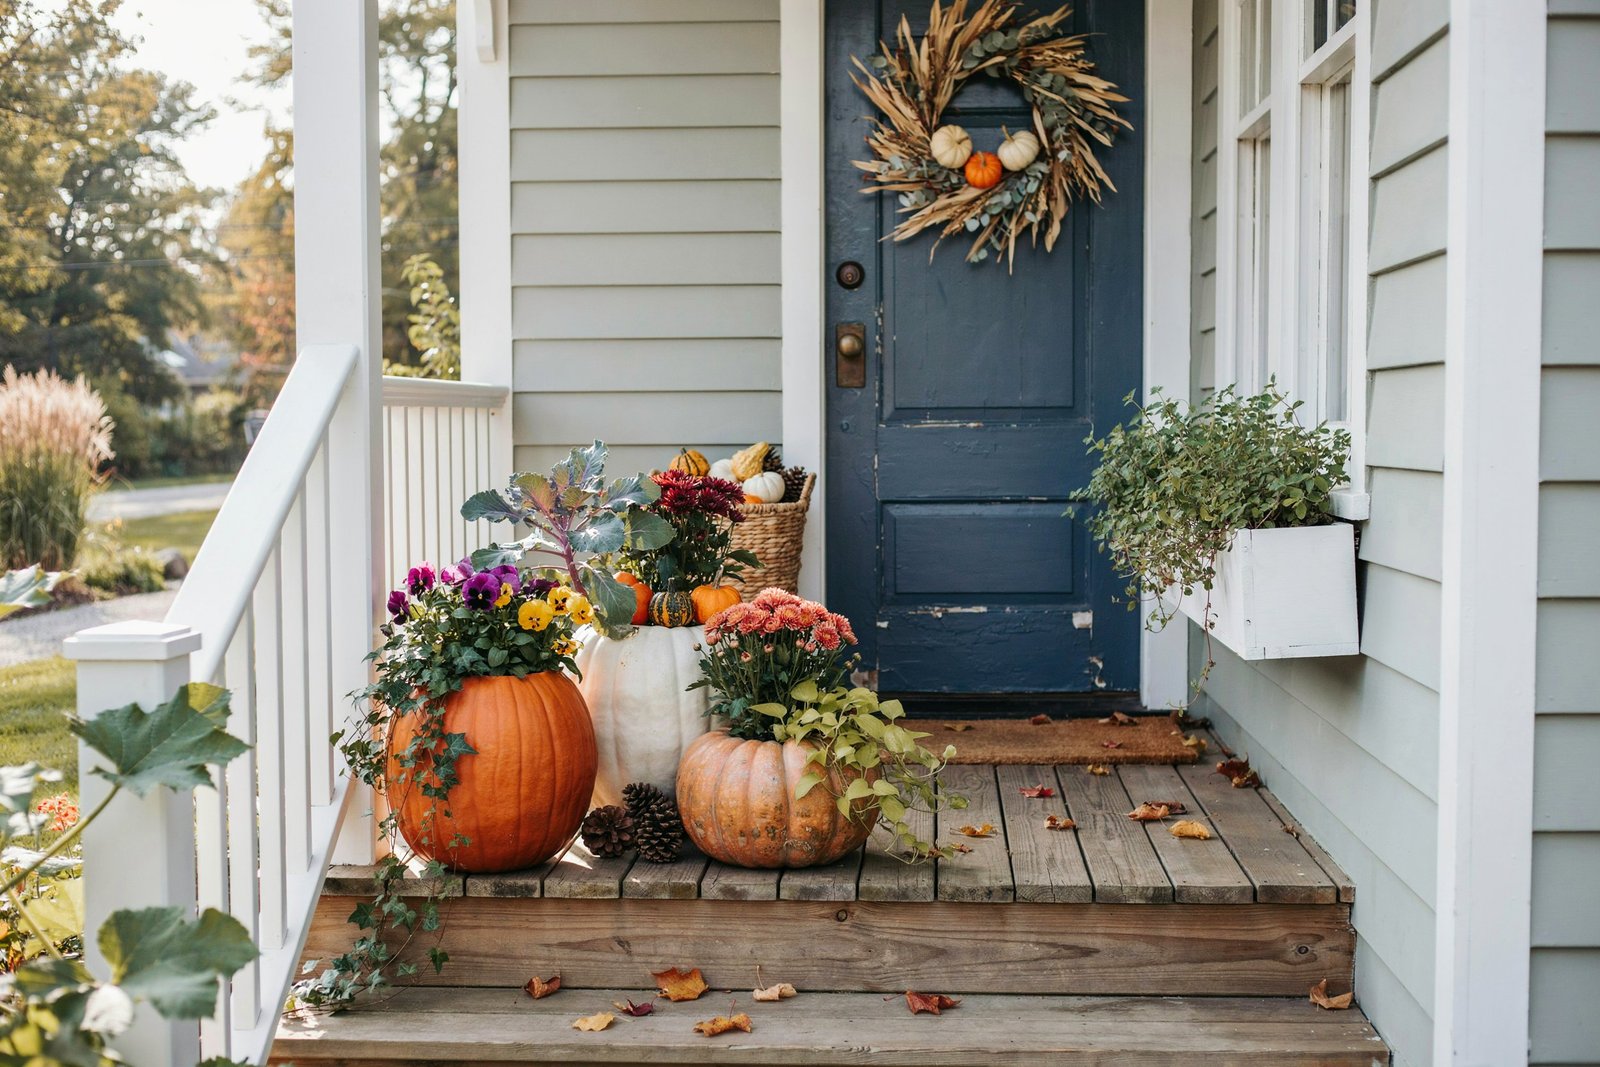

Pumpkin planters are one of my favorite ways to welcome fall because they make an ordinary porch, entryway, or garden corner feel instantly warm and seasonal.
I love how you can combine pumpkins with flowers, foliage, trailing plants, and even simple natural decorations to create something that feels personal rather than store-bought.
Whether you want a classic orange-and-flower display, a spooky Halloween planter, or an elegant arrangement that lasts through Thanksgiving, there are so many possibilities.
In this guide, I’ll walk you through everything you need to know from choosing the right pumpkin and plants to planting, watering, styling, and keeping your arrangement looking beautiful.
What Is a Pumpkin Planter?
A pumpkin planter is a fall container arrangement that uses a pumpkin as either the actual planting container or as a decorative outer container surrounding a smaller nursery pot.
You can create one in two main ways:
- Plant directly inside a hollowed-out pumpkin
- Place a nursery pot inside a pumpkin
Both methods can look beautiful, but they are not equally practical.
If you want your display to last as long as possible, I generally recommend the nursery-pot method. A pumpkin naturally begins to soften and decompose, especially when exposed to moisture.
Putting your plants in a removable pot makes watering easier and protects the roots from sitting inside a deteriorating pumpkin.
Garden Gate also recommends using a nursery pot inside the pumpkin for a longer-lasting arrangement.
If you’re creating a short-term centerpiece for Halloween or a special fall gathering, planting directly into the pumpkin can be a fun option.
Before You Start: What You Need to Know
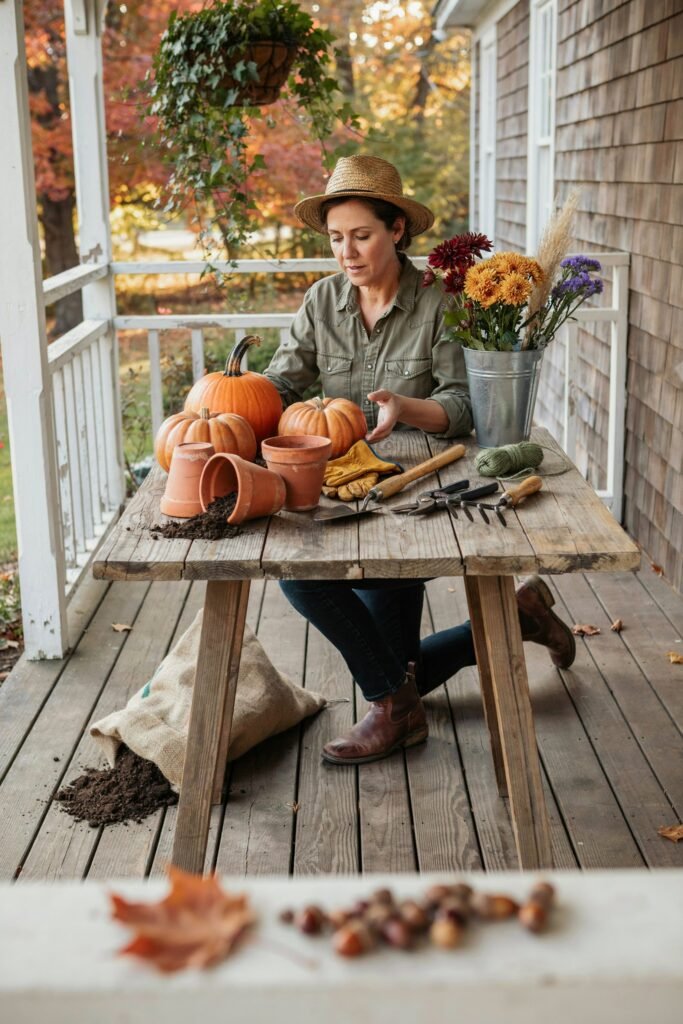
Before buying your pumpkin and plants, take a few minutes to think about where your planter will live.
Consider sunlight first
Most traditional fall flowers used in pumpkin planters prefer bright light, but not every plant has the same requirements.
Look at the location where you want to put your planter and ask:
- Does it receive full sun?
- Does it receive morning sun and afternoon shade?
- Is it mostly shaded?
- Will rain fall directly onto the planter?
- Is it protected beneath a porch roof?
Your plant selection should match the location.
For example, a sunny front step could work beautifully with pansies, ornamental kale, mums, or ornamental grasses. A shadier location may be better suited to shade-tolerant foliage and flowers.
Think about the season
A pumpkin planter is usually a temporary seasonal display, so you don’t necessarily need plants that will remain in the container for months.
Instead, choose plants that already look attractive and can handle the temperatures expected in your area.
Cool-season plants such as pansies and ornamental kale are popular choices for fall containers because they can continue looking attractive as temperatures cool.
Everything You Need for a Pumpkin Planter
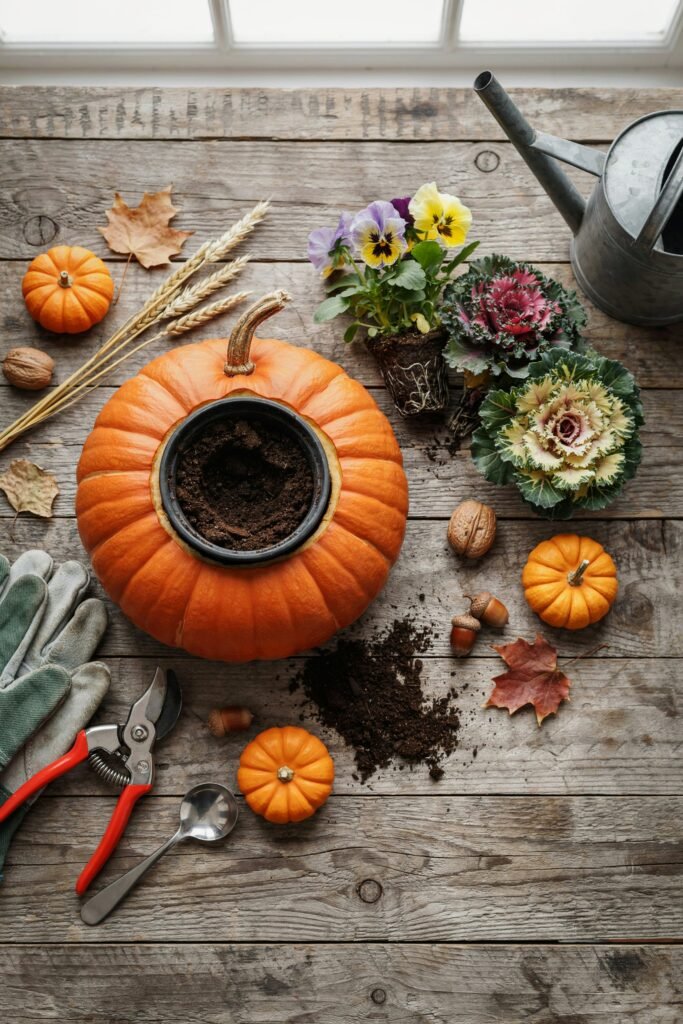
Before you begin, gather your supplies.
Basic supplies
- A firm pumpkin
- A plastic nursery pot that fits inside the pumpkin
- Quality container potting mix
- Fall flowers or foliage plants
- Gardening gloves
- A sharp kitchen or garden knife
- A spoon or scoop
- Hand pruners
- Water
- A towel for cleaning the pumpkin
- Optional decorative moss
- Optional small gourds
- Optional pinecones
- Optional decorative branches
If you are planting directly into the pumpkin, you’ll also need a tool for creating drainage holes.
Why potting mix matters
I strongly recommend using a quality container potting mix rather than simply digging soil from your garden.
Garden soil can become compacted inside containers and may not provide the aeration and drainage container-grown plants need. Extension guidance recommends well-aerated, well-draining soilless mixes for container gardening.
A good container mix commonly contains ingredients such as:
- Peat moss or coconut coir
- Perlite
- Vermiculite
- Bark or other organic material
The goal is a growing medium that holds enough moisture for the roots while still allowing excess water to escape.
How to Choose the Right Pumpkin
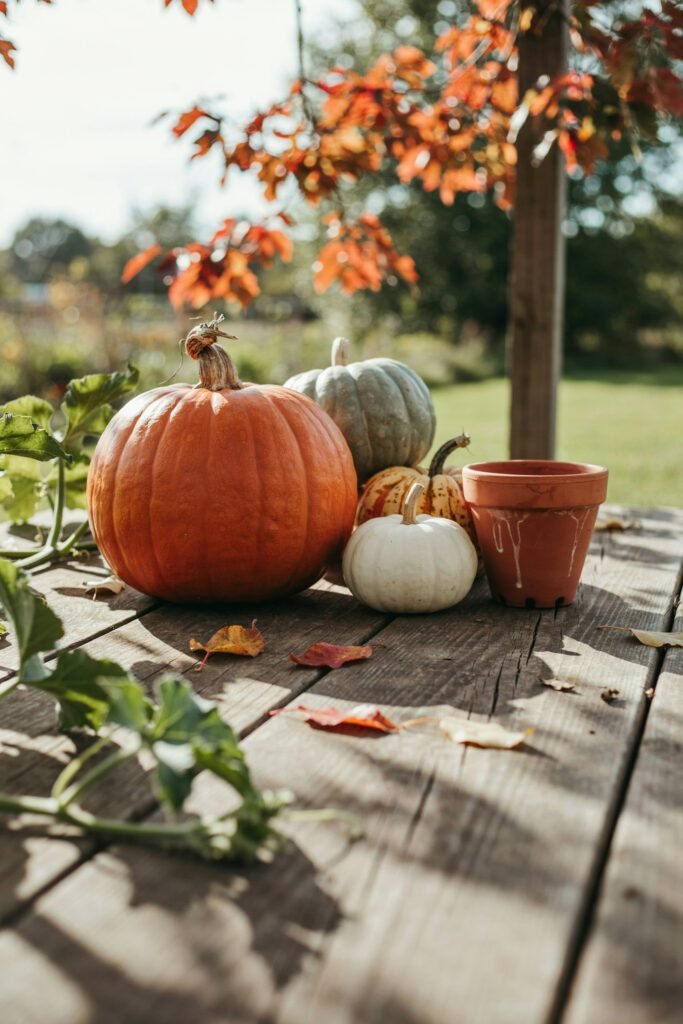
Not every pumpkin makes a good planter.
Look for a pumpkin that is:
- Firm
- Free from soft spots
- Free from obvious mold
- Stable enough to sit upright
- Wide enough to hold your chosen pot
- Tall enough to give your arrangement some visual height
Choose the pumpkin after choosing your pot
This is one of the easiest ways to avoid frustration.
Instead of buying a beautiful pumpkin and hoping your nursery pot fits inside it, take the pot with you when shopping if possible.
Measure the diameter of the pot and compare it with the pumpkin.
You want the pot to sit securely inside the pumpkin without forcing it.
Look beyond orange pumpkins
Traditional orange pumpkins are gorgeous, but don’t feel limited to them.
Try:
- White pumpkins
- Pale green pumpkins
- Cream-colored pumpkins
- Striped pumpkins
- Mini pumpkins
- Heirloom varieties
- Mixed-color pumpkins
A collection of different pumpkin colors can make a container display look much more layered.
The Easiest Pumpkin Planter Method: The Nursery-Pot Method
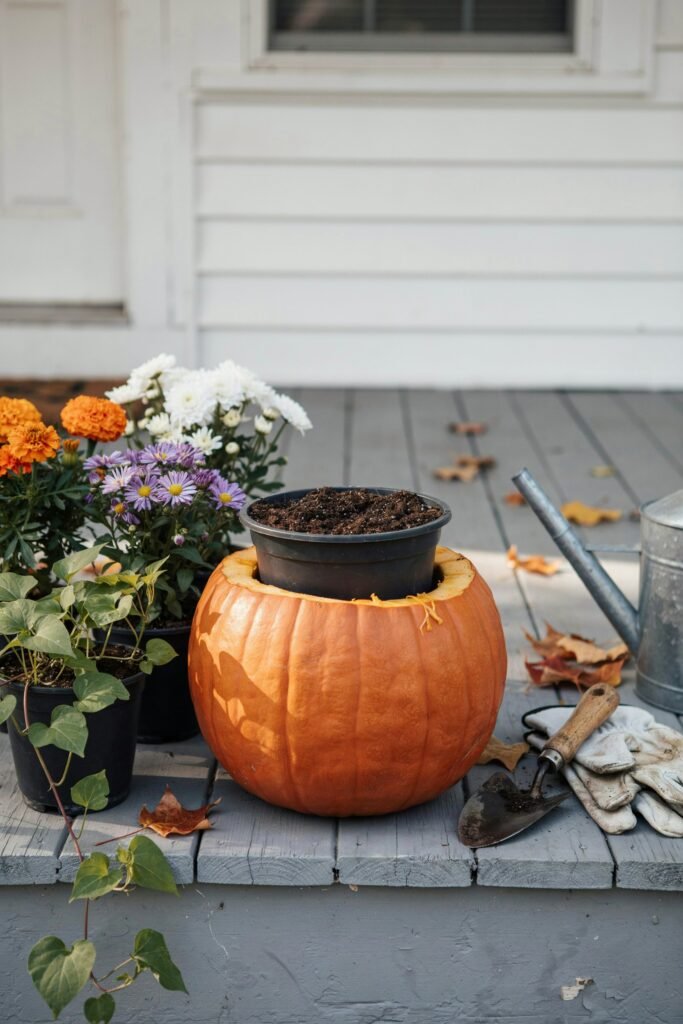
If you’re making your first pumpkin planter, this is the method I recommend.
It gives you the pumpkin look without forcing your plants to live directly inside a rapidly decomposing vegetable.
Step 1: Choose your plant
Start with the plants you want to use.
Don’t buy the pumpkin first and then discover that your plant pot is too large.
Instead:
Plant → pot → pumpkin
This makes the project much easier.
Step 2: Choose a nursery pot
Select a plastic nursery pot that fits comfortably inside your pumpkin.
The pot needs drainage holes.
Drainage is essential because plant roots need oxygen as well as water. Water that remains trapped around roots can lead to unhealthy conditions.
Step 3: Mark the opening
Place the nursery pot next to or over the pumpkin and estimate how large the opening needs to be.
You don’t want to make the opening unnecessarily huge.
Cut just enough space for the pot to sit inside securely.
Step 4: Cut the pumpkin
Carefully cut around the top of the pumpkin.
Keep your fingers away from the cutting path and work slowly.
Remove the top.
Step 5: Scoop out the inside
Use a sturdy spoon or scoop to remove:
- Seeds
- Stringy pulp
- Loose flesh
Scrape enough material away to create space for your pot.
You don’t need to make the interior perfectly smooth.
Step 6: Test the fit
Place your empty nursery pot inside.
Check that:
- It sits securely.
- The pumpkin doesn’t tip.
- The pot isn’t hanging awkwardly.
- The opening isn’t pressing against the plant stems.
Make adjustments before planting.
How to Plant Your Pumpkin Planter
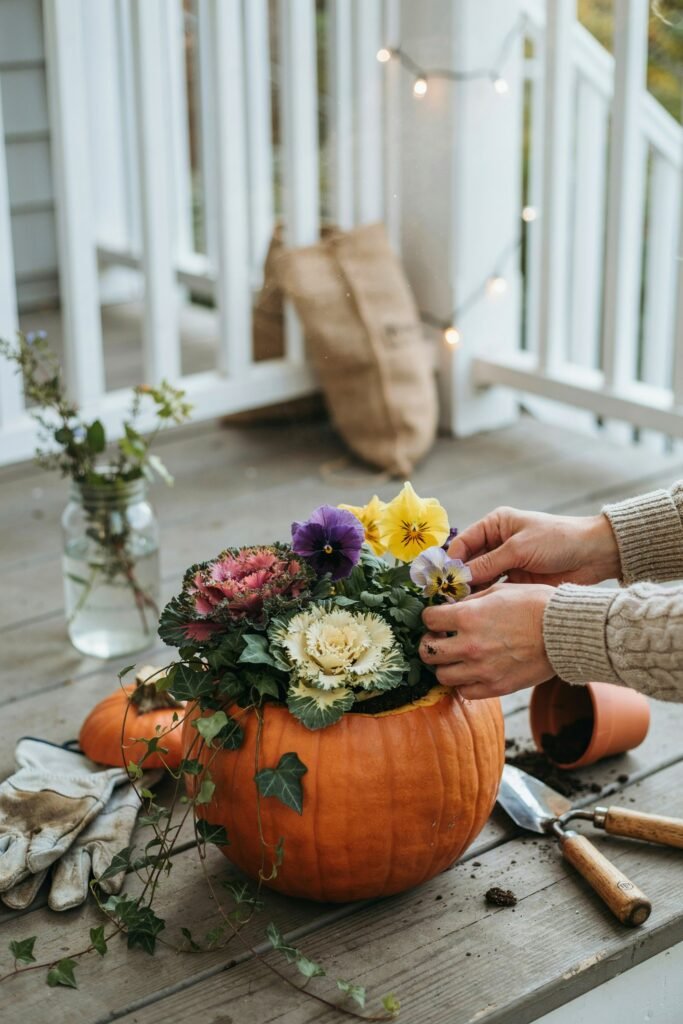
Once your pumpkin and plants are ready, planting becomes the fun part.
Step 1: Add potting mix
Fill your nursery pot with fresh container mix.
If your plants are already established in a nursery container, you don’t need to completely replace their root system with a large amount of new soil.
Step 2: Arrange your plants before planting
This is a little trick I love.
Take the plants out of their packaging and arrange them temporarily while they’re still in their nursery containers.
Move them around until you like the composition.
This lets you experiment without disturbing the roots unnecessarily.
Step 3: Create a focal point
For a traditional container arrangement, think about:
Thriller
This is your main focal plant.
Examples include:
- Ornamental grass
- Upright flowering plants
- Taller foliage
Filler
These plants create fullness around the center.
Good choices include:
- Pansies
- Ornamental kale
- Compact mums
Spiller
These soften the edges and trail downward.
Examples can include:
- Creeping foliage
- Trailing flowers
- Ivy-like ornamental plants that suit your growing conditions
The thriller-filler-spiller approach is widely used in container gardening because it creates height, fullness, and movement.
15 Beautiful Pumpkin Planter Ideas
Now for the fun part!
Here are some arrangements you can recreate around your home.
1. Classic Pumpkin and Pansy Planter
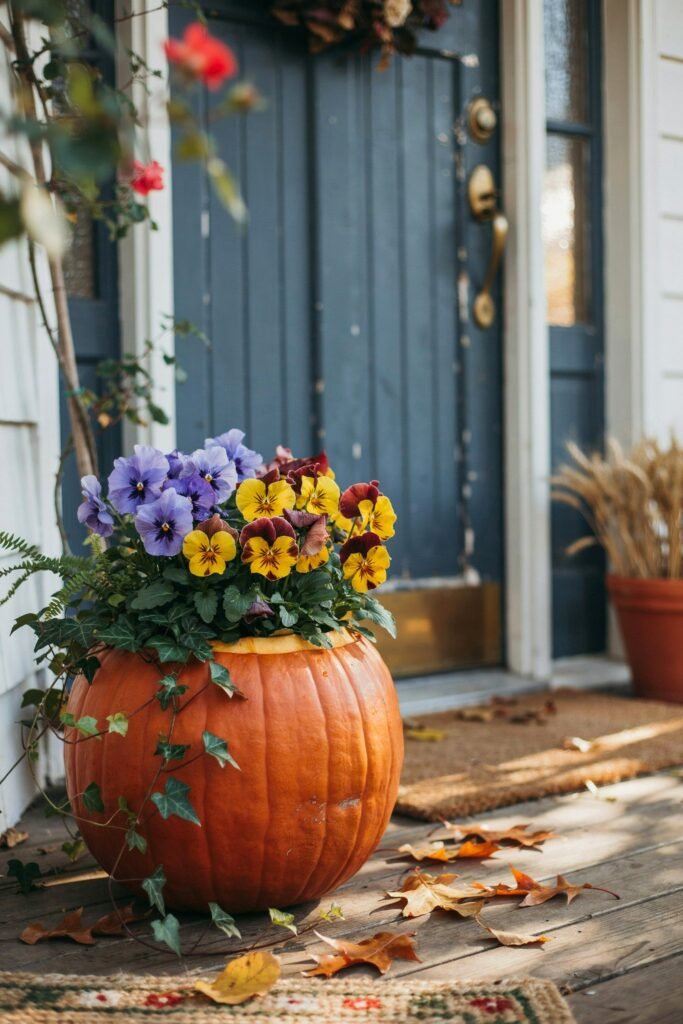
For a simple and cheerful fall look, combine a pumpkin with pansies.
Choose pansies in:
- Purple
- Burgundy
- Yellow
- Orange
- White
The colorful flowers contrast beautifully with an orange pumpkin.
Best for:
- Front porches
- Steps
- Balconies
- Small patios
2. Pumpkin and Ornamental Kale
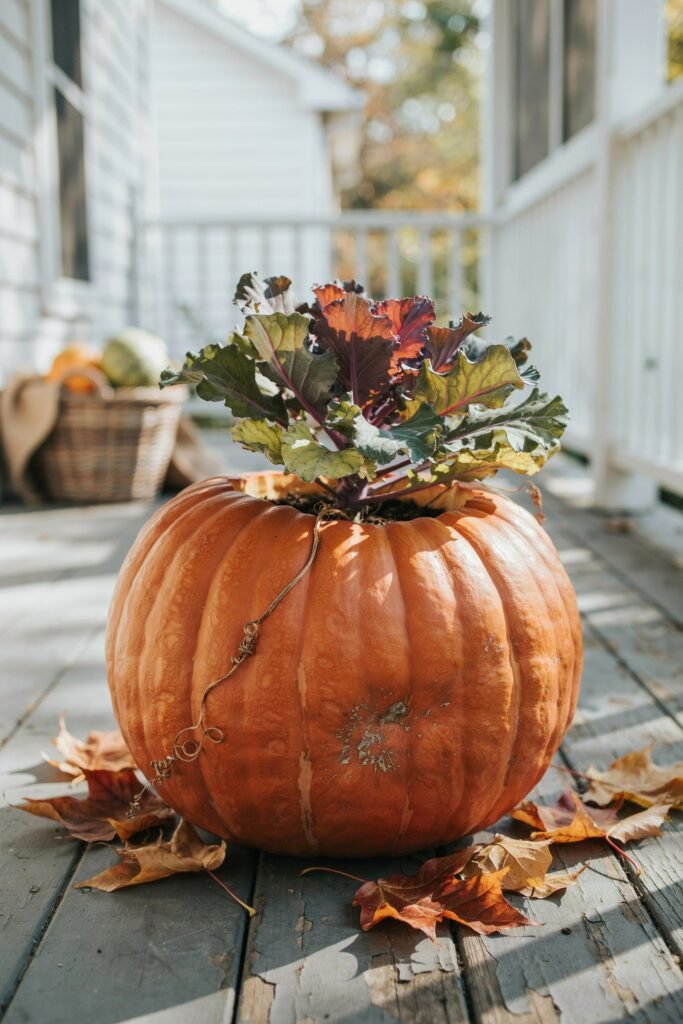
Ornamental kale gives pumpkin planters a completely different texture.
Its large leaves can create a beautiful foliage-centered arrangement even when flowers aren’t the main attraction.
Try pairing:
Orange pumpkin + purple-toned ornamental kale
for a dramatic fall display.
3. White Pumpkin with Purple Flowers
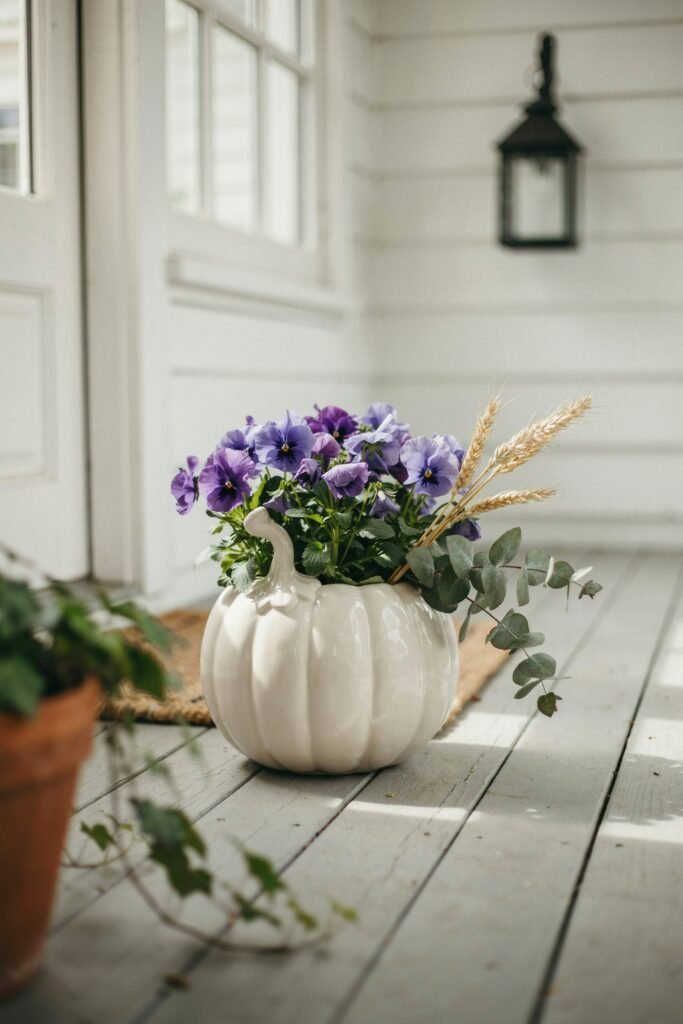
For something softer and more elegant, choose a white pumpkin.
Pair it with:
- Purple pansies
- Lavender-toned flowers
- Silver foliage
- Dark green leaves
This combination looks especially pretty against neutral-colored porches.
4. Mini Pumpkin Planter
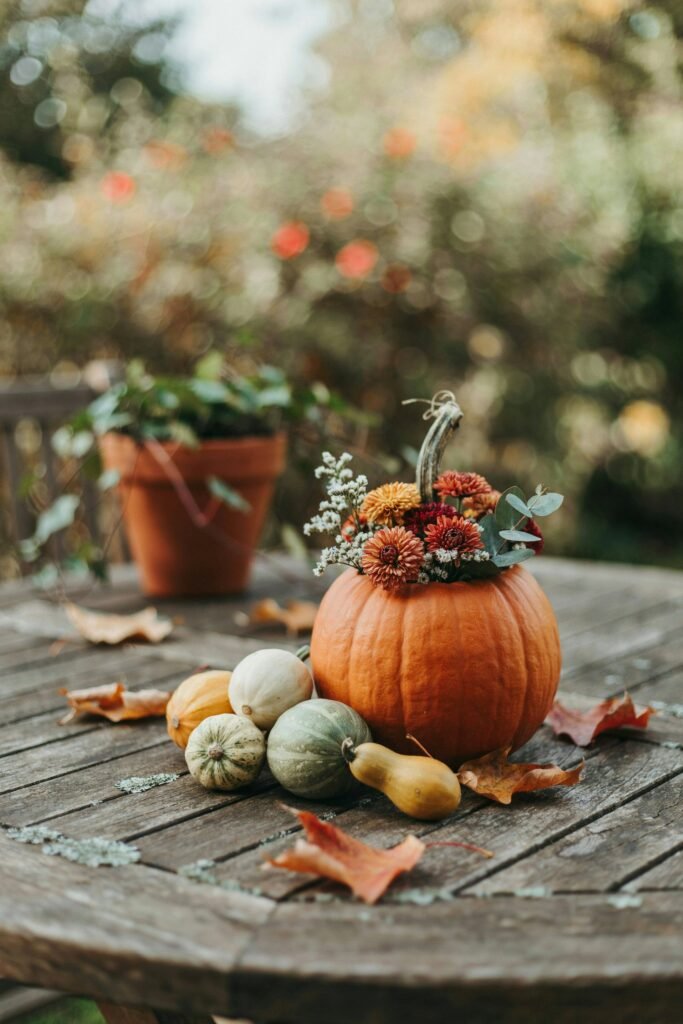
Small pumpkins can make adorable tabletop arrangements.
Use a mini pumpkin with a tiny nursery pot and compact seasonal plant.
These are perfect for:
- Outdoor tables
- Windowsills
- Garden benches
- Small balconies
5. Pumpkin Mum Planter
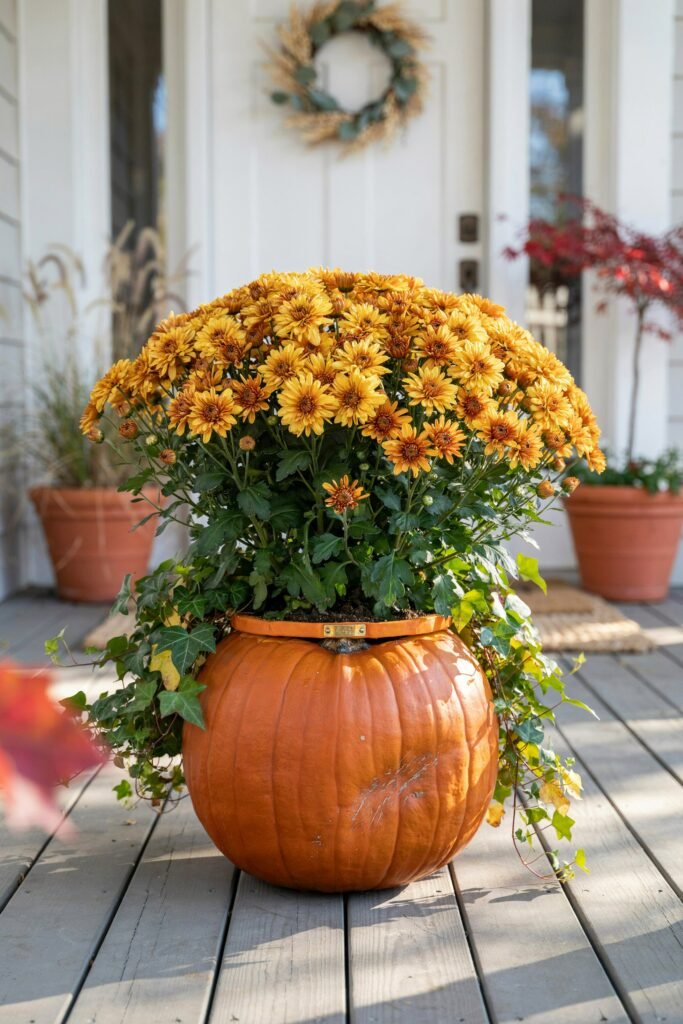
Mums are one of the easiest ways to create an instantly autumnal container.
Choose a compact mum and place it inside a pumpkin large enough to hide the nursery pot.
Try:
Orange pumpkin + yellow mum
or
White pumpkin + burgundy mum
for two completely different moods.
6. Pumpkin and Ornamental Grass
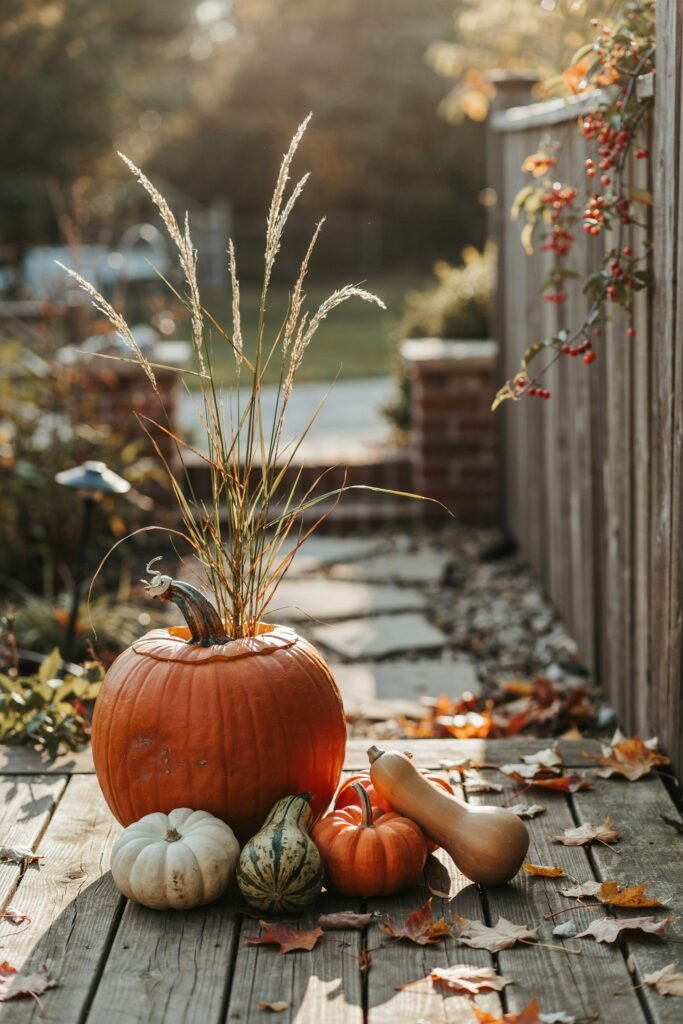
If you prefer foliage to flowers, try ornamental grass.
The upright blades provide movement and height while the pumpkin gives the arrangement a strong seasonal base.
This is especially effective in a larger container arrangement.
7. Black-and-Orange Halloween Planter
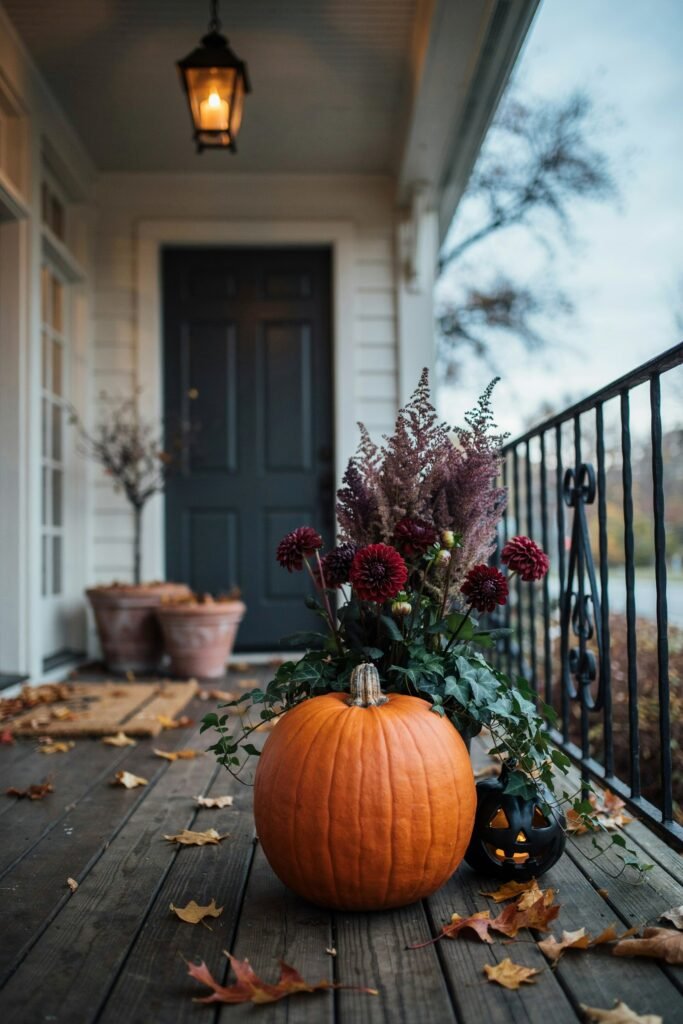
For Halloween, choose a darker color palette.
Try combining:
- Orange pumpkin
- Dark foliage
- Purple flowers
- Black decorative elements
You can also add a small decorative spider, sign, or Halloween accent.
Keep the plants themselves natural and let the decorations provide the spooky personality.
8. Pumpkin Succulent Display
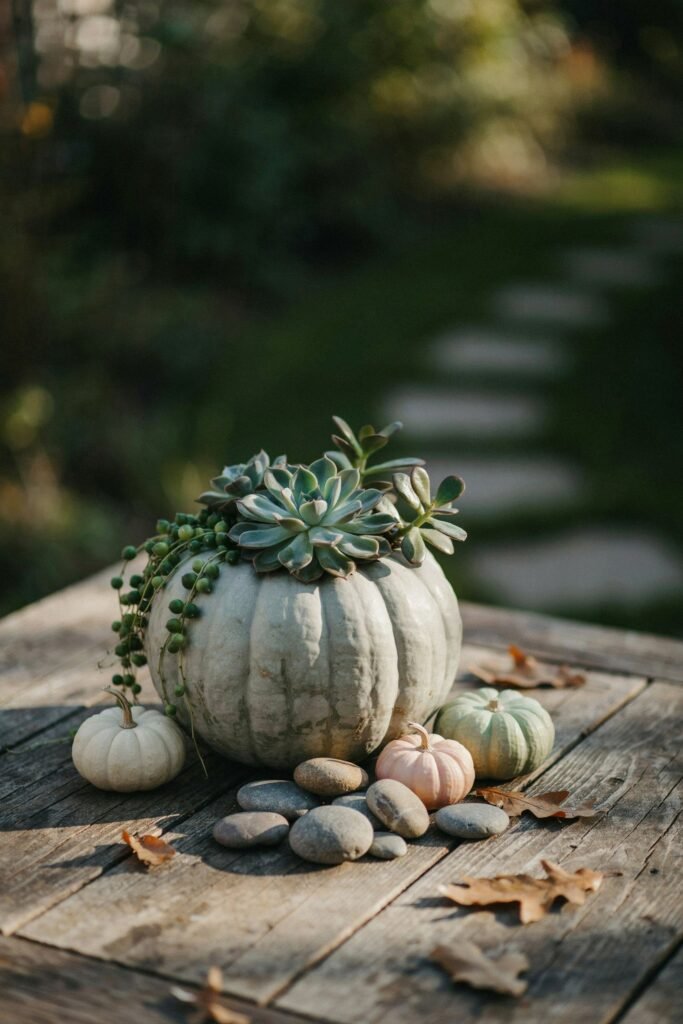
Succulents can create a completely different pumpkin planter aesthetic.
Use a pumpkin as the decorative outer container and keep the succulents in their own well-draining pot.
This is particularly useful because succulents generally prefer conditions different from moisture-loving fall flowers.
Don’t combine plants simply because they look good together. Their watering requirements should be compatible.
9. Rustic Pumpkin Planter
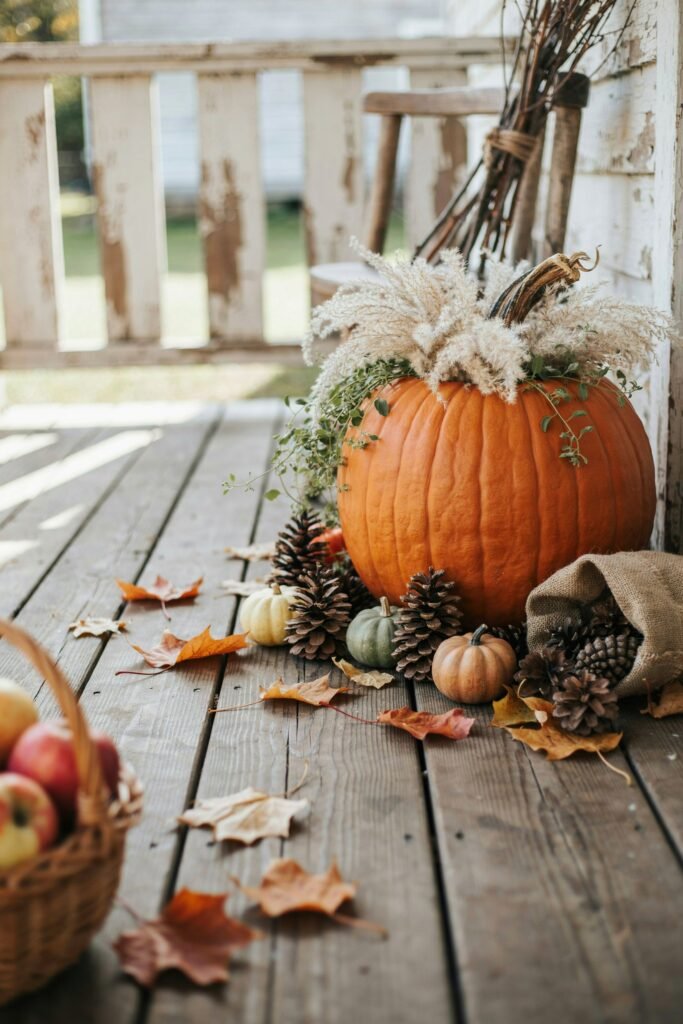
For a relaxed farmhouse-inspired look, combine:
- Natural pumpkin
- Ornamental grass
- Small gourds
- Pinecones
- Dried stems
You don’t need bright flowers for this design.
The natural textures do most of the decorating.
10. Pumpkin Porch Trio
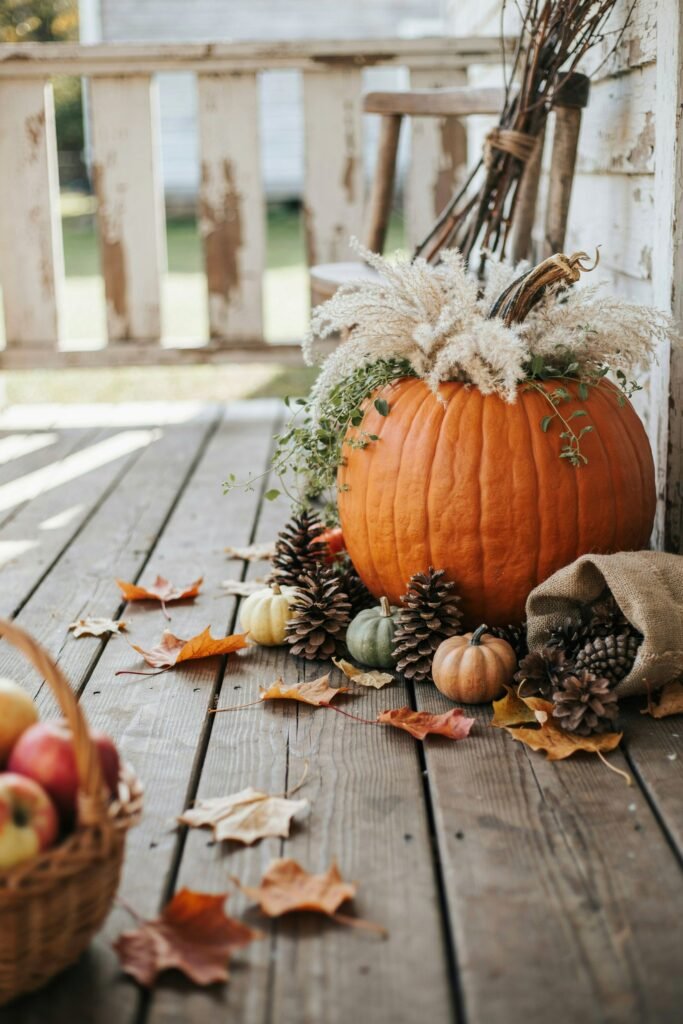
Instead of making one large planter, create three.
Use:
- One large pumpkin planter
- One medium pumpkin
- One small pumpkin
Place them together at slightly different heights.
This creates a more intentional display than scattering individual pumpkins around the porch.
11. Pumpkin and Trailing Flowers
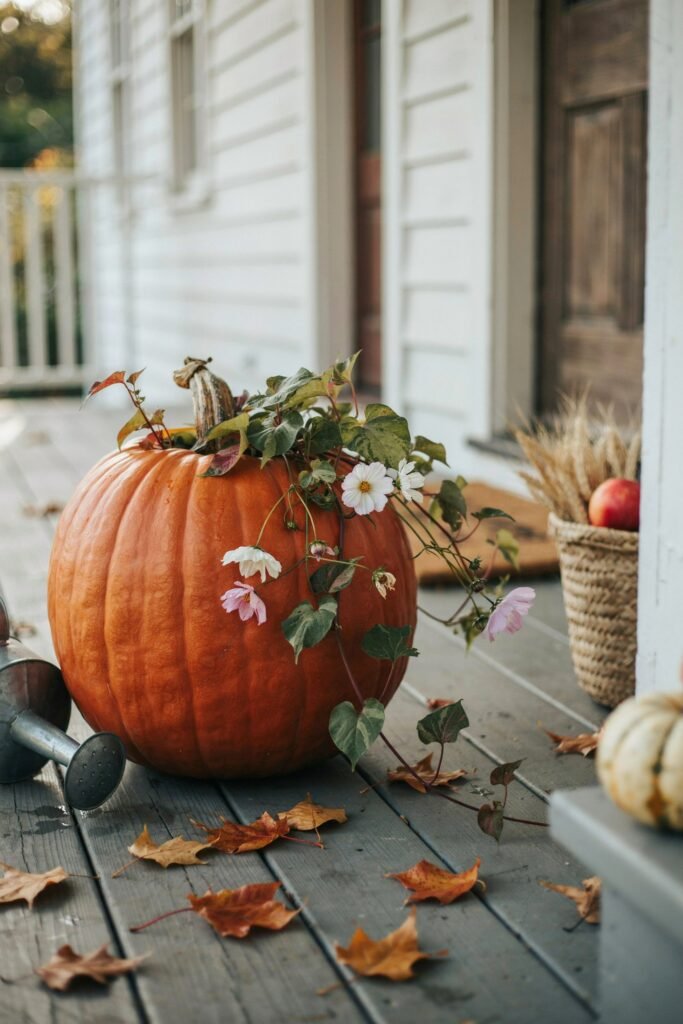
A trailing plant can soften the hard outline of your pumpkin.
Let the foliage gently spill over the side of the container.
This works especially well when the planter is placed somewhere visitors can see it from the front and sides.
12. White Pumpkin and Green Foliage
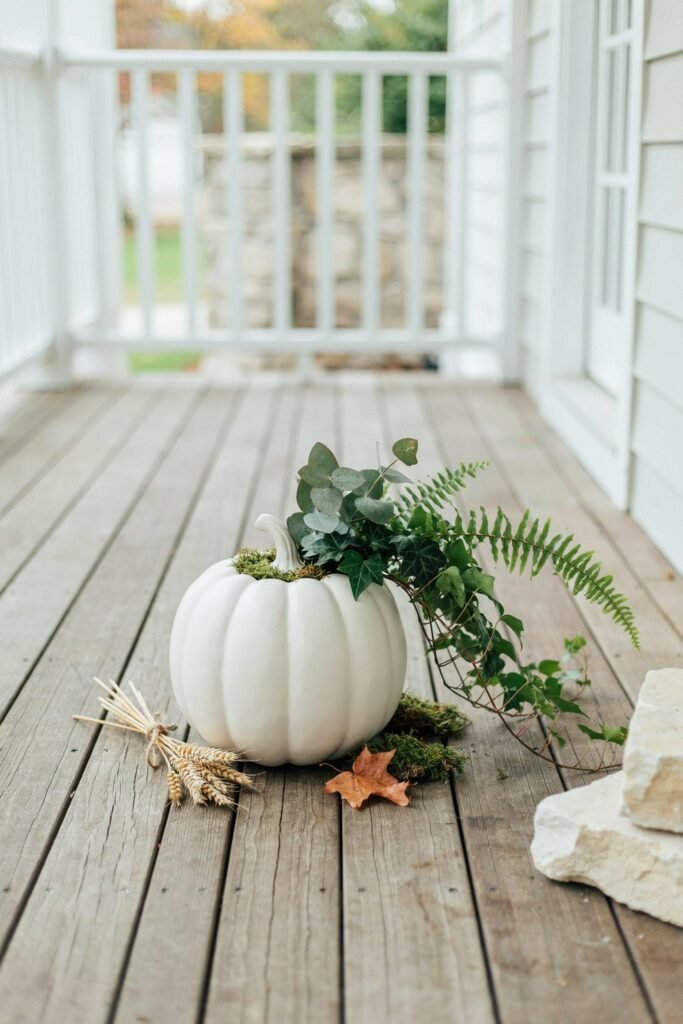
For a minimalist fall arrangement, skip bright flowers altogether.
Use:
White pumpkin + green foliage + natural moss
The result is simple, fresh, and elegant.
13. Pumpkin Herb Display
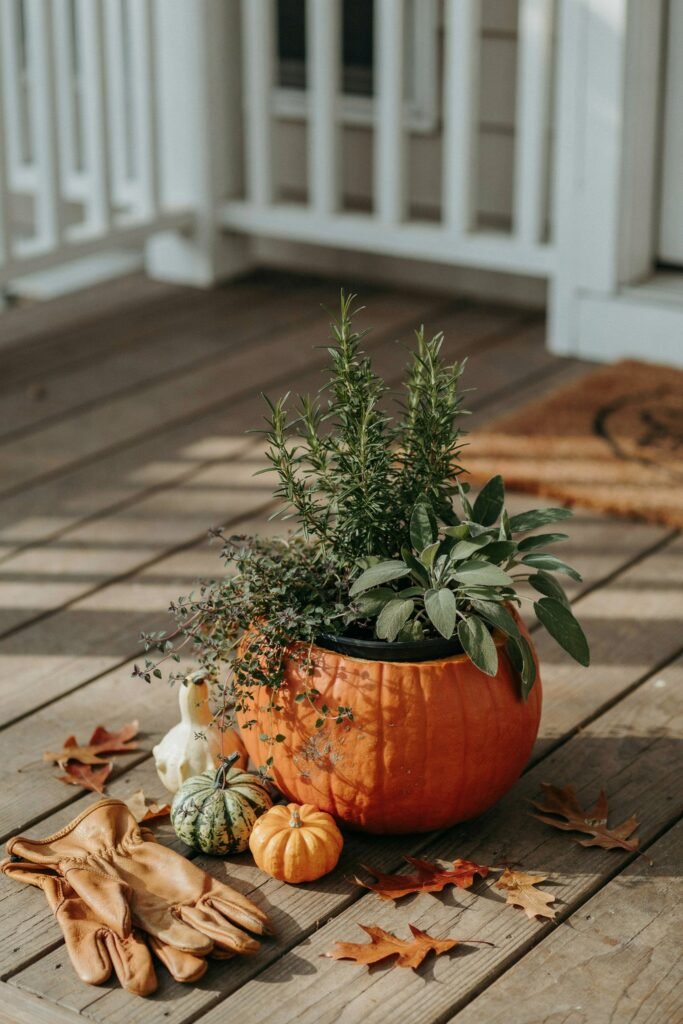
You can also use pumpkins as decorative outer containers for potted herbs.
Try:
- Rosemary
- Thyme
- Sage
Keep the herbs in their own drainage pots rather than planting directly into the pumpkin.
This makes it easier to remove them when watering.
14. Pumpkin and Gourd Container
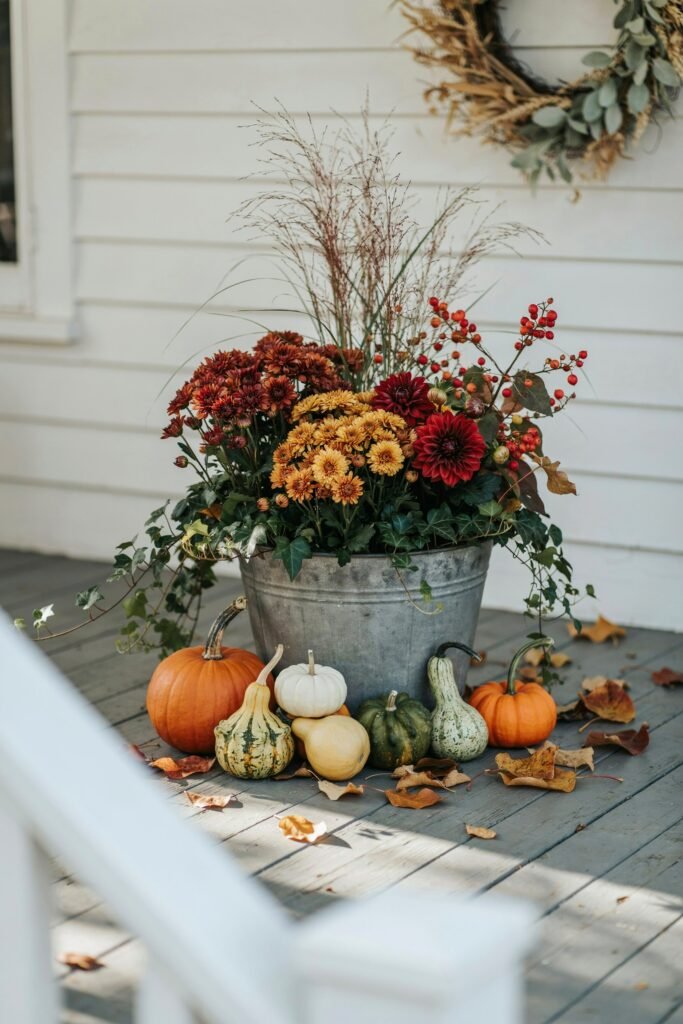
Create a larger fall container and surround the main plant with miniature pumpkins and gourds.
This is particularly useful if you don’t want to carve a pumpkin.
Simply place the pumpkins around the plants inside a large container.
15. Pumpkin Staircase Display
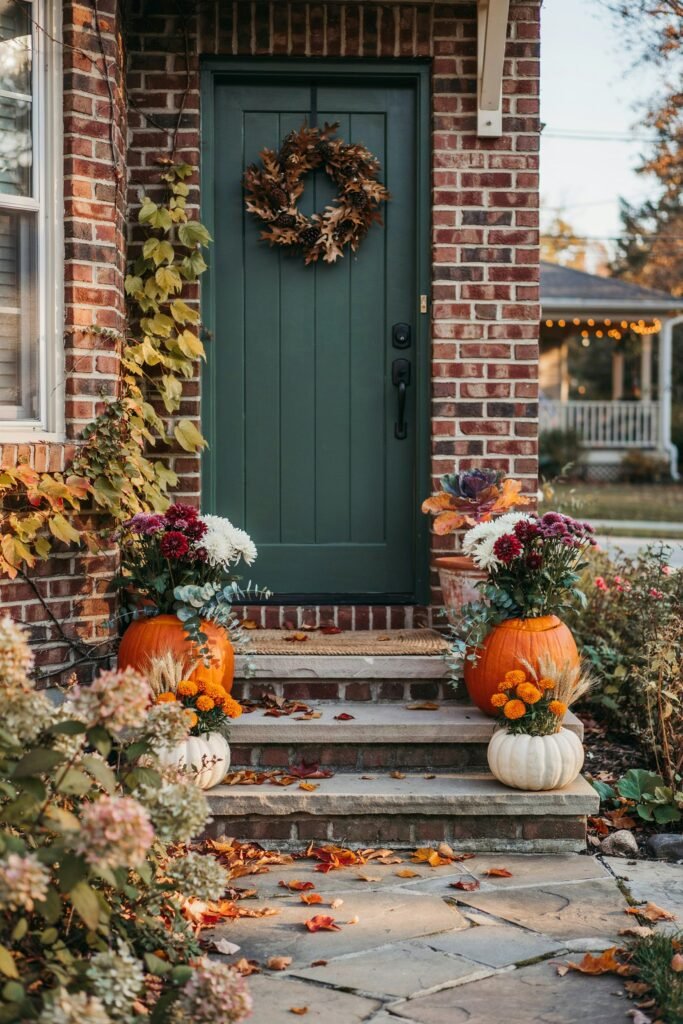
If you have steps leading to your entrance, create a repeating fall theme.
Place pumpkin planters at alternating sides of the steps.
Use similar colors throughout the display so everything feels connected.
How to Make a Pumpkin Planter Last Longer
One of the biggest mistakes beginners make is treating a pumpkin planter exactly like an ordinary ceramic pot.
A pumpkin is organic material, so eventually it will break down.
You can’t make it permanent.
But you can help your display last longer.
Keep the pumpkin dry when possible
Excess moisture can speed up deterioration.
If your pumpkin planter is directly exposed to heavy rain, monitor it carefully.
A protected porch can help extend its decorative life.
Don’t overwater
This is especially important if you’re using a pumpkin as the actual container.
Your goal is moist soil—not saturated soil.
Check the growing medium before watering.
Remove the nursery pot before watering
If you’re using the double-container method, take the nursery pot out of the pumpkin.
Water it thoroughly.
Allow excess water to drain completely.
Then place it back into the pumpkin.
This is one of the most practical advantages of using a nursery pot. Garden Gate specifically recommends removing the pot for watering and allowing it to drain before returning it to the pumpkin.
Can You Plant Directly Inside a Pumpkin?
Yes, you can.
But I would consider this a short-term seasonal project rather than a permanent planter.
If you plant directly inside:
- Cut the pumpkin open.
- Remove all seeds and pulp.
- Create several small drainage holes underneath.
- Add quality potting mix.
- Plant your flowers.
- Water lightly.
- Keep the pumpkin somewhere with good airflow.
Pumpkin planters need drainage because excess moisture can contribute to deterioration. Some gardening guides recommend several small drainage holes rather than allowing water to remain trapped inside.
Should You Put Rocks in the Bottom?
You may see recommendations for adding gravel or stones to container bottoms, but I wouldn’t rely on a layer of rocks as your drainage solution.
The important thing is that excess water has somewhere to escape.
For a nursery-pot pumpkin planter, simply use a container with proper drainage holes and an appropriate potting mix.
Good drainage is more important than creating a rock layer.
How Often Should You Water a Pumpkin Planter?
Don’t follow a strict calendar.
Instead, check the soil.
Stick your finger gently into the top portion of the potting mix.
If it feels dry where the plants’ roots are growing, it’s time to check whether the plants need water.
If it still feels moist, wait.
Weather makes a huge difference.
A pumpkin planter sitting in warm sunshine may dry out much faster than one sitting under a covered porch.
Likewise, a planter receiving heavy rainfall may need very little additional water.
Where Should You Put Your Pumpkin Planter?
The ideal location depends on your plants.
Front porch
Probably the most popular choice.
Place the planter beside:
- Your front door
- Steps
- Railings
- Porch furniture
Patio
Create a fall centerpiece around your outdoor seating area.
Balcony
Use smaller pumpkin planters that don’t become difficult to move.
Garden entrance
A pair of matching pumpkin planters can make an entrance feel especially welcoming.
Outdoor table
Use miniature pumpkins and small plants for a centerpiece.
Common Pumpkin Planter Mistakes to Avoid
Mistake 1: Choosing the pumpkin before the pot
Your pumpkin should accommodate the planting container.
Measure first.
Mistake 2: Forgetting drainage
Water trapped around roots can cause problems.
Always provide a drainage route.
Mistake 3: Using garden soil
Garden soil is generally too dense for container gardening.
Choose a quality container mix instead.
Mistake 4: Combining plants with different watering needs
A moisture-loving plant and a drought-tolerant succulent may look gorgeous together—but they don’t necessarily make good roommates.
Choose plants with similar care requirements.
Mistake 5: Making the arrangement too crowded
A pumpkin planter doesn’t need ten different plants to look impressive.
Sometimes two or three well-chosen plants create a much prettier result.
Mistake 6: Ignoring the pumpkin itself
Check the pumpkin regularly.
If it develops significant softening, mold, or structural deterioration, remove the plant rather than trying to keep the arrangement going indefinitely.
How to Style Pumpkin Planters for Halloween
Halloween gives you an opportunity to make your planter a little more playful.
Try:
- Orange pumpkins
- Purple flowers
- Dark foliage
- Black decorative accents
- Small faux spiders
- Halloween signs
- Decorative twigs
You can also carve a simple face into the pumpkin without turning the entire planter into a traditional jack-o’-lantern.
Keep the planting arrangement visible so the flowers remain the star.
How to Style Pumpkin Planters for Thanksgiving
For Thanksgiving, move away from spooky decorations and focus on warmth.
Try:
- Cream pumpkins
- Orange pumpkins
- Burgundy flowers
- Golden foliage
- Ornamental grasses
- Pinecones
- Small gourds
A natural color palette can carry your planter from early fall through Thanksgiving.
How Many Plants Should You Use?
The answer depends on the size of the container.
For a small pumpkin planter, one compact plant may be enough.
For a larger arrangement, you might use:
- One focal plant
- Two or three filler plants
- One trailing plant
Don’t overcrowd the container immediately.
Remember that plants can expand after planting.
What Plants Work Best in Pumpkin Planters?
Some popular choices include:
Flowers
- Pansies
- Mums
- Snapdragons
- Cape daisies
- Cyclamen where conditions suit them
Foliage
- Ornamental kale
- Ornamental cabbage
- Ornamental grasses
- Compact foliage plants
Garden Gate lists pansies, kale, snapdragons and cape daisies among its fall pumpkin-planter choices.
The most important rule is not simply choosing attractive plants. Choose plants suited to the light, temperature, and watering conditions where your planter will live.
Can You Replant the Flowers After Fall?
Absolutely.
This is another reason I prefer using a nursery pot.
When you’re finished with your pumpkin display, remove the plants from the pumpkin.
Depending on the plant and your local growing conditions, you may be able to:
- Plant it in the garden
- Move it to another container
- Keep it in a sheltered location
Once the pumpkin begins breaking down, it can be composted where appropriate.
Garden Gate and Thrive both recommend separating plants from a deteriorating pumpkin and composting the pumpkin afterward.
A Simple Pumpkin Planter Recipe
If you want an easy formula to follow, try this:
You need:
- 1 large firm pumpkin
- 1 nursery pot
- 1 compact flowering plant
- 2 filler plants
- Quality potting mix
- Gardening gloves
- Knife
- Spoon
- Water
Arrangement:
Back/center: one taller plant
Middle: two compact flowers or foliage plants
Front: one trailing plant
Outside: optional mini pumpkins or gourds
This gives you height, fullness, and movement without making the planter complicated.
My Favorite Beginner-Friendly Combination
If I were making one pumpkin planter for my own front porch, I’d keep it simple.
I’d choose:
A large orange pumpkin + purple pansies + ornamental kale + a trailing green plant.
The orange gives you that unmistakable autumn feeling, while the purple and green keep the arrangement from looking too predictable.
For a softer look, swap the orange pumpkin for a white one.
For Halloween, add a few dark decorative accents.
For Thanksgiving, add small gourds and natural dried elements.
The basic planting can stay almost exactly the same.
Final Pumpkin Planter Checklist
Before you start, make sure you have:
- A firm pumpkin
- A nursery pot that fits inside it
- Quality container potting mix
- Plants suited to your location
- A sharp cutting tool
- A spoon or scoop
- Gardening gloves
- Drainage holes in the planting container
- A suitable location with the right amount of light
- A plan for watering
- Optional fall decorations
Final Thoughts
Creating a pumpkin planter doesn’t have to be complicated.
In fact, I think the prettiest arrangements are often the simplest ones a beautiful pumpkin, a handful of seasonal plants, and a little creativity can completely transform an ordinary porch or garden corner.
If you’re new to this project, I’d start with the nursery-pot method because it makes watering, plant care, and cleanup much easier.
Once you’ve mastered that version, you can experiment with different pumpkin colors, flower combinations, foliage, textures, and seasonal decorations.
Most importantly, choose plants that actually suit your growing conditions. When the plants are happy, your pumpkin planter will look so much better throughout the fall season.
