
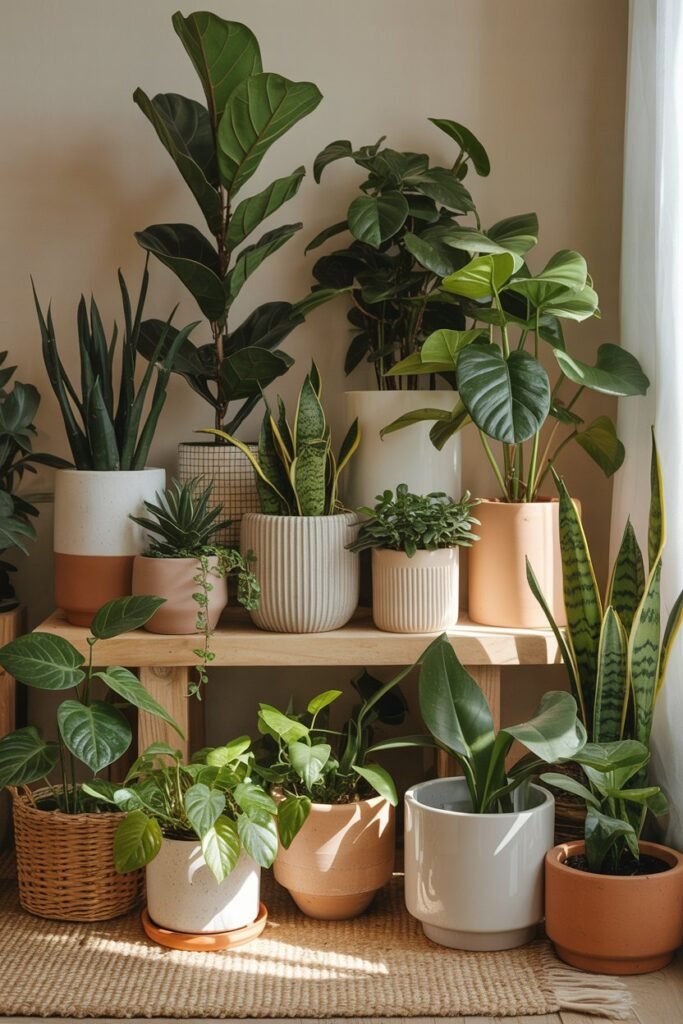
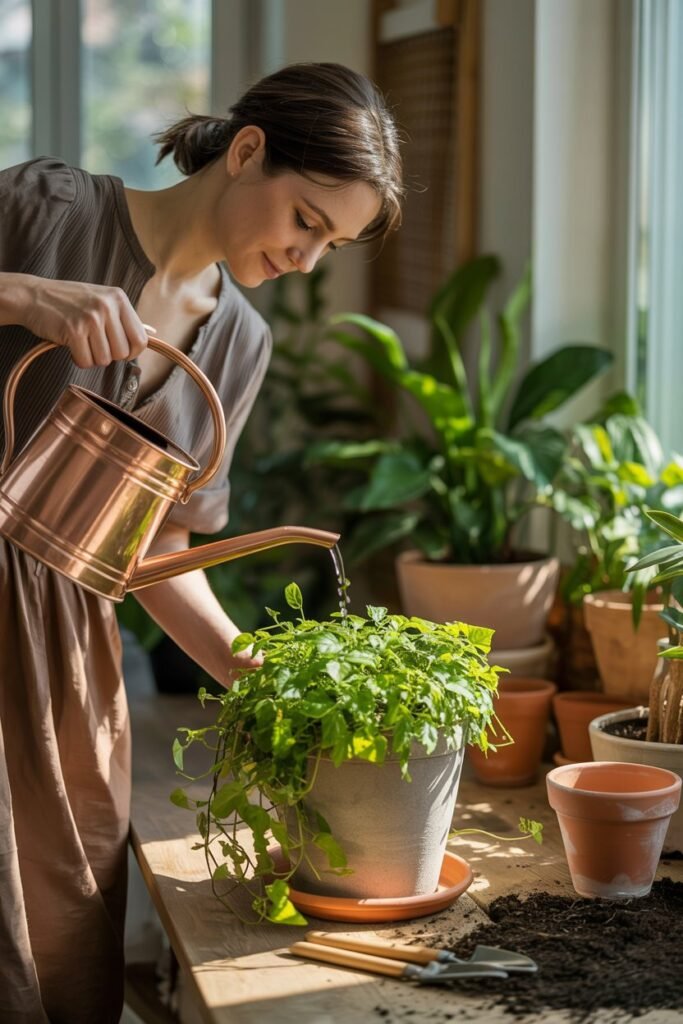
Houseplants bring a special kind of comfort into a home. A trailing pothos draped across a shelf, a glossy rubber plant in the corner of the living room, or a cheerful peace lily on a bedside table can completely transform the feeling of a space.
Indoor plants make a home feel softer, calmer, and more connected to nature. But even the healthiest houseplants eventually need a little extra care to continue thriving.
One of the most important parts of indoor plant care is repotting.
Many plant owners feel nervous the first time they repot a houseplant. It’s easy to worry about damaging roots, choosing the wrong soil, or accidentally stressing the plant.
The truth is that repotting is much simpler than it seems once you understand the basics. In fact, giving your plant a fresh pot and new soil can completely revive its growth and improve its overall health.
Repotting helps refresh depleted soil, gives crowded roots more space, improves drainage, and encourages stronger growth. It’s one of the best ways to keep your indoor garden healthy and beautiful for years to come.
This complete guide will walk you through everything you need to know about repotting houseplants successfully.
From understanding when your plant needs repotting to choosing the right potting mix and caring for your plant afterward, you’ll learn exactly how to repot with confidence.
Why Repotting Houseplants Is So Important
Many beginners assume houseplants can stay in the same pot forever as long as they’re watered regularly. While some slow-growing plants can remain happy for years in one container, most eventually outgrow their space.
Over time, several things happen inside the pot:
- Roots continue growing and become crowded
- Soil loses nutrients
- Potting mix breaks down and becomes compacted
- Drainage worsens
- Water retention changes
- Salt and mineral buildup can occur
When roots have nowhere left to grow, the plant begins struggling to absorb water, nutrients, and oxygen properly. This is when growth slows and the plant may start showing signs of stress.
Repotting refreshes the entire growing environment. Fresh soil provides nutrients, improved airflow, and better moisture balance. A slightly larger pot gives roots room to spread and grow comfortably again.
Think of repotting as giving your plant a fresh new beginning.
Signs Your Houseplant Needs Repotting
One of the biggest mistakes plant owners make is waiting too long to repot. Learning how to recognize the signs early helps prevent unnecessary stress on your plant.
Roots Growing Out of Drainage Holes
This is one of the clearest signs your plant has become root-bound. Roots naturally search for more space and moisture, so when they begin pushing through the drainage holes, the pot is likely too small.
You may also notice roots growing across the soil surface.
Water Drains Too Quickly
If water rushes straight through the pot without soaking into the soil, your plant may have more roots than soil left inside the container.
Root-bound plants often become difficult to water because compacted roots leave little room for moisture retention.
The Soil Dries Out Constantly
A crowded root system absorbs water extremely fast.
If you suddenly find yourself watering much more often than before, it may be time for a larger pot.
Slowed or Stunted Growth
During spring and summer, most houseplants naturally produce fresh leaves and new growth. If your plant seems stuck and hasn’t grown in months despite proper care, it could be root-bound.
Yellowing Leaves
Yellow leaves can happen for many reasons, but exhausted soil and overcrowded roots are common causes.
When nutrients become depleted, plants struggle to maintain healthy foliage.
The Plant Looks Too Large for Its Pot
A top-heavy plant that tips easily or appears oversized compared to its container usually needs repotting.
Large leaves combined with a tiny pot often indicate an overcrowded root system below the surface.
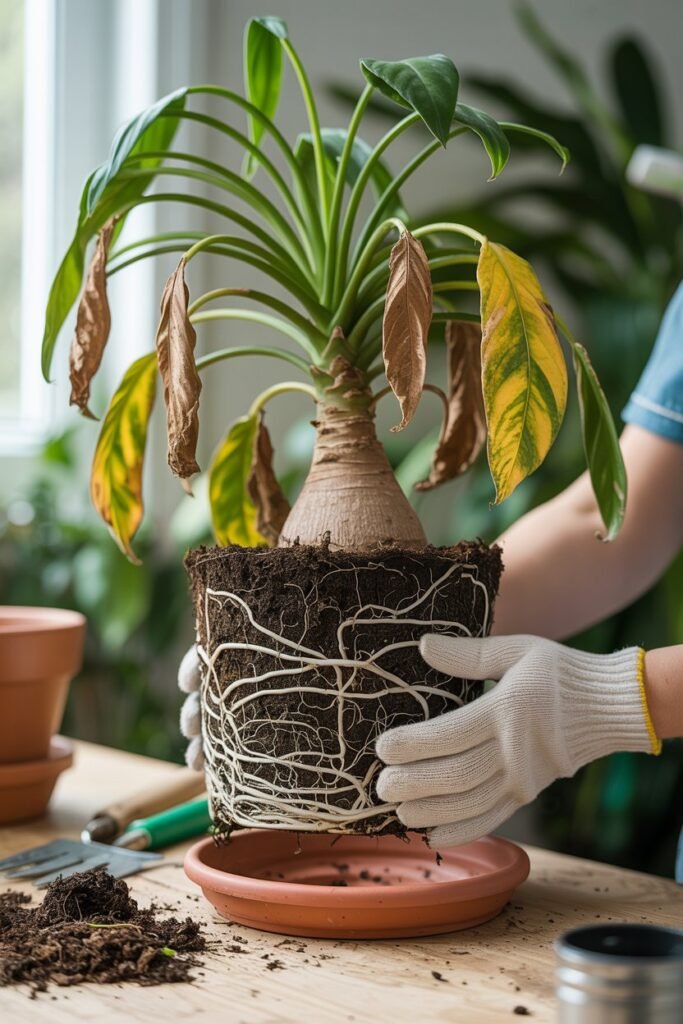
Roots Form a Tight Circle
When removing the plant from its pot, you may see roots tightly wrapping around the root ball in circles.
This means the plant has fully outgrown its current home.
The Best Time to Repot Houseplants
Timing can make a huge difference in how quickly your plant recovers after repotting.
Spring and Early Summer Are Ideal
Most houseplants actively grow during spring and summer. Repotting during this time allows the plant to recover quickly and establish new roots in fresh soil.
The warmer temperatures and longer daylight hours naturally support healthy growth.
Avoid Repotting During Winter
Winter is usually a resting period for indoor plants. Growth slows significantly, and disturbing the roots during dormancy can create unnecessary stress.
Unless the plant is severely root-bound or suffering from root rot, it’s usually best to wait until spring.
Avoid Repotting Right After Bringing a Plant Home
New plants already experience stress when moved into a different environment.
Allow them to adjust to your home for at least a few weeks before repotting unless the plant is in very poor soil or showing signs of distress.
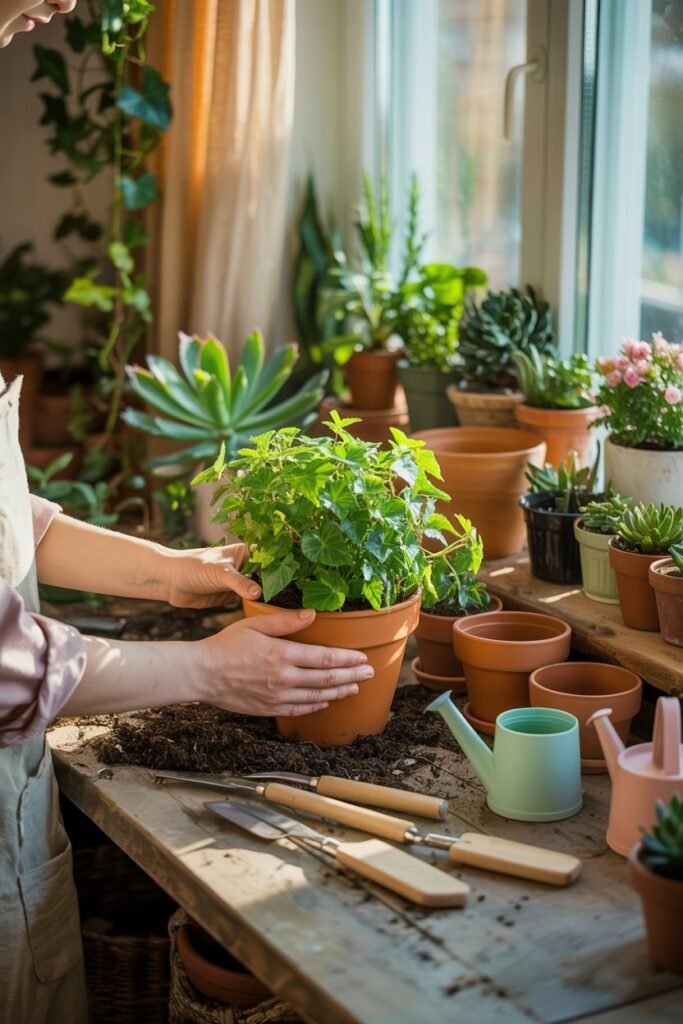
Choosing the Right Pot

Selecting the right pot is one of the most important steps in successful repotting.
Don’t Choose a Pot That’s Too Big
Many beginners assume moving a plant into a huge pot will prevent future repotting. Unfortunately, oversized pots often create moisture problems.
Excess soil holds too much water around the roots, increasing the risk of root rot.
Instead, choose:
- 1–2 inches larger for small plants
- 2–4 inches larger for large plants
This gives roots enough room without overwhelming them.
Why Drainage Holes Matter
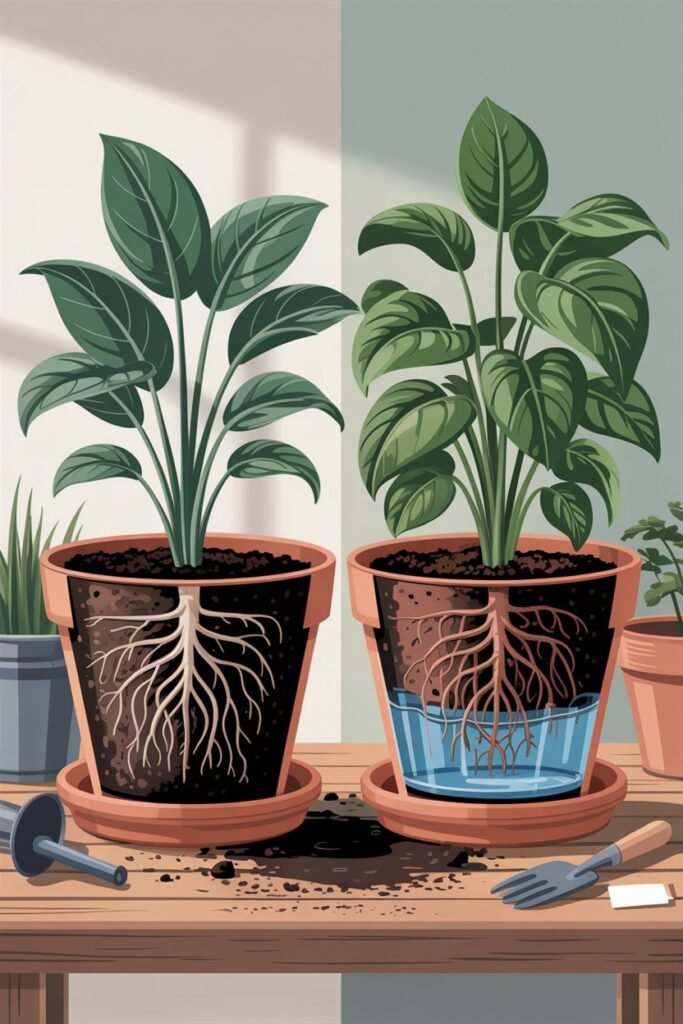
Drainage holes are absolutely essential for healthy houseplants.
Without proper drainage:
- Water collects at the bottom
- Roots remain soggy
- Oxygen flow decreases
- Fungal problems develop
- Root rot becomes more likely
Even plants that enjoy moisture still need airflow around their roots.
If you love decorative pots without holes, place a plastic nursery pot inside instead of planting directly into the container.
Best Pot Materials for Houseplants
Different materials affect moisture retention and airflow.
Terracotta Pots
Terracotta is breathable and porous, allowing moisture to evaporate through the sides.
Best for:
- Succulents
- Cacti
- Snake plants
These pots help prevent overwatering.
Plastic Pots
Plastic retains moisture longer and is lightweight.
Best for:
- Tropical plants
- Ferns
- Calatheas
They’re affordable and practical for large collections.
Ceramic Pots
Ceramic pots are beautiful and sturdy but can be quite heavy.
Always check for drainage holes before planting directly into them.
Self-Watering Pots
Self-watering containers can help busy plant owners maintain consistent moisture levels.
However, they aren’t ideal for plants that prefer drying out between waterings.
Choosing the Right Potting Soil
Using the correct potting mix is just as important as choosing the right container.
Indoor plants need lightweight, well-draining soil that still retains enough moisture.
Never use outdoor garden soil for houseplants. It becomes dense indoors and may introduce pests or diseases.
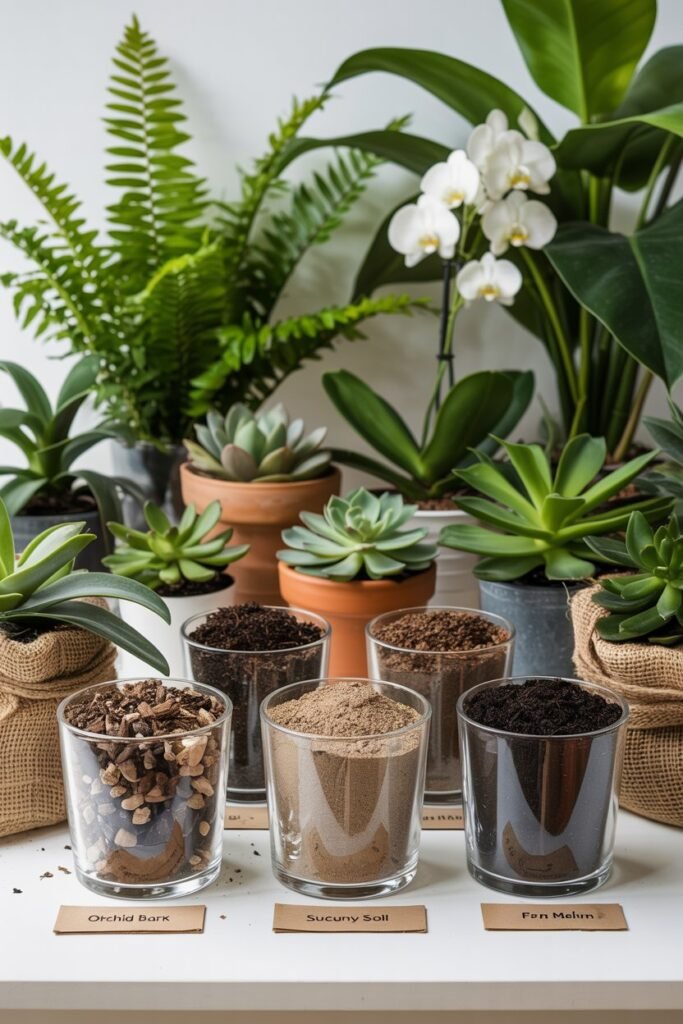
Best Soil Mixes for Different Houseplants
Tropical Plants
Tropical houseplants prefer airy, moisture-retentive soil.
A good mix may include:
- Potting soil
- Coco coir
- Perlite
- Orchid bark
Perfect for:
- Monstera
- Philodendron
- Pothos
- Peace lilies
Succulents and Cacti
These plants require fast-draining soil.
Use:
- Cactus mix
- Sand
- Pumice
- Perlite
Heavy soil can quickly lead to rot.
Orchids
Orchids grow differently than most houseplants and require bark-based orchid mix instead of standard soil.
Ferns
Ferns enjoy moisture-retentive soil rich in organic matter.
Adding coco coir or peat moss helps maintain humidity around the roots.
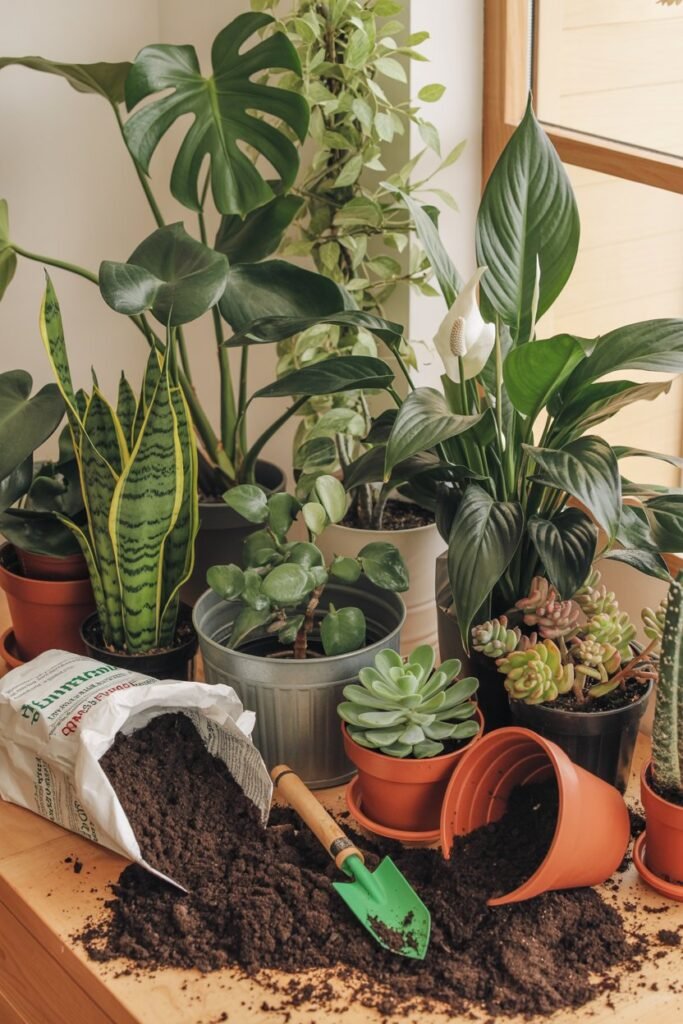
Supplies You’ll Need Before Repotting
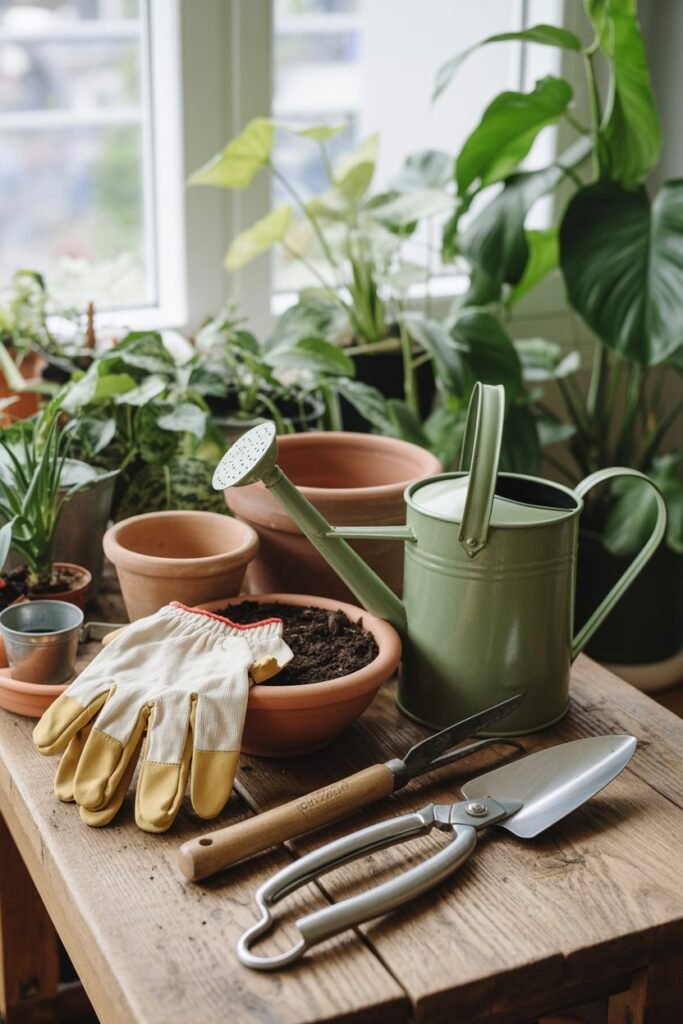
Preparing everything beforehand makes the process smoother and less stressful.
Gather:
- Fresh potting soil
- New pot
- Gloves
- Trowel or scoop
- Pruning scissors
- Newspaper or tray
- Watering can
Optional supplies:
- Moss pole
- Decorative pebbles
- Root stimulator
- Plant labels
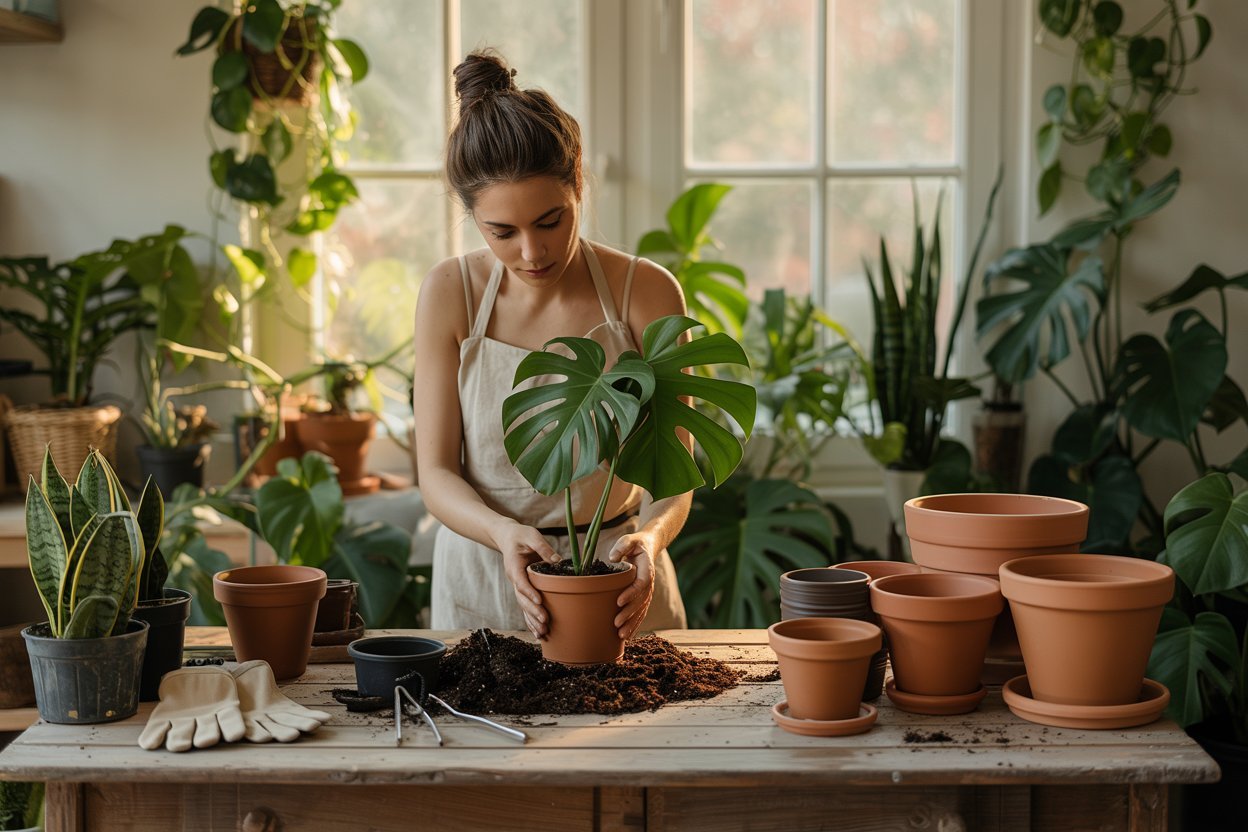
Step-by-Step Guide to Repotting Houseplants
Now for the exciting part.
Following these steps carefully will help your plant transition smoothly into its new container.
Step 1: Water the Plant Before Repotting
Water your plant several hours before repotting.
Slightly moist soil:
- Protects roots
- Reduces stress
- Makes removal easier
Avoid soaking the plant immediately beforehand because muddy soil becomes difficult to work with.
Step 2: Remove the Plant Carefully
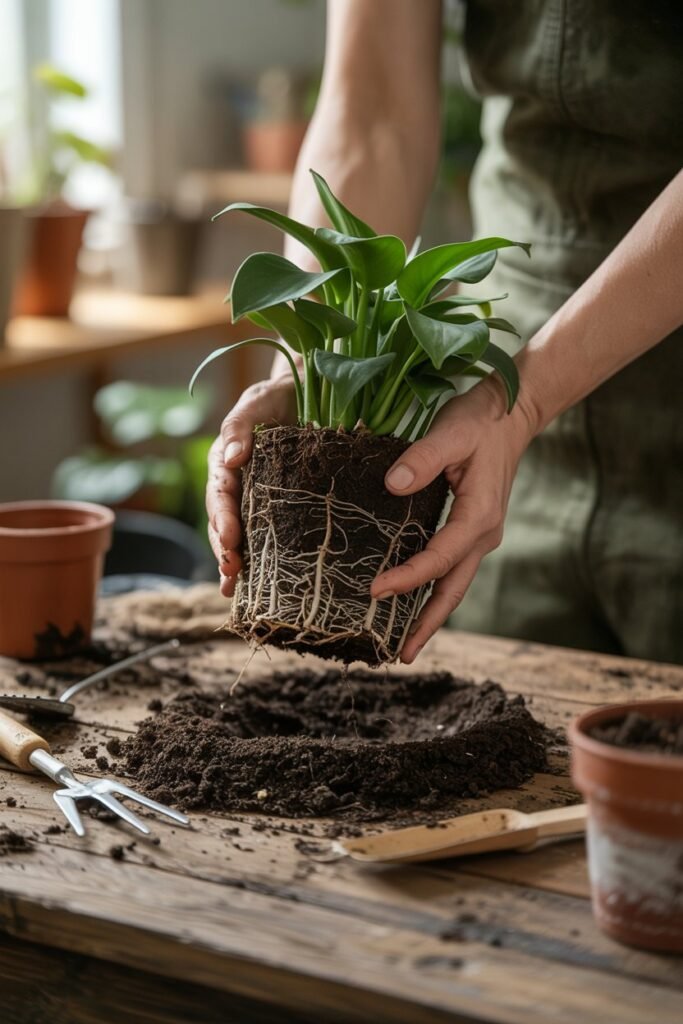
Turn the pot sideways while gently supporting the base of the plant.
Tap the sides or squeeze plastic containers lightly to loosen the root ball.
Never pull forcefully on the stems or leaves.
If the plant feels stuck:
- Run a knife around the edge
- Tap the bottom gently
- Wiggle the root ball carefully
Patience is important here.
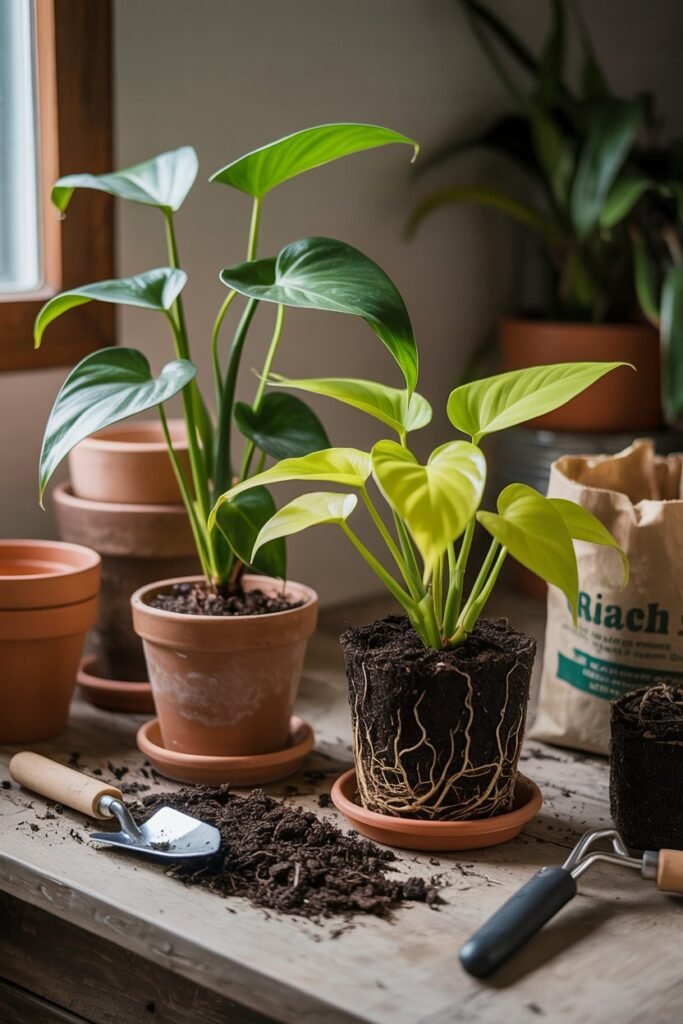
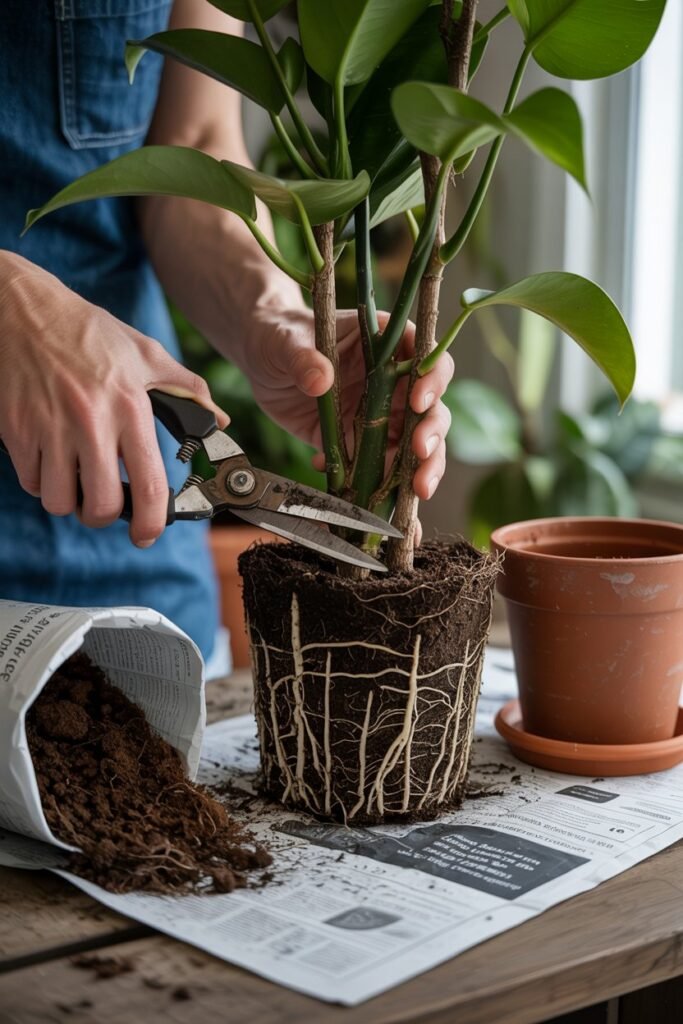
Step 3: Examine the Roots
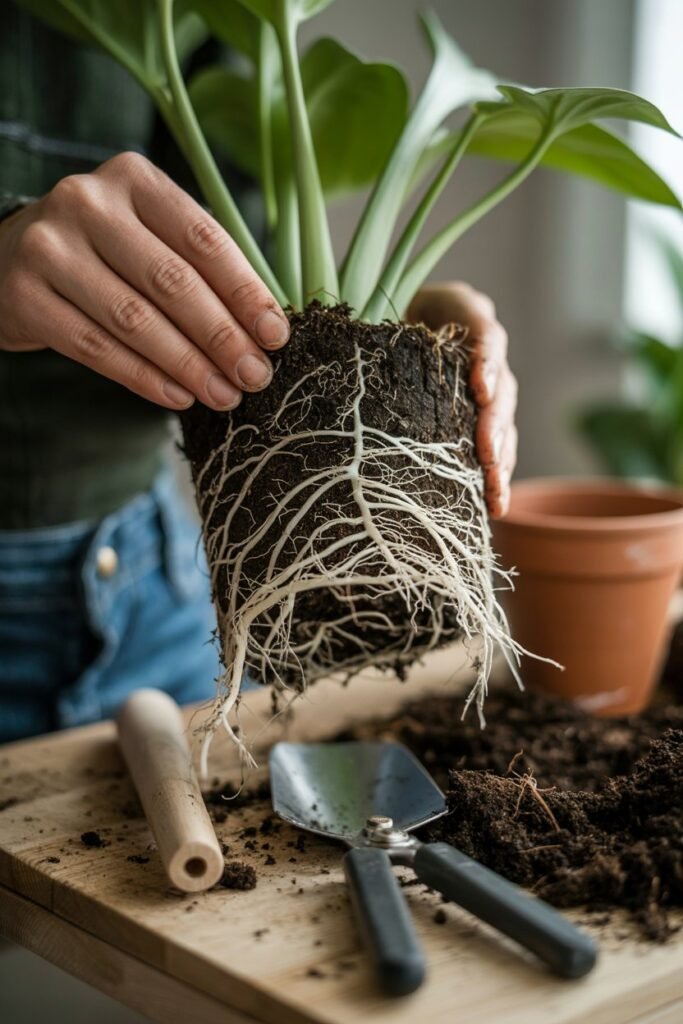
Healthy roots are usually:
- White
- Firm
- Light tan
Unhealthy roots may appear:
- Black
- Mushy
- Slimy
- Foul smelling
Trim damaged roots using clean scissors.
If the roots are tightly wrapped around the root ball, gently loosen them with your fingers.
This encourages healthy outward growth in the new pot.
Step 4: Add Fresh Soil
Place fresh potting mix at the bottom of the new container.
The plant should sit at the same depth as before.
Avoid planting too deeply because buried stems may rot.
Step 5: Position the Plant
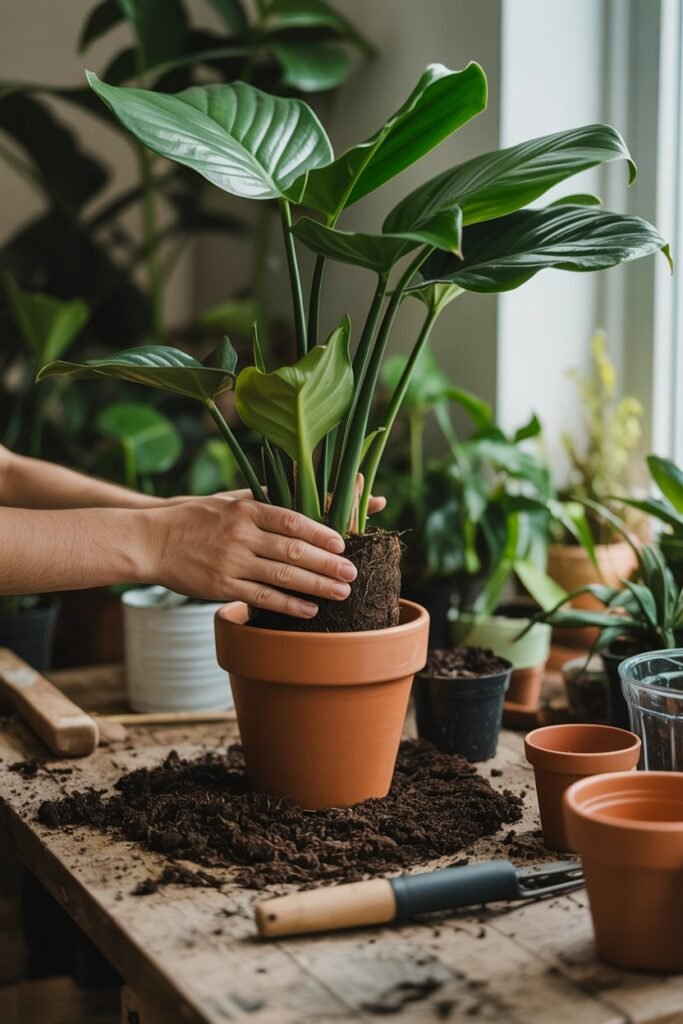
Center the plant carefully inside the pot.
Fill around the sides with fresh soil while supporting the plant upright.
Lightly press the soil down to eliminate major air pockets without compacting it too tightly.
Roots need airflow to stay healthy.
Step 6: Water Thoroughly
Water deeply until excess moisture drains from the bottom.
This helps:
- Settle the soil
- Hydrate roots
- Remove hidden air pockets
You may need to add a little more soil afterward if the level drops.
How to Prevent Transplant Shock
It’s normal for plants to look slightly droopy after repotting.
This temporary stress is called transplant shock.
Thankfully, there are several ways to minimize it.
Keep Plants Out of Harsh Sunlight
Bright indirect light is best immediately after repotting.
Strong direct sun can stress recovering roots.
Avoid Fertilizing Right Away
Fresh soil already contains nutrients.
Wait about 4–6 weeks before applying fertilizer again.
Maintain Consistent Watering
Avoid both underwatering and overwatering while the plant adjusts.
Check the soil regularly rather than watering on a strict schedule.
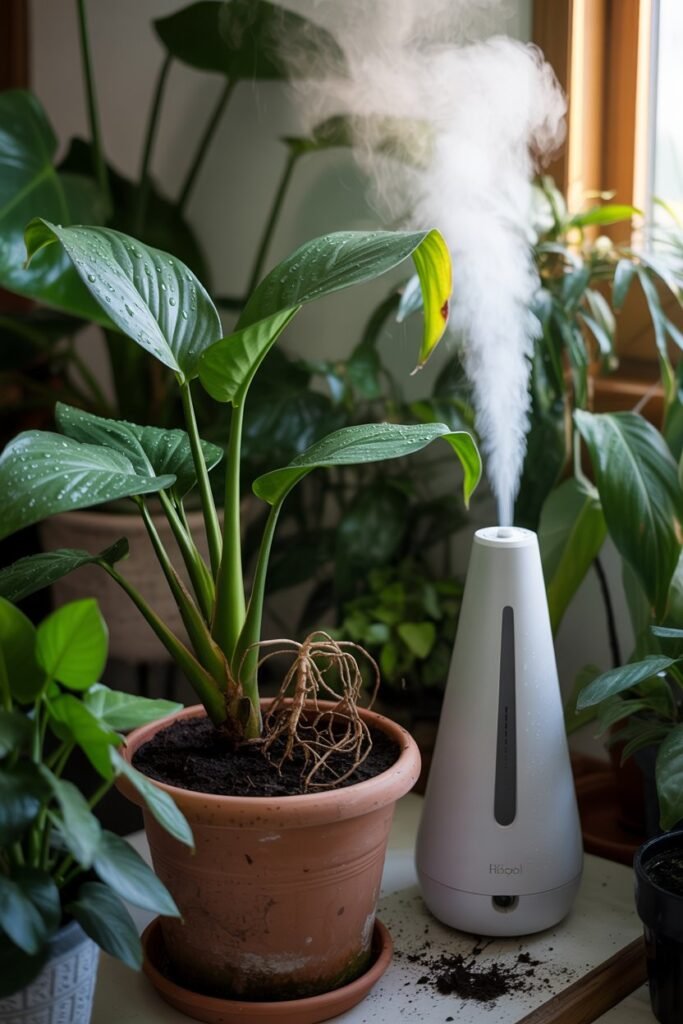
Increase Humidity for Tropical Plants
Humidity helps reduce moisture loss through the leaves.
You can:
- Use a humidifier
- Group plants together
- Place a pebble tray nearby
Common Repotting Mistakes to Avoid
Even experienced plant lovers make mistakes sometimes.
Here are the most common repotting errors and how to avoid them.
Choosing a Pot That’s Far Too Large
Oversized pots stay wet longer and increase the risk of root rot.
Always size up gradually.
Reusing Old Soil Without Refreshing It
Old potting mix eventually becomes compacted and nutrient-deficient.
Fresh soil provides a healthier growing environment.
Packing the Soil Too Tightly
Compacted soil limits oxygen flow and restricts root growth.
Keep the soil light and airy.
Watering Too Frequently After Repotting
Fresh soil retains water differently than old soil.
Always check the moisture level before watering again.
Repotting Too Often
Most houseplants don’t need yearly repotting.
Repot only when necessary to avoid unnecessary stress.
How Often Should You Repot Houseplants?
Repotting frequency depends on the type of plant and how quickly it grows.
Fast-Growing Plants
Plants like pothos, monstera, and spider plants may need repotting every 1–2 years.
Slow-Growing Plants
Snake plants and ZZ plants can often stay in the same pot for several years.
Succulents and Cacti
These plants prefer tighter root systems and generally only need repotting every 2–3 years.
Large Indoor Trees
Rubber trees and fiddle leaf figs may only need repotting every 3–5 years once mature.
Repotting Different Types of Houseplants
Different plants have slightly different needs when repotting.
Repotting Monsteras
Monsteras grow quickly and often become root-bound.
Use chunky soil with orchid bark and perlite for better airflow.
Adding a moss pole gives aerial roots support and encourages larger leaves.
Repotting Snake Plants
Snake plants actually enjoy being somewhat root-bound.
Choose a pot only slightly larger and use fast-draining soil.
Terracotta works especially well for these plants.
Repotting Pothos
Pothos are wonderfully forgiving.
Trim leggy vines during repotting to encourage fuller growth.
You can even propagate cuttings in water afterward.
Repotting Peace Lilies
Peace lilies appreciate evenly moist soil and slightly snug pots.
Repot when roots become crowded or flowering decreases.
Repotting Succulents
Succulents need excellent drainage.
After repotting:
- Wait a few days before watering
- Keep them in bright light
- Avoid excess moisture
This helps damaged roots heal properly.
Can You Repot Without Increasing Pot Size?
Yes, absolutely.
This method is called root pruning and works well for large indoor plants that have reached the desired size.
To do this:
- Remove the plant
- Trim away some roots
- Refresh the soil
- Replant in the same container
This keeps the plant manageable while still improving soil health.
How to Repot Hanging Plants
Trailing plants can be slightly messy to repot, but a few tricks help.
- Lay newspaper underneath
- Handle vines gently
- Use lightweight containers
- Avoid overfilling hanging baskets
Popular hanging plants like pothos and string of pearls usually recover quickly after repotting.
What to Do After Repotting
Aftercare is just as important as the repotting process itself.
Give the Plant Time to Adjust
Your plant may temporarily stop growing while it settles into the new soil.
This is completely normal.
Watch for Overwatering
Fresh soil stays moist longer than exhausted soil.
Many plant owners accidentally overwater after repotting because they continue their old watering routine.
Always check the soil first.
Clean the Leaves
Wipe dusty leaves with a damp cloth after repotting.
Clean leaves absorb light more efficiently and help the plant recover faster.
Rotate the Plant Occasionally
Turning the plant every few weeks encourages even growth and prevents leaning.
Signs Your Plant Is Happy After Repotting
Healthy recovery signs include:
- New leaves forming
- Improved color
- Faster growth
- Stronger stems
- Better water retention
- Upright posture
These are wonderful indicators that your plant has adjusted successfully.
Frequently Asked Questions About Repotting Houseplants
Should I loosen roots before repotting?
Yes. Gently loosening tightly wrapped roots encourages them to spread into fresh soil.
Can repotting save a dying plant?
Sometimes.
If poor drainage, root rot, or exhausted soil is the issue, repotting can help revive the plant.
Can I reuse old pots?
Absolutely, but clean them thoroughly first.
Wash with warm water and mild soap to remove bacteria or pests.
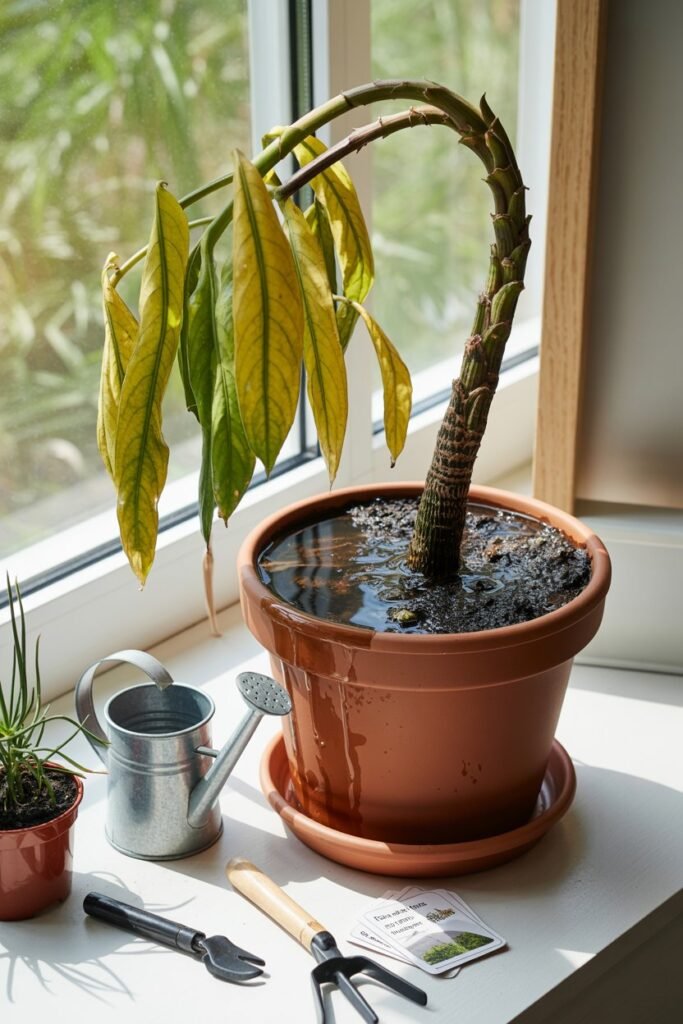
Why is my plant drooping after repotting?
Temporary drooping is common due to transplant shock.
Most plants recover within one or two weeks with proper care.
Do all plants need larger pots?
No.
Some plants prefer snug conditions and may only need fresh soil instead of a bigger container.
Final Thoughts
Repotting houseplants is one of the most rewarding parts of indoor gardening. It gives you the chance to check on your plant’s roots, refresh tired soil, and create a healthier growing environment that supports beautiful new growth.
At first, the process may feel messy or intimidating, but with practice it becomes a relaxing and satisfying gardening ritual. Learning how your plants respond, what kind of soil they prefer, and how quickly they grow helps you become a more confident plant parent over time.
A freshly repotted houseplant often responds with brighter leaves, stronger stems, and healthy new growth within weeks. That little bit of extra care truly makes a difference.
So spread out some newspaper, gather your favorite pots and fresh soil, and enjoy the process of giving your beloved houseplants a beautiful new home.
