
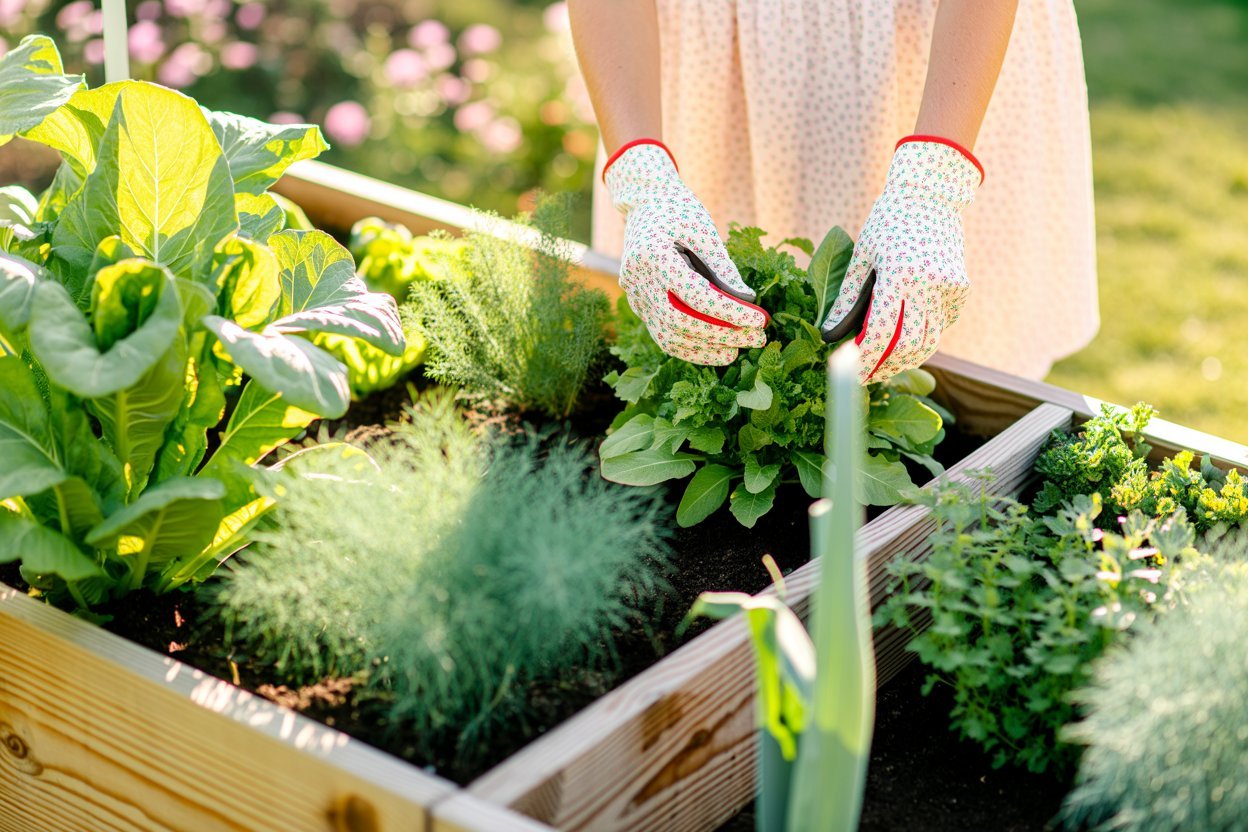

My first raised bed was a wobbly little box I built on a Saturday afternoon, filled with soil I definitely didn’t measure correctly, and planted with seeds I was way too excited about.
It was messy, it was imperfect, and I fell head over heels for gardening anyway.
If you’re standing where I once stood, unsure but hopeful, this checklist is the friend I wish I’d had. Let’s get your raised bed ready together, step by step, with zero overwhelm.
Why Raised Bed Gardening Is Worth Falling In Love With
Before we dive into the checklist, let’s talk about why raised beds have become the darling of home gardeners everywhere.
They offer better drainage, warmer soil that lets you plant earlier in the season, fewer weeds, and a kinder relationship with your back since there’s less bending.
Plus, there’s something so satisfying about a neat, defined little plot that feels entirely your own.
Whether you’re growing herbs for your kitchen or a full vegetable patch, raised beds make gardening feel approachable, pretty, and genuinely doable.
Now, let’s walk through everything you need, organized so you can jump to exactly the section you need.
1. Choosing the Right Location
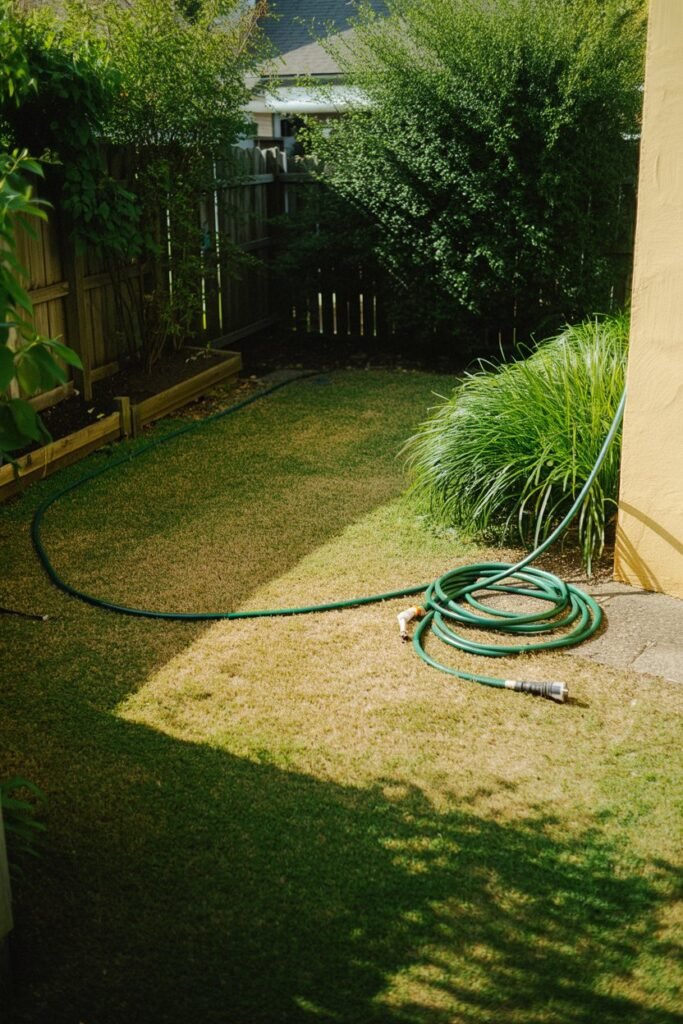
This is the foundation of everything, so take your time here.
- Sunlight: Most vegetables and flowers need 6–8 hours of direct sunlight daily. Watch your yard for a full day before deciding.
- Access to water: Pick a spot close to a hose or water source so watering doesn’t become a chore.
- Level ground: A flat area keeps soil and water distributed evenly.
- Good drainage: Avoid low spots where water pools after rain.
- Accessibility: Choose a spot you’ll walk past often, you’re far more likely to tend a garden you see every day.
2. Selecting Your Raised Bed Materials
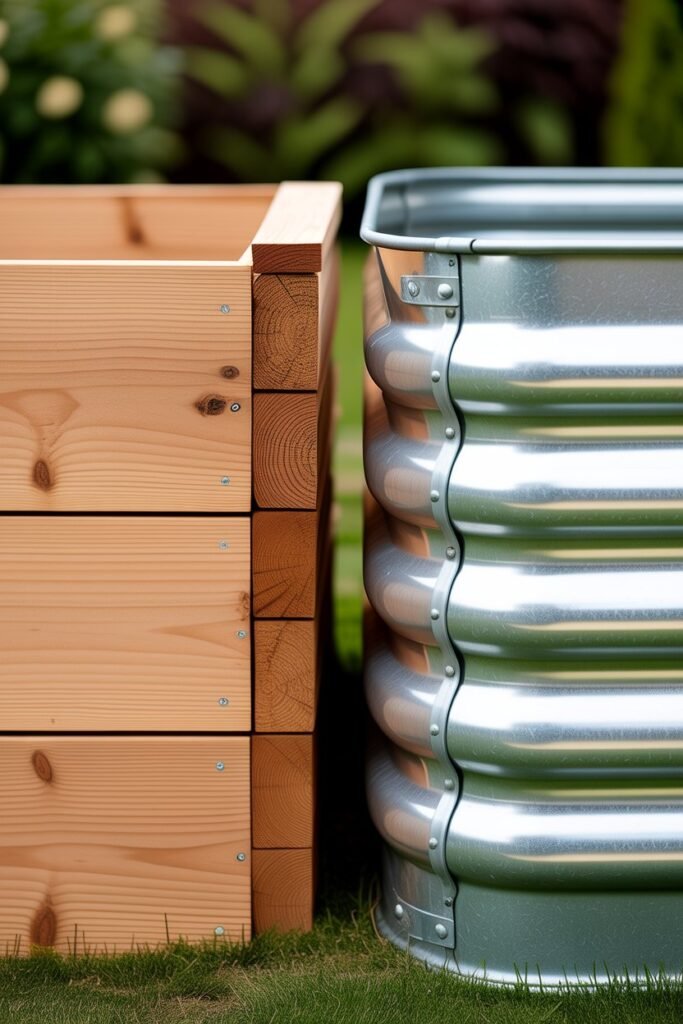
There are so many gorgeous options here, and the right one depends on your budget and style.
- Untreated cedar or redwood: Naturally rot-resistant and beautiful, though pricier.
- Pine: Budget-friendly but breaks down faster.
- Galvanized metal: Sleek, modern, and long-lasting.
- Composite or recycled plastic: Low maintenance and weatherproof.
- Stone or concrete blocks: A charming, permanent option for a cottage-style garden.
A gentle tip: avoid treated lumber if you’re growing edibles, since chemicals can leach into your soil.
3. Tools & Supplies Checklist
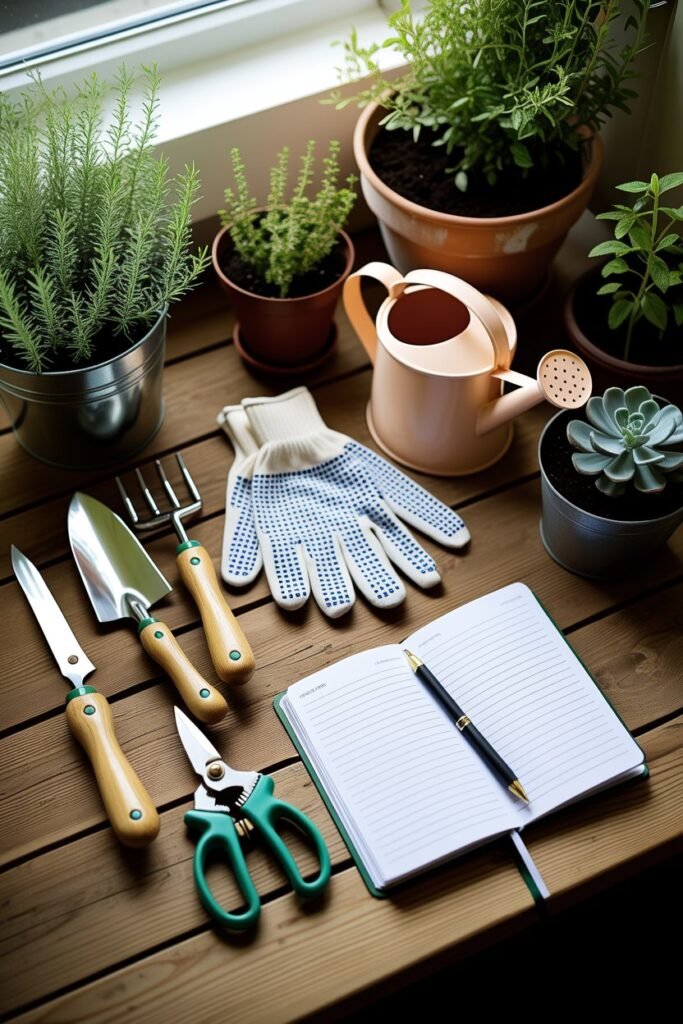
Here’s everything you’ll want on hand before you begin. Gather these first so you’re not running to the store mid-project.
Building Tools:
- Tape measure
- Level
- Cordless drill and screws (or a hammer and nails)
- Saw (if cutting your own boards)
- Landscape fabric or cardboard (for weed barrier)
- Staple gun (optional, for securing fabric)
Soil & Planting Tools:
- Garden trowel
- Hand cultivator/fork
- Garden gloves
- Wheelbarrow or garden cart
- Watering can or hose with a gentle spray nozzle
- Compost and topsoil
- Mulch (straw, wood chips, or bark)
Ongoing Care Tools:
- Pruning shears
- Soil pH testing kit
- Plant labels/markers
- A sweet little garden journal, for tracking what you plant and when
Having these ready from the start makes the whole process feel calm instead of chaotic.
4. Preparing the Ground
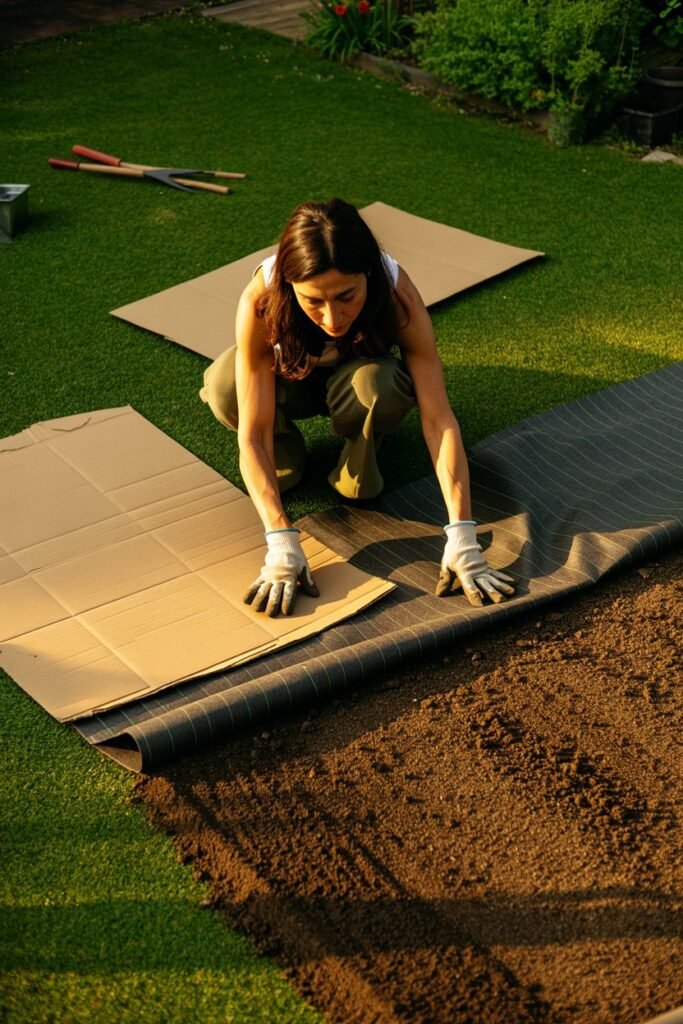
Even though raised beds sit above ground, prep work still matters.
- Clear the area of grass, rocks, and debris.
- Lay down cardboard or landscape fabric to smother weeds and grass underneath.
- Level the ground using a rake so your bed sits evenly.
- If placing on a patio or hard surface, ensure there’s enough depth (at least 12 inches) since roots won’t reach native soil below.
5. Building or Assembling Your Bed
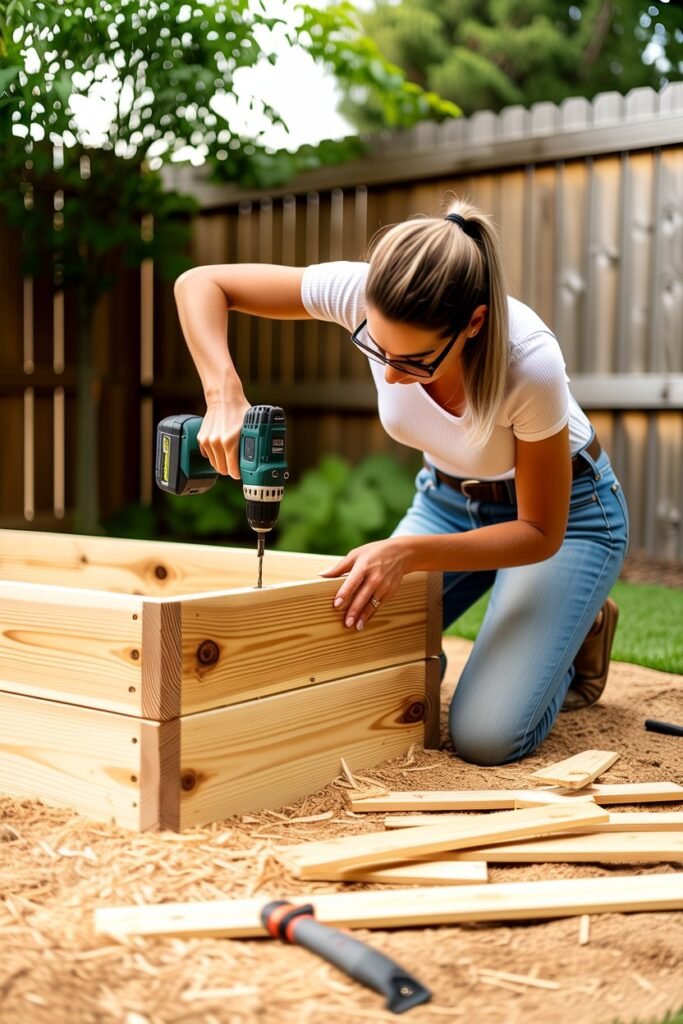
If you’re going the DIY route or assembling a kit, keep these points in mind:
- Standard depth is 12–18 inches, deeper for root vegetables like carrots.
- Keep width to no more than 4 feet so you can reach the center from either side without stepping in the soil.
- Secure corners tightly to prevent bowing once filled with heavy soil.
- Check that everything is level before filling.
- Line the bottom with hardware cloth if rodents or burrowing critters are a concern in your area.
6. Filling Your Bed With the Right Soil Mix
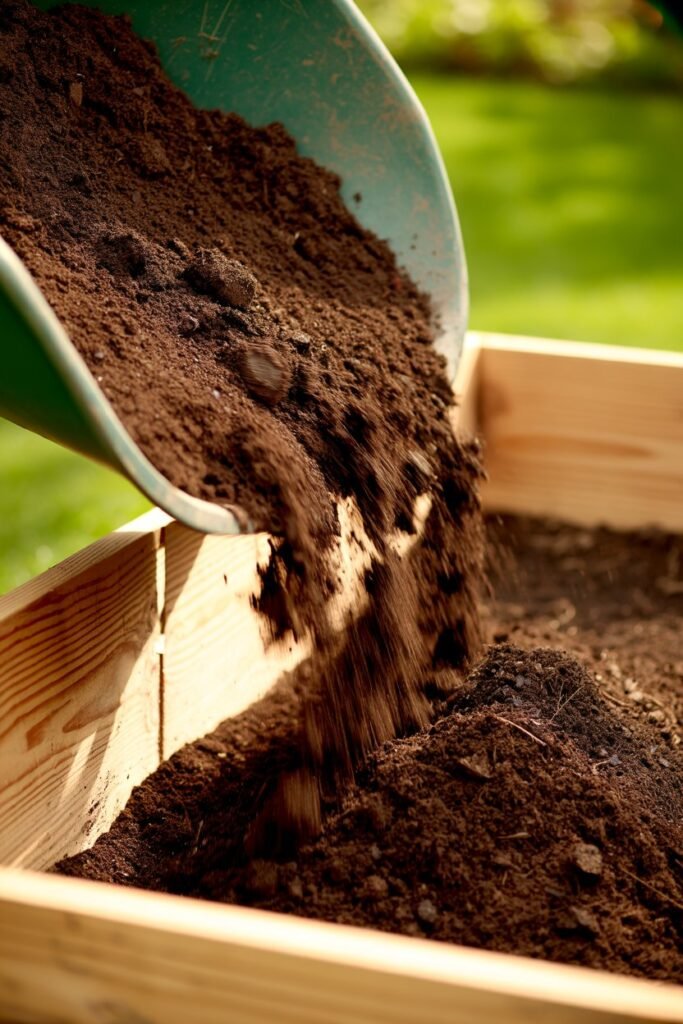
This is where the real magic happens, and it’s worth doing thoughtfully.
A wonderful, tried-and-true mix is:
- 60% high-quality topsoil
- 30% compost (homemade or store-bought)
- 10% aeration material like perlite or coarse sand
This blend gives roots room to breathe while holding just enough moisture and nutrients. Fill your bed, water it in gently, and let it settle for a day or two before planting.
7. Planning Your Planting Layout
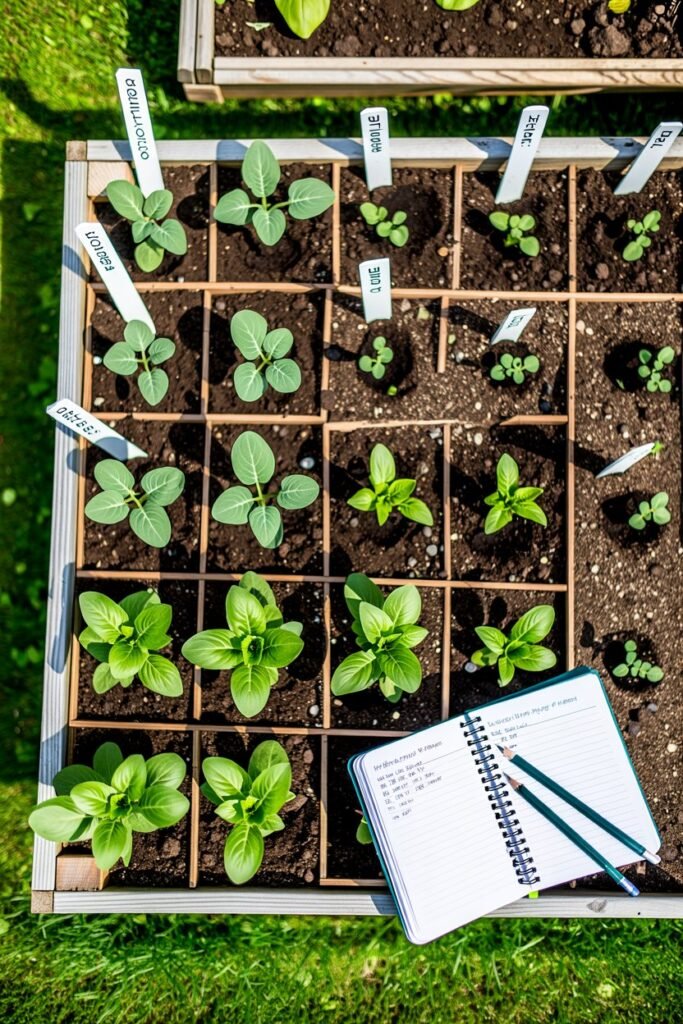
Now for the fun part, designing your little green sanctuary.
- Group by sunlight needs: taller sun-loving plants toward the back or north side so they don’t shade smaller ones.
- Companion planting: pair plants that help each other thrive, like basil near tomatoes.
- Square foot gardening: divide your bed into a grid to maximize space and variety.
- Succession planting: plan a second round of quick-growing crops like lettuce or radishes after your first harvest.
Sketch it out in your garden journal so you remember what worked well next season.
8. Watering & Drainage Essentials
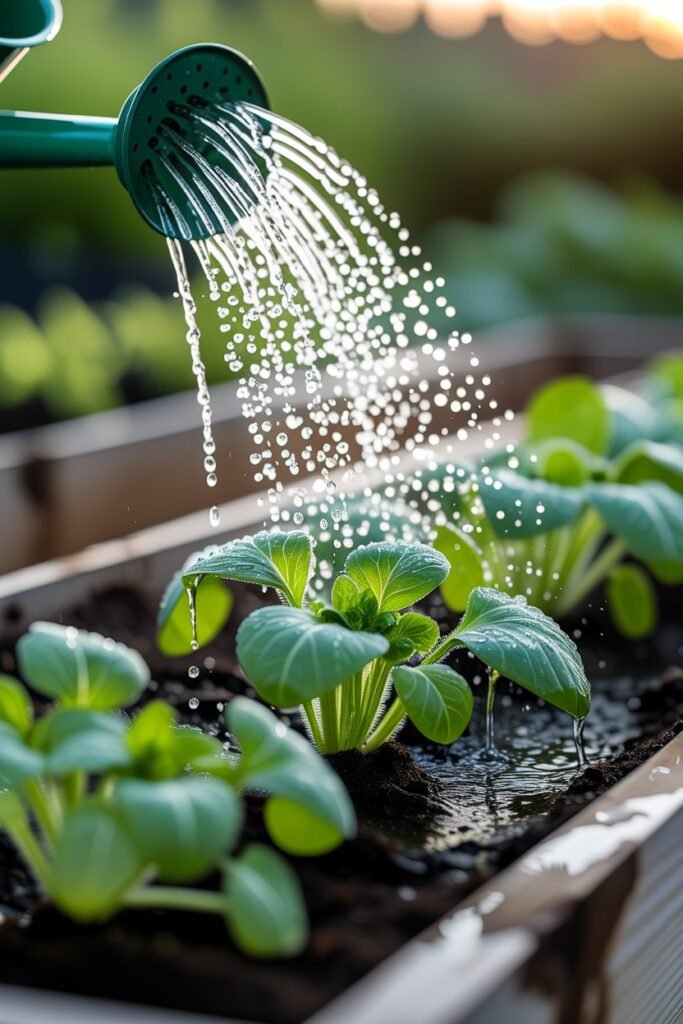
Raised beds drain faster than in-ground gardens, so consistency matters.
- Water deeply a few times a week rather than a little every day, this encourages deep, resilient roots.
- Add a layer of mulch to retain moisture and reduce watering frequency.
- Consider a drip irrigation system or soaker hose if you want a low-maintenance setup.
- Check soil moisture with your finger before watering, if it’s dry an inch down, it’s time.
9. Ongoing Maintenance Checklist
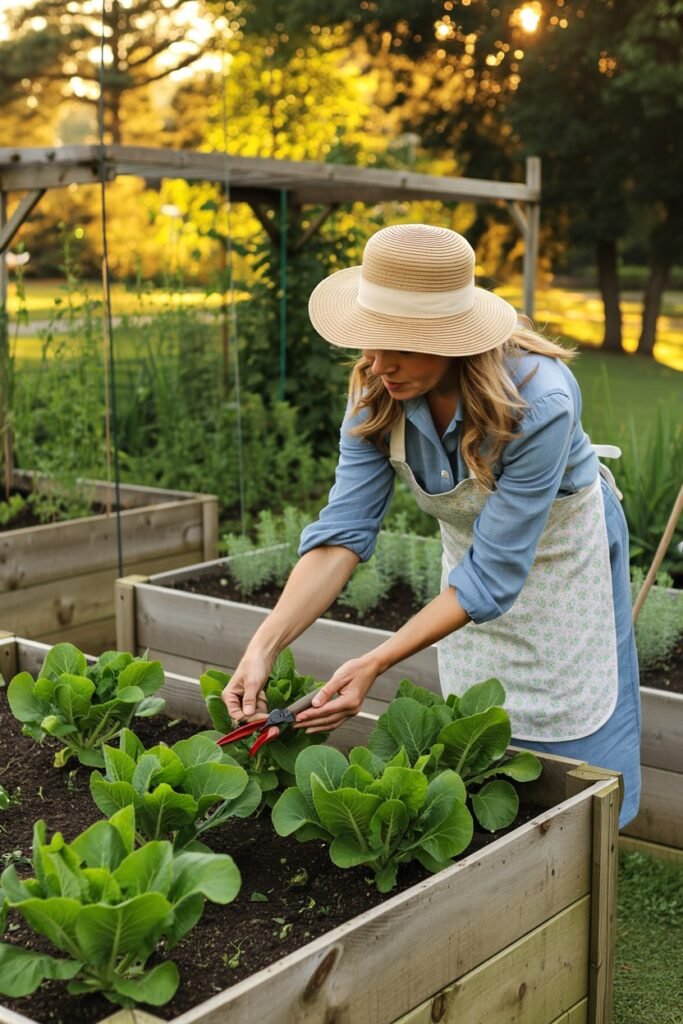
A little regular care keeps your garden thriving all season long.
Weekly:
- Check soil moisture
- Pull any emerging weeds
- Inspect for pests or disease
- Harvest ready produce
Monthly:
- Add a fresh layer of compost or organic fertilizer
- Prune leggy or overgrown plants
- Test soil pH if growth seems slow
Seasonally:
- Rotate crops to keep soil nutrients balanced
- Refresh soil with compost before a new planting season
- Repair any wear on the bed frame
Final Thoughts
Raised bed gardening is such a beautiful way to slow down, nurture something with your own hands, and watch it grow into abundance.
It doesn’t have to be perfect, mine certainly wasn’t, but with this checklist, you now have everything you need to start with confidence and grace.
Take it one step at a time, trust the process, and enjoy every muddy-fingered, sun-warmed moment of it.
Happy planting, friend. Your garden is waiting for you.
