
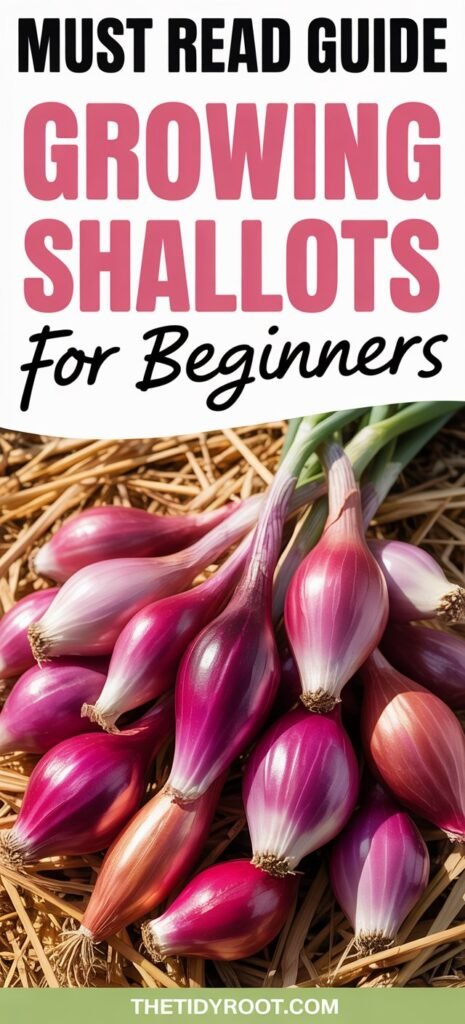
There’s something quietly luxurious about growing shallots.
Not flashy like tomatoes bursting with color, nor sprawling like pumpkins claiming space shallots grow with a kind of understated elegance.
They tuck themselves into the soil, forming neat little clusters, waiting patiently to reward you with their delicate flavor and versatility in the kitchen.
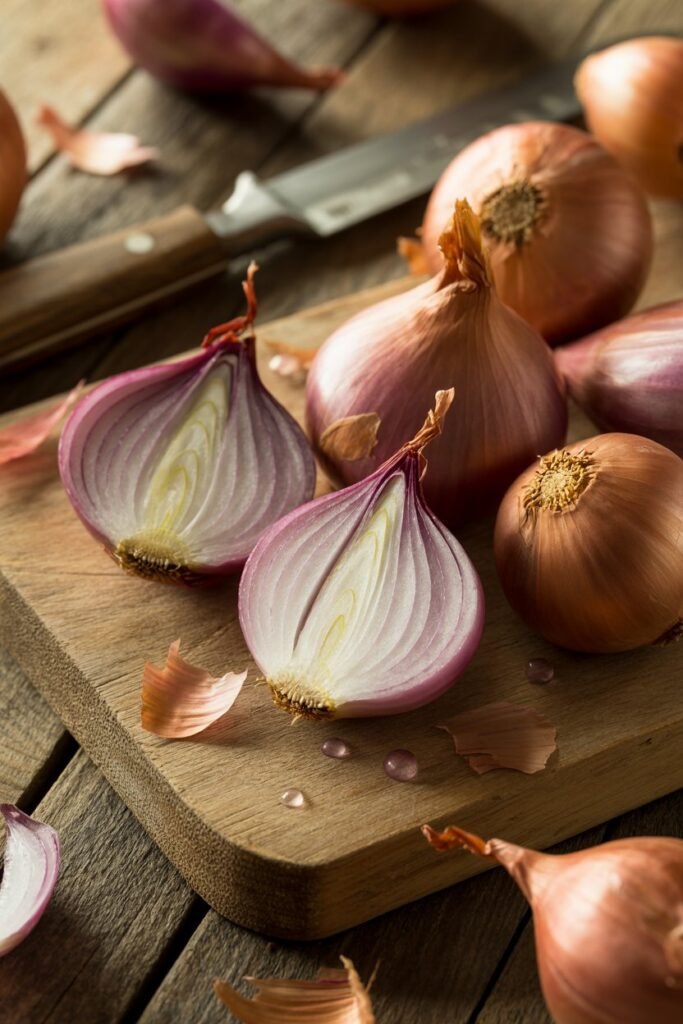
If you’ve ever cooked with shallots, you already know how special they are. Their taste sits somewhere between onions and garlic milder, slightly sweet, and beautifully aromatic.
But what makes them even more satisfying is growing them yourself, right in your own backyard garden.
And the lovely part? Shallots are one of the most forgiving and beginner-friendly crops you can grow.
In this guide, I’ll walk you through everything gently, clearly, and thoroughly so you can grow shallots with confidence and joy.
Whether you’re just starting your gardening journey or you’re looking to refine your skills, this guide will help you nurture a healthy, abundant harvest.
Understanding Shallots: What Makes Them Special
Before planting anything, it helps to truly understand what you’re growing.
Shallots are part of the allium family, just like onions, garlic, and leeks. But unlike onions that grow as a single bulb, shallots multiply. One planted bulb (called a “set”) can grow into a cluster of several new bulbs.
This is part of their quiet magic.
Why gardeners love shallots:
- They take up very little space
- They store well for months
- They require minimal maintenance
- They naturally resist many pests
- They elevate everyday cooking
There are generally two main types:
- French gray shallots (true shallots): richer flavor, slightly more delicate to grow
- Dutch or red shallots: more common, easier, and very productive
If you’re new, start with the Dutch varieties they’re wonderfully forgiving.
Choosing the Perfect Spot in Your Backyard
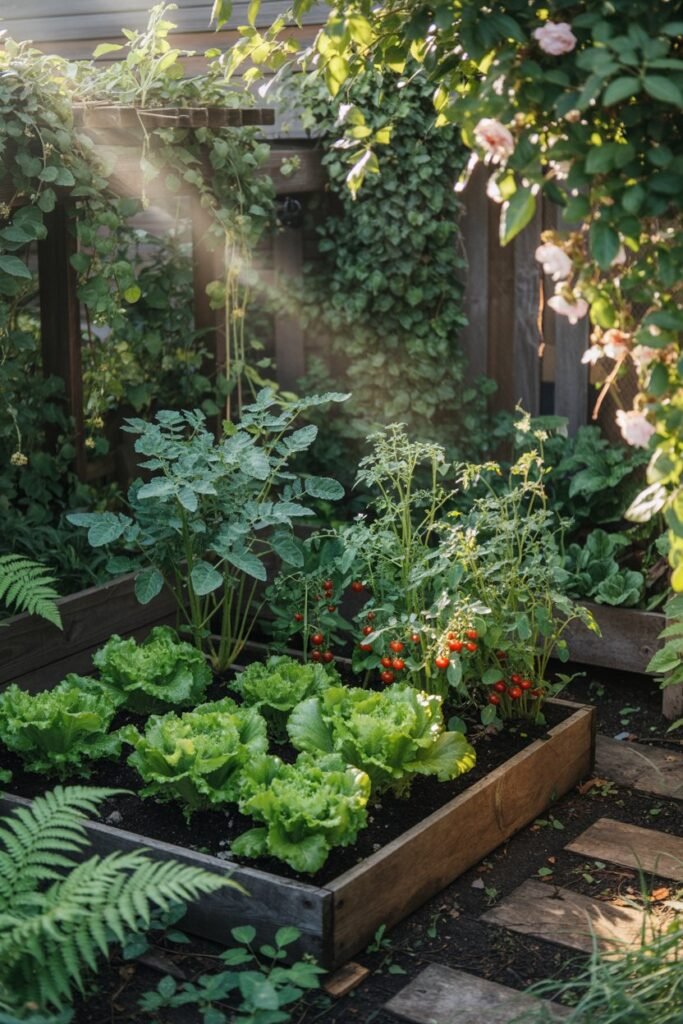
Shallots don’t demand much, but choosing the right location will make all the difference.
Sunlight: The Gentle Power They Need
Shallots thrive best in full sun about 6 to 8 hours of sunlight daily. They can tolerate a bit of shade, but too little light can lead to smaller bulbs.
If your garden has morning sun and light afternoon shade, that’s still a lovely balance.
Soil: Light, Airy, and Well-Draining
Shallots dislike soggy soil. Think of soil that feels soft, crumbly, and breathable.
Ideal soil conditions:
- Loose and well-draining
- Rich in organic matter
- Slightly acidic to neutral (pH 6.0–7.0)
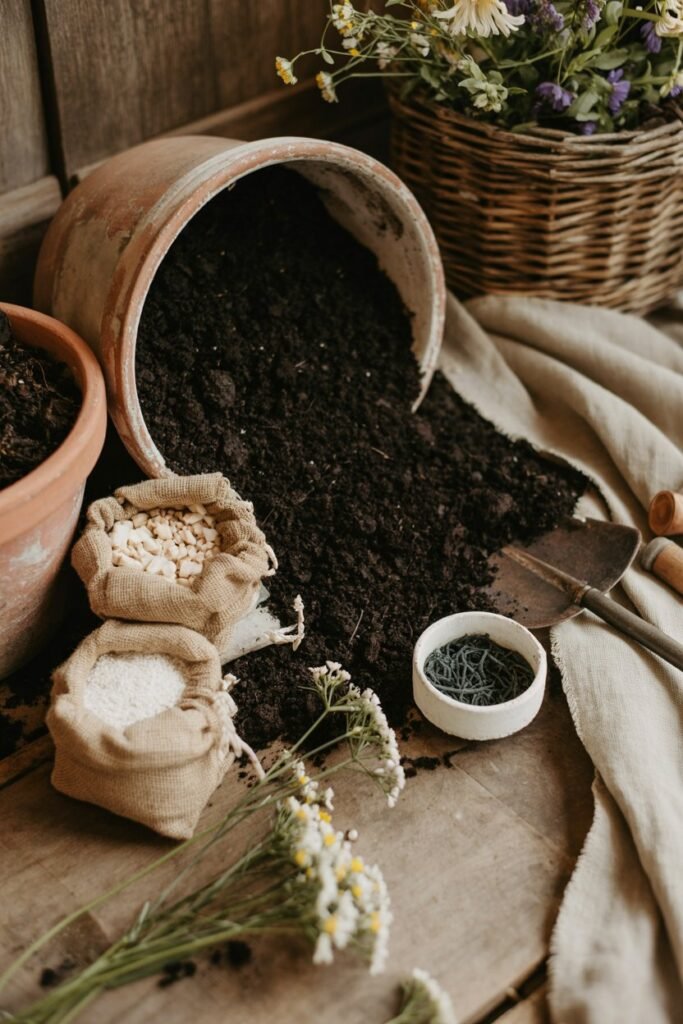
If your soil feels heavy or clay-like, gently amend it with:
- Compost
- Sand
- Aged manure
This creates that soft, welcoming bed shallots adore.
Preparing Your Soil with Care
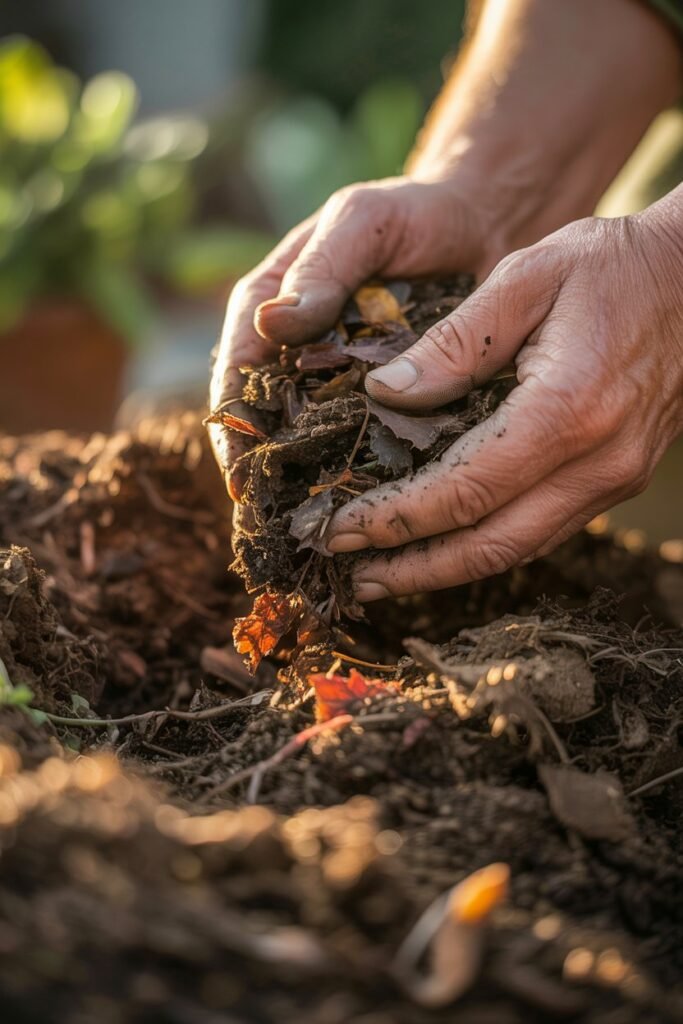
This step is where your harvest truly begins.
Take a quiet moment to prepare your soil it’s like setting the foundation for everything to come.
Steps to prepare your bed:
- Clear the area – Remove weeds, stones, and debris
- Loosen the soil – About 8–10 inches deep
- Mix in compost – This nourishes your shallots naturally
- Level the surface – Smooth and even, ready for planting
Avoid overly rich nitrogen fertilizers. Too much nitrogen encourages leafy growth instead of bulb development.
Think balance, not excess.
When to Plant Shallots
Timing is gentle but important.
Best planting seasons:
- Cool climates: early spring or fall
- Warmer climates (like many parts of Nigeria): plant during the cooler dry season
Shallots prefer cooler weather to establish themselves, but they need warmth later to mature properly.
If you’re gardening in a warm region:
- Aim for planting when temperatures are mild
- Avoid extreme heat or heavy rainy periods
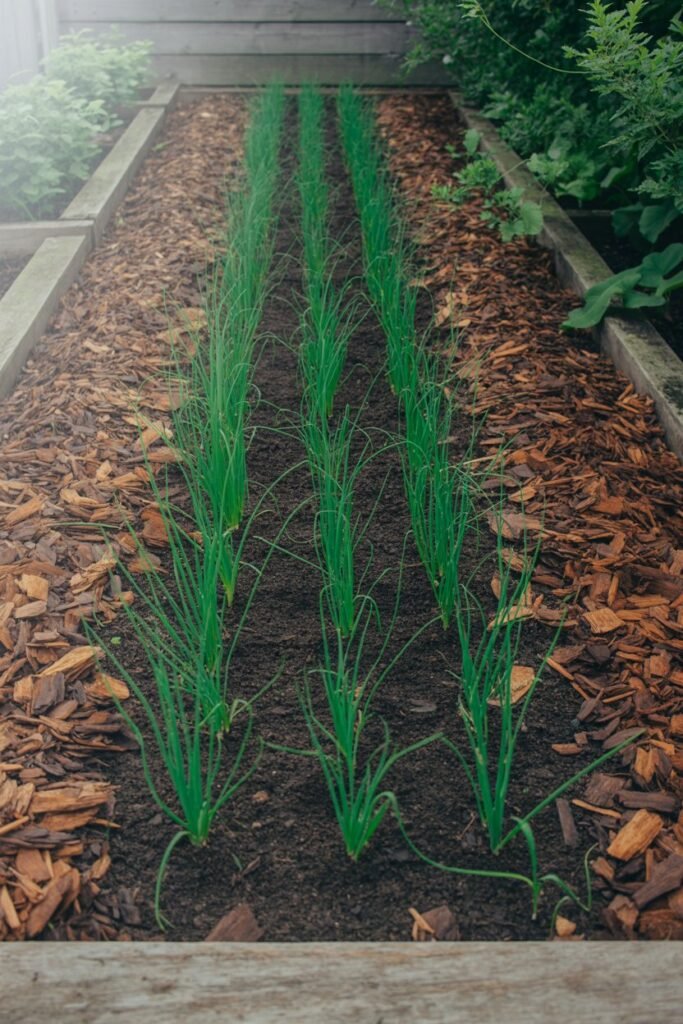
How to Plant Shallots (Step-by-Step, Softly Done)
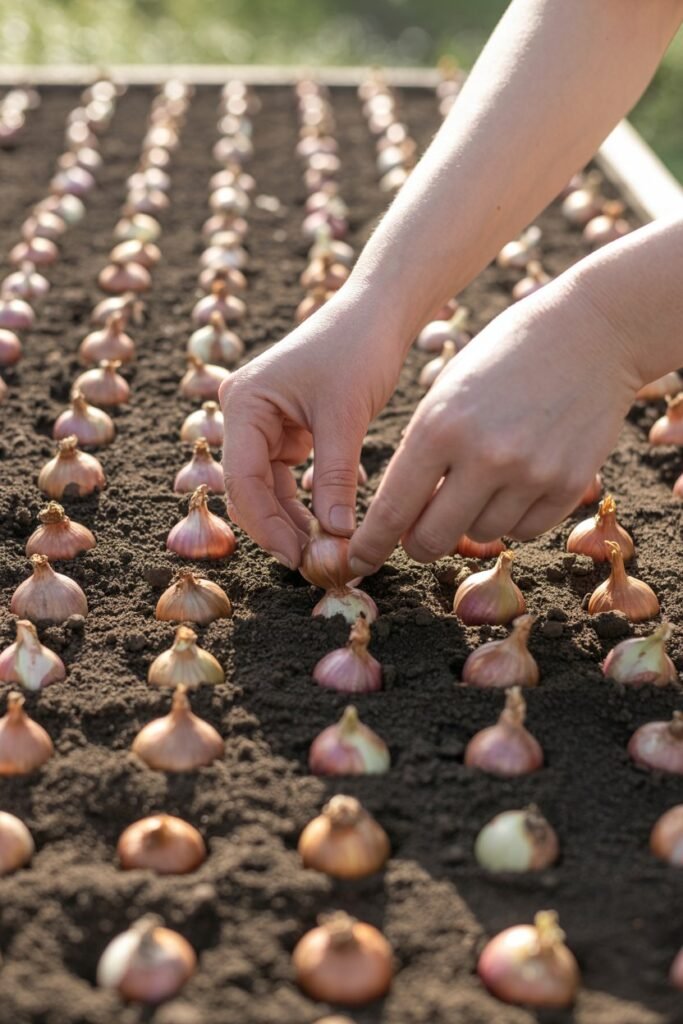
Planting shallots is surprisingly simple and quite satisfying.
What you’ll need:
- Healthy shallot sets (small bulbs)
- Prepared soil
- A gentle watering can
Planting steps:
- Separate the bulbs
Gently break apart the cluster into individual bulbs - Plant each bulb upright
Pointed end facing upward - Spacing
- 6–8 inches apart
- Rows about 10–12 inches apart
- Depth
- Plant shallowly
- The tip should just peek above the soil
- Water lightly
Just enough to settle the soil around them
And that’s it. No fuss, no complexity just a quiet beginning.
Watering Your Shallots: Finding the Right Balance
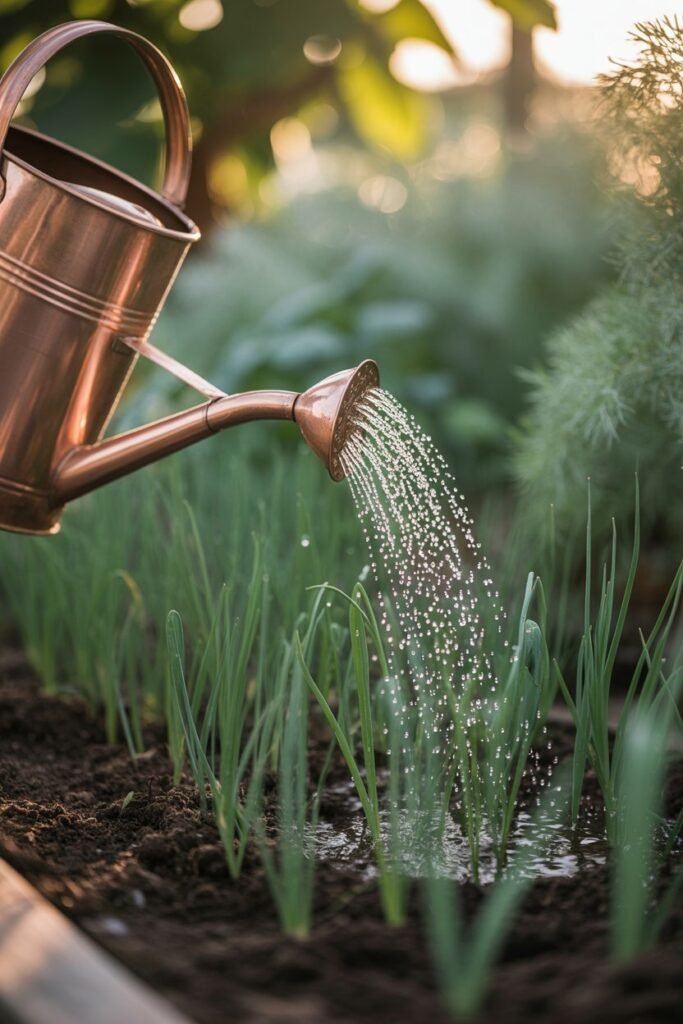
Watering is where many gardeners unknowingly overdo things.
Shallots prefer consistency, not excess.
A gentle watering rhythm:
- Keep soil lightly moist, not wet
- Water when the top inch of soil feels dry
- Reduce watering as bulbs mature
Too much water can lead to rot, while too little can stunt growth. Think of it as maintaining a calm, steady environment.
Feeding Your Shallots Naturally
Shallots don’t need heavy feeding, but they do appreciate gentle nourishment.
Best feeding practices:
- Add compost before planting
- Use a light organic fertilizer if needed
- Avoid high-nitrogen fertilizers
If the leaves are lush but bulbs are small, it’s often a sign of too much nitrogen.
Balance is everything.
Weeding and Mulching: Keeping Things Peaceful
Shallots don’t like competition.
Weeding tips:
- Weed regularly, but gently
- Avoid disturbing the shallow roots
Mulching benefits:
- Retains moisture
- Suppresses weeds
- Keeps soil temperature stable
Use:
- Dry grass
- Straw
- Leaves
Mulch creates a calm, protected environment exactly what shallots thrive in.
Common Problems (and How to Gently Handle Them)
Even in the most cared-for gardens, small issues can arise.
1. Yellowing Leaves
- Often caused by overwatering
- Adjust watering habits
2. Small Bulbs
- Possibly overcrowding or too much nitrogen
- Give them space and balance nutrients
3. Rotting Bulbs
- Usually poor drainage
- Improve soil structure
4. Pests (rare but possible)
- Onion flies or thrips
- Use natural remedies like neem oil
The key is observation your garden will quietly tell you what it needs.
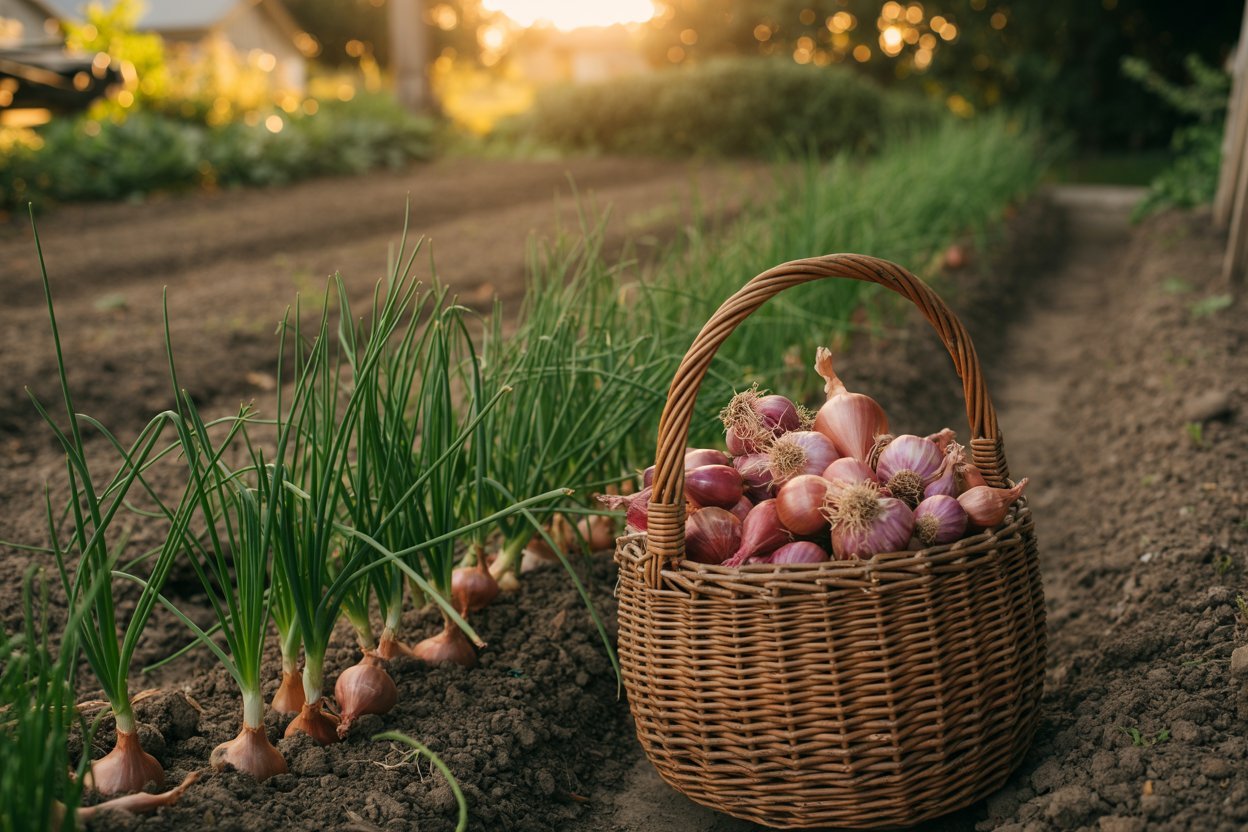
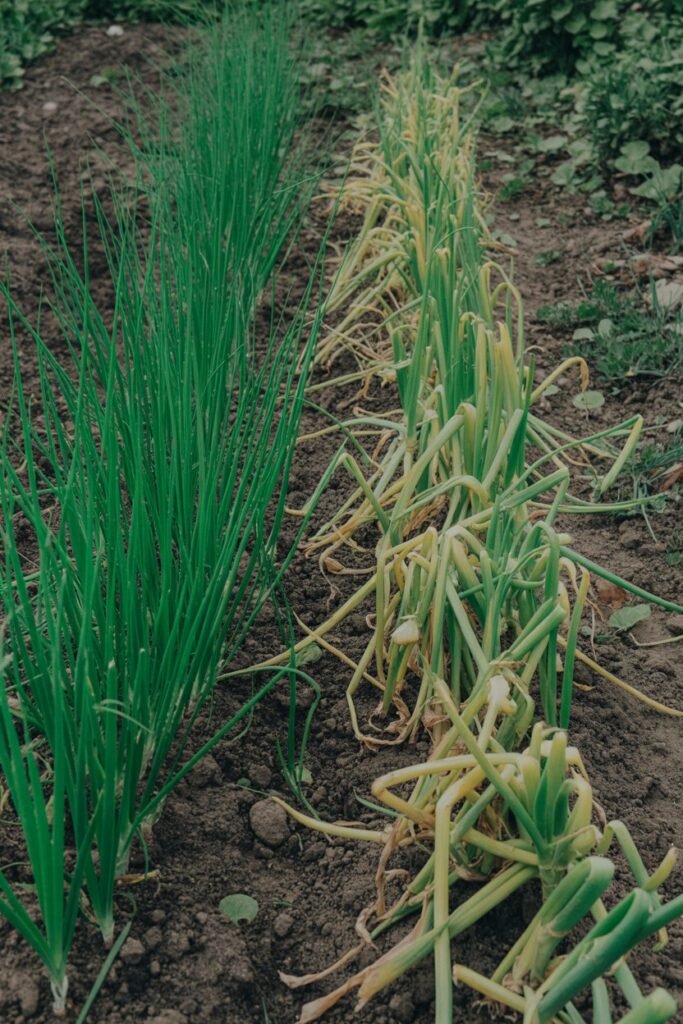
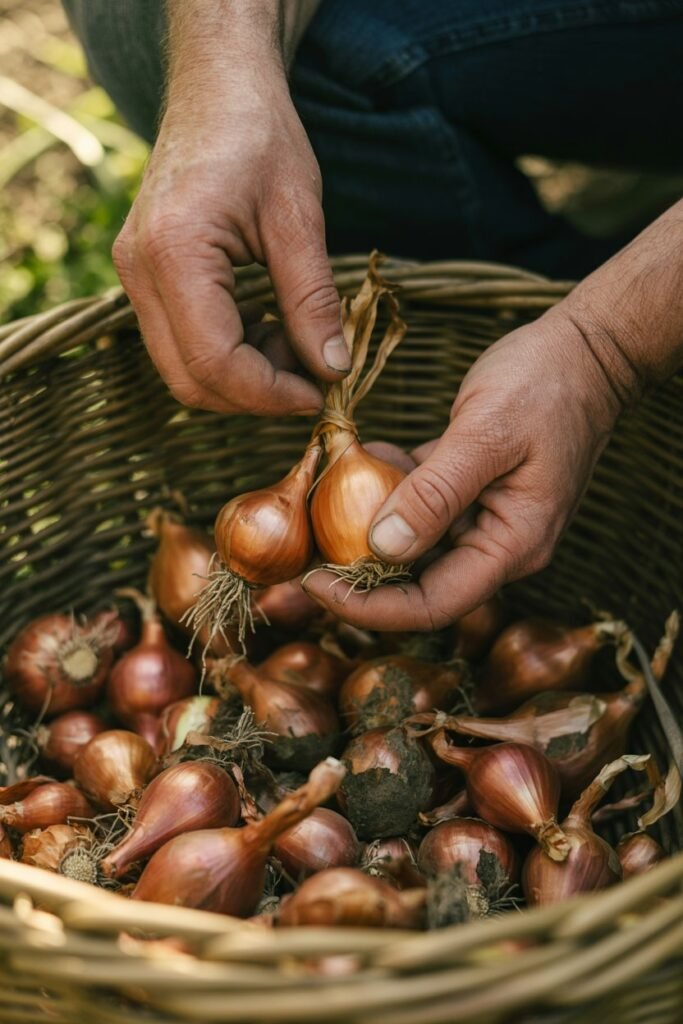
When and How to Harvest Shallots
Harvest time is one of the most satisfying moments.
When they’re ready:
- Leaves begin to yellow and fall over
- Bulbs feel firm and well-formed
How to harvest:
- Gently loosen the soil
- Lift bulbs carefully don’t pull harshly
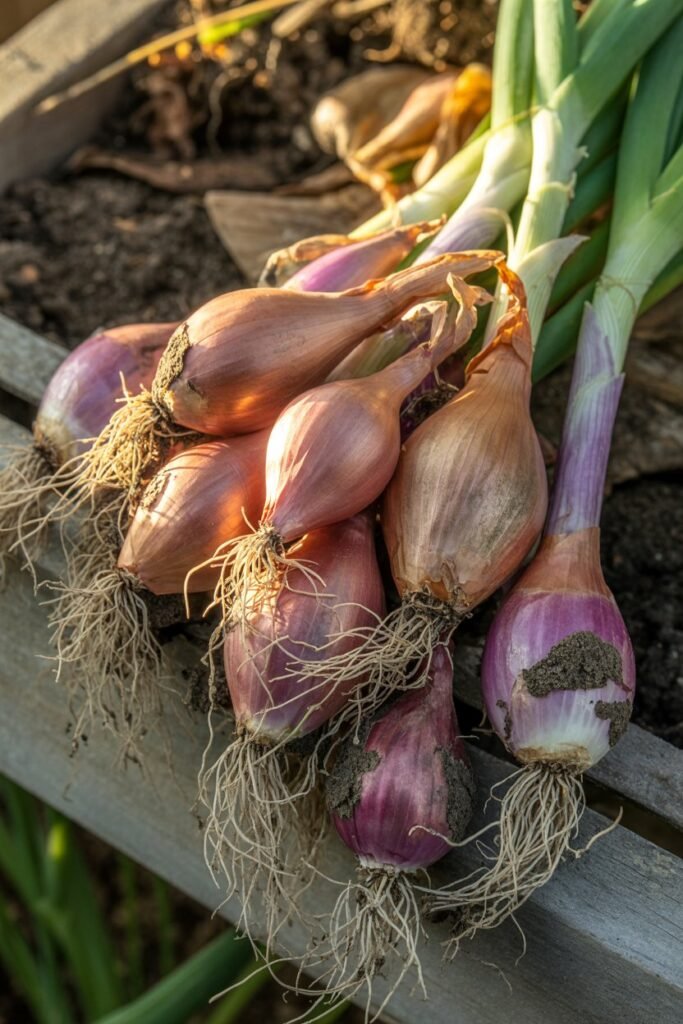
- Shake off excess soil
Handle them with care they’ve taken their time to grow.
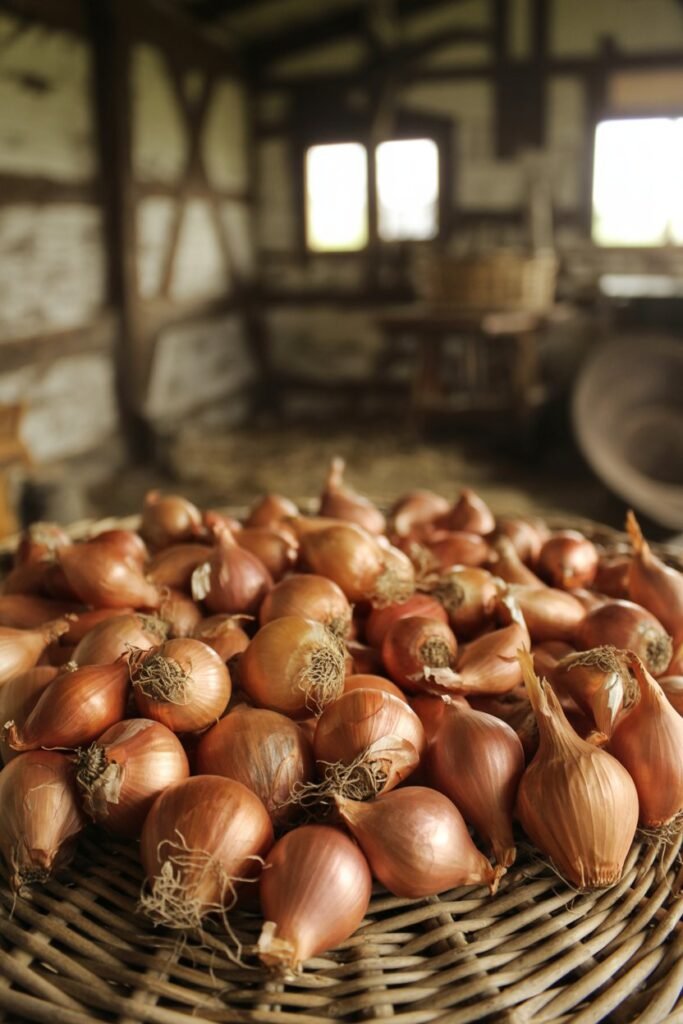
Curing and Storing Your Shallots
This step is where patience turns into long-lasting reward.
Curing process:
- Lay shallots in a dry, airy place
- Avoid direct sunlight
- Let them dry for 2–3 weeks
Storage tips:
- Keep in a cool, dry place
- Use mesh bags or baskets
- Avoid moisture
Properly cured shallots can last for months quietly waiting to flavor your meals.
Companion Planting: Growing in Harmony
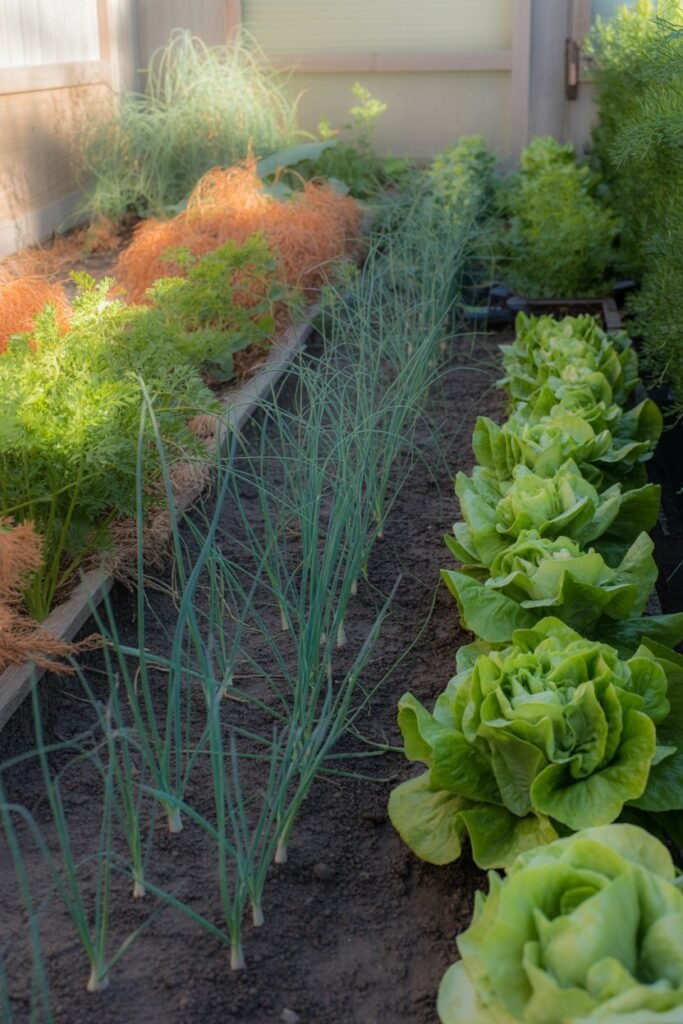
Shallots enjoy good company.
Best companions:
- Carrots
- Lettuce
- Beets
- Strawberries
Avoid planting near:
- Beans
- Peas
Companion planting creates a more balanced, thriving garden ecosystem.
Saving Shallots for Replanting
One of the loveliest parts of growing shallots is their generosity.
Simply save a few healthy bulbs from your harvest and replant them next season.
Choose:
- Medium-sized bulbs
- Disease-free and firm
This creates a continuous cycle your garden sustaining itself, season after season.
A Gentle Closing: Growing Shallots with Intention
Growing shallots isn’t just about food.
It’s about slowing down.
It’s about tending something quietly and watching it multiply beneath the surface often unseen, but deeply rewarding.
In a world that moves quickly, shallots remind us that growth doesn’t need to be loud to be meaningful.
With a bit of sunlight, thoughtful care, and patience, your backyard can become a space of abundance one small bulb at a time.
And when you finally slice into your homegrown shallots, releasing that soft, sweet aroma into your kitchen you’ll know it was all worth it.
