


Lilacs have always been one of those flowers I can’t resist stopping to admire when they bloom.
Their soft clusters of flowers and sweet fragrance can make an ordinary garden feel special.
If you already have a healthy lilac, you may not need to buy another plant to enjoy more of them.
Spring shoots growing around an established lilac can sometimes be separated and replanted to create new plants.
With the right timing, careful digging, and a little patience, you can turn those shoots into beautiful new lilac shrubs.
Can You Propagate Lilacs from Spring Shoots?

Yes, you can sometimes propagate lilacs from young shoots, often called suckers, that emerge around the base of an established shrub.
This method is especially useful because a shoot that has developed its own roots can become an independent plant once it is carefully separated from the parent lilac.
Not every spring shoot is ready to be removed, though.
The most important thing to check is whether the shoot has developed its own root system. A shoot connected to the parent plant but without roots of its own may struggle badly after separation.
Oregon State University Extension notes that lilac shoots emerging from the ground can survive independently when they have their own roots.
That makes the roots the real prize when you’re digging.
Read When to Cut Back Coneflowers and When to Leave Them Alone
What Are Lilac Suckers or Spring Shoots?

Lilac suckers are young shoots that emerge from the base of a mature shrub or from the soil near it.
They can look like little lilac plants growing beside the main shrub. Some are produced naturally as the plant expands, while others can appear after pruning or as the lilac produces vigorous new growth.
For propagation, I look for shoots that:
- Are growing from the ground near the parent plant
- Have healthy green leaves
- Are reasonably well established
- Are not weak, damaged, or diseased
- Appear to have roots of their own
- Are small enough to transplant without causing excessive root disturbance
A healthy-looking shoot is much more promising than one that is thin, damaged, or showing signs of disease.
When Is the Best Time to Propagate Lilacs from Spring Shoots?

Timing makes a big difference.
Early spring or spring, when the shoots are actively developing but before hot, dry weather arrives, can be a good opportunity to inspect and separate suitable shoots.
The exact timing depends on your climate and how quickly your lilac begins growing.
If the soil is workable and reasonably moist, digging is usually much easier than trying to work around hard, dry soil later in the season.
I also prefer avoiding periods of extreme heat. A newly separated lilac needs time to rebuild its root-to-shoot balance, and hot weather can put additional stress on the young plant.
Lilacs themselves are hardy shrubs, but newly transplanted shoots need a little extra care while they establish.
What You’ll Need
You don’t need a complicated propagation setup.
Gather:
- A sharp, clean garden spade
- Hand pruners
- Gardening gloves
- A bucket or container
- Quality potting mix or prepared garden soil
- A nursery pot with drainage holes, if starting in a container
- Water
- Mulch
- Rooting hormone, optional
The most important tool is a sharp spade because you’ll want to separate the shoot while preserving as many roots as possible.
Clean tools are also helpful when making any necessary cuts. Avoid working with dirty or damaged equipment, particularly when dealing with plants that may have disease problems.
Read 11 Flowers to Attract Dragonflies to Your Garden (And Why You’ll Love Having Them Around)
Step 1: Choose a Healthy Spring Shoot

Start by examining the shoots around your lilac.
I wouldn’t automatically choose the biggest one. A very large shoot can have more top growth to support after transplanting, which may make establishment harder.
Instead, look for a young, vigorous shoot with healthy leaves and a sturdy stem.
Most importantly, inspect where the shoot meets the soil.
You want to determine whether it is simply attached to the parent plant underground or whether it has begun developing its own roots.
If you can see that the shoot has a separate root system, that’s an excellent candidate.
Avoid propagating from a lilac that appears seriously diseased or unhealthy. A new plant is not going to solve an underlying disease problem, and you don’t want to intentionally propagate visibly unhealthy material.
Step 2: Water the Area Before Digging

If the soil is dry, water the area around the lilac before attempting to dig.
You don’t want muddy soil, but you do want the ground to be workable.
Moist soil is easier to dig through and can help you loosen soil around the roots without breaking apart every small root.
Give the area enough time for the water to soak in rather than digging immediately into saturated soil.
This small preparation step can make separating the shoot much easier.
Step 3: Carefully Dig Around the Shoot

This is where I would slow down and take my time.
Place your spade several inches away from the young shoot rather than digging directly against its stem.
Push the spade down carefully and work around the shoot in a circle.
Your goal is to loosen the soil and expose the roots without chopping through them.
As you dig, gently remove some soil with your hands so you can see what’s happening underground.
Look for roots extending from the shoot.
If you find a good collection of roots belonging to the young plant, continue loosening the soil around them.
If you discover that the shoot has no independent roots and is attached to the parent plant, I would leave it where it is and allow it more time to develop.
Step 4: Separate the Shoot

Once you have identified the connection between the shoot and the parent plant, carefully separate it.
Sometimes the connection can be loosened naturally. Other times, a clean pair of pruners may be needed.
Make the cut cleanly rather than tearing the plant apart.
Try to keep a healthy amount of roots attached to the young lilac.
This is one of the most important parts of the entire process.
The more useful roots you can preserve, the better prepared the new plant will be to absorb water and support its leaves after transplanting.
Step 5: Keep the Roots Moist

Don’t leave the exposed roots sitting in the sun or drying wind.
As soon as you’ve separated the shoot, place the roots in a container or bucket with some moist soil or wrap them in a damp material temporarily.
You don’t want the roots sitting in standing water for a long period, either.
The goal is simply to prevent them from drying out while you prepare their new home.
Step 6: Decide Whether to Pot It or Plant It Directly

You have two choices.
Option 1: Plant the Lilac in a Pot
Starting your young lilac in a container can make it easier to monitor.
Choose a pot with drainage holes and fill it with a well-draining growing medium.
Make a hole large enough to accommodate the roots without bending or crushing them.
Place the lilac at approximately the same depth it was growing previously.
Fill around the roots with soil and gently firm the mixture.
Water thoroughly.
Option 2: Plant It Directly in the Garden
You can also move a well-rooted shoot directly into its permanent or temporary garden location.
Choose a sunny location with well-draining soil.
Lilacs generally perform best with plenty of direct sunlight. The University of Minnesota Extension recommends at least six hours of direct sunlight for healthy lilac growth.
Dig a hole wider than the root system so the roots can spread naturally.
Set the plant into the hole, backfill with soil, and water thoroughly.
Step 7: Water the New Lilac Well
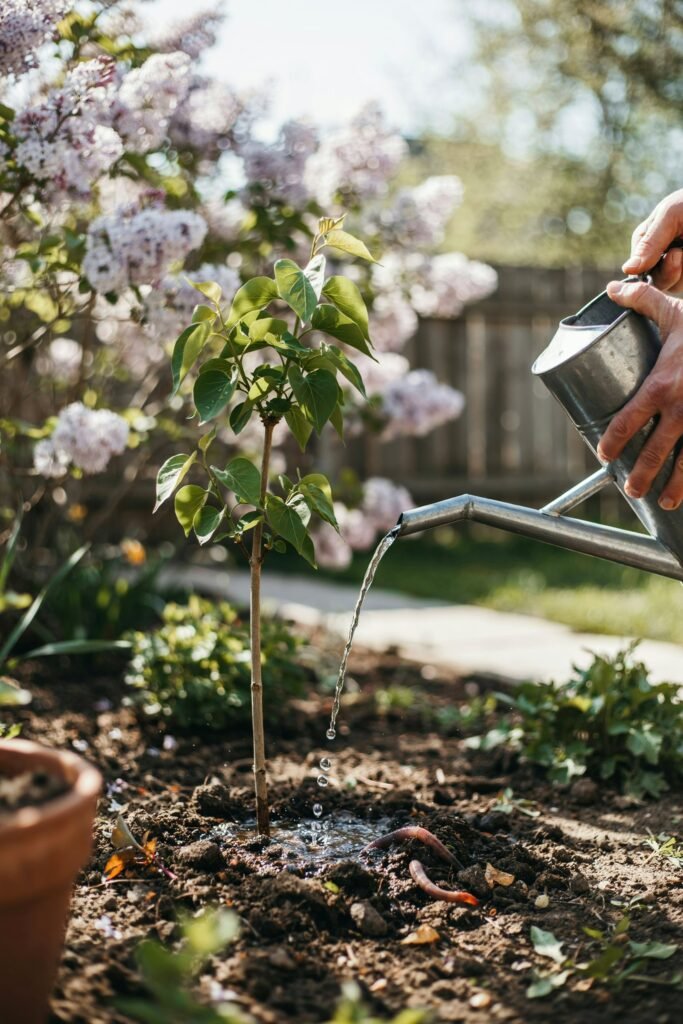
After planting, give your new lilac a thorough watering.
This helps settle soil around the roots and eliminates large air pockets.
For the first few weeks, pay close attention to soil moisture.
You don’t want the soil to remain constantly soggy, but you also don’t want the new plant to dry out completely.
A newly separated shoot has experienced root disturbance, so consistent moisture is particularly important while it establishes.
During hot or dry weather, check the soil more frequently.
Step 8: Add a Layer of Mulch

A light layer of mulch can be helpful around your newly planted lilac.
Spread mulch over the soil around the plant, but keep it away from direct contact with the stem.
Mulch can help slow moisture loss and moderate fluctuations in soil temperature.
I like using a simple organic mulch such as shredded bark or composted material.
Don’t pile mulch tightly against the base of the plant. Good air circulation around the stem is important.
Should You Use Rooting Hormone?
For a naturally rooted lilac sucker, rooting hormone usually isn’t the main thing that determines success.
The shoot already has roots, so your biggest priorities are preserving those roots and helping the plant establish after separation.
Rooting hormone is more commonly associated with encouraging roots on plant material that does not already have a developed root system.
For this particular method, I would focus more attention on careful digging, keeping roots moist, proper planting, and consistent watering.
How Long Does a Propagated Lilac Take to Establish?
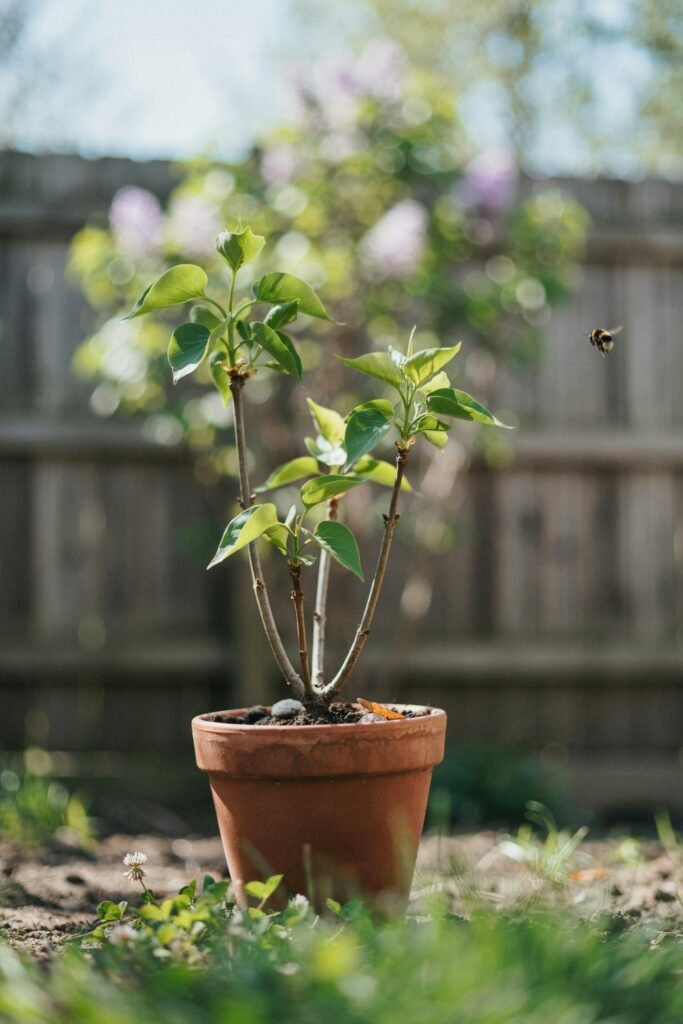
Be patient.
Your new lilac may not look dramatically different during the first few weeks.
Some transplanted shoots put their energy into root development before producing lots of visible top growth.
You may notice some temporary leaf drooping after transplanting. This doesn’t automatically mean the plant has failed.
Give it suitable light, water when needed, and time to settle.
Once the root system becomes established, the plant should gradually begin producing stronger new growth.
When Can You Move a Potted Lilac to the Garden?
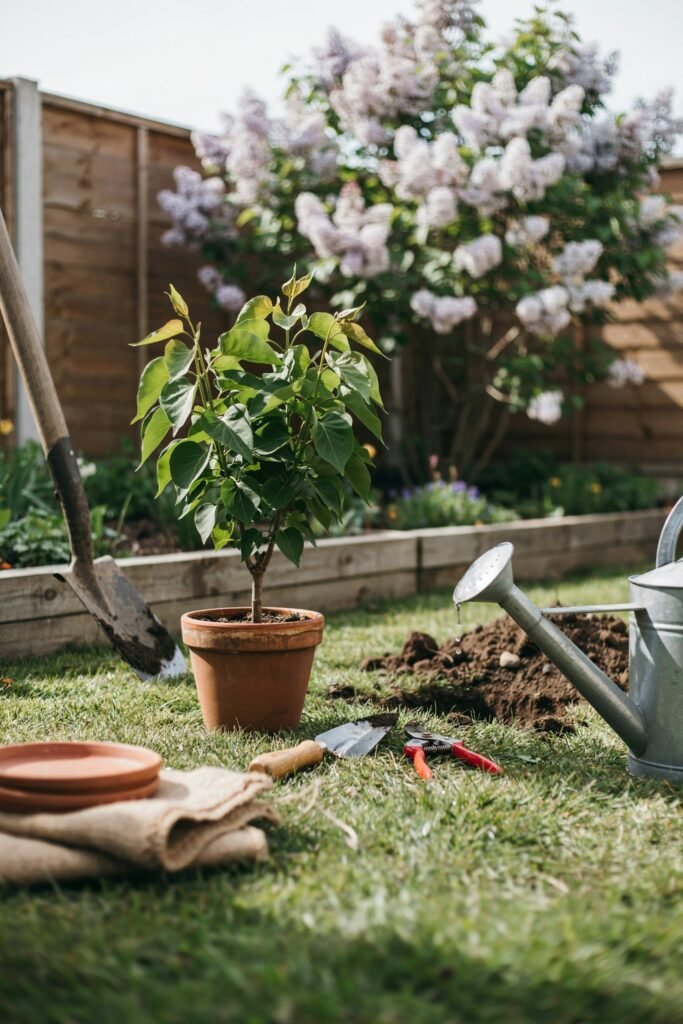
If you decide to start your shoot in a container, don’t rush to move it again.
Allow the young plant to establish a healthy root system first.
You can gently check for signs of establishment by watching for fresh growth and, when appropriate, carefully inspecting whether roots are developing throughout the container.
Once the plant is growing strongly and the weather is suitable, you can transplant it into the garden.
Avoid repeatedly disturbing the roots simply to check them.
Where Should You Plant Your New Lilac?
Choose the location carefully because lilacs can eventually become substantial shrubs.
Look for:
- Plenty of sunlight
- Good drainage
- Room for mature growth
- Air movement around the plant
- Soil that isn’t constantly waterlogged
- Enough distance from buildings, paths, and other large plants
Lilacs flower best with good sunlight, and overcrowding can reduce air circulation.
Good spacing and pruning also help reduce conditions that encourage some foliar diseases.
What If the Spring Shoot Has No Roots?
Don’t force it.
This is one of the most common mistakes I would avoid.
If you dig up a shoot and discover that it has little or no root system, separating it can leave the young stem unable to support its existing leaves.
Instead, consider leaving it attached to the parent plant.
Give it more time to grow and develop roots naturally.
A shoot with a healthy independent root system is a much better candidate for this type of propagation.
Common Mistakes to Avoid
Digging Too Close to the Shoot
Digging directly beside the stem can damage the roots before you’ve even had a chance to see them.
Start farther away and work inward.
Pulling the Shoot Out
Never simply yank a shoot from the ground.
You may tear away important roots.
Letting Roots Dry Out
Exposed roots should be protected from drying while you’re working.
Transplanting During Extreme Heat
Very hot weather can make establishment more difficult.
Overwatering
New plants need moisture, but constantly saturated soil can create its own problems.
Planting in Deep Shade
Lilacs need good sunlight for strong growth and flowering.
Propagating Diseased Plants
Avoid using unhealthy shoots as propagation material.
Lilacs can experience fungal leaf diseases and bacterial problems, so starting with healthy plant material is important.
How to Care for Your New Lilac After Propagation
Once your young lilac is planted, think about the first season as an establishment period.
Keep the soil reasonably moist, particularly during dry weather.
Watch the leaves and stems for signs of stress.
Don’t heavily prune the new plant immediately unless there is damaged or broken growth that needs removal.
Your young lilac needs its leaves to produce energy that supports new root and shoot growth.
As it becomes established, you can gradually move toward normal lilac care.
Established lilacs generally benefit from pruning after flowering because they form next year’s flower buds during the summer.
How Soon Will Your New Lilac Bloom?
This is where patience really pays off.
A young propagated lilac may need time to become established before giving you the kind of flowering display you are hoping for.
Don’t be discouraged if the first season is more about roots and leaves than flowers.
Once the plant matures, you’ll have the reward of watching a lilac that started as a small spring shoot develop into a flowering shrub.
And honestly, I think that’s one of the most satisfying parts of growing plants yourself.
Final Thoughts
Propagating lilacs from spring shoots is a lovely way to turn new growth from an established shrub into another garden plant. The key is choosing a healthy shoot that has developed its own roots, digging carefully, protecting those roots from drying, and giving the young plant consistent care after transplanting.
Take your time when separating the shoot. If it isn’t rooted yet, leave it attached and try again later rather than forcing the process.
With patience and good growing conditions, that little shoot can eventually become a beautiful lilac shrub of its own and you’ll get to enjoy knowing you grew it yourself.
Quick Lilac Propagation Checklist
Before you start, run through this simple checklist:
- ☐ Choose a healthy spring shoot/sucker near the parent lilac.
- ☐ Check that the shoot has its own roots before separating it.
- ☐ Water the soil if it is dry, making it easier to dig carefully.
- ☐ Use a sharp, clean spade and pruners if needed.
- ☐ Dig around the shoot slowly to avoid damaging its roots.
- ☐ Separate the shoot cleanly from the parent plant.
- ☐ Keep the exposed roots moist and shaded while you work.
- ☐ Plant it in well-draining soil or a container with drainage holes.
- ☐ Give the new lilac a thorough watering after planting.
- ☐ Add a light layer of mulch, keeping it away from the stem.
- ☐ Provide plenty of sunlight—ideally around six hours or more of direct sun.
- ☐ Keep the soil reasonably moist while the young plant establishes.
- ☐ Be patient with new growth and flowering during the first season.
