
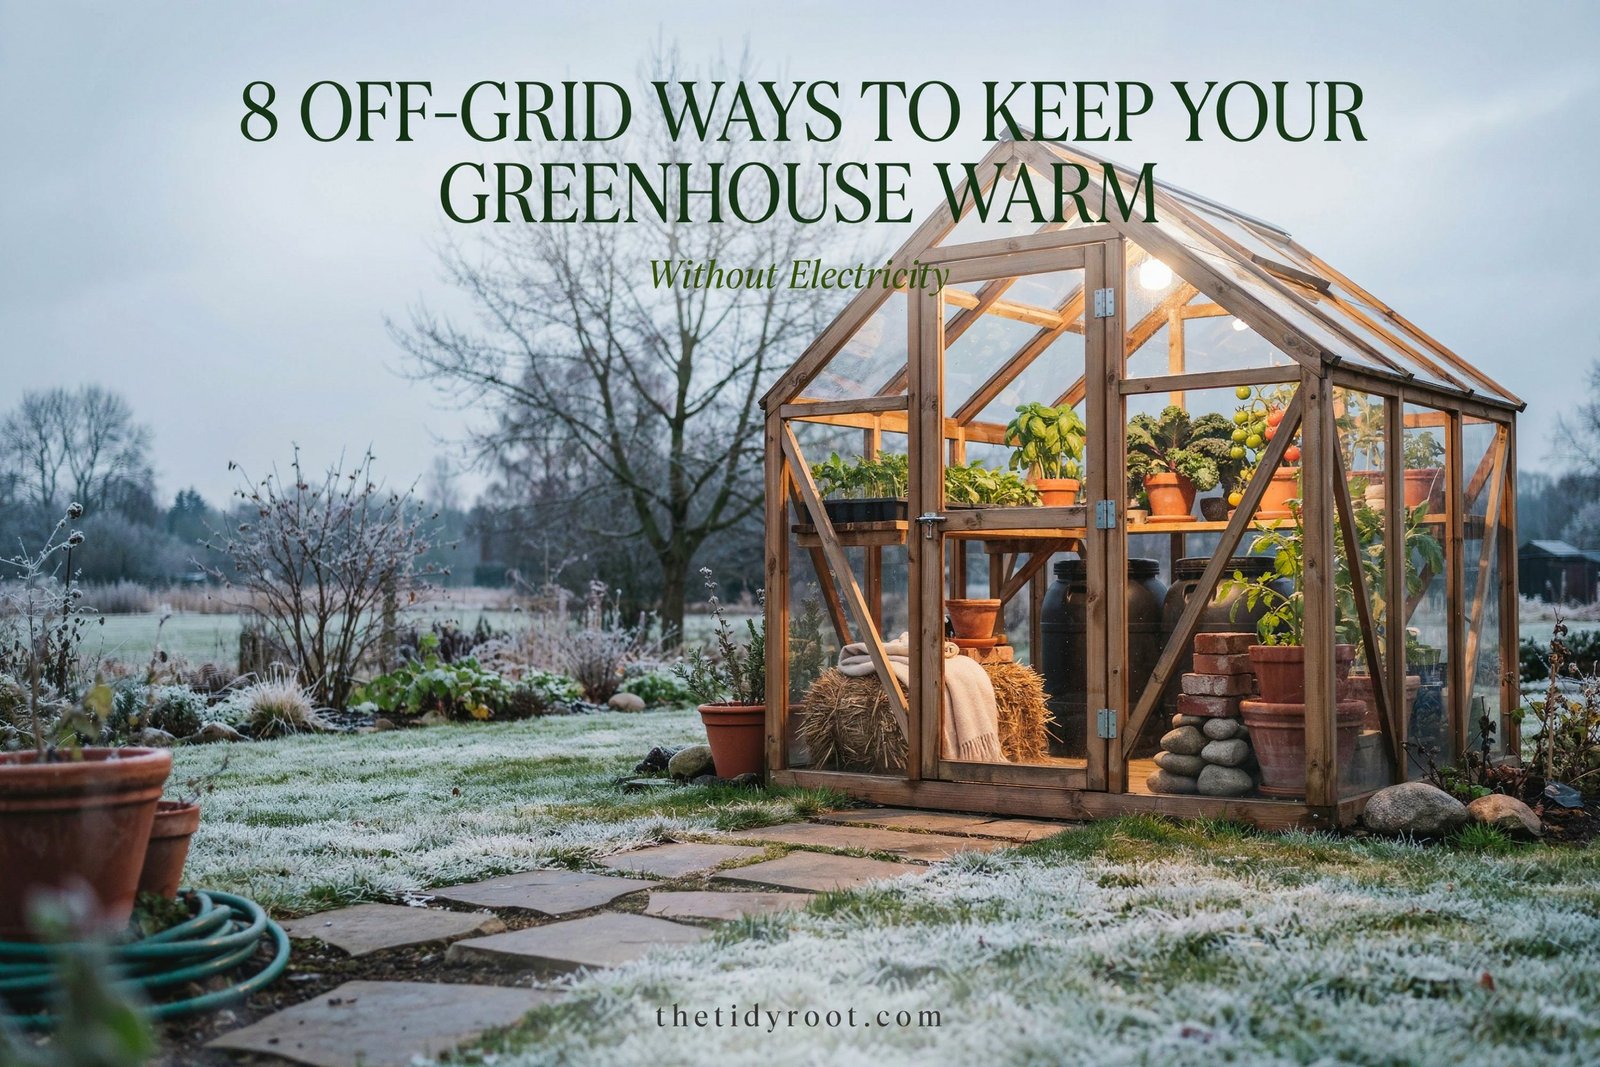

Keeping a greenhouse warm through cold nights can feel like a constant battle, especially when you are trying to garden without relying on electricity.
I love the idea of making a greenhouse work with simple materials, natural heat, and a little thoughtful planning.
The good news is that you do not always need an electric heater to protect your plants from chilly temperatures.
With the right setup, you can capture daytime warmth, slow down heat loss, and create a much more stable growing space.
These off-grid methods are simple, affordable, and especially helpful for gardeners who want a more self-sufficient greenhouse.
Why Keeping a Greenhouse Warm Matters
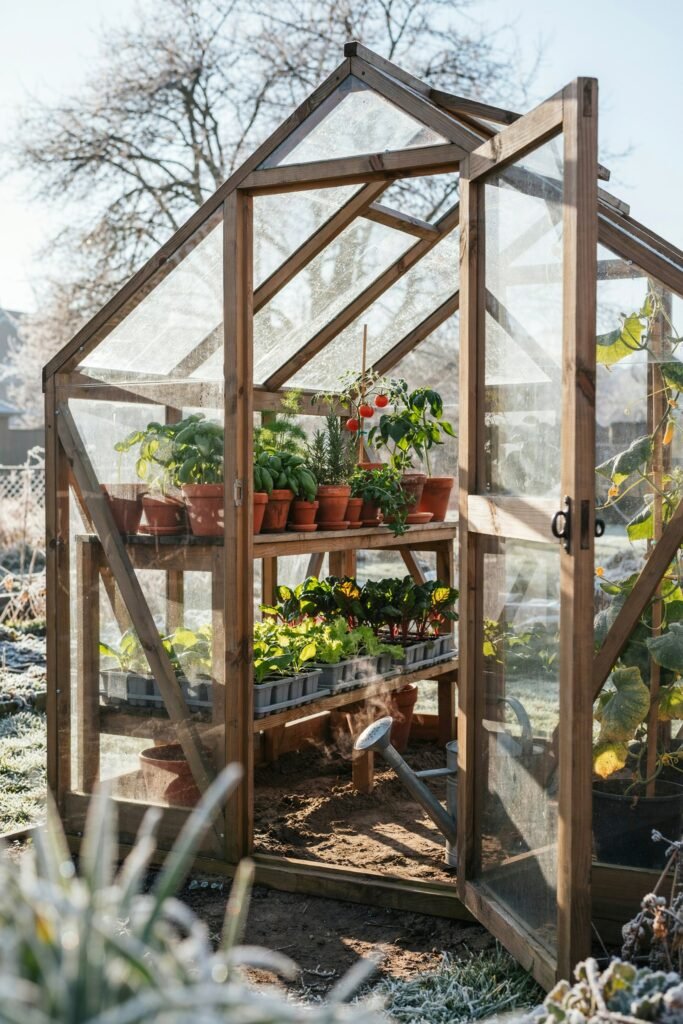
A greenhouse may feel surprisingly warm during the day, but temperatures can drop quickly after sunset.
Plants are affected not only by how cold the air becomes but also by cold soil, drafts, and sudden temperature changes. Some plants can tolerate cool conditions, while tender seedlings and warm-season crops can struggle when nighttime temperatures fall too low.
The goal of an off-grid greenhouse is not necessarily to make it hot all night. Instead, you want to:
- Capture as much daytime heat as possible.
- Reduce heat escaping at night.
- Protect the root zone from extreme cold.
- Reduce drafts and cold spots.
- Create a more stable temperature for your plants.
Here are eight practical methods you can use.
1. Use Water-Filled Containers to Store Heat
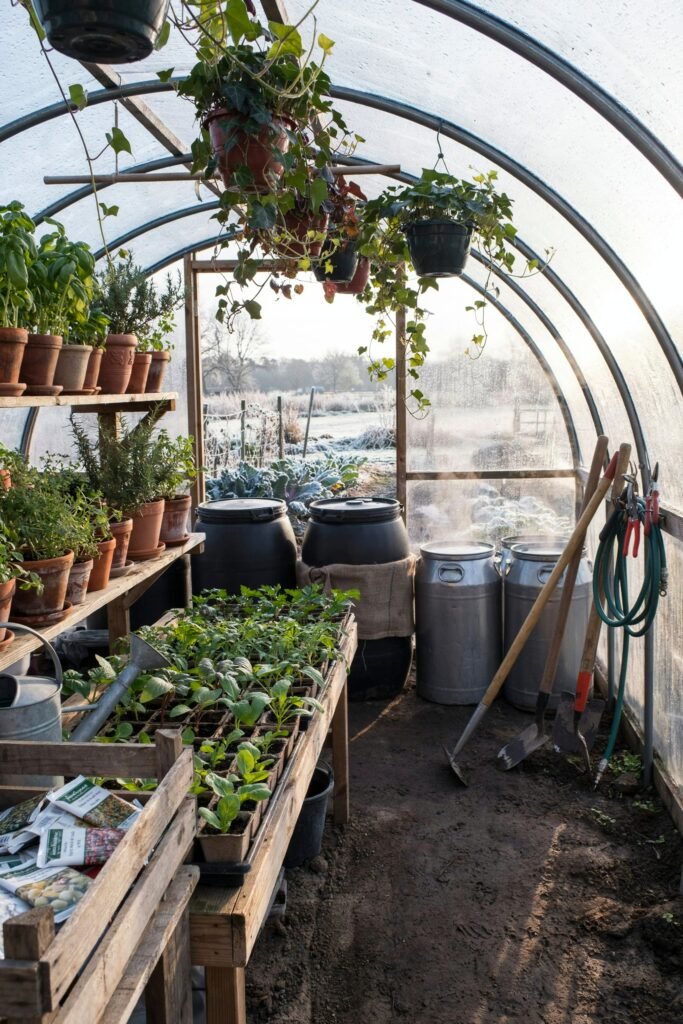
One of my favorite simple greenhouse tricks is using water as a natural heat battery.
Water absorbs heat during the day and releases that stored heat slowly as temperatures fall. You can take advantage of this by placing dark-colored containers filled with water inside your greenhouse.
Large black buckets, barrels, jugs, or food-safe water containers can all work.
How to use water containers
Place the containers where they will receive plenty of sunlight during the day. Along the north side of the greenhouse can be particularly useful because the containers can collect sunlight without taking too much growing space away from your plants.
During the day:
Sunlight → warms the water → water stores heat
At night:
Water releases stored heat → greenhouse cools more slowly
Larger containers generally hold more heat than many tiny bottles, although smaller containers can still be useful if space is limited.
Make sure the containers are stable and cannot easily tip over.
A helpful tip
Dark containers tend to absorb solar energy more effectively than light-colored ones. You can also arrange several containers around particularly cold areas of the greenhouse.
This method will not keep a greenhouse warm indefinitely, but it can help smooth out temperature swings.
2. Add Thermal Mass With Bricks, Stones, or Concrete
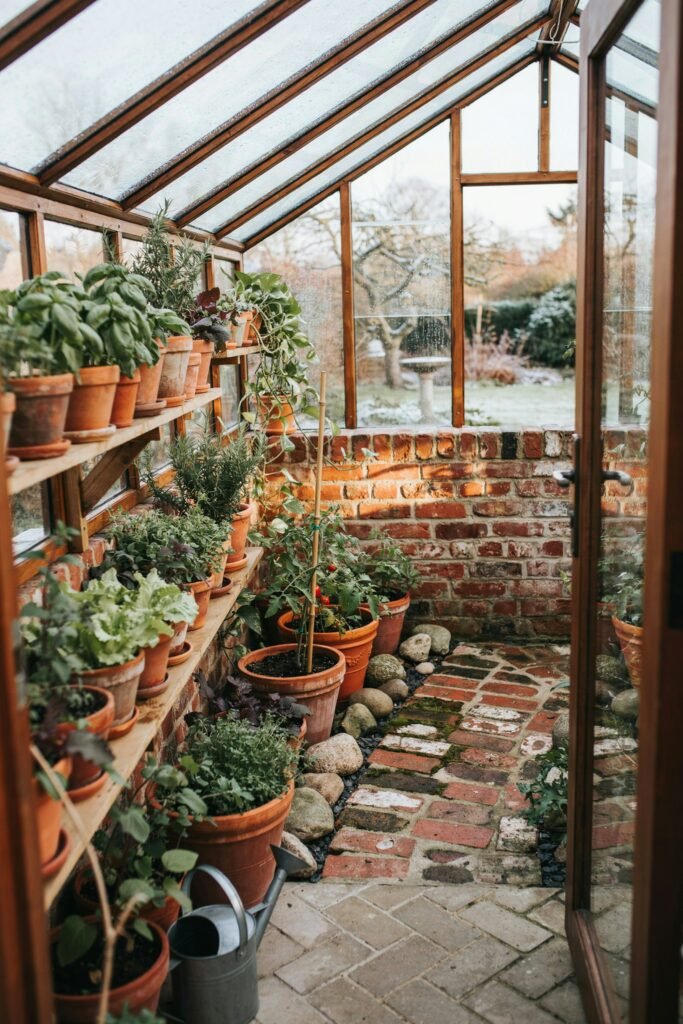
Water is not the only material that can store heat.
Materials such as bricks, concrete, stone, and paving blocks can absorb warmth during the day and gradually release some of it after sunset.
This is called thermal mass, and it is one of the simplest principles to use in a passive greenhouse.
If you are building or remodeling your greenhouse, consider incorporating thermal mass into the design.
You could use:
- Brick pathways
- Stone borders
- Concrete pavers
- Masonry walls
- Large rocks
- Concrete blocks
A brick pathway, for example, can warm up during sunny afternoons and slowly release some of that heat in the evening.
Where should you put thermal mass?
Think about areas that receive direct sunlight.
A sunny wall or floor section is usually more useful than putting all your thermal mass in a shaded corner.
You can also combine this technique with water containers. The combination gives you different materials storing heat throughout the day.
3. Insulate the Greenhouse at Night
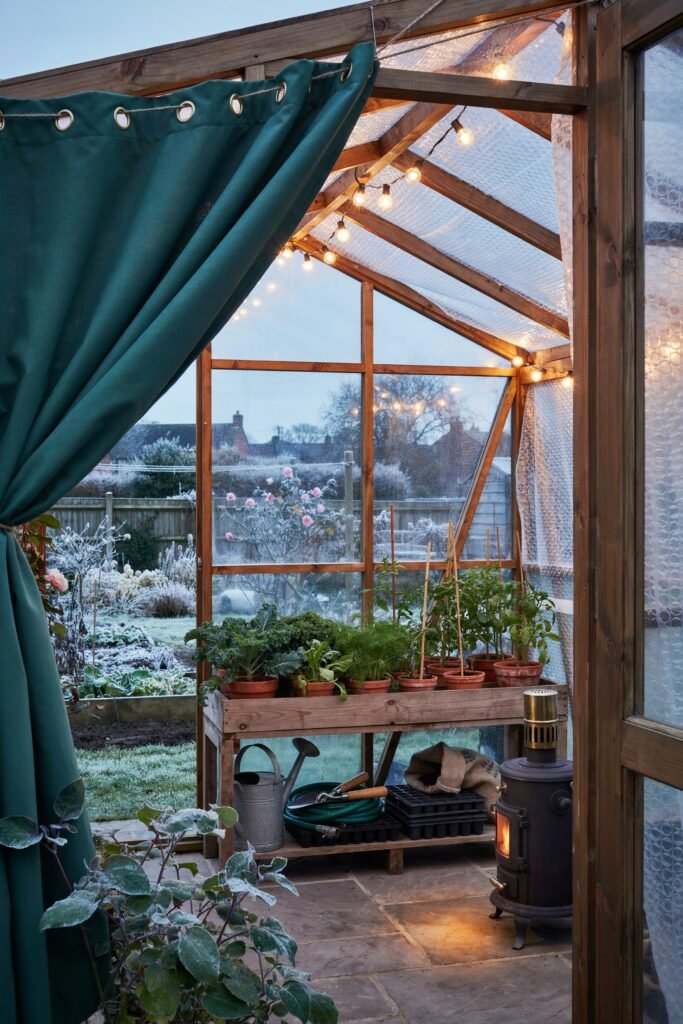
Sometimes the easiest way to keep a greenhouse warm is to stop the heat you already have from escaping.
Greenhouses are designed to collect solar heat, but their thin walls can also allow that heat to disappear quickly after sunset.
Adding insulation strategically can make a significant difference.
Try insulating these areas:
- Greenhouse doors
- Gaps around doors and vents
- Lower wall sections
- The north-facing wall
- Plant containers
- Raised growing beds
One particularly useful option is horticultural bubble wrap designed for greenhouse insulation.
Unlike ordinary household bubble wrap, greenhouse insulation products are made for this type of environment and can allow light through while creating an insulating air layer.
Don’t cover everything permanently
You still need sunlight during the day.
A good approach is to use removable insulation that can be added in the evening and taken down when the sun comes out.
You can also hang thermal curtains or insulating blankets over doors at night, provided they are kept safely away from plants and any heat source.
Read How to Choose the Right Greenhouse Flooring | Gardener’s Path
4. Create a Smaller Inner Greenhouse
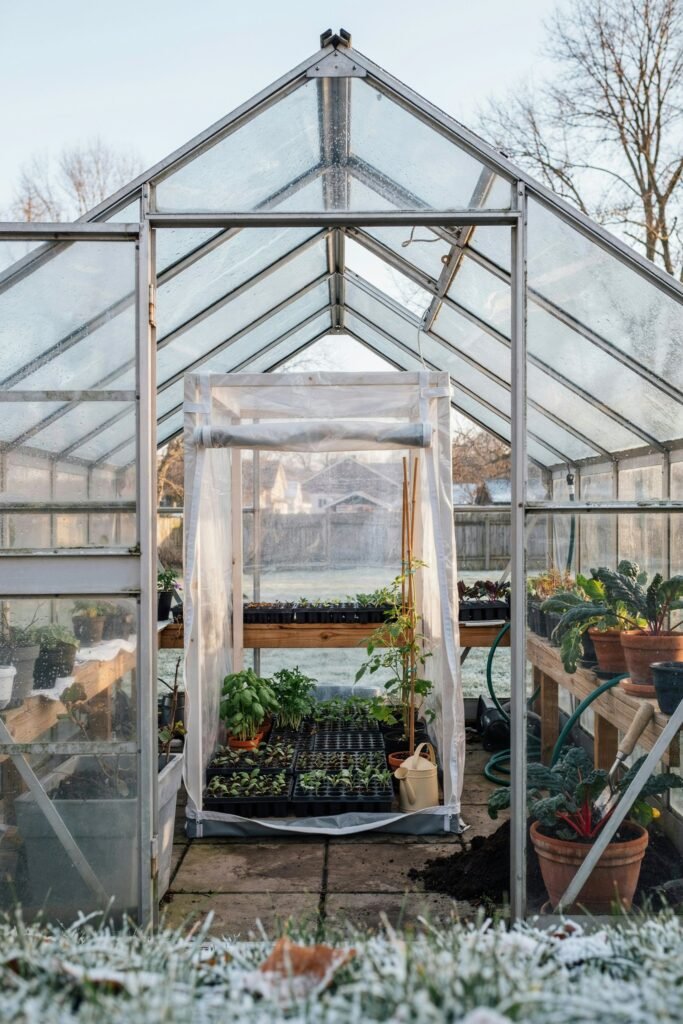
If your entire greenhouse is large, heating the whole space naturally can be difficult.
Instead, consider creating a smaller growing area inside it.
This is sometimes called a greenhouse-within-a-greenhouse.
You can create an inner growing space using greenhouse plastic, horticultural fleece, or another suitable transparent covering.
The smaller enclosed area traps heat around your most sensitive plants.
Why this works
Imagine your main greenhouse as the first protective layer.
Inside it, you create another smaller enclosure.
Now your plants have:
Outdoor cold → main greenhouse → inner enclosure → plants
Each layer provides additional protection from wind and rapid heat loss.
This technique is particularly helpful for seedlings and tender plants that need extra protection.
My favorite way to use it
I would not build a complicated structure unless you need one. A simple frame covered with appropriate greenhouse material can be enough.
Just make sure there is enough ventilation during sunny daytime conditions so the inner space does not overheat.
5. Use Compost to Generate Natural Heat
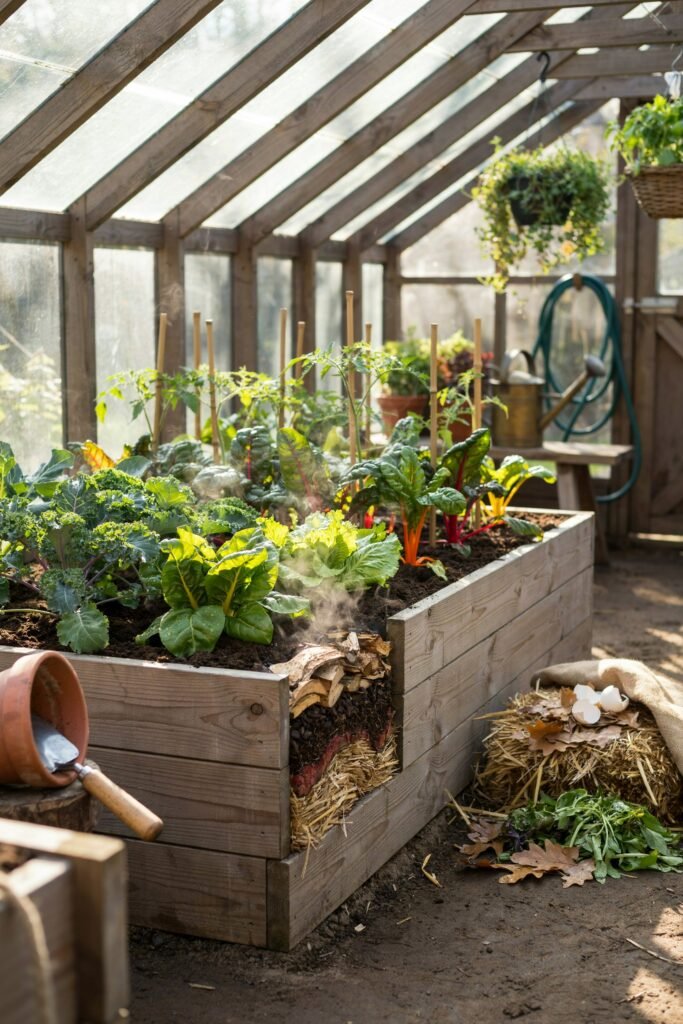
A well-managed compost pile naturally produces heat as microorganisms break down organic material.
That makes compost an interesting option for an off-grid growing setup.
Fresh organic material can become surprisingly warm while it decomposes. Historically, gardeners have taken advantage of this principle by using hotbeds to extend the growing season.
A traditional hotbed can be made by placing a layer of actively decomposing organic material underneath a growing area, with soil above it.
A simpler approach
If you do not want to build a traditional hotbed, you can place a compost pile or composting area in an appropriate location near the greenhouse.
However, don’t put an uncontrolled compost pile directly against a greenhouse wall or underneath plants.
Compost can become very hot, and poorly managed organic material can create unpleasant odors, pests, or other problems.
For a hotbed
A properly constructed hotbed can use:
- A deep layer of fresh, active organic material.
- A layer of soil or growing medium above it.
- Plants growing in the upper layer.
- A protective greenhouse structure over the top.
The decomposing material produces heat that warms the growing medium from below.
This is a more advanced method, but it can be extremely useful for gardeners interested in traditional, low-energy growing.
6. Take Advantage of the Sun During the Day
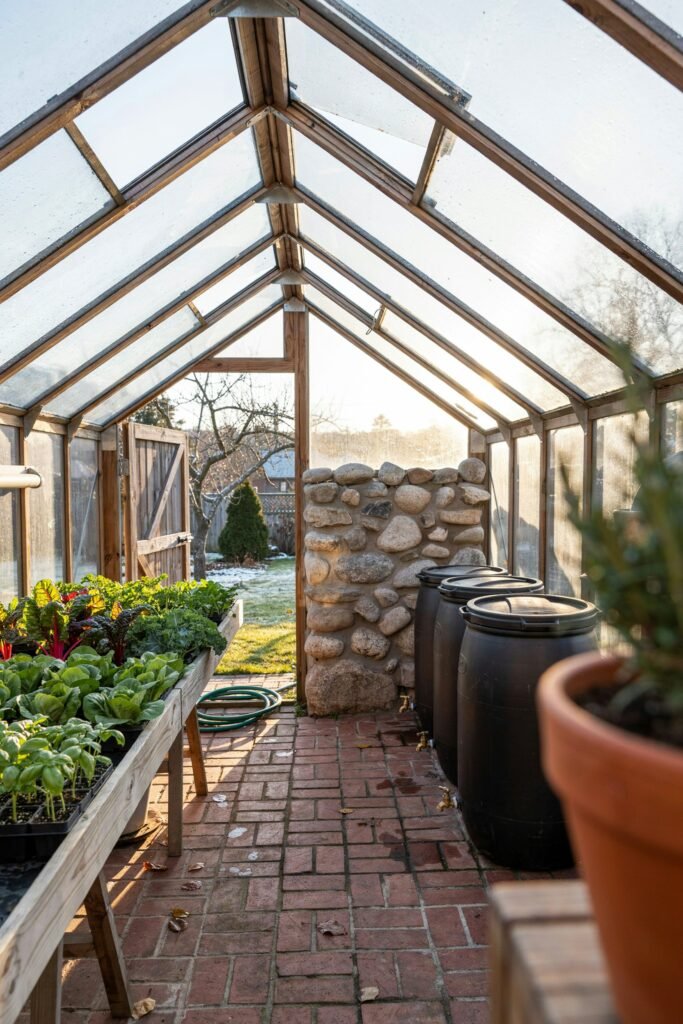
Before adding complicated heating systems, make sure your greenhouse is actually designed to collect as much natural sunlight as possible.
The sun is your biggest free source of greenhouse heat.
Keep the greenhouse glazing clean so sunlight can pass through easily. Remove unnecessary shading during the colder months and make sure tall plants or nearby structures are not blocking valuable winter sunlight.
Think about greenhouse placement
If you are still planning your greenhouse, location matters enormously.
A sunny position can collect much more useful heat than a shaded one.
Avoid placing the greenhouse where buildings, fences, or large evergreen trees block the low winter sun.
You can also use thermal mass inside the greenhouse to capture that sunlight.
For example:
Sunlight hits water barrel → barrel warms → heat is released after sunset.
This is a simple passive-solar approach that requires no electricity.
7. Protect the Soil and Root Zone
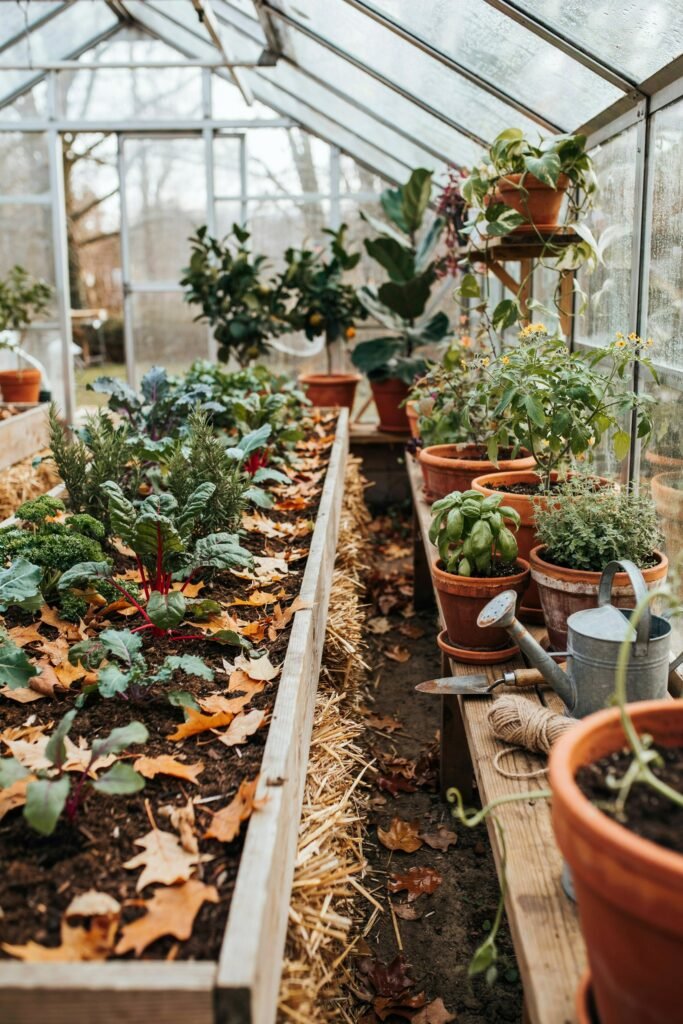
Gardeners sometimes focus so much on air temperature that they forget about the soil.
Cold roots can slow plant growth even when the greenhouse air feels reasonably comfortable.
One way to protect the root zone is by adding an insulating layer around plants.
Depending on what you are growing, you can use materials such as:
- Straw
- Dry leaves
- Wood mulch
- Compost
- Horticultural fleece
- Insulating containers
For plants growing directly in beds, a suitable organic mulch can help reduce rapid temperature fluctuations in the soil.
For potted plants, grouping containers together can also provide some protection.
You can place more cold-sensitive plants toward the center of the greenhouse and less-sensitive plants around the outside.
Don’t overdo mulch
Keep mulch away from the stems of plants where appropriate, particularly if excessive moisture around the crown could encourage rot.
The goal is to insulate the root zone while maintaining healthy growing conditions.
8. Use Fleece and Row Covers Inside the Greenhouse
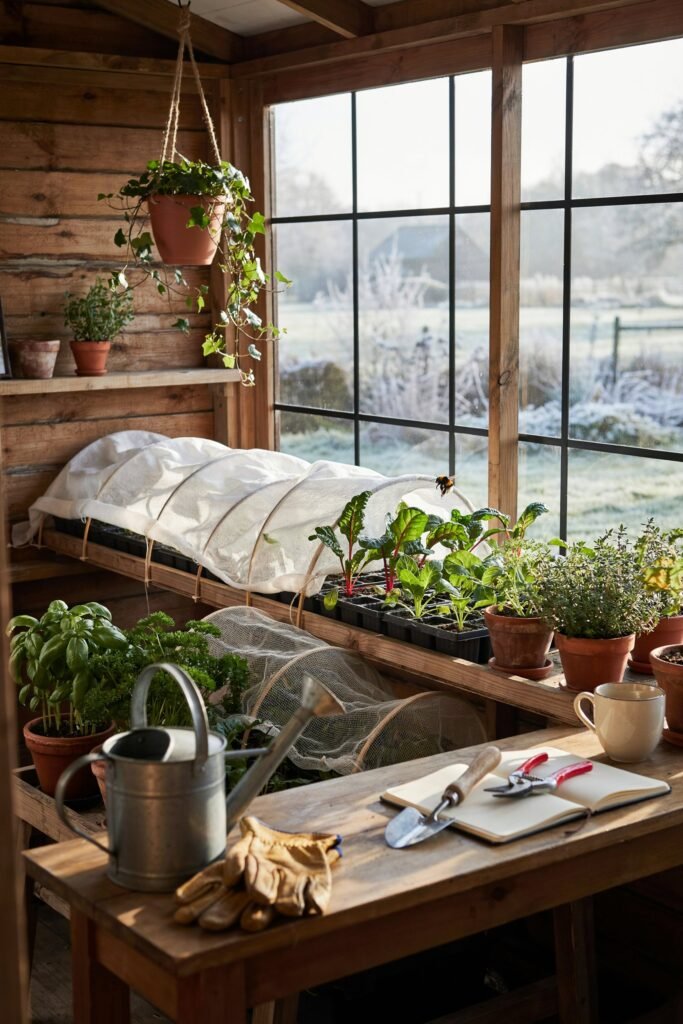
Your greenhouse covering does not have to be the only protective layer.
Adding horticultural fleece or suitable row covers over plants at night can create another insulating layer.
This is especially useful when you have a small number of plants that need additional protection.
For example, if most of your greenhouse plants can handle cool temperatures but a tray of young seedlings cannot, you don’t necessarily need to protect the entire greenhouse.
Cover the seedlings instead.
How to use row covers
Place the material over a simple support so it does not rest heavily on delicate plants.
Secure the edges so cold air cannot easily flow underneath.
Remove or open the cover during the day when temperatures rise and plants need ventilation and sunlight.
This method is inexpensive and easy to combine with water containers or thermal mass.
Bonus: Combine Several Methods
The biggest mistake I would avoid is expecting one off-grid method to do all the work.
Passive heating becomes much more effective when several small strategies work together.
For example, you could combine:
During the day:
- Clean greenhouse glazing
- Full sun exposure
- Dark water containers
- Brick or stone thermal mass
- Good greenhouse ventilation
Before nightfall:
- Close doors and vents appropriately
- Add horticultural fleece
- Cover an inner growing area
- Add temporary insulation
- Make sure there are no obvious drafts
This creates several layers of protection rather than depending on one solution.
How to Prepare Your Greenhouse Before a Cold Night
When a particularly cold night is expected, I like to think about the greenhouse several hours before sunset.
Step 1: Let the greenhouse warm up
Keep the greenhouse open for appropriate daytime ventilation, but allow it to collect warmth before evening.
Step 2: Check for drafts
Look around doors, corners, vents, and damaged glazing.
Small gaps can allow cold air to move through the greenhouse.
Step 3: Check your thermal mass
Make sure your water containers, bricks, stones, or other heat-storing materials are positioned where they receive sunlight.
Step 4: Protect sensitive plants
Move potted tender plants toward the center and use fleece or an inner enclosure if needed.
Step 5: Add nighttime insulation
Install removable insulation, close appropriate openings, and cover plants that need extra protection.
Step 6: Check the following morning
Remove coverings when conditions warm up and ventilate the greenhouse as necessary.
What Not to Do When Heating a Greenhouse Off-Grid
It is tempting to improvise when temperatures drop, but some methods can create more danger than warmth.
I would avoid using an indoor charcoal grill, open fire, improvised flame heater, or burning fuel inside a poorly ventilated greenhouse.
Combustion can produce dangerous gases, and fire can spread quickly through plastic, dry plant material, or other greenhouse components.
Never place candles or open flames around plants as a makeshift greenhouse heater.
If you use any fuel-burning heating appliance, follow the manufacturer’s instructions and make sure it is specifically suitable for the environment and adequately ventilated.
For a truly off-grid greenhouse, passive solar heating, insulation, thermal mass, and plant protection are much safer approaches to focus on.
Which Off-Grid Method Should You Try First?
You don’t need to completely redesign your greenhouse to start.
If you want something simple and inexpensive, begin with water-filled containers, thermal mass, insulation, and horticultural fleece.
If you are building a new greenhouse, think about passive solar design from the beginning. Its orientation, glazing, thermal mass, insulation, and location can all influence how well it retains heat.
For gardeners interested in a more traditional approach, a properly designed compost hotbed can also be an interesting way to use natural decomposition to generate warmth.
The most effective setup will depend on your climate, greenhouse size, plant selection, and how cold your nights become.
Final Thoughts
Keeping a greenhouse warm without electricity is really about working with nature rather than fighting against it.
The sun can provide daytime heat, water and masonry can store some of that warmth, insulation can slow heat loss, and fleece can give vulnerable plants an extra layer of protection.
I especially love combining several simple methods instead of depending on one expensive solution.
With a little preparation before sunset, your greenhouse can stay more stable through chilly nights while using very little or no electricity.
Start with the easiest method for your space, watch how your temperatures respond, and gradually build a setup that works for your own garden.
