
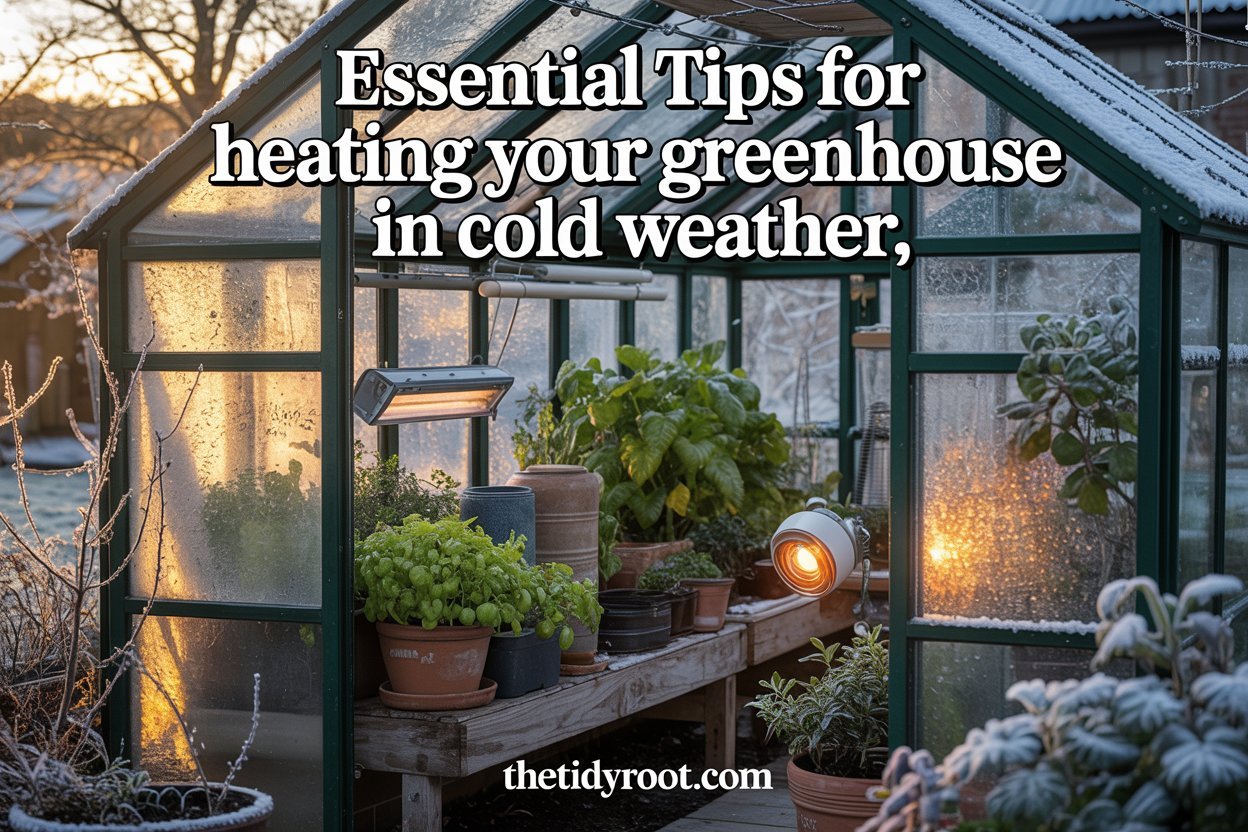

I love the feeling of stepping into a greenhouse on a chilly morning and finding my plants tucked safely away from the worst of the weather.
But keeping that little growing space warm through cold nights takes more than simply adding a heater.
I’ve learned that the best results come from combining insulation, good airflow, sunlight, thermal mass, and the right amount of supplemental heat.
Whether you have a small backyard greenhouse or a larger growing space, a few thoughtful changes can make winter much easier on your plants.
These simple tips can help you hold onto warmth, protect tender plants, and keep your greenhouse productive throughout the colder months.
1. Start by Sealing Heat-Losing Gaps
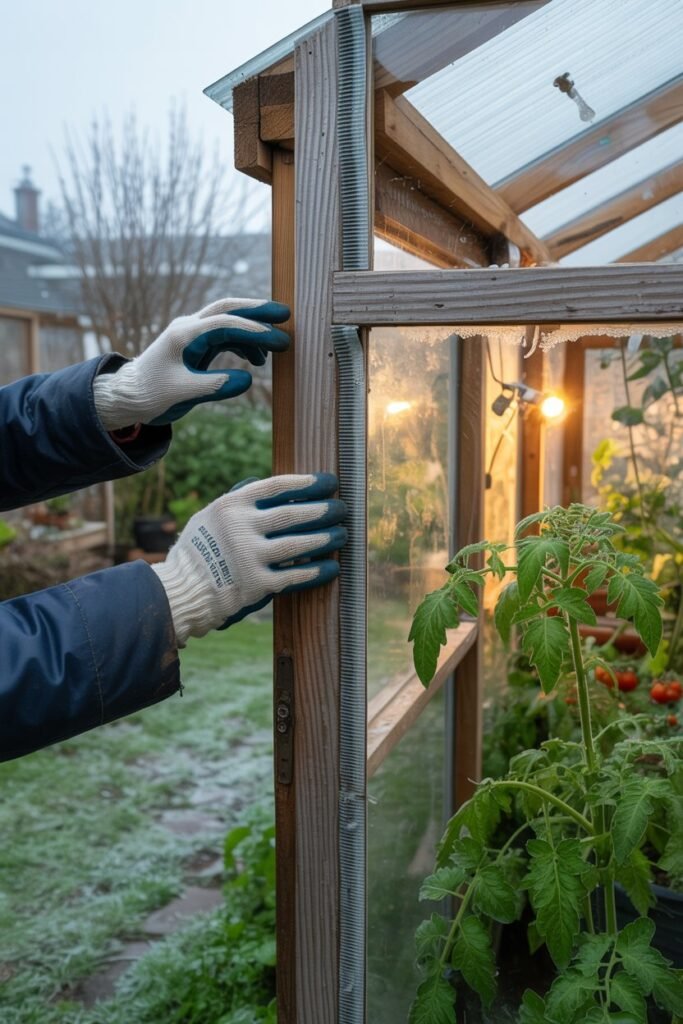
Before buying a heater, take a slow walk around your greenhouse and look for places where warm air can escape.
Small gaps around doors, vents, panels, corners, and the foundation can make a surprisingly big difference on a cold night. Warm air naturally moves upward and can escape through poorly sealed areas, while cold outside air enters through the same openings.
Check:
- Door edges and frames
- Greenhouse panels
- Roof joints
- Corners and seams
- Around vents
- Foundation connections
- Torn or loose covering material
Weatherstripping and appropriate greenhouse-safe sealing materials can help reduce unwanted drafts.
This is one of my favorite winter-preparation steps because it doesn’t require a complicated heating system. You are simply making it easier for the warmth you already have to stay inside.
Extension guidance also recommends sealing cracks and gaps before adding insulation because reducing air infiltration helps prevent unnecessary heat loss.
2. Add Greenhouse Bubble Wrap Insulation
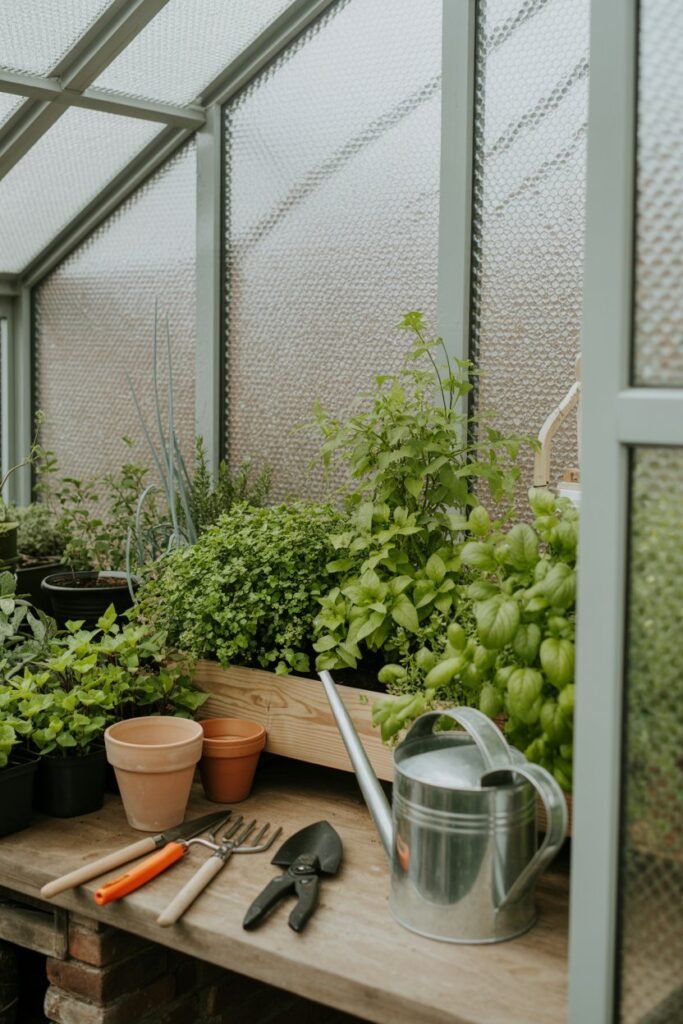
Bubble wrap isn’t only useful for packing presents. Horticultural bubble wrap can create an insulating layer against cold glazing.
The small pockets of trapped air help slow heat loss through the greenhouse covering. It can be particularly useful around glass or rigid panels during winter.
When installing it, make sure you use greenhouse-specific material and secure it properly so it doesn’t interfere with doors, vents, or other necessary features.
You don’t necessarily have to cover every inch of the greenhouse. Prioritize areas where heat loss is greatest while still allowing plenty of winter sunlight into the growing space.
The RHS specifically recommends insulation such as bubble wrap as one option for reducing heat loss in greenhouses.
3. Use Thermal Mass to Store Daytime Heat
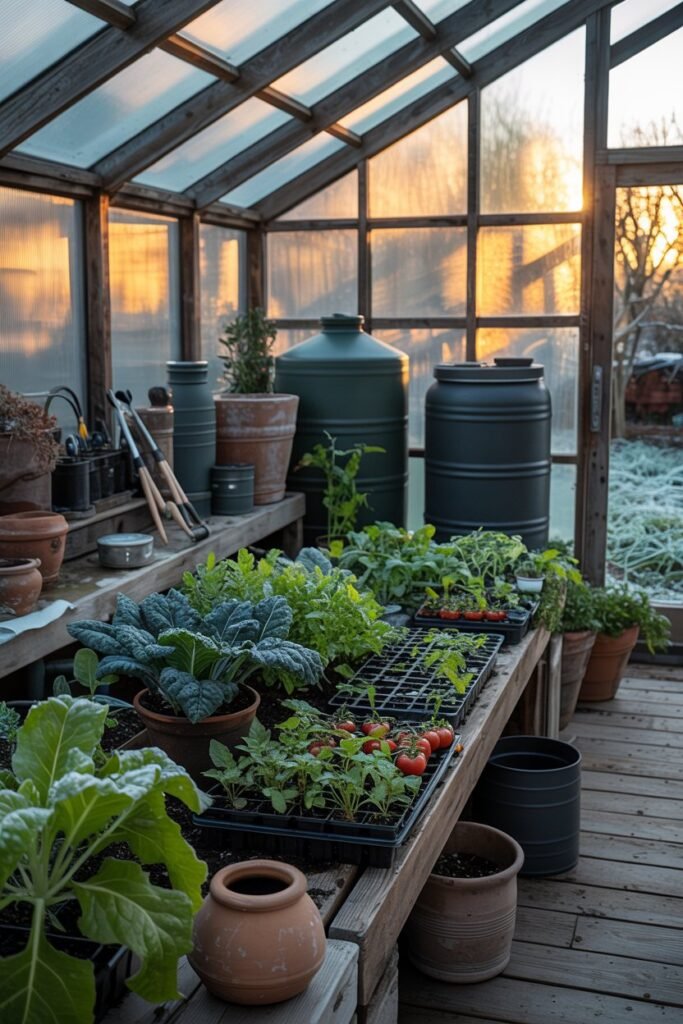
One of the simplest ideas I love for winter greenhouse care is thermal mass.
Thermal mass refers to materials that absorb warmth during the day and slowly release some of that stored heat after the sun goes down.
Water is particularly useful because it can store a considerable amount of heat. You can use sturdy containers filled with water and place them where they receive sunlight during the day.
Other materials can contribute to thermal mass too, including:
- Stone
- Brick
- Concrete
- Soil
- Ceramic containers
- Water-filled containers
The idea is simple: let the sun do some of the heating work during the day, then allow that stored warmth to moderate nighttime temperature changes.
Thermal mass won’t replace a heater during a severe freeze, but it can help reduce temperature swings. University of New Hampshire Extension also recommends using water, soil, stone, and similar materials to absorb solar heat during the day and release it at night.
4. Make the Most of Winter Sunlight
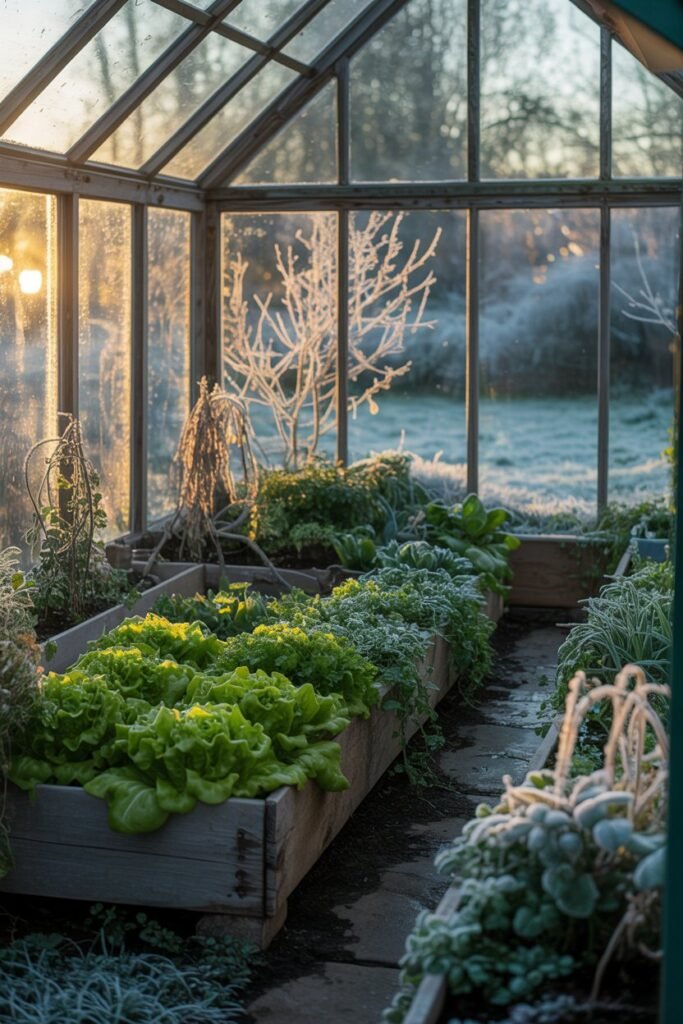
Your greenhouse gets free solar energy every day the sun is shining, so don’t overlook it.
Keep the glazing clean enough to allow good light transmission, and avoid blocking the sun with unnecessary materials or objects.
During winter, the sun is lower in the sky in many regions, so observe where sunlight actually enters your greenhouse throughout the day.
If you’re planning a new greenhouse, orientation and location are worth considering carefully. If you already have one, you can still maximize what you have by keeping the glazing clean and making sure plants and equipment aren’t unnecessarily blocking valuable sunlight.
Remember, though, that sunlight alone may not maintain safe nighttime temperatures during severe cold. It is best viewed as part of your overall heating strategy.
5. Add an Inner Row Cover for Especially Sensitive Plants
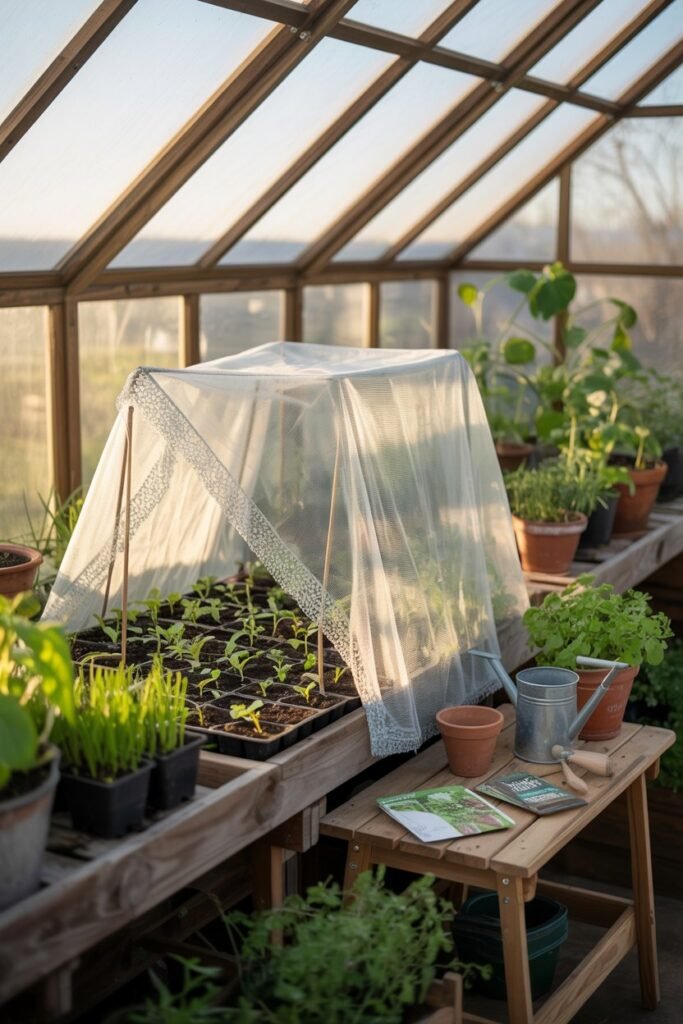
You don’t always need to heat the entire greenhouse to the same temperature.
If you have a few particularly sensitive plants, consider creating a smaller protected zone inside the greenhouse using frost cloth or another appropriate plant-covering material.
This creates an additional layer of protection around the plants themselves.
For example, you might have hardy lettuce and kale sharing the greenhouse with a few more cold-sensitive seedlings. Instead of trying to make the entire greenhouse much warmer, you can give the sensitive plants their own extra layer of protection.
This approach can be much more efficient because you’re protecting the plants that actually need additional warmth.
6. Insulate the Greenhouse at Night
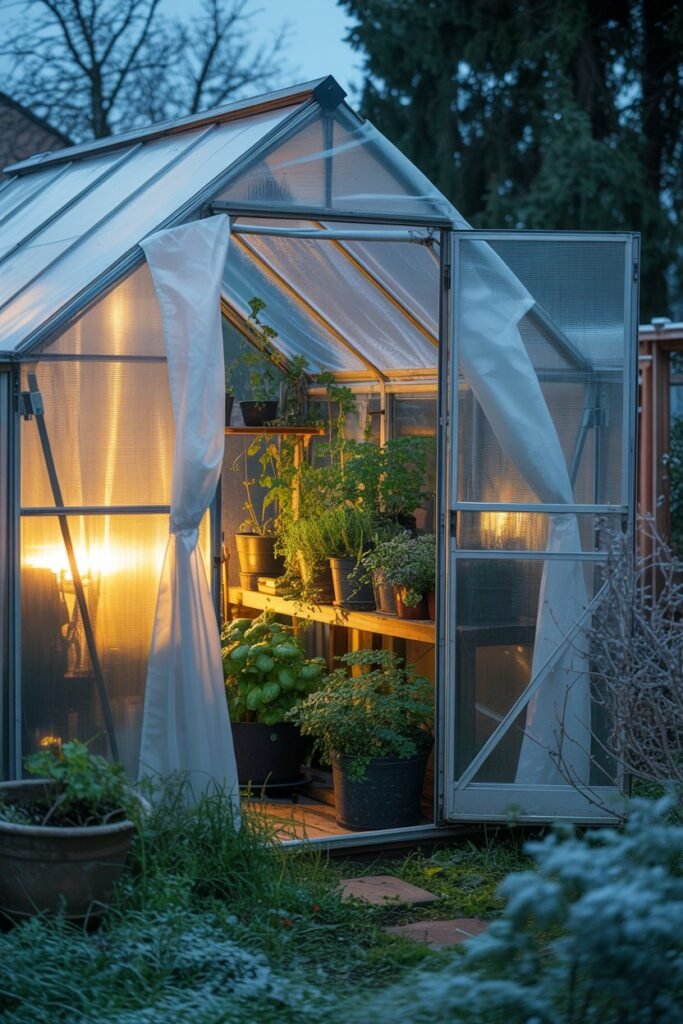
Winter sunshine is precious, but nighttime is when your greenhouse can lose much of the warmth it collected during the day.
Consider using removable insulation or thermal curtains overnight, especially on areas that don’t need to remain transparent.
A practical routine can be:
During the day:
Open or remove temporary insulation where appropriate so sunlight can enter.
Before nightfall:
Close doors, check for drafts, and put nighttime insulation into place.
In the morning:
Remove or adjust temporary insulation so your plants can benefit from daylight.
This day-to-night routine allows you to use insulation without unnecessarily sacrificing valuable winter light.
Read How to Choose the Right Greenhouse Flooring | Gardener’s Path
7. Choose a Thermostat-Controlled Heater When Supplemental Heat Is Needed
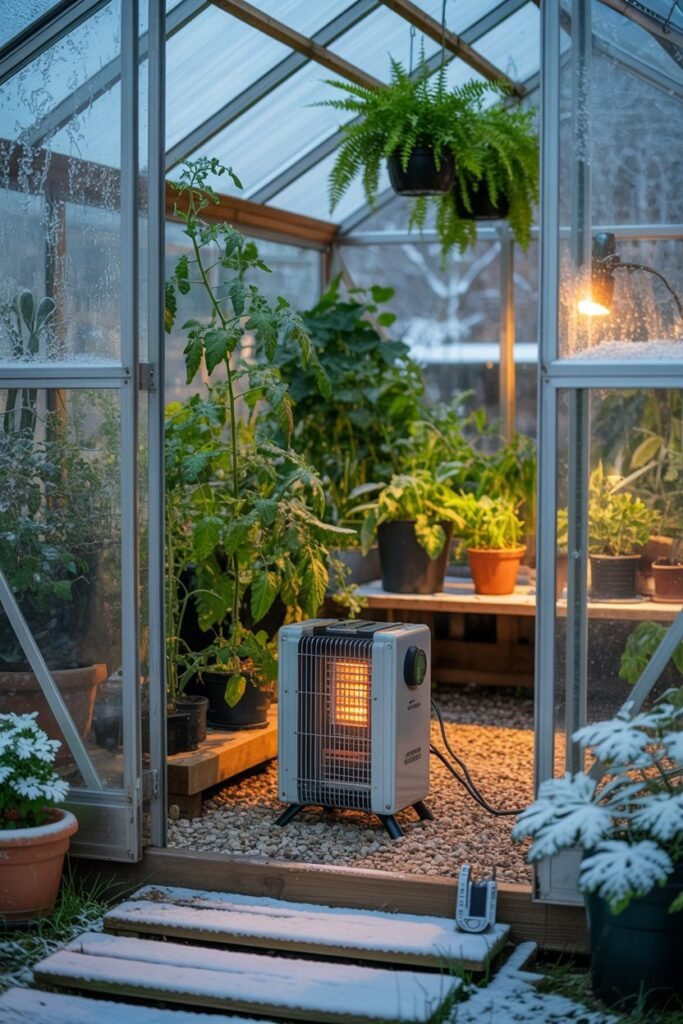
For gardeners who need active heating, an appropriately sized electric greenhouse heater can provide dependable supplemental warmth.
I strongly prefer the idea of using a thermostat rather than allowing a heater to run continuously. A thermostat can switch heating on when temperatures fall below your chosen setting and stop heating once the target temperature is reached.
The most important point is to choose the temperature based on your plants rather than trying to make the greenhouse feel like your living room.
Different plants have different temperature requirements. Cold-hardy crops such as kale, lettuce, spinach, and some root vegetables can tolerate considerably cooler conditions than warm-season crops.
OSU Extension notes that cold-hardy crops can be grown through winter without heating in suitable conditions, while more temperature-sensitive crops require additional protection.
Always follow the heater manufacturer’s instructions and use equipment specifically suitable for the environment.
8. Don’t Try to Keep Every Plant Warm
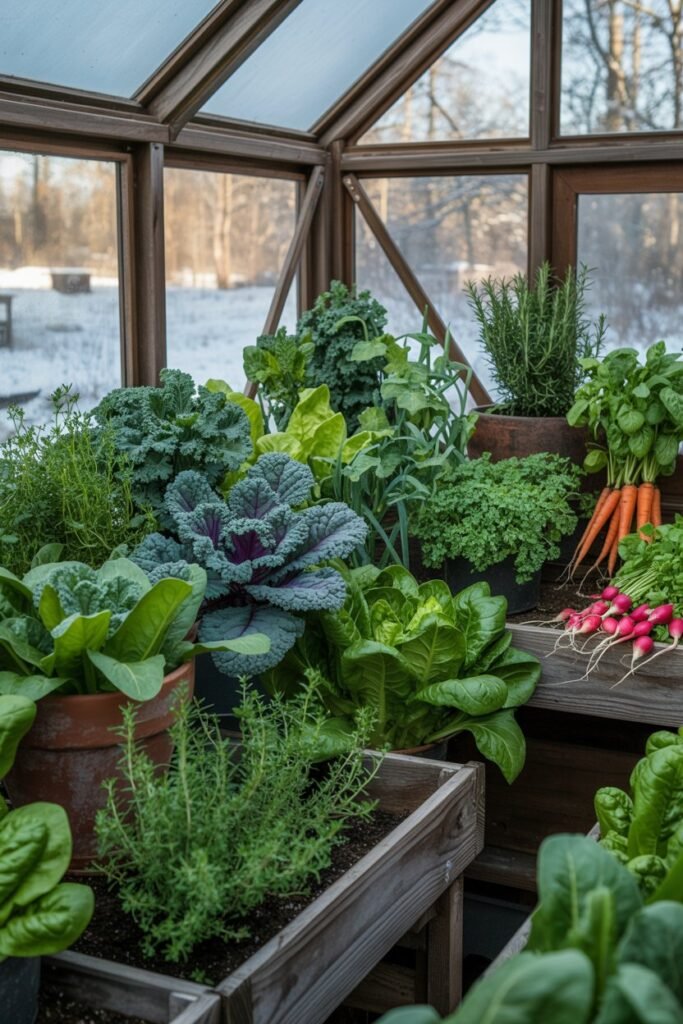
This is one of the biggest lessons I think new greenhouse gardeners can benefit from.
You don’t have to grow warm-season crops throughout the entire winter.
Instead, choose plants that naturally handle cooler temperatures.
Good candidates for a cool greenhouse can include:
- Kale
- Lettuce
- Spinach
- Radishes
- Carrots
- Turnips
- Leeks
- Some herbs
- Certain hardy perennial plants
Growing plants suited to your winter temperatures means you aren’t constantly fighting against the season.
OSU Extension specifically lists several of these cold-hardy crops as options for winter greenhouse growing.
9. Keep Plants Off a Very Cold Floor
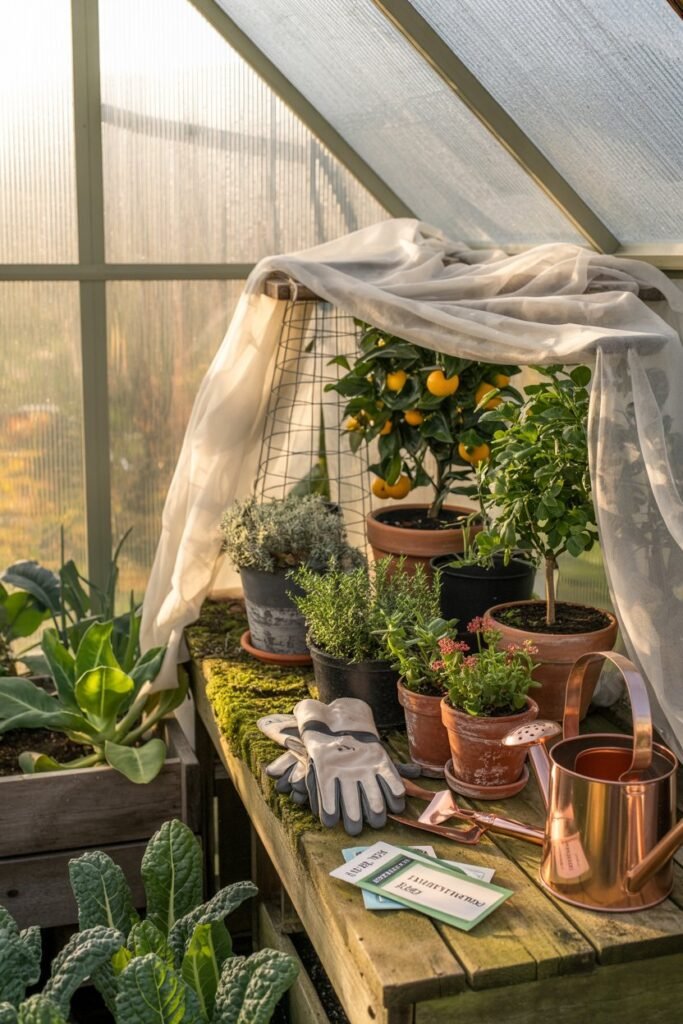
Cold air settles toward the lower parts of the greenhouse, so the area close to the floor can sometimes be noticeably colder than the space higher up.
Raising containers onto benches or sturdy shelves can help create more useful growing zones.
This is especially helpful for potted plants that are sensitive to cold floors.
You can also group plants according to their temperature needs. Put the hardiest plants in cooler areas and give more sensitive plants the more protected positions.
Greenhouses naturally develop small microclimates, so paying attention to those differences can help you use the space more effectively.
10. Use a Small Fan for Better Heat Distribution
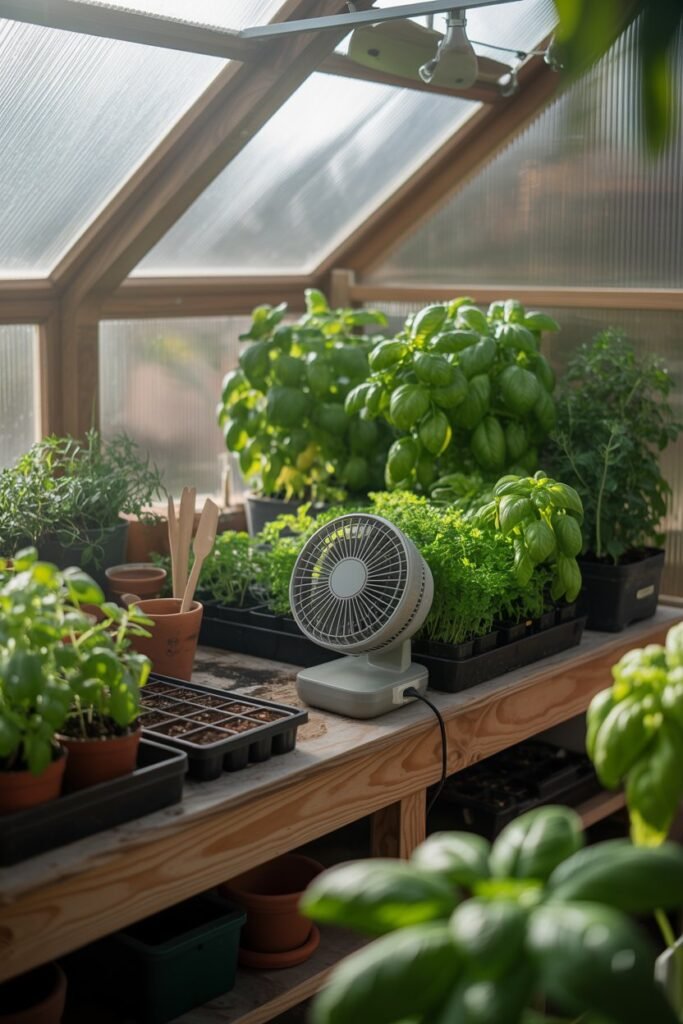
Heating the air isn’t enough if all the warm air stays near the roof.
Warm air rises, which can leave the lower growing area considerably cooler.
A small circulating fan can help gently mix the air and create more even temperatures throughout the greenhouse.
You don’t need aggressive airflow. The goal is simply to prevent large temperature differences between the upper and lower parts of the structure.
Good air circulation is also useful because winter greenhouse environments can become humid, particularly when doors and vents remain closed for long periods.
11. Don’t Forget Ventilation on Sunny Winter Days
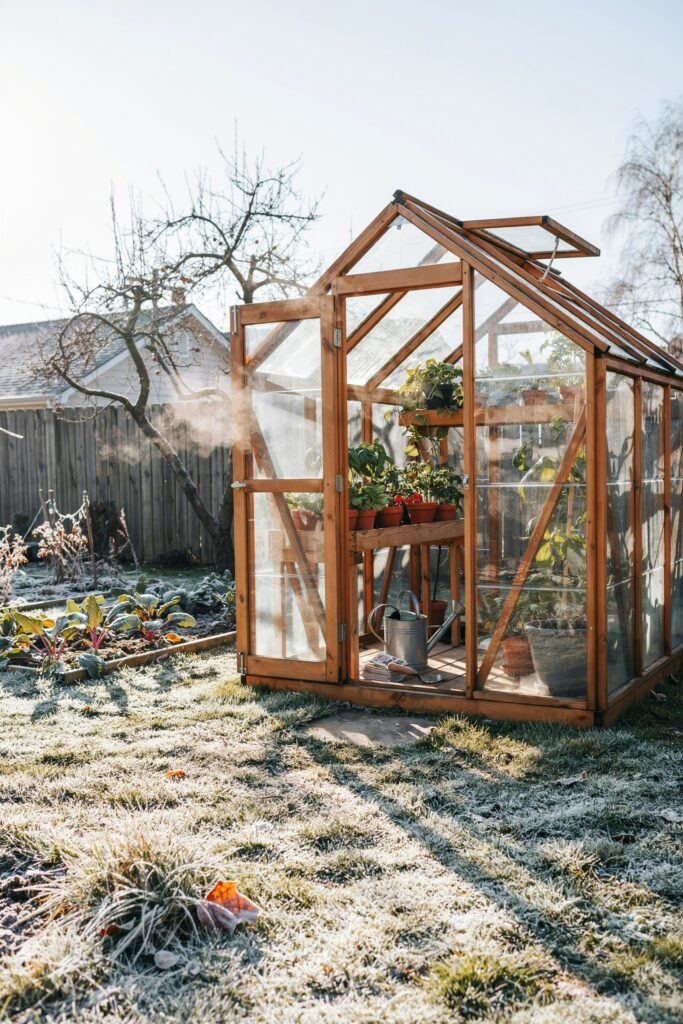
This may sound strange when we’re talking about heating a greenhouse, but ventilation still matters during winter.
A sunny winter day can cause the greenhouse temperature to rise considerably even when the outside air remains cold.
If the greenhouse becomes excessively warm and humid during the day, plants can experience unnecessary stress and moisture-related problems.
Keep an eye on your thermometer and adjust ventilation when needed.
The goal isn’t simply to make the greenhouse as warm as possible. It is to maintain a stable environment appropriate for the plants you’re growing.
12. Protect the Root Zone
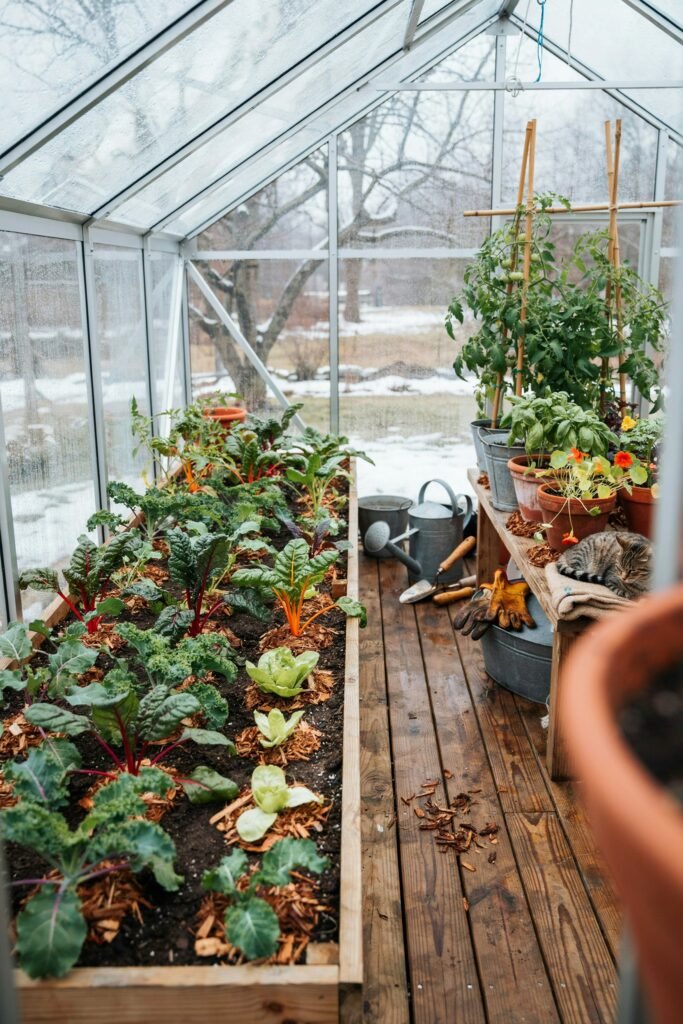
Sometimes gardeners focus entirely on the air temperature and forget about the roots.
Cold soil can slow root activity and make plants more vulnerable to stress.
Adding an appropriate layer of mulch around outdoor or in-ground plants can help moderate soil temperature. Inside containers, make sure plants aren’t sitting directly on an extremely cold surface.
For greenhouse beds, healthy soil containing organic matter can also provide useful thermal mass.
Remember that the roots, stems, and leaves all experience the greenhouse environment differently. Looking after the root zone is just as important as keeping the air comfortable.
13. Monitor Temperature Instead of Guessing
A greenhouse thermometer is one of the simplest tools you can own.
I recommend keeping an eye on both daytime and nighttime temperatures rather than checking only when the weather feels cold.
A minimum/maximum thermometer can be particularly useful because it shows you how cold the greenhouse became overnight.
Pay attention to the coldest part of the greenhouse too. A thermometer placed near your plants may tell you something very different from one hanging near the ceiling.
Once you know your actual temperatures, you can make smarter decisions about insulation, plant placement, and supplemental heating.
14. Create a Backup Plan for Extremely Cold Nights
Even a well-insulated greenhouse can struggle during an unusually severe cold snap.
Before winter arrives, think about what you would do if temperatures suddenly dropped much lower than expected.
Your backup plan might include:
- Moving especially sensitive potted plants into a protected indoor area
- Adding temporary plant covers
- Increasing nighttime insulation
- Grouping vulnerable plants together
- Checking heaters and thermostats ahead of cold weather
- Monitoring overnight temperatures closely
Planning ahead is much less stressful than trying to solve everything after temperatures have already dropped.
15. Prioritize Safety Around Heating Equipment
Heating equipment needs careful handling, particularly inside a small enclosed structure.
Keep heaters away from flammable materials and follow the manufacturer’s installation and operating instructions. Electrical equipment should be appropriate for the environment and protected from water.
Fuel-burning heating systems require particular care because combustion can produce harmful gases. Extension guidance recommends that fuel-burning greenhouse heating systems be properly vented and warns against unvented systems.
If a heating installation involves electrical work, fuel systems, or permanent modifications to the greenhouse, have the appropriate qualified adult or professional handle the installation.
A Simple Winter Greenhouse Heating Plan
If you’re feeling overwhelmed by all these options, I would keep it simple.
Start with this order:
Step 1: Check the greenhouse for gaps and drafts.
Step 2: Add insulation where it makes the biggest difference.
Step 3: Use water or other thermal-mass materials to store daytime warmth.
Step 4: Keep the glazing clean so winter sunlight can enter.
Step 5: Group plants according to their cold tolerance.
Step 6: Add frost protection around especially sensitive plants.
Step 7: Monitor temperatures with a thermometer.
Step 8: Add thermostat-controlled supplemental heat if your plants actually require it.
Step 9: Use gentle air circulation to distribute warmth.
Step 10: Continue monitoring the greenhouse during unusually cold weather.
This approach is much more efficient than simply buying the biggest heater you can find. Greenhouse heating needs depend on the greenhouse construction, exposed surface area, outdoor temperature, and the temperature your plants require.
Final Thoughts
Keeping a greenhouse warm during cold weather doesn’t have to mean constantly running a heater.
In my experience, the smartest approach is to make the greenhouse better at holding onto the warmth it already receives.
Seal the gaps, insulate where appropriate, capture daytime sunlight with thermal mass, protect sensitive plants, and monitor temperatures closely.
Then, when supplemental heat is necessary, your heating system doesn’t have to do all the work.
A little preparation before the coldest nights arrive can make your greenhouse feel much more secure throughout winter—and it gives you a much better chance of keeping your favorite plants healthy until spring.
