
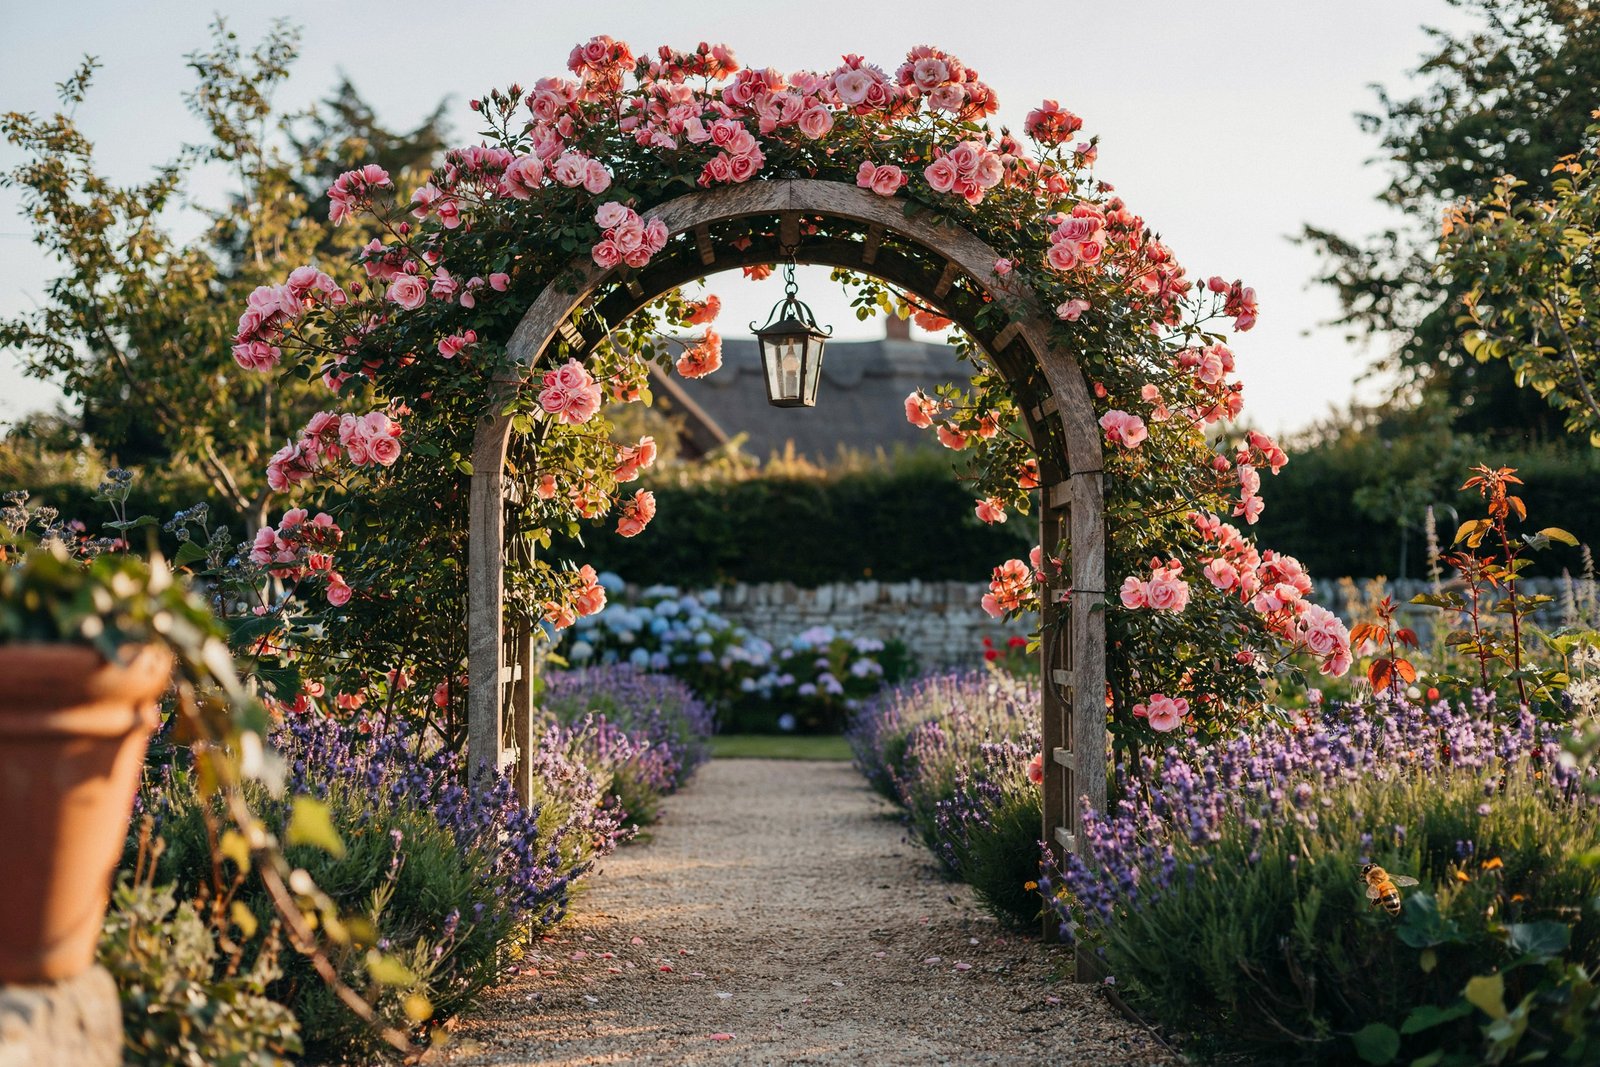

My garden entrance used to be nothing more than a gap in the fence where the grass had worn thin.
I’d walk past it every single day without a second thought, until a neighbor stopped, admired my roses, and asked where the “entrance” was.
That question stuck with me. I spent the next spring turning that gap into an arbor draped in climbing roses, and I still smile every time I walk through it.
That’s exactly why I put together this guide, so you can create that same feeling for yourself.
Your garden entrance sets the tone for everything beyond it. It’s the handshake before the conversation, the first sentence of a story you’re telling with soil, stone, and flowers.
Whether you’re working with a sprawling backyard or a narrow side path, there’s an entrance idea here that will fit your space, your budget, and your personality.
Below you’ll find 20 ideas, each with a materials list and a step-by-step guide so you can go from “I love this” to “I built this.”
1. Classic Rose Arbor
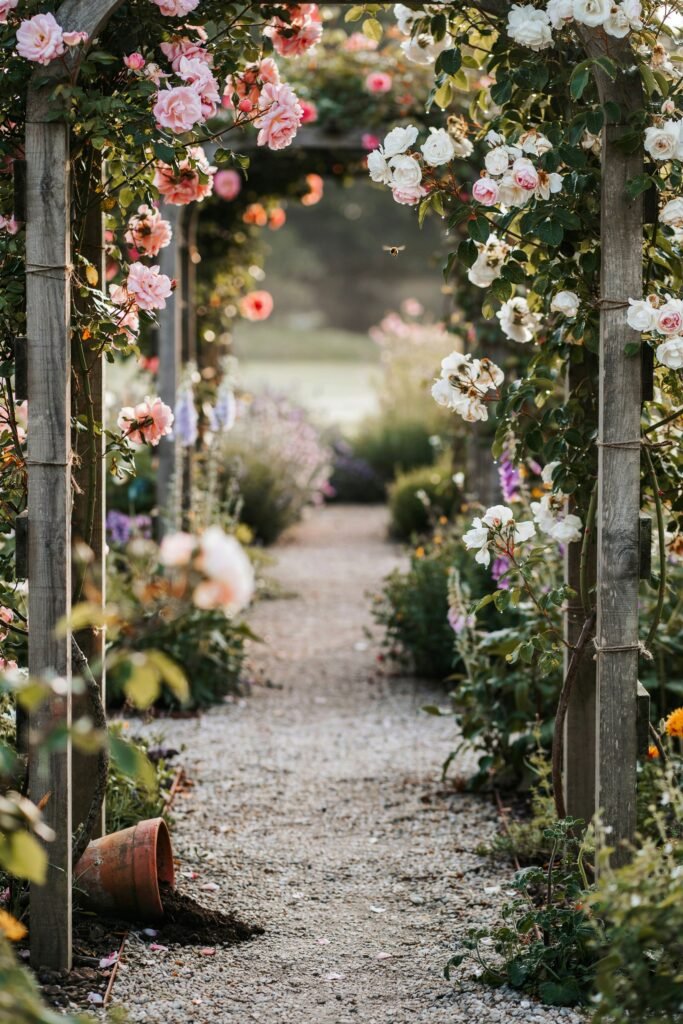
There’s nothing that says “welcome” quite like walking beneath a wooden arch dripping with roses. This is the entrance idea that started my whole obsession, and it remains one of the most romantic choices you can make.
What you’ll need:
- A wooden or metal arbor kit (or lumber to build your own: 4×4 posts, 2×4 crossbeams)
- Two climbing rose bushes (Zephirine Drouhin and New Dawn are both forgiving for beginners)
- Concrete mix or gravel for setting posts
- Soft garden twine or plant ties
- Compost and mulch
How to achieve it:
- Choose a spot where the arbor frames your main walkway, ideally with at least six hours of sun.
- Dig two post holes about 24 inches deep, set your posts in concrete or tamped gravel, and let them cure for 24-48 hours before attaching the top.
- Assemble the arch on top, making sure it’s level and secure.
- Plant one rose bush at the base of each post, working compost into the soil first.
- Gently tie the young canes to the arbor frame as they grow, training them to wind upward and across the top.
- Mulch around the base to retain moisture and keep weeds down.
Within two seasons, you’ll have a full, fragrant tunnel of blooms greeting every visitor.
2. Picket Fence Gate
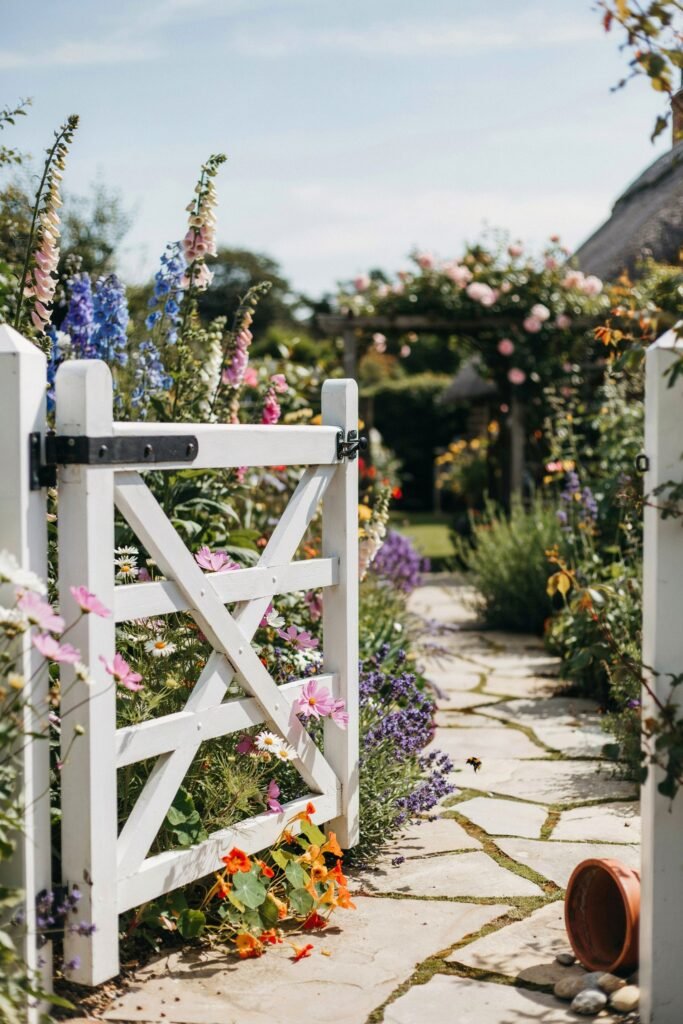
A white picket gate is the entrance equivalent of a warm hug. It’s simple, classic, and instantly makes a garden feel like a storybook cottage.
What you’ll need:
- Pre-built picket gate or picket boards and a gate frame kit
- Two gate posts (4×4 pressure-treated lumber)
- Exterior paint or stain
- Gate hinges and a latch
- Level and post-hole digger
How to achieve it:
- Set your gate posts first, spacing them to match your gate’s width plus half an inch on each side for clearance.
- Let the posts set fully before hanging anything.
- Paint or stain your gate before installing it, since it’s much easier to get an even coat while it’s flat.
- Attach hinges to one post, then hang the gate and check that it swings freely.
- Install the latch on the opposite post at a comfortable height.
- Soften the edges with low, spilling plants like sweet alyssum or creeping thyme along the base.
If you’d like more ideas for filling the beds around your gate, my post on colorful flower garden layout ideas has plenty of inspiration for pairing color schemes with structure.
3. Gravel Path with Lavender Border
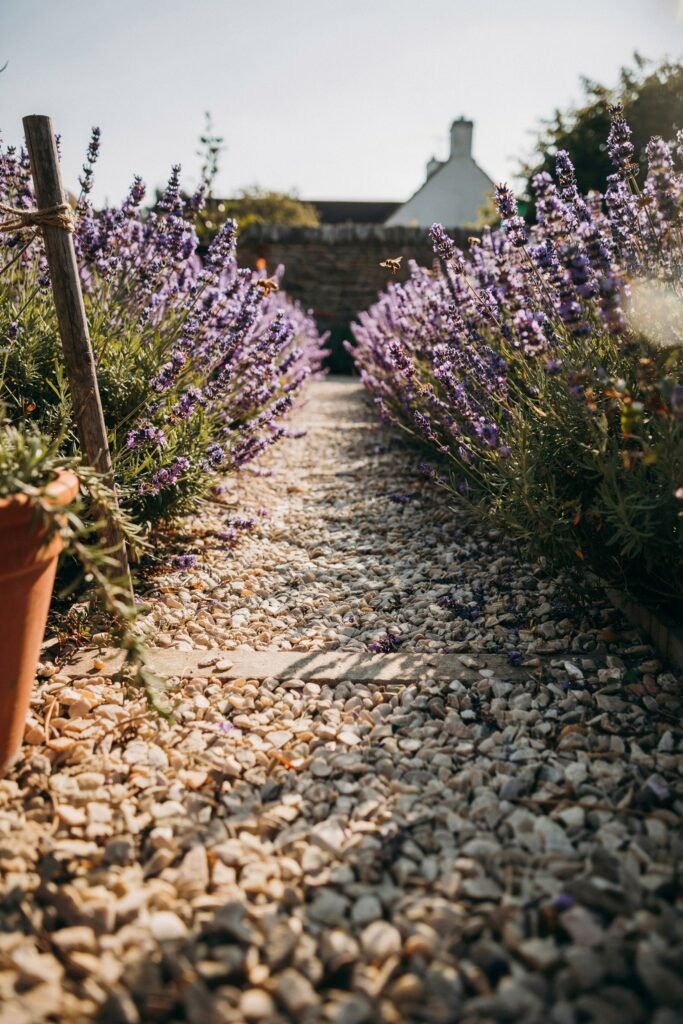
If you love the idea of a Mediterranean-inspired welcome, a gravel path lined in lavender delivers scent and texture in equal measure.
What you’ll need:
- Crushed gravel or pea gravel (about 2 inches deep for the path)
- Landscape fabric
- Edging (metal, stone, or timber)
- Lavender plants (English lavender handles most climates well)
- A rake and tamper
How to achieve it:
- Mark out your path width, typically 3 to 4 feet for a comfortable walk.
- Remove sod and roughly 3 inches of soil, then lay landscape fabric to prevent weeds.
- Install your edging along both sides to keep gravel contained.
- Pour gravel and rake it level, then tamp it down firmly.
- Plant lavender in a straight or gently curved line just outside the edging, spacing plants about 18 inches apart.
- Water deeply at planting, then let lavender’s drought tolerance do the rest of the work for you.
4. Stone Pillar Entrance
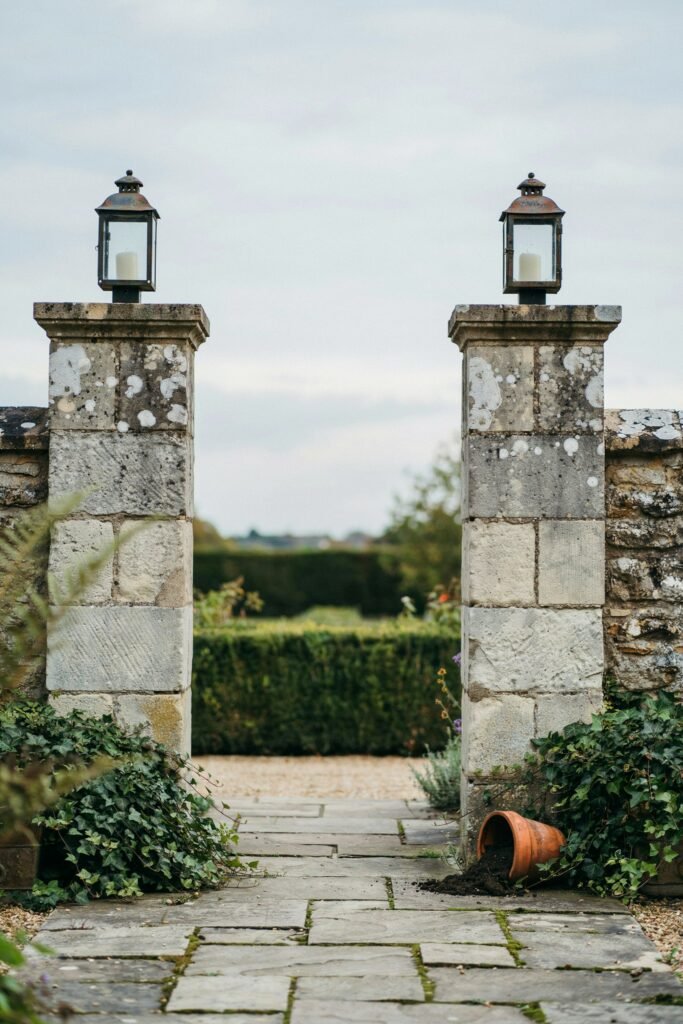
Stone pillars flanking your entry give a grounded, permanent feel, like the garden has been there for generations even if you built it last weekend.
What you’ll need:
- Concrete blocks or natural stone veneer
- Mortar mix
- A level and mason’s trowel
- Decorative cap stones
- Optional: solar lantern toppers
How to achieve it:
- Pour small concrete footings where each pillar will stand, allowing them to cure for a few days.
- Stack your blocks or stone veneer, applying mortar between each layer and checking level constantly.
- Build both pillars to matching heights, typically 3 to 4 feet.
- Top each pillar with a cap stone, mortared in place.
- Add a solar lantern or urn planter to each top for a finished, welcoming look.
- Plant low shrubs or trailing vines at the base to soften the stone.
5. Wooden Pergola Walkway
A pergola walkway turns a simple path into a destination. It’s a bigger project, but the payoff is a shaded, atmospheric entrance that feels like your own private gallery.
What you’ll need:
- 4×4 posts and 2×6 beams
- Post hole concrete
- Wood stain or sealant
- Climbing plants (wisteria, clematis, or grapevine)
- String lights, optional
How to achieve it:
- Plan your pergola’s length based on your path, typically running 8 to 12 feet for a real sense of passage.
- Set posts every 4 to 6 feet along both sides, securing them in concrete.
- Attach horizontal beams across the top once posts are fully set.
- Seal or stain all wood before planting to protect it from weather.
- Plant climbers at the base of each post and train them upward with twine.
- String lights along the beams for evening charm.
For more shaded seating ideas to place at the far end of your pergola, take a look at my roundup of garden seating ideas for relaxing outdoors.
6. Hanging Lantern-Lit Path
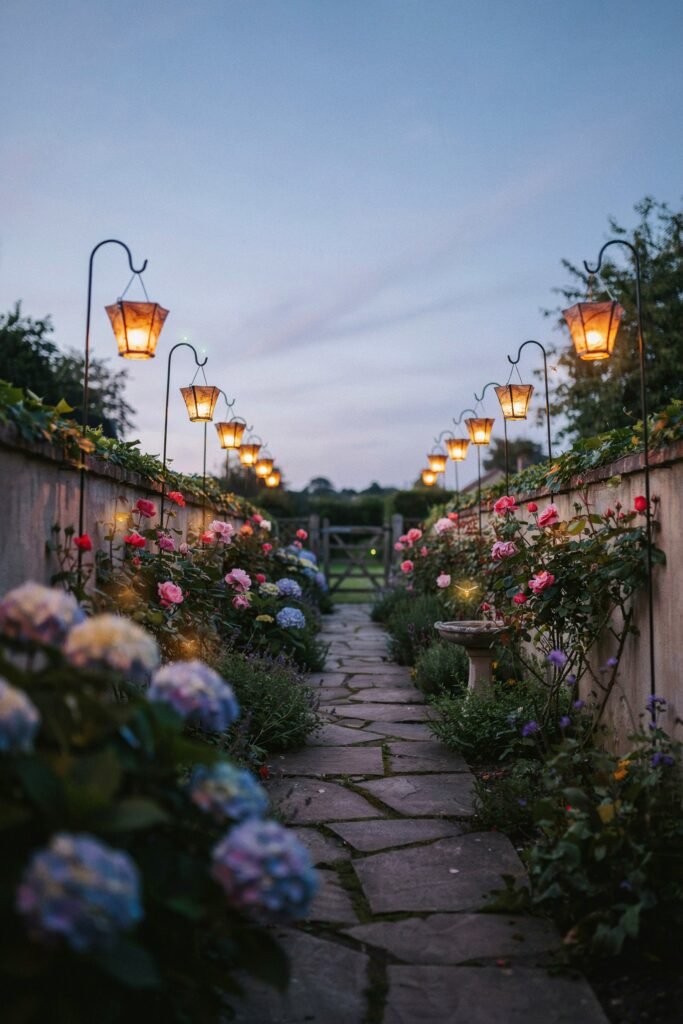
Sometimes the most magical entrances are the ones you experience at dusk. Lantern lighting along your path creates a soft, glowing welcome home.
What you’ll need:
- Shepherd’s hooks or a low overhead wire
- Battery or solar lanterns
- Path-appropriate low-voltage cable, if hardwiring
- Ground stakes
How to achieve it:
- Decide whether you want lanterns hung from hooks along the ground or strung overhead between posts.
- Space shepherd’s hooks every 3 to 4 feet along your path.
- Hang solar or battery lanterns at a consistent height, roughly waist-level for a cozy glow.
- If hardwiring, run low-voltage cable along the path edge before mulching over it.
- Test the lighting at dusk and adjust spacing so there are no dark gaps.
- Add shade-loving groundcover beneath the lanterns to fill in bare soil.
7. Potted Topiary Pair
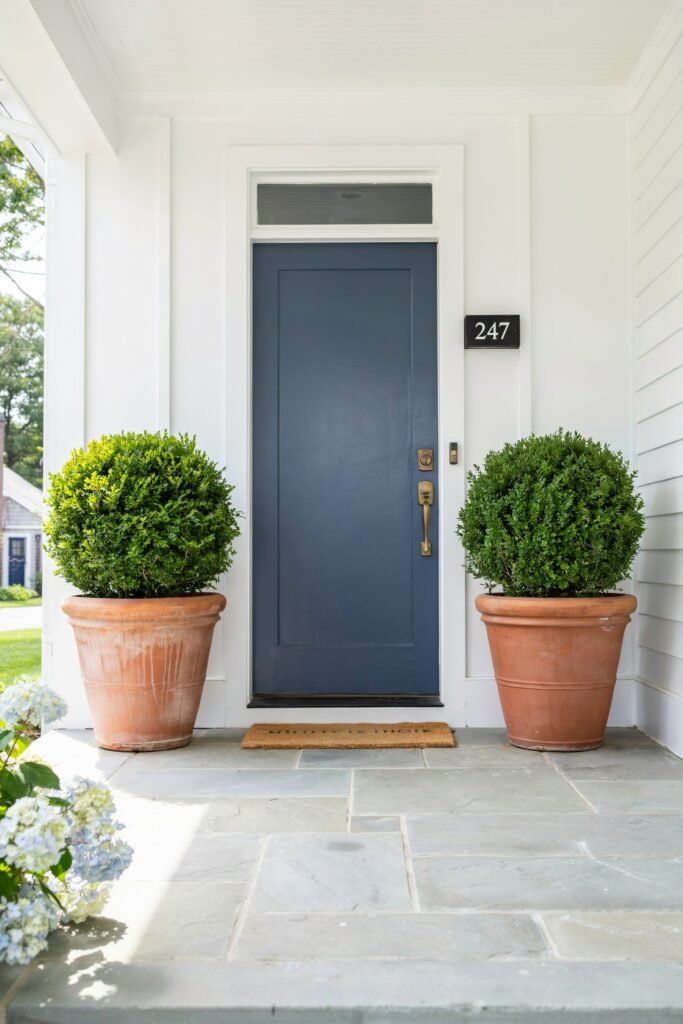
Two matching topiaries flanking your door or gate is an entrance idea that looks polished with very little space or maintenance required.
What you’ll need:
- Two matching large planters
- Boxwood, myrtle, or ivy trained into a topiary shape (or a pre-shaped topiary)
- Quality potting mix
- Slow-release fertilizer
- Pruning shears
How to achieve it:
- Choose planters that are heavy enough not to tip in wind, at least 16 inches wide.
- Fill with well-draining potting mix and set your topiary at the same depth it was in its nursery pot.
- Position one pot on each side of your entrance, checking that they’re evenly spaced and level.
- Feed with slow-release fertilizer in spring.
- Trim lightly every few weeks during the growing season to maintain the shape.
- Bring indoors or wrap for protection if your winters are harsh.
8. Rustic Wooden Gate
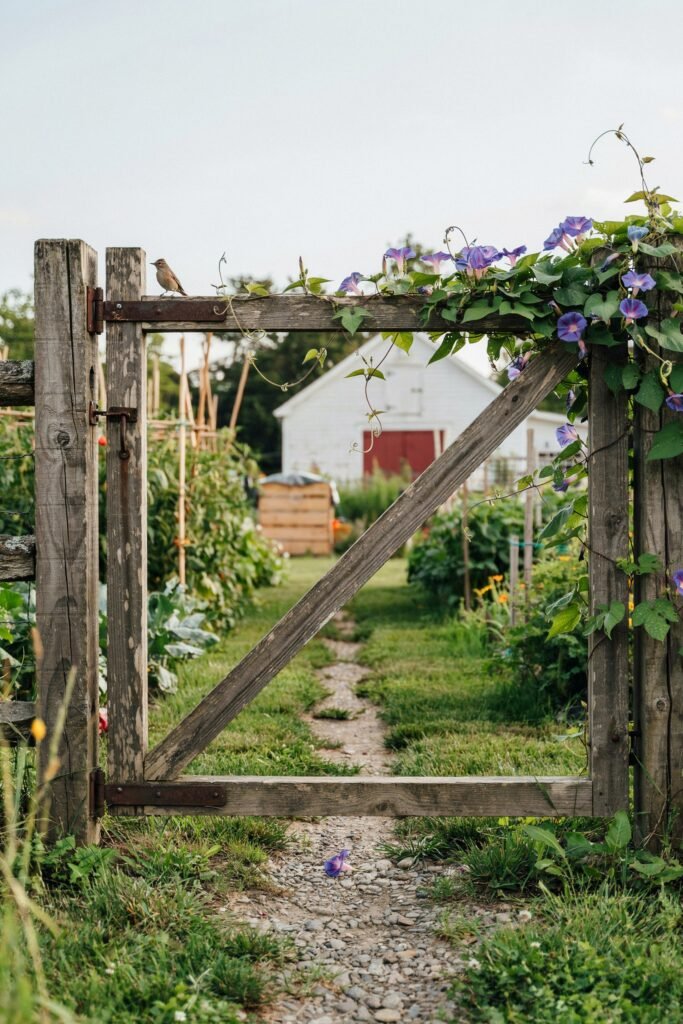
If cottagecore is your aesthetic, a reclaimed or rustic wooden gate brings texture and history to your entrance, even if the wood is only a few weeks old.
What you’ll need:
- Reclaimed or rough-cut lumber
- Gate hardware (hinges, latch, brace)
- Wood preservative
- Two gate posts
How to achieve it:
- Build your gate frame using a diagonal brace board to prevent sagging over time.
- Attach vertical slats with a small gap between each for a relaxed, rustic look.
- Treat all wood with a weatherproof sealant before hanging.
- Set your posts, allow them to cure, then hang the gate with sturdy hinges.
- Let climbing plants like morning glory or clematis grow up and over the frame for an established look.
- Distress the wood slightly with a wire brush if you want an aged, farmhouse feel right away.
9. Flower-Lined Stepping Stone Path
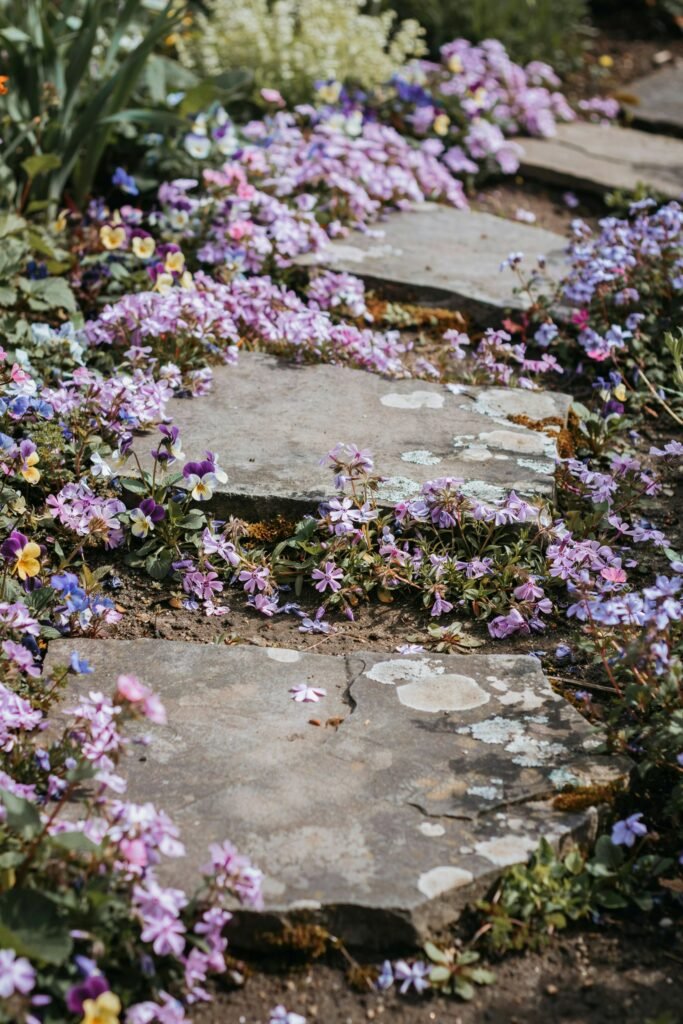
Stepping stones surrounded by low blooms give an entrance a playful, cottage-garden charm that feels handmade and personal.
What you’ll need:
- Flagstone or concrete stepping pavers
- Sand for leveling
- Low-growing flowers (creeping phlox, sweet woodruff, or violas)
- Edging material, optional
How to achieve it:
- Lay your stones out first without digging, walking the path to check natural stride spacing.
- Cut sod and dig a shallow bed for each stone, about 2 inches deep.
- Add a layer of sand beneath each stone and tap it level.
- Fill the gaps between stones with garden soil and plant low, spreading flowers.
- Water new plantings well until established.
- Allow the flowers to spill slightly over the stone edges for a soft, informal look.
10. Vine-Covered Trellis Archway
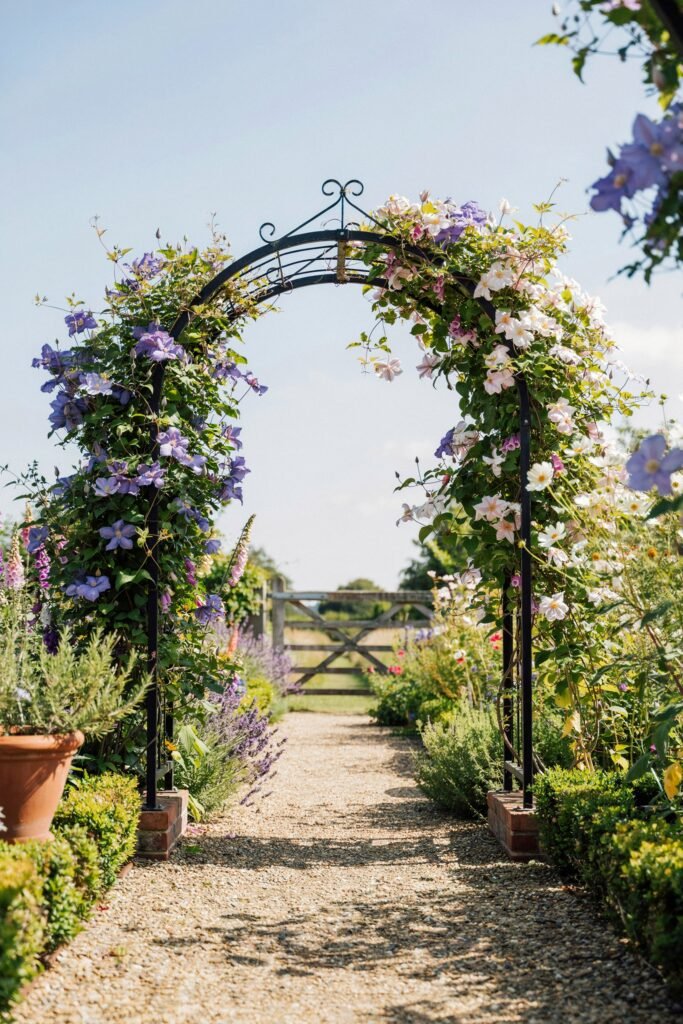
A trellis archway is a lighter, more budget-friendly alternative to a full arbor, and it still delivers that dramatic “walking into a secret garden” feeling.
What you’ll need:
- A metal or wooden trellis arch
- Fast-growing vines (clematis, sweet pea, or hops)
- Ground stakes or a concrete base kit
- Garden twine
How to achieve it:
- Position your trellis where it frames the entrance without blocking the main walking path.
- Anchor the base firmly, either with stakes driven deep or a concrete footing for permanent installs.
- Plant one or two vines at the base of each side.
- Loosely tie new growth to the trellis to encourage it to climb rather than sprawl.
- Prune spent flowers regularly to keep the vine full and blooming.
- Add a small bench or planter nearby to complete the scene.
If you want more height-adding structures for other parts of your garden, my guide to 20 garden trellis ideas that add height covers even more variations.
11. Whimsical Fairy Garden Entrance
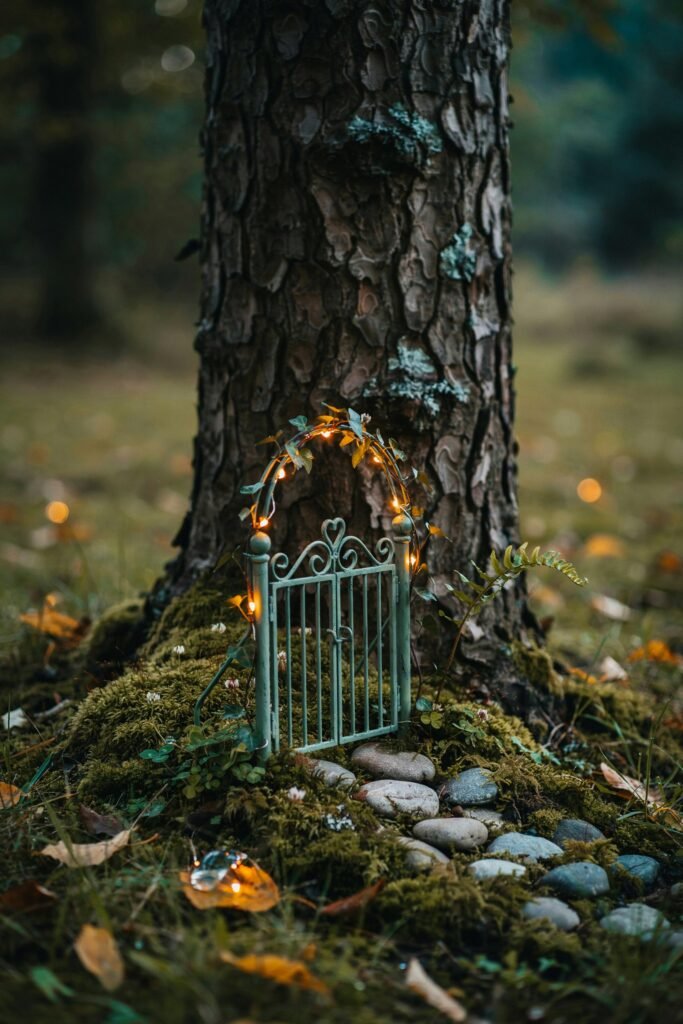
A fairy garden entrance is playful and a little magical, perfect if you want your garden to feel like it holds a secret.
What you’ll need:
- Miniature gate or arch (fairy garden scale or a small real one)
- Moss, small pebbles, and tiny plants
- Miniature lanterns or fairy lights
- Small decorative accents (mushrooms, tiny signs)
How to achieve it:
- Choose a small nook, like the base of a tree or a corner bed, as your fairy entrance point.
- Install a miniature gate or arch as the focal point.
- Layer moss and pebbles around the base for texture.
- Tuck in tiny plants like baby’s tears or miniature hostas.
- Add small lanterns or fairy lights for evening sparkle.
- Update the scene seasonally with small figurines or seasonal accents.
12. Brick Paver Walkway
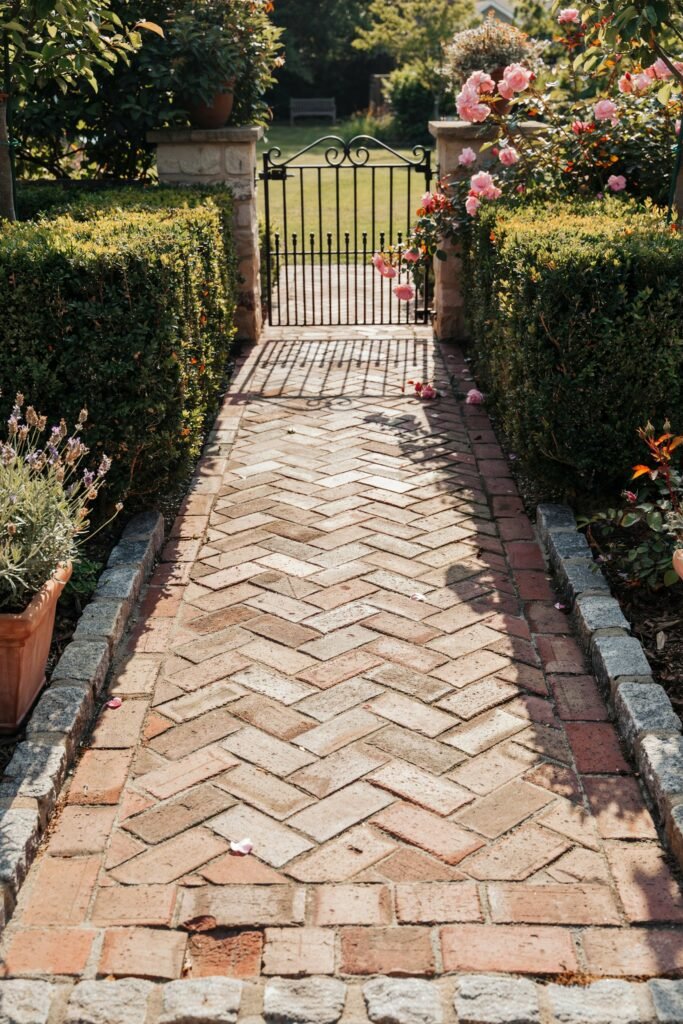
Brick pavers bring warmth and a timeless look to an entrance, and they’re surprisingly approachable as a weekend project.
What you’ll need:
- Brick or paver stones
- Paver base sand and gravel
- Paver edging
- A rubber mallet and level
How to achieve it:
- Excavate the path area about 6 to 8 inches deep to allow for a proper base.
- Add a compacted gravel layer, then a layer of paver sand, leveling as you go.
- Lay bricks in your chosen pattern, tapping each into place with a rubber mallet.
- Install edging along both sides to lock the pattern in place.
- Sweep polymeric sand into the joints and mist with water to set it.
- Line the path with low plantings or solar lights for a finished look.
13. Wrought Iron Gate
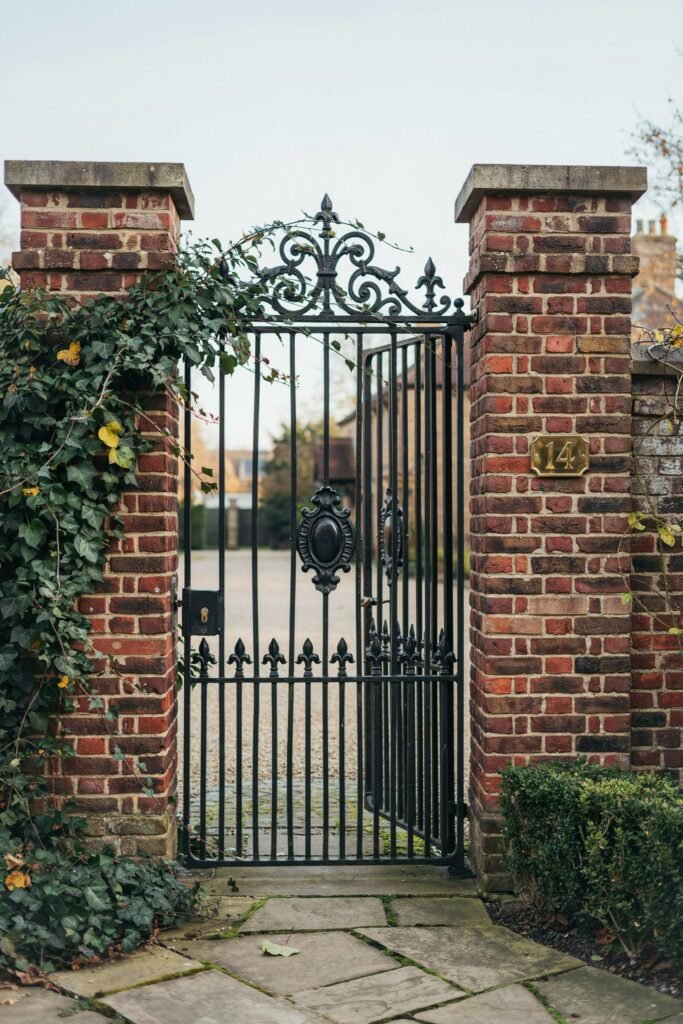
For an entrance with old-world elegance, a wrought iron gate delivers drama without ever feeling heavy-handed.
What you’ll need:
- Pre-fabricated wrought iron gate
- Matching or stone gate posts
- Heavy-duty hinges and a latch
- Rust-resistant paint, if needed
How to achieve it:
- Choose gate posts sturdy enough to support the gate’s weight, brick or stone pillars work beautifully.
- Set posts with plenty of concrete, since iron gates are heavier than wood.
- Attach industrial-grade hinges to handle the load.
- Hang the gate and adjust until it swings smoothly without dragging.
- Touch up any bare metal spots with rust-resistant paint.
- Train a flowering vine along one side to soften the ironwork’s formality.
14. Cottage-Style Wildflower Border
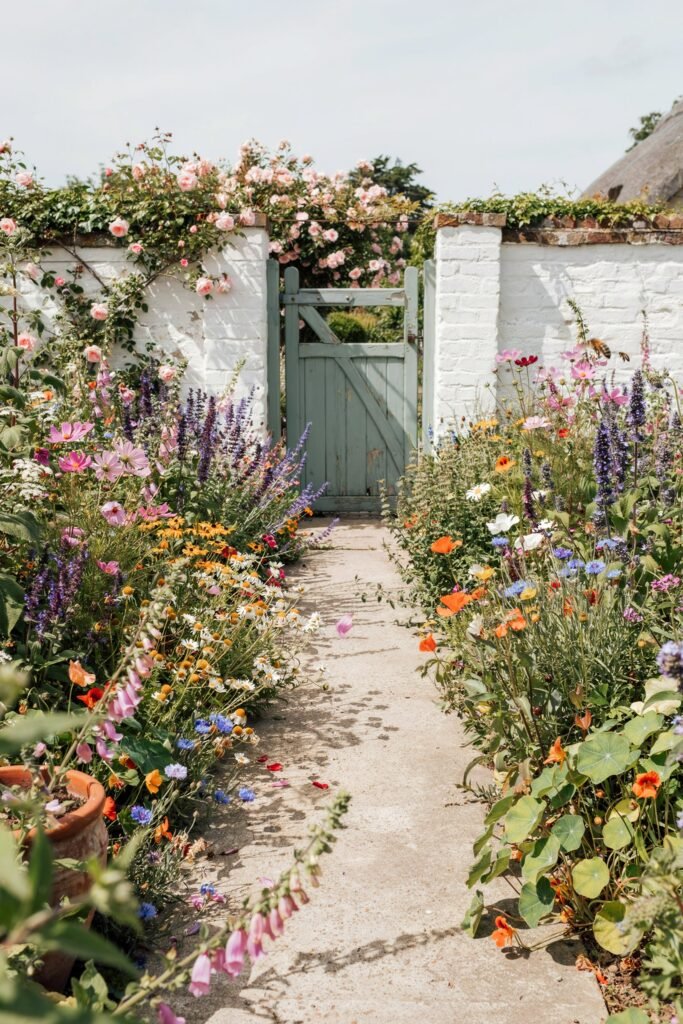
Sometimes the best entrance isn’t a structure at all, it’s a joyful, overflowing border of wildflowers that makes your path feel like a meadow.
What you’ll need:
- Wildflower seed mix suited to your region
- Compost
- Garden edging, optional
- A watering can or hose
How to achieve it:
- Clear the border area of grass and weeds, loosening the soil with a garden fork.
- Work compost into the top few inches of soil.
- Scatter your wildflower seed mix evenly, then rake lightly to nestle seeds into the soil.
- Water gently and consistently until seedlings are established.
- Thin overcrowded areas once seedlings reach a few inches tall.
- Deadhead spent blooms occasionally to encourage a longer flowering season.
I go into much more depth on layering bloom times and colors in my complete guide to growing a charming, overflowing cottage garden, which pairs perfectly with this entrance style.
15. Bamboo Screen Entrance
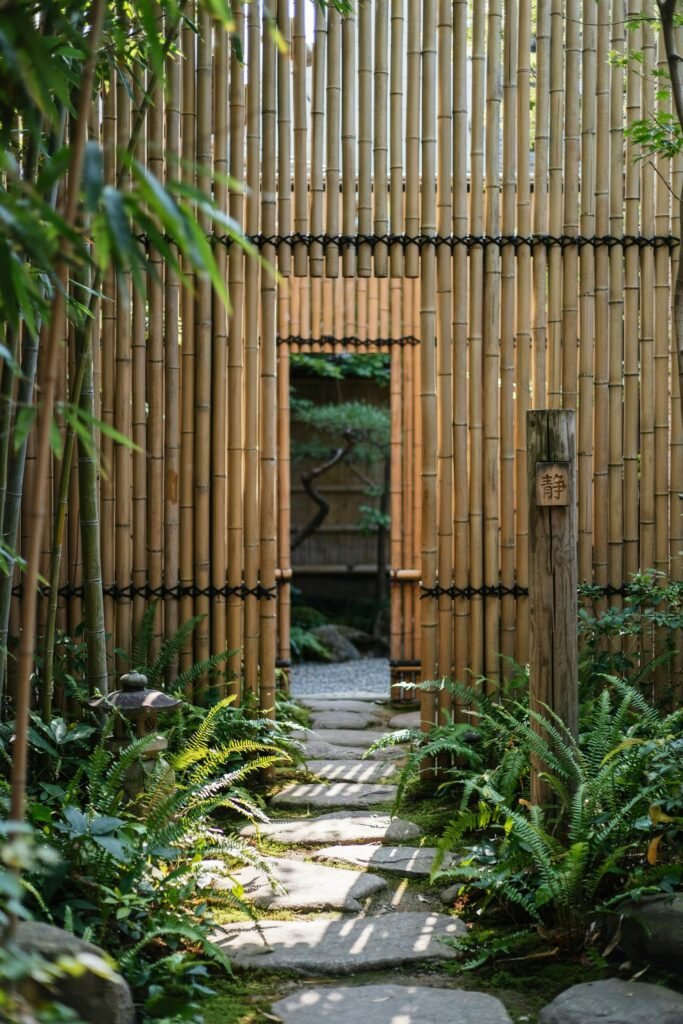
A bamboo screen entrance feels serene and a little exotic, ideal if you’re going for a calm, zen-inspired welcome.
What you’ll need:
- Bamboo poles or a pre-made bamboo screen panel
- Wooden or metal frame posts
- Wire or zip ties for securing bamboo
- Weatherproof sealant
How to achieve it:
- Set two sturdy frame posts on either side of your entry point.
- Attach a horizontal top and bottom rail between the posts.
- Secure bamboo poles vertically along the rails using wire, spacing them tightly for privacy or loosely for a more open look.
- Seal the bamboo to protect it from moisture and pests.
- Add a simple gap or gate in the center for walking through.
- Underplant with ferns or hostas for a cohesive, tranquil feel.
16. Living Vertical Garden Wall
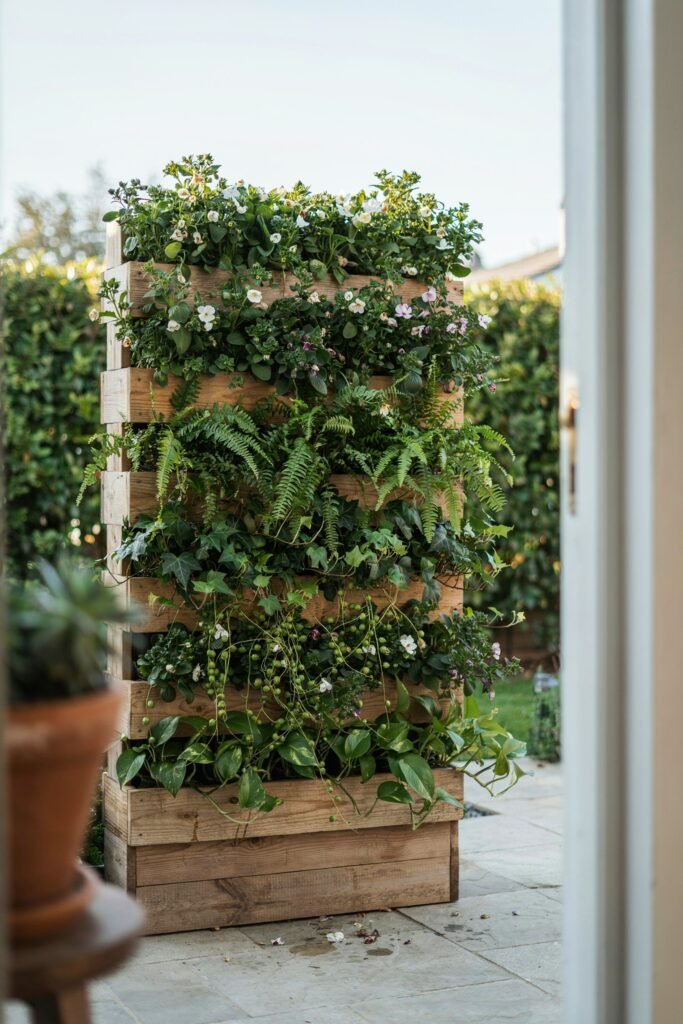
A vertical garden wall turns a plain fence or entryway into a lush, living piece of art, and it’s especially wonderful for tight spaces.
What you’ll need:
- Vertical planting panels or a modular wall planter system
- Potting mix
- A mix of trailing and upright plants
- A drip irrigation kit, optional but helpful
How to achieve it:
- Mount your vertical panel system securely to a wall, fence, or freestanding frame.
- Fill each pocket or planter cell with potting mix.
- Plant a mix of textures, trailing plants at the top, upright plants lower down where they’ll get more light.
- Install a simple drip line if your wall will need frequent watering.
- Water consistently for the first few weeks while roots establish.
- Rotate seasonal color by swapping a few cells throughout the year.
For more small-space inspiration, my post on 10 vertical garden ideas for small spaces is worth a look, along with my 25 tiny garden ideas for small spaces for even more creative approaches.
17. Repurposed Door Gate
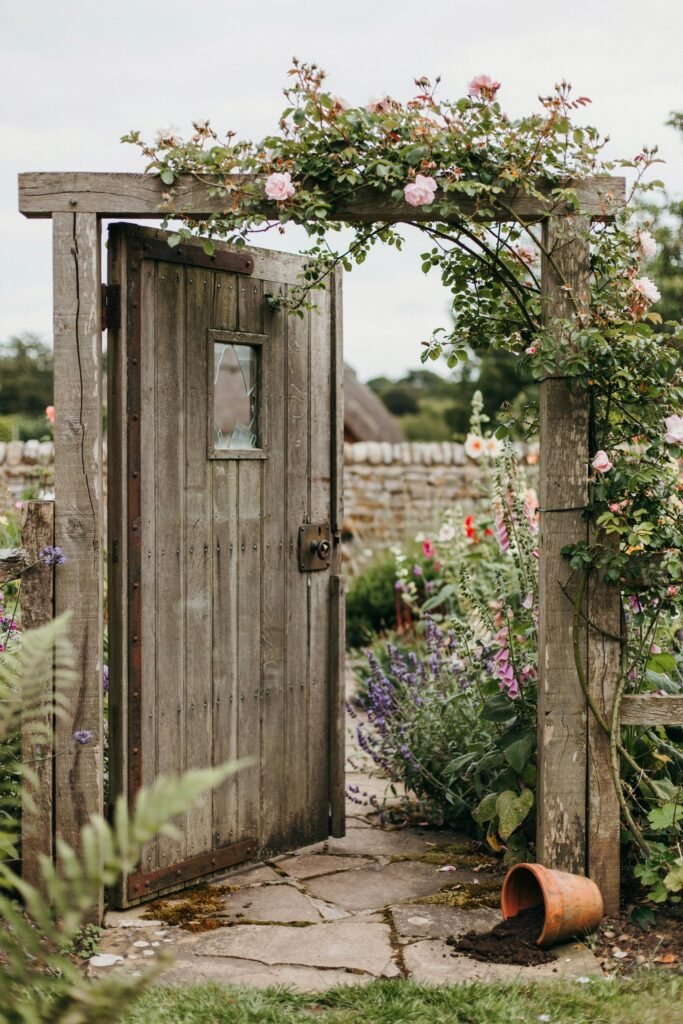
An old door repurposed as a garden gate is full of personality, and it’s a wonderful way to give a piece of salvaged wood a second life.
What you’ll need:
- An old wooden door
- Gate posts or a wooden frame
- Heavy-duty hinges
- Weatherproof paint or sealant
How to achieve it:
- Sand your door lightly and treat it with a weatherproof sealant or paint.
- Build or install two sturdy posts to match the door’s height and width.
- Attach large, exterior-rated hinges capable of supporting the door’s weight.
- Hang the door and check that it swings freely without scraping the ground.
- Add a vintage-style handle or latch for character.
- Frame the door with climbing plants to blend the salvaged piece into the garden.
18. Circular Moon Gate
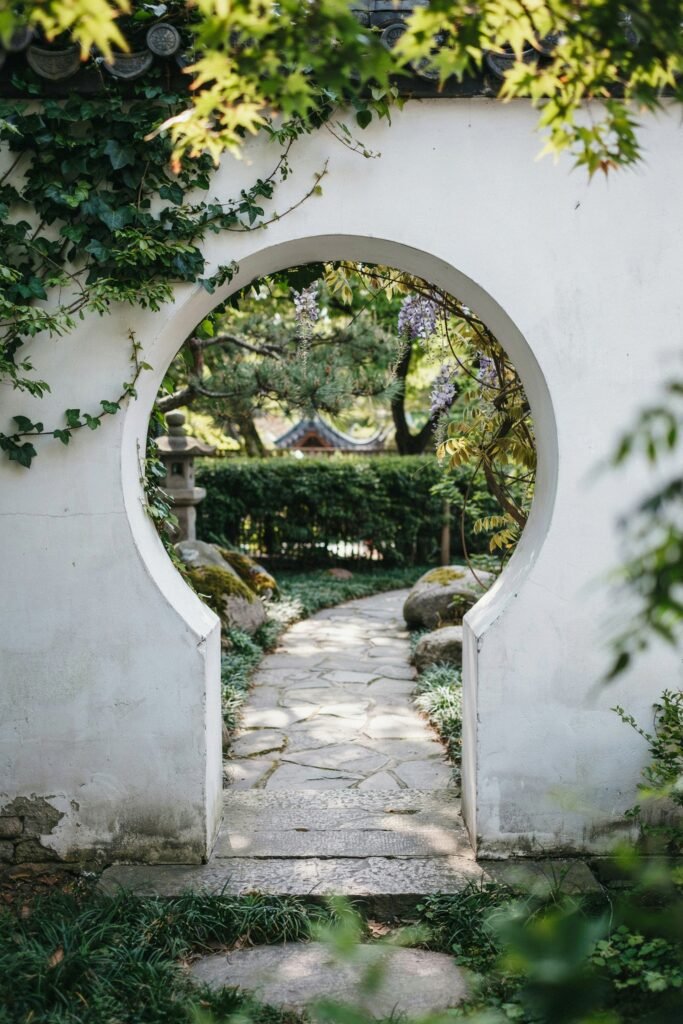
A moon gate, a full circular opening, is a striking and unusual entrance idea borrowed from traditional garden design, and it instantly becomes a photo-worthy focal point.
What you’ll need:
- Curved lumber, metal ring, or pre-fabricated moon gate frame
- Concrete for the base
- Climbing plants
- A level
How to achieve it:
- Choose or build a circular frame, pre-made metal moon gate rings are the most beginner-friendly option.
- Set the frame’s base posts in concrete, double-checking it’s perfectly upright.
- Allow the concrete to cure fully before adding any plant weight.
- Plant a climbing vine at the base of each side to eventually frame the circle in greenery.
- Train growth evenly around the curve rather than letting it clump on one side.
- Add a stepping stone or gravel circle beneath the gate to complete the effect.
19. Herb-Scented Entry Path
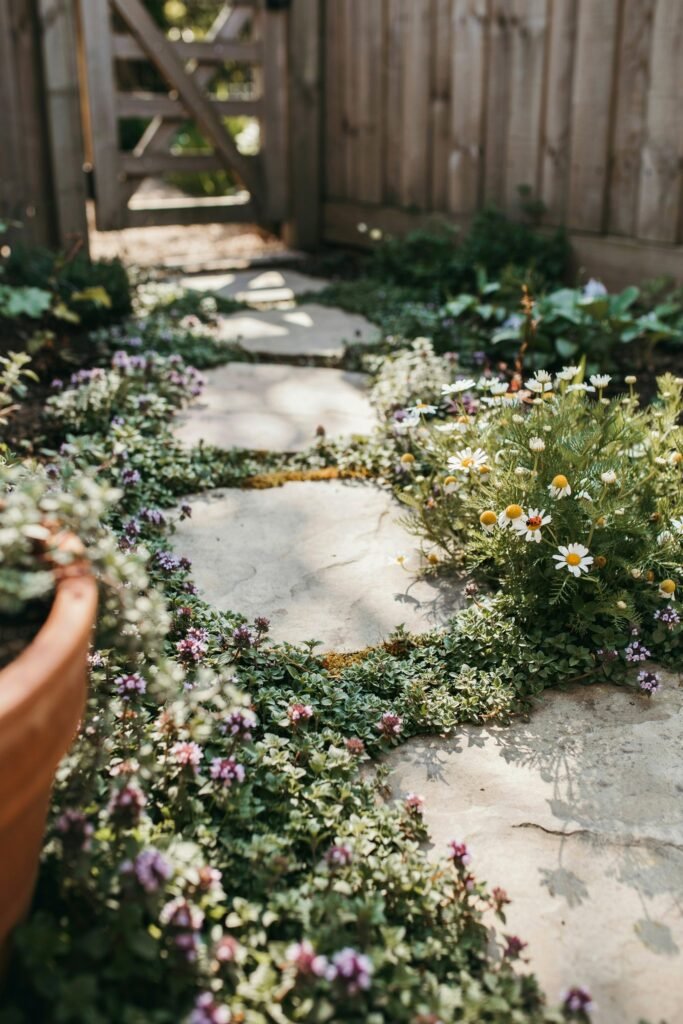
An herb-lined path means every step releases fragrance, a beautiful, sensory way to welcome guests, especially in a kitchen garden setting.
What you’ll need:
- Low, walkable herbs (creeping thyme, chamomile, or oregano)
- Stepping stones or gravel
- Compost
- Edging, optional
How to achieve it:
- Prepare your path bed by loosening soil and mixing in compost.
- Lay stepping stones with gaps of a few inches between them.
- Plant creeping thyme or chamomile directly into the gaps, since both tolerate light foot traffic.
- Water regularly until the herbs spread and fill in the gaps.
- Trim back any herb that starts to overtake the stone surface.
- Brush your hand along taller herbs planted at the border as you walk by for extra fragrance.
20. Solar-Lit Garden Path
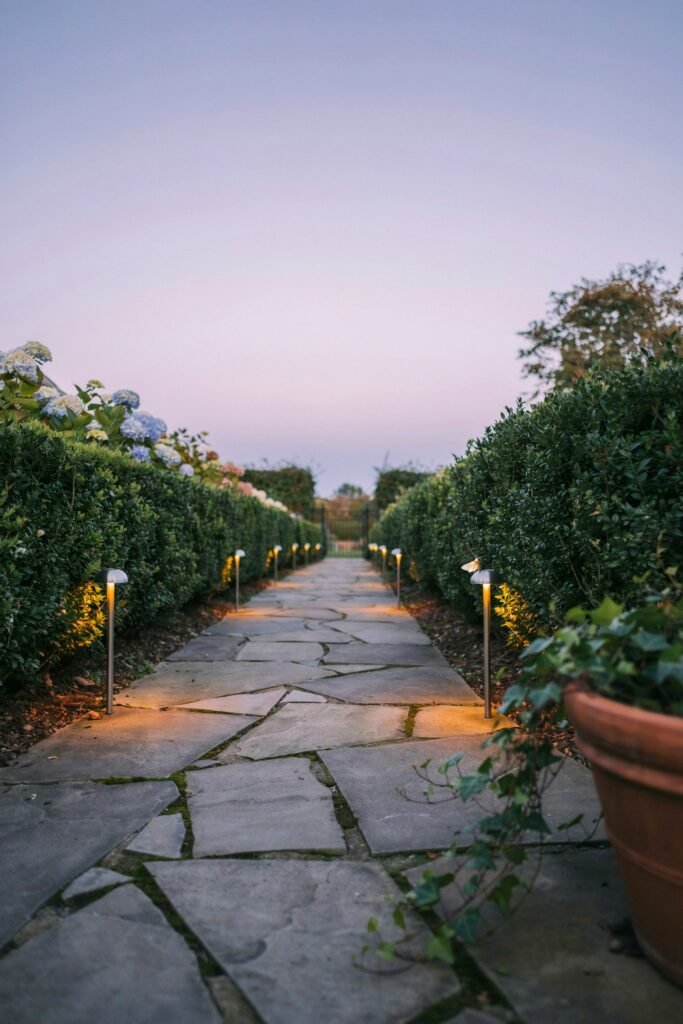
Finally, a simple but transformative idea: solar lighting along any existing path instantly elevates your entrance for almost no cost or effort.
What you’ll need:
- Solar path lights
- A screwdriver or stake driver
- Optional: solar spotlights for larger focal points
How to achieve it:
- Lay your lights along the path before installing them to test spacing, roughly every 4 to 6 feet works well.
- Push each light’s stake firmly into the soil, checking that the solar panel faces open sky.
- Angle spotlights toward any special features, like a topiary or archway.
- Let the lights charge fully for a day before judging their brightness.
- Clean solar panels occasionally to keep them charging efficiently.
- Add or reposition lights seasonally as plants grow and shift shadows.
Quick Answers to Questions I Get Asked Often
How much does a garden entrance makeover typically cost? It genuinely depends on the idea you choose.
A gravel path with lavender or a few solar lights can cost under fifty dollars, while a stone pillar entrance or wrought iron gate can run into the hundreds once materials and hardware are factored in.
I always recommend starting with the lower-cost ideas on this list if you’re testing out a new style before committing to something permanent.
Which of these ideas works best for renters or temporary spaces? Potted topiary pairs, hanging lanterns, solar lights, and a trellis archway anchored with stakes rather than concrete are all easy to remove or take with you if you move.
They require no permanent digging or structural changes to a property.
How long does it take for climbing plants to fully cover an arbor or trellis? Most vigorous climbers like clematis or climbing roses take two full growing seasons to really fill in.
Fast growers like morning glory or sweet pea can offer a fuller look within a single summer, though they’re annuals and need replanting each year.
Do I need special tools for any of these projects? The gate and arbor projects benefit from a post-hole digger, a level, and a drill.
Path projects like gravel or paver walkways go much faster with a rake, a tamper, and a wheelbarrow for moving materials. Nothing on this list requires specialty equipment you can’t rent or borrow for a weekend.
Can I combine more than one of these ideas? Absolutely, and honestly, some of the prettiest entrances I’ve seen do exactly that.
A rose arbor with a gravel path underneath, or a picket gate paired with solar lighting along the walk, are both wonderful combinations that layer texture without feeling cluttered.
A Few Extra Tips Before You Start
- Match your entrance to your home’s style. A wrought iron gate feels right at home next to a brick facade, while a rustic wooden gate suits a farmhouse or cottage look far better.
- Think about maintenance before you commit. Living structures like rose arbors and vertical gardens need regular care, while gravel paths and solar lighting are far more forgiving if your schedule gets busy.
- Consider the view from both directions. Your entrance should look just as inviting walking out as it does walking in, so avoid placing tall structures that block the view back toward your home.
- Start small if you’re unsure. Adding solar lights or a pair of topiaries to an existing path is a low-commitment way to test whether a bigger project is worth the investment.
Bringing It All Together
The most beautiful garden entrances are rarely finished in a single weekend, and that’s part of the joy. Mine started as a bare gap in the fence and became, slat by slat and bloom by bloom, the thing I’m proudest of in my whole garden.
Pick one idea from this list that genuinely excites you, gather your materials, and start there. You can always add a lantern, a second topiary, or a new vine next season.
If you’re just getting your gardening footing, my new gardener checklist and essential gardening tools guide are great companions to keep nearby as you take on any of these projects.
And once your entrance is glowing and blooming, don’t stop there, my backyard fire pit ideas and seating guides will help you build out the rest of the space just as thoughtfully.
Whatever you choose, I hope your entrance becomes the same kind of small, daily joy that mine has become for me.
There’s something quietly special about a space that greets you before you even step inside your own garden, a little pause between the outside world and the one you’ve grown with your own hands.
Take your time with it, let it evolve season by season, and don’t be afraid to change your mind halfway through if a new idea catches your eye. That’s exactly how the best gardens come together.
