
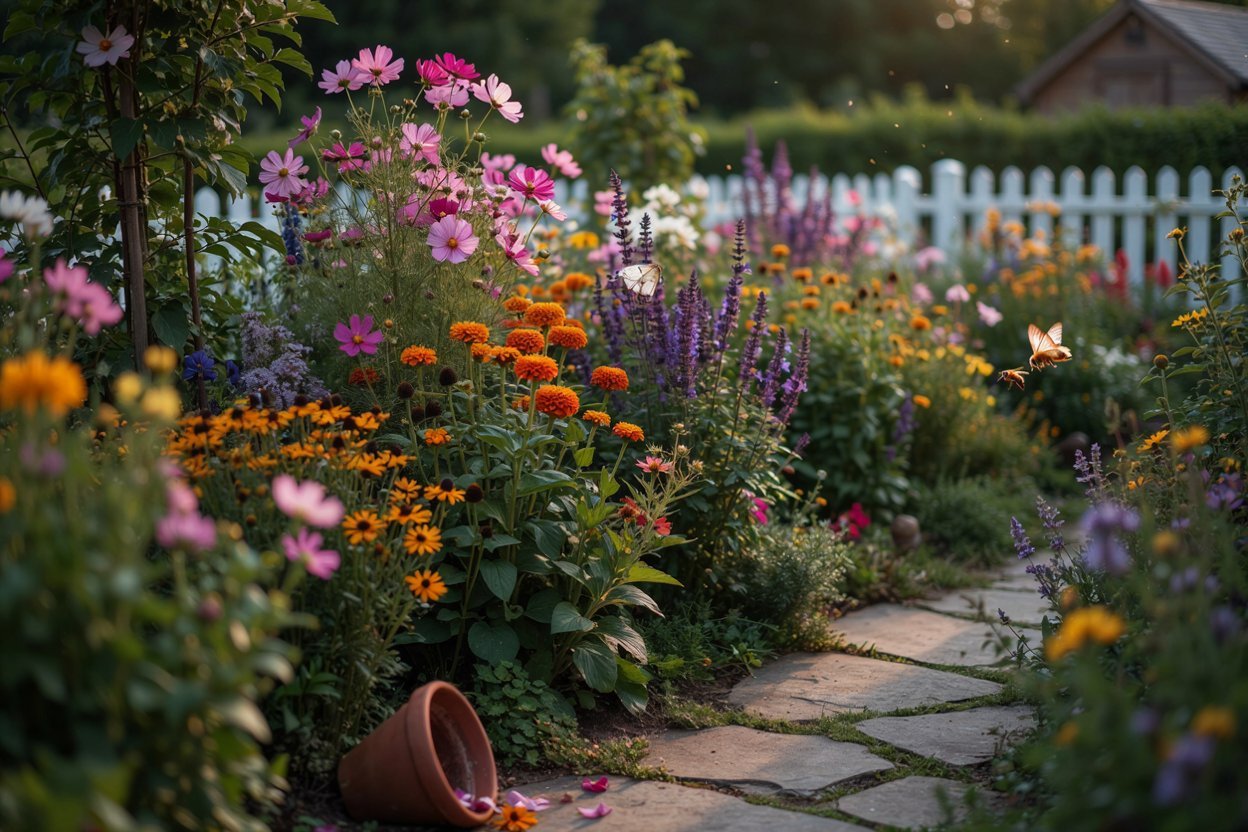

I still remember standing in my backyard years ago, staring at a blank strip of dirt, completely overwhelmed by how many ways there were to fill it.
If you’ve ever felt that same mix of excitement and “where do I even start,” you’re in exactly the right place.
This guide is everything I wish someone had handed me back then, twenty-four gorgeous, doable flower garden layouts, plus the real details on what you’ll need and how to bring each one to life in your own yard.
Why Your Flower Garden Layout Matters More Than You Think
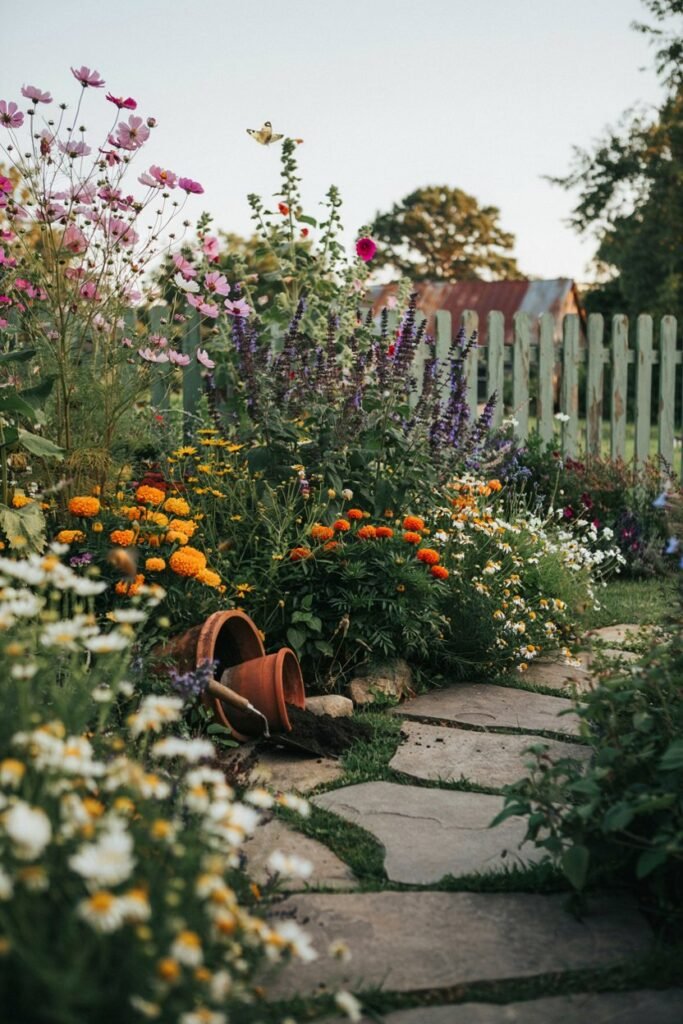
Before we dive into the ideas, let’s talk for a second about why layout is the real secret to a garden that looks professionally designed instead of just “planted.
Color choice matters, sure, but it’s the structure underneath the color, the shapes, heights, repetition, and flow, that makes a garden feel intentional.
The good news? Once you understand a few core layout principles, you can apply them to almost any style below, no landscape design degree required.
A few universal rules I lean on for every layout:
- Thriller, filler, spiller: a tall standout plant, a mid-height plant to fill space, and a trailing plant to soften edges.
- Odd-numbered groupings: plant in groups of 3, 5, or 7 rather than pairs, it reads more natural to the eye.
- Repetition creates rhythm: repeating the same color or plant every few feet ties a long bed together.
- Layer by height: tallest plants in back or center, shortest at the front or edges.
Keep these in your back pocket as you read, they’ll come up again and again.
1. The Classic Cottage Garden Border
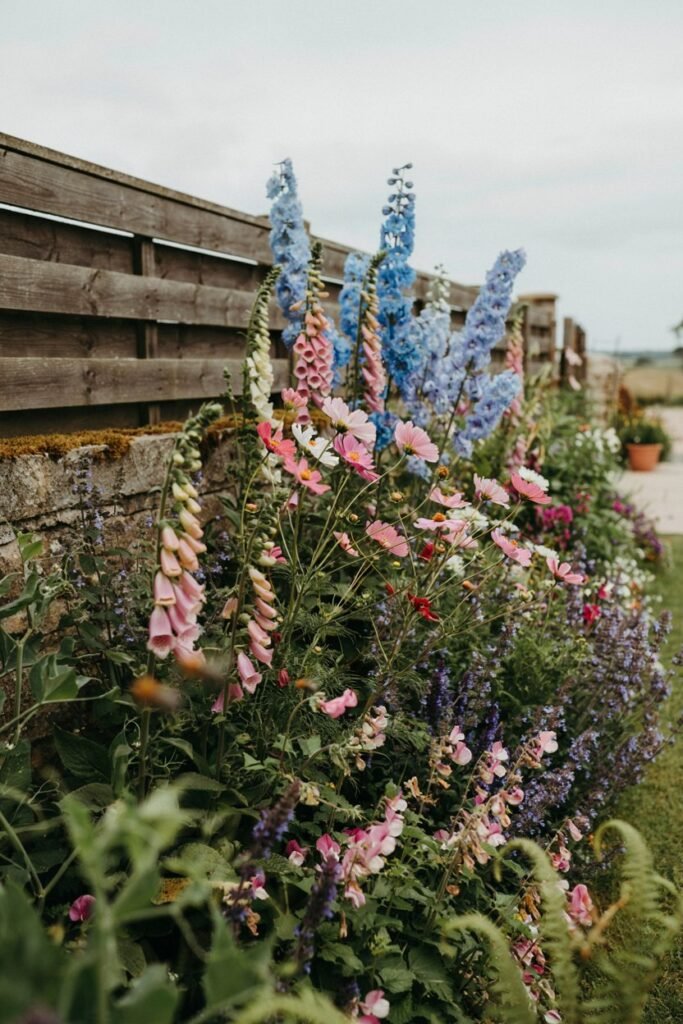
This is the layout most people picture when they hear “flower garden,” an abundant, slightly wild mix of blooms that spill into each other with no visible gaps of soil.
What you’ll need: A sunny bed at least 4 feet deep, a mix of perennials (foxglove, delphinium, coneflower) and self-seeding annuals (cosmos, larkspur), and compost-enriched soil.
How to achieve it: Plant densely, closer than seed packets suggest, so foliage overlaps and crowds out weeds. Skip straight rows entirely; stagger plants in loose drifts.
Let a few plants self-seed each year for that effortless, ever-evolving look. If you’re building this bed from scratch, our ultimate raised bed gardening checklist walks through everything you need before you even break ground.
Pro tip: Add a low, structural edging plant like boxwood or lamb’s ear along the front of the bed. It gives the “wild” middle something tidy to spill against, so the whole look reads intentional rather than unkempt.
2. The Color-Block Border
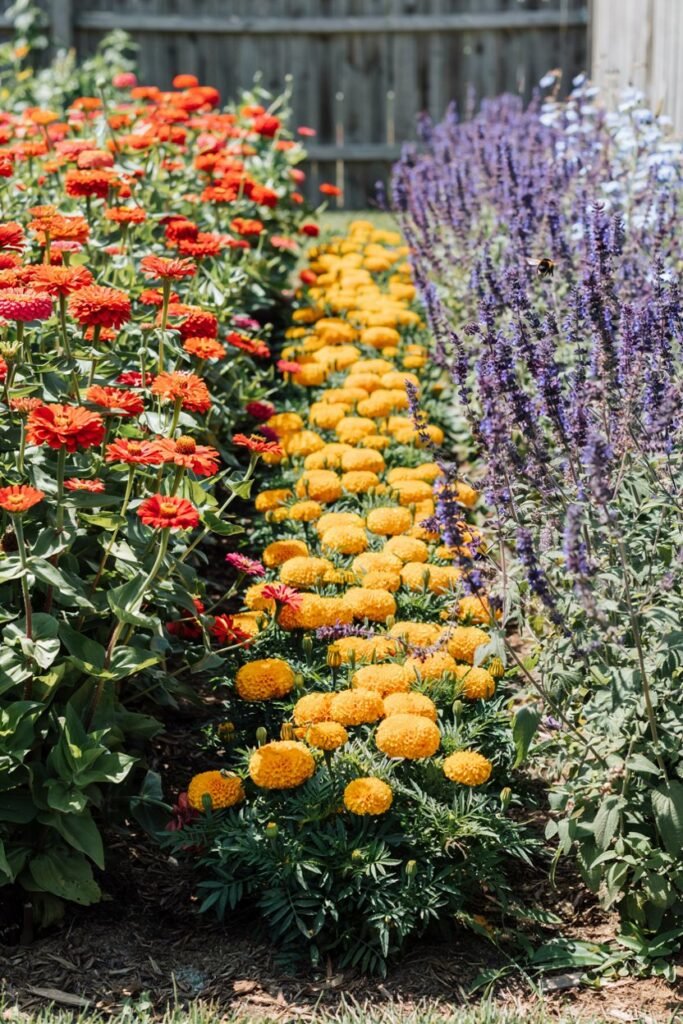
Instead of blending colors, this layout groups flowers into bold, distinct color zones, think a section of all-red, then all-yellow, then all-purple.
What you’ll need: At least three flower varieties in three separate hues, blooming at the same time, and a long, straight or gently curved bed.
How to achieve it: Divide your bed into roughly equal sections (odd numbers of sections work best visually). Plant each section with one dominant color, using 5-7 plants per block.
Repeat the same color pattern if your border is long enough for a second cycle, this repetition is what makes color-blocking read as designed rather than random.
Pro tip: Stick to colors that sit next to each other on the color wheel (yellow, orange, red) for a harmonious feel, or go opposite (purple and yellow) for a bolder, higher-contrast effect.
Either works, just be intentional about which mood you’re going for.
3. The Monochromatic Moon Garden
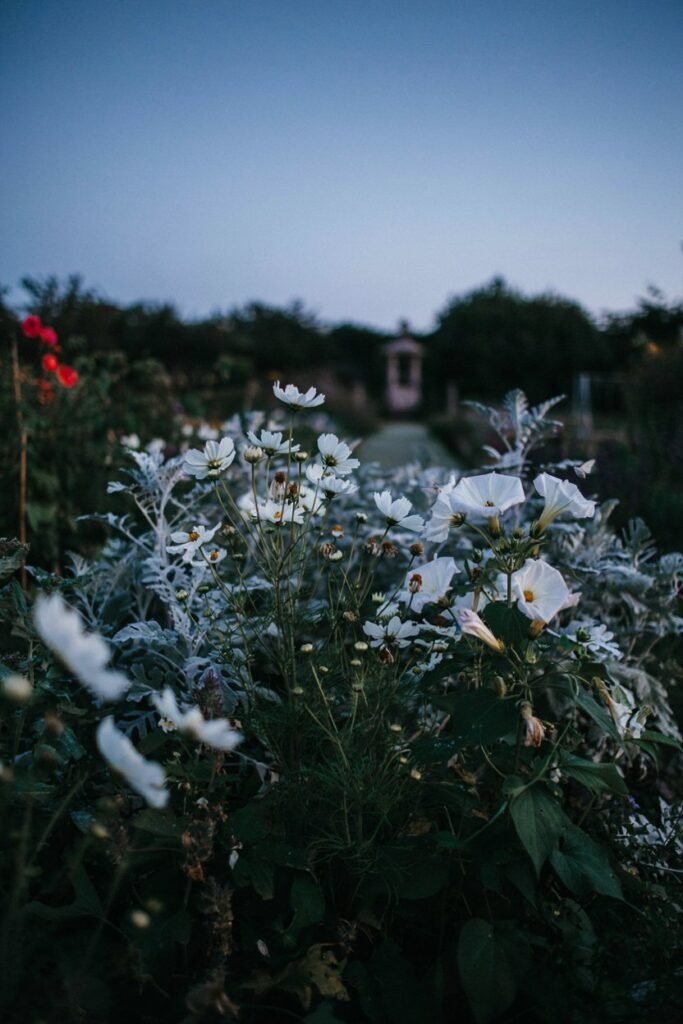
An all-white (or all-pale) garden that glows at dusk and under moonlight, it’s romantic, calming, and surprisingly striking during the day too.
What you’ll need: White or pale-colored flowers like white cosmos, moonflower, white phlox, and silvery foliage plants like dusty miller.
How to achieve it: Place it somewhere you’ll actually see it in the evening, near a patio or path.
Mix textures rather than relying on color variety since everything is one shade, pair fine, airy blooms with broad-leafed plants for contrast. Add a few fragrant white bloomers like nicotiana so the space appeals to more than just sight.
4. The Rainbow Island Bed
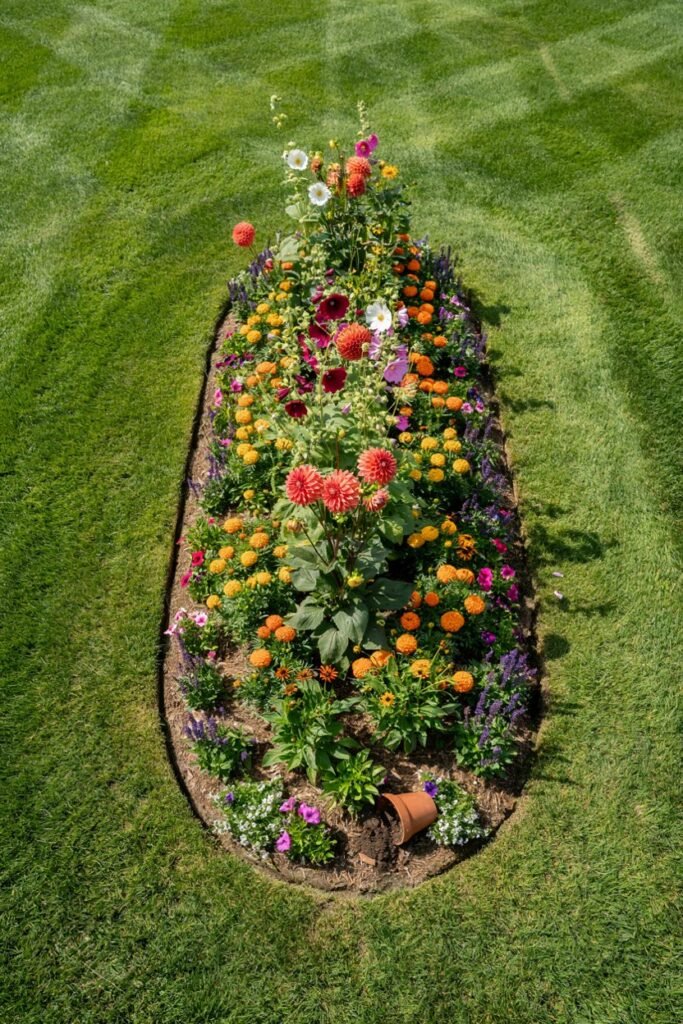
A circular or oval bed set into the middle of your lawn, viewable from all sides, planted in a full spectrum of colors.
What you’ll need: An open, sunny spot with good visibility from your house or patio, and flowers ranging from low-growing edging plants to a taller centerpiece.
How to achieve it: Because this bed is seen from every angle, plant your tallest flowers in the center and graduate down to shorter varieties at the edges, like a stepped pyramid.
Use a garden hose laid on the grass to map your curve before cutting the bed shape, it’s the easiest way to get a natural, non-lopsided outline.
Pro tip: Keep the bed no wider than 8 feet if you’ll be maintaining it from the outside edges only. Anything wider and you’ll be stepping into the bed to reach the center, which compacts soil and stresses roots over time.
5. The Layered Perennial Border (English Style)
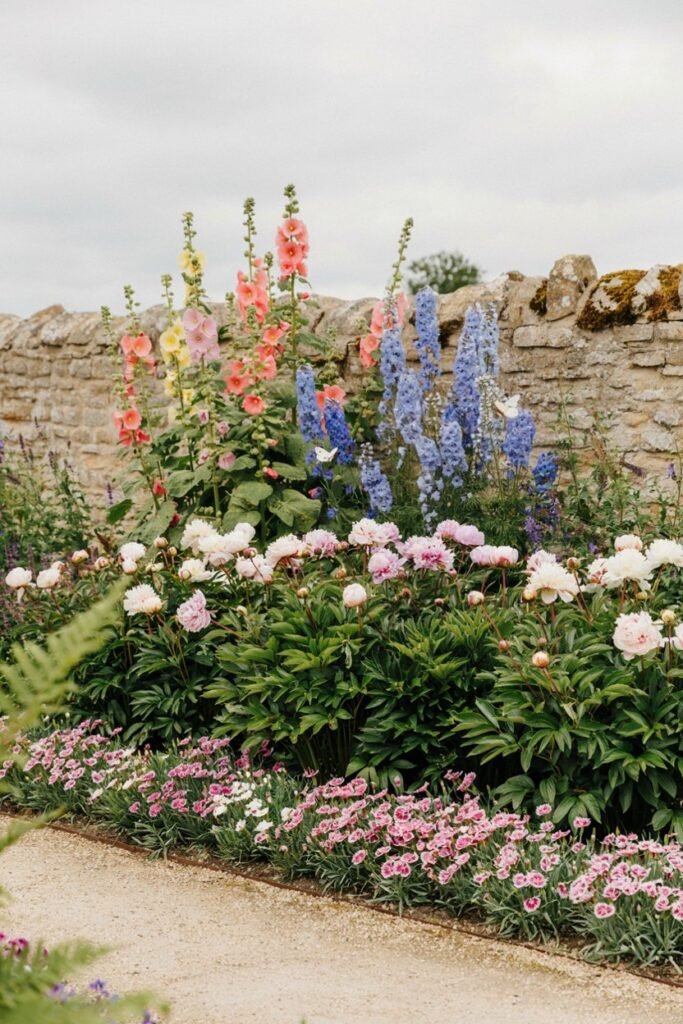
This is the deep, tiered border you see in English garden photography, tall spires at the back, mounding plants in the middle, and low edging in front.
What you’ll need: A bed at least 6 feet deep, ideally backed by a fence or wall, and three tiers of plants by height (delphinium or hollyhock in back, salvia or peony in the middle, alyssum or dianthus in front).
How to achieve it: Measure and mentally divide your bed into thirds from back to front. Stick to your height tiers strictly at first, once established, you can let plants intermingle slightly for a softer transition between tiers.
Pro tip: Stagger bloom times across your tiers so something is always flowering.
Pair an early-season back-tier bloomer with a mid-summer middle tier and a late-blooming front edge, and the whole border stays interesting from spring through fall instead of peaking all at once.
6. The Cutting Garden Layout
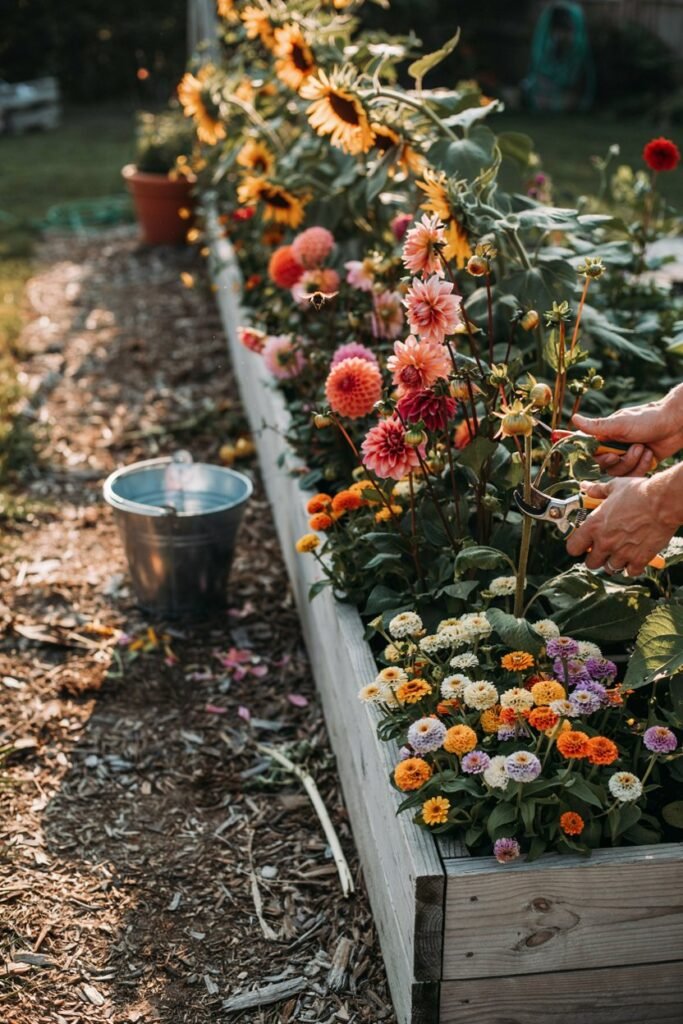
Designed purely for function, this layout lets you snip fresh bouquets all season without disturbing your main display beds.
What you’ll need: A dedicated sunny plot (raised beds work beautifully here), rows of zinnias, dahlias, sunflowers, cosmos, and snapdragons.
How to achieve it: Plant in straight rows rather than drifts, it makes harvesting and maintenance far easier. Succession-sow fast bloomers like zinnias every two to three weeks for continuous flowers all summer.
If you’re setting this up in raised beds, our DIY raised beds under $50 guide shows you how to build the frames yourself without spending a fortune.
7. The Pollinator & Butterfly Garden
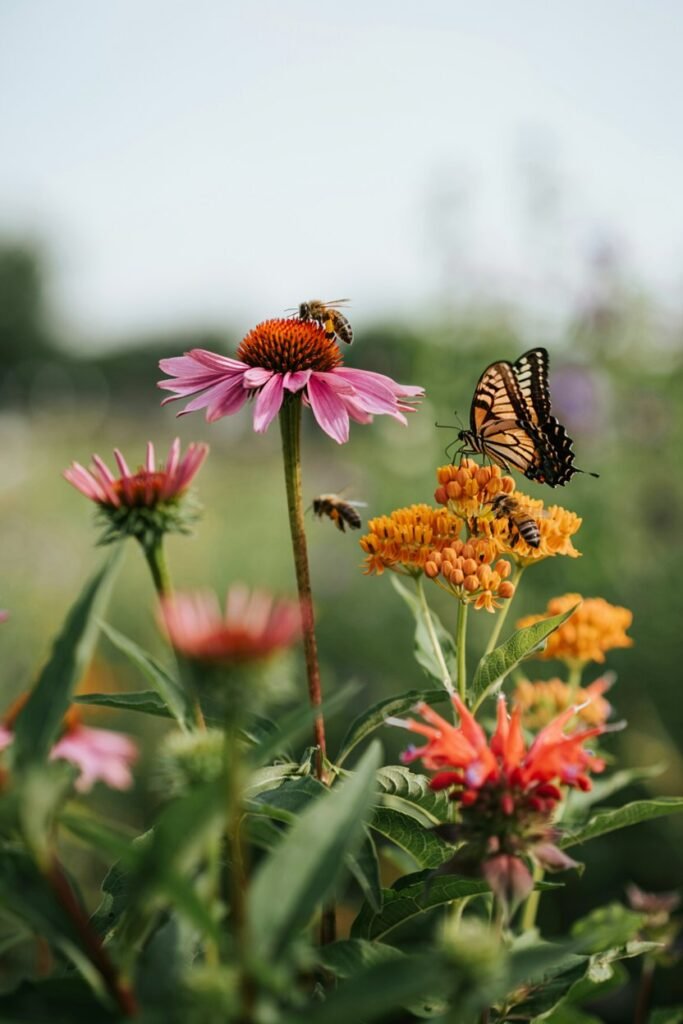
A layout built specifically to feed and shelter bees, butterflies, and hummingbirds, gorgeous for you and essential for your local ecosystem.
What you’ll need: Native flowering plants like coneflower, milkweed, bee balm, and aster, plus flat stones for butterflies to bask on.
How to achieve it: Plant in generous clusters rather than single specimens, pollinators find large color patches far more easily than scattered single plants.
Choose varieties with staggered bloom times so there’s always something flowering from spring through frost. Our guide to fall flowers that bloom until frost is a great source for extending color, and food for pollinators, deep into autumn.
Pro tip: Leave a small patch of bare, undisturbed soil somewhere in the bed. Many native bee species nest in the ground, and a clean, mulch-free patch gives them a place to do it.
8. The Raised Bed Flower Garden
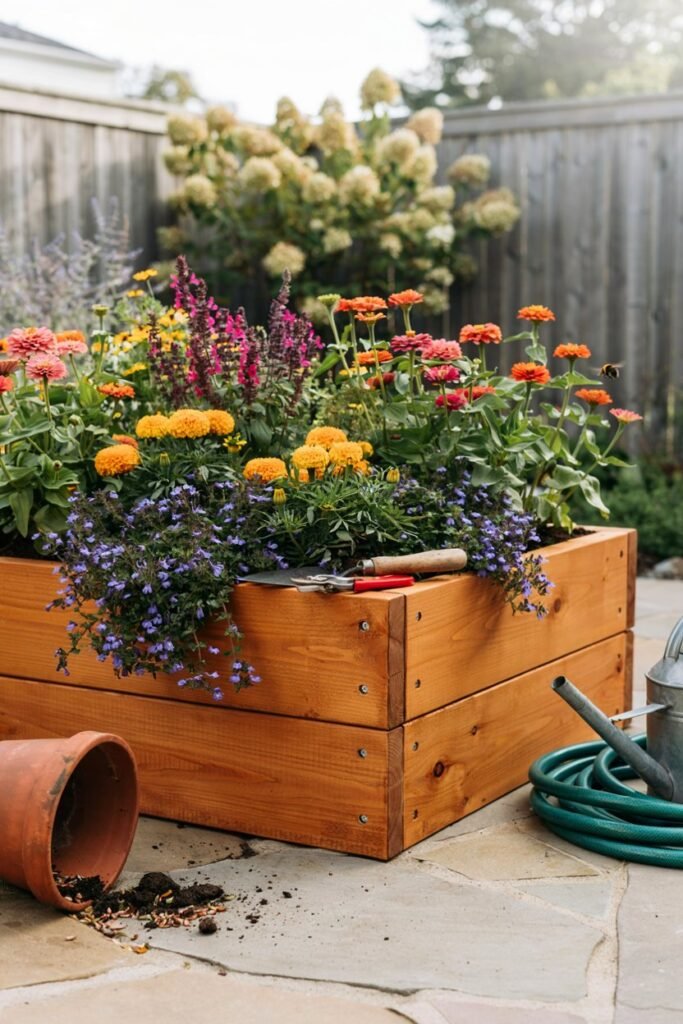
Raised beds aren’t just for vegetables, they’re one of the easiest ways to get great drainage, fewer weeds, and a tidy, defined flower layout.
What you’ll need: Untreated cedar or pine boards, a weed barrier, quality garden soil mixed with compost, and flowers suited to your bed’s depth.
How to achieve it: Build beds no wider than 4 feet so you can reach the center from either side without stepping on the soil. Fill with a blend of topsoil, compost, and a bit of perlite for drainage.
For a full walkthrough on materials and setup, check out our raised bed gardening checklist, it covers everything from lumber to soil ratios.
Pro tip: Line the inside walls of a wooden raised bed with landscape fabric before filling it with soil. It slows down wood rot considerably, adding years to the life of your build.
9. The Vertical Flower Wall
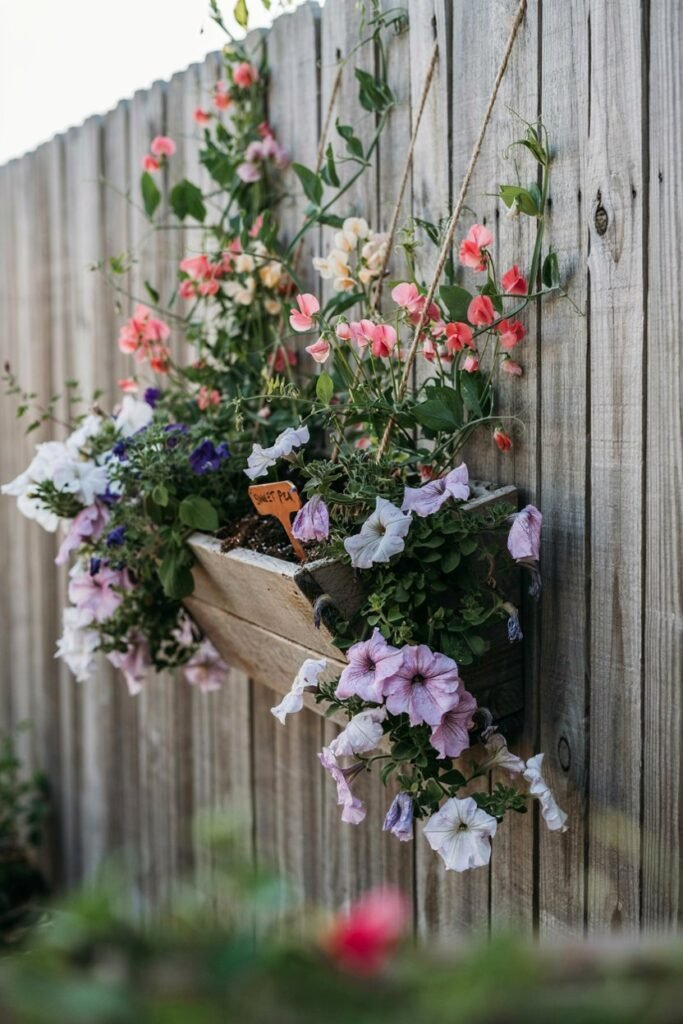
Perfect for small yards, patios, or anyone short on ground space, this layout stacks blooms upward instead of outward.
What you’ll need: A wall-mounted planter system, trellis, or tiered plant stand, and trailing or climbing flowers like nasturtium, sweet pea, or petunia.
How to achieve it: Anchor your structure securely to a wall or fence before planting, weight adds up quickly once soil and blooms fill in.
Place trailing varieties at the top so they cascade downward, and use climbing varieties on trellised sections.
Our vertical garden ideas for small spaces post has more layout options if you want to expand this into a full living wall.
10. The Container Garden Cluster
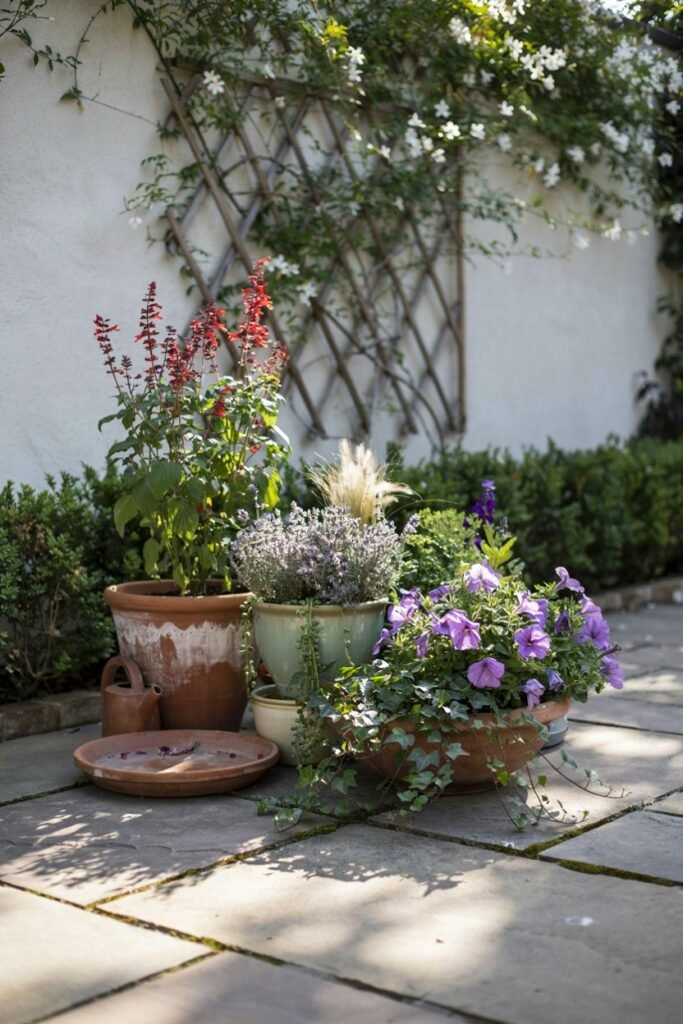
Instead of one in-ground bed, this layout groups several pots of varying heights and sizes together for a movable, endlessly customizable display.
What you’ll need: Three to five containers in different heights, quality potting mix (not garden soil), and a mix of thrillers, fillers, and spillers per pot.
How to achieve it: Odd numbers again, group pots in threes or fives, varying height by using overturned crates or plant stands underneath shorter pots.
Follow the thriller-filler-spiller formula in each container: one tall plant, a few medium bushy ones, and a trailing plant at the edge.
If you want a decorative, handmade look for your pots, our DIY cement pots guide shows you how to make your own stunning planters from scratch.
Pro tip: Water container gardens more often than in-ground beds, pots dry out much faster, sometimes daily in peak summer heat. A finger test an inch into the soil will tell you honestly whether it’s time to water.
11. The Window Box Trio
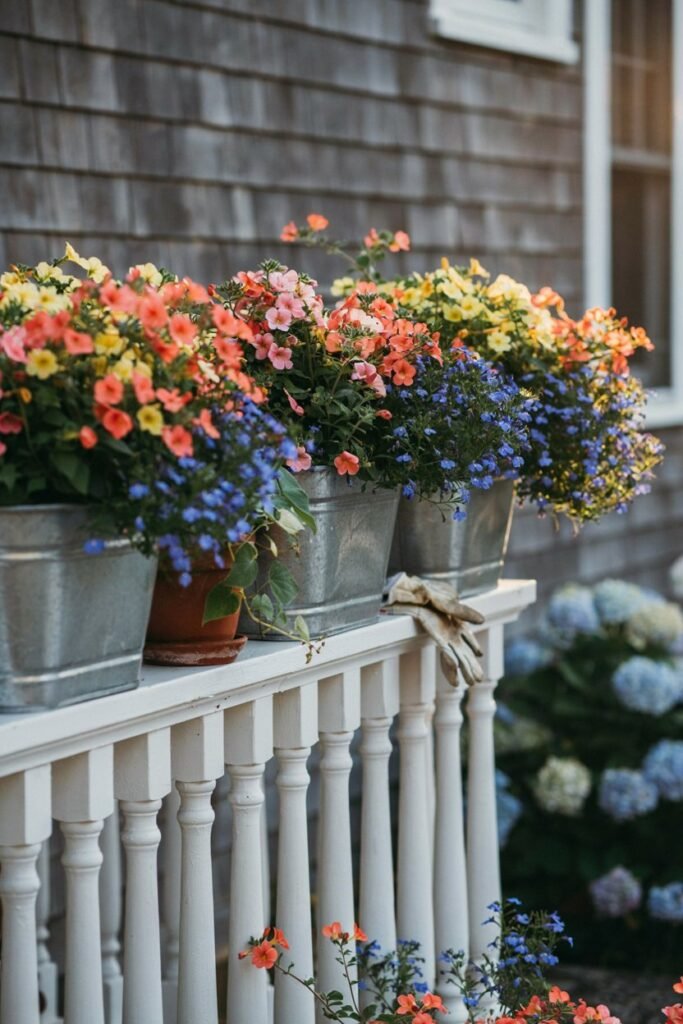
A layout scaled specifically for windowsills, porch railings, or fence tops, small in footprint but big on charm.
What you’ll need: Weather-sealed window boxes, lightweight potting mix, and compact varieties like calibrachoa, lobelia, and dwarf marigold.
How to achieve it: Fill boxes to within an inch of the rim since soil settles over the season.
Plant fillers in the center, spillers along the front edge, and skip a tall thriller here, window boxes read best when kept low and full rather than top-heavy.
12. The Rock Garden with Flowering Accents
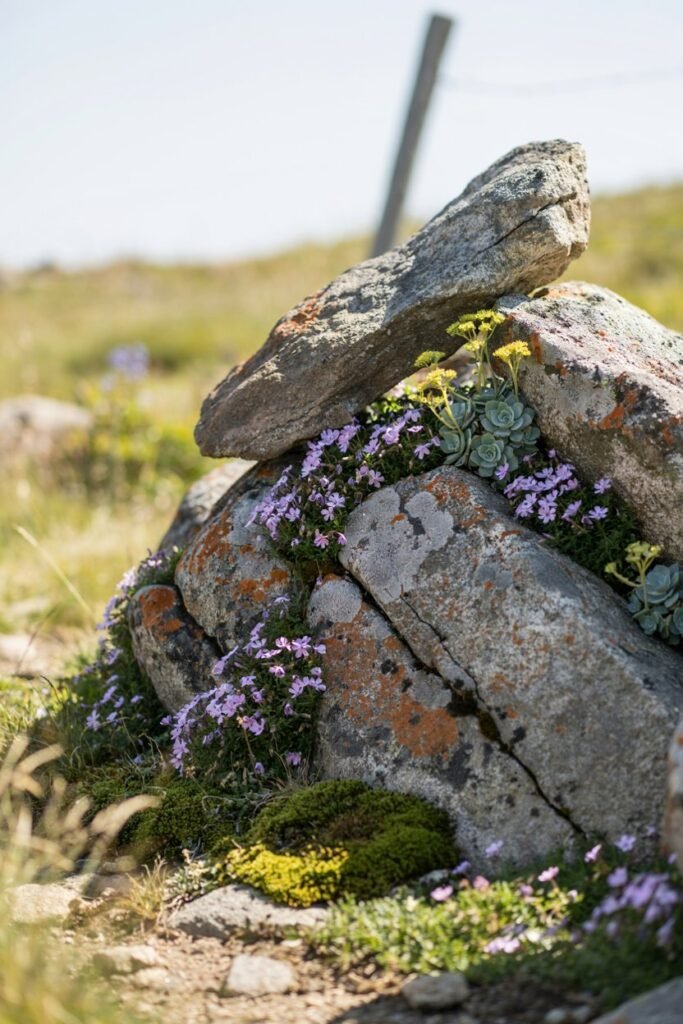
This layout uses stone as the structural backbone, with flowers tucked into pockets of soil between rocks for a rugged, textured look.
What you’ll need: Varying sizes of natural stone, well-draining soil, and low-growing, drought-tolerant flowers like creeping phlox, sedum, or rock cress.
How to achieve it: Bury the bottom third of each large rock so it looks settled into the landscape rather than placed on top.
Tuck flowering plants into gaps and crevices rather than open soil, this mimics how they’d grow naturally among rocks and keeps the layout from looking scattered.
13. The Spiral Herb-and-Flower Bed
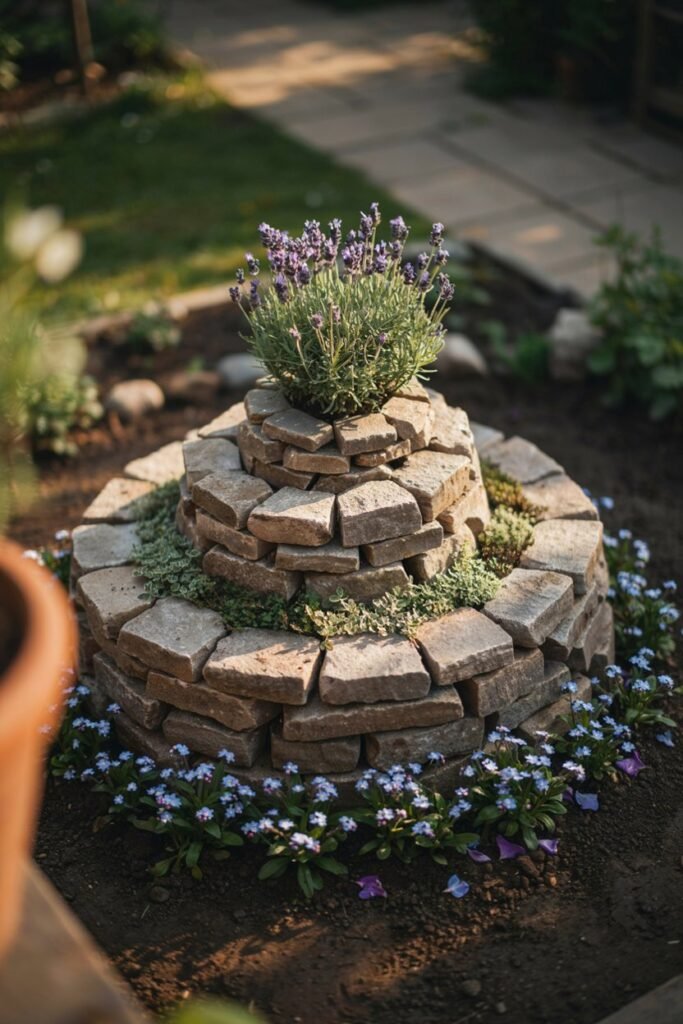
A raised, spiral-shaped mound that creates multiple micro-climates in a single small footprint, sunny and dry at the top, cooler and moister at the base.
What you’ll need: Stone or brick for the spiral wall, a mix of soil and rubble for the mound core, and flowers suited to different moisture levels (lavender at the top, forget-me-nots at the base).
How to achieve it: Build the spiral in a tight coil rising about 3 feet at its peak. Plant drought-tolerant flowers near the top where soil dries fastest, and moisture-loving varieties at the base where water naturally collects.
14. The Circular Keyhole Garden
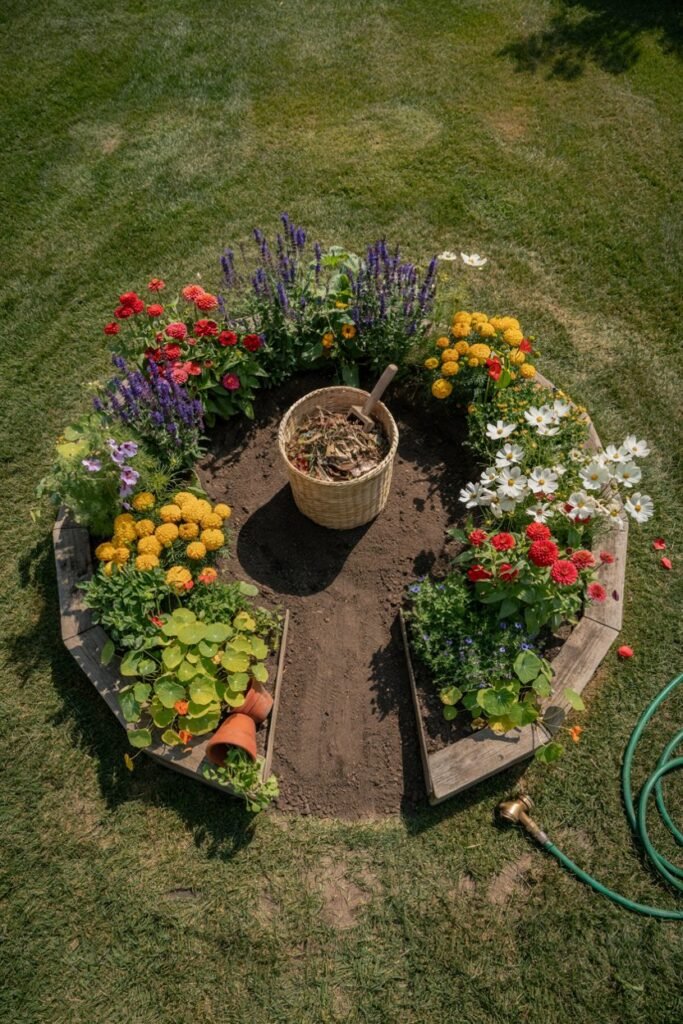
Shaped like a keyhole with a notch cut in for access, this layout lets you reach every plant from a central point without stepping on soil.
What you’ll need: A circular bed roughly 6 feet across with a wedge-shaped path cut toward the center, and a mix of medium-height flowering plants.
How to achieve it: Build a small compost basket in the very center if you want a self-fertilizing version of this bed. Plant taller flowers around the outer ring and shorter ones near the access path so nothing blocks your reach.
15. The Fragrance Garden
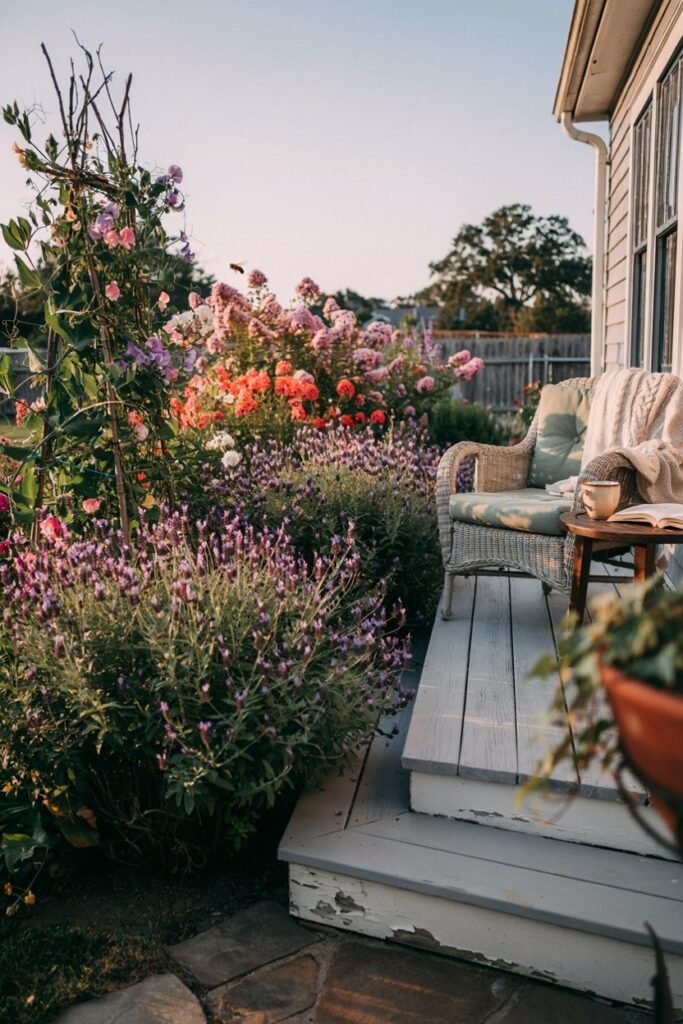
A layout curated entirely around scent, ideal for placing near a porch, bedroom window, or seating area where you’ll enjoy it up close.
What you’ll need: Fragrant varieties like sweet pea, phlox, lavender, stock, and heliotrope, planted close to where people sit or walk.
How to achieve it: Place your most fragrant plants at nose height and within a few feet of foot traffic, scent doesn’t carry far, so proximity is everything.
If you’re pairing this bed with an outdoor seating area, our garden seating ideas post has lovely ways to create a spot to actually sit and enjoy it.
Pro tip: Choose a few evening-fragrant varieties like moonflower or evening primrose alongside your daytime bloomers, so the garden smells wonderful whether you’re out there at noon or after dinner.
16. The Drought-Tolerant Xeriscape Flower Bed
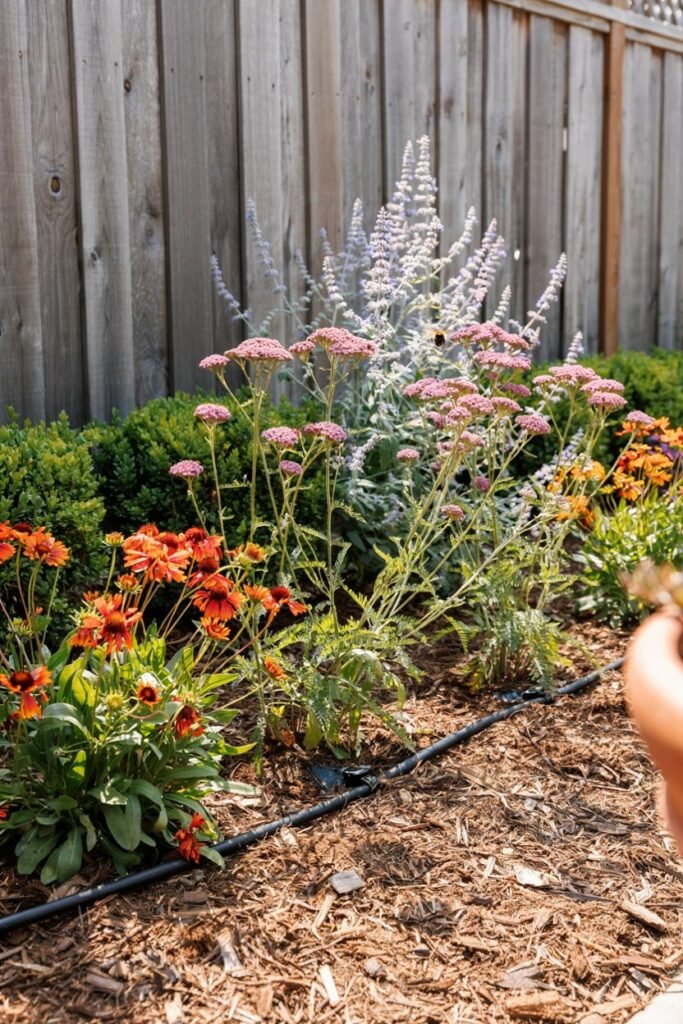
A water-wise layout that still delivers serious color, built around plants that thrive on minimal irrigation.
What you’ll need: Gravel or mulch groundcover, drought-tolerant flowers like blanket flower, yarrow, russian sage, and coneflower, and a drip irrigation line if possible.
How to achieve it: Group plants by water needs so you’re never overwatering one to satisfy another. Mulch heavily (2-3 inches) to retain what little moisture the soil gets.
Skip the sprinkler in favor of drip irrigation directly at the roots, it wastes far less water and keeps foliage drier and healthier.
Pro tip: Resist the urge to overwater newly planted drought-tolerant flowers, even though it feels counterintuitive.
These plants need consistent moisture for their first few weeks to establish roots, but once settled, overwatering is far more likely to kill them than drought.
17. The Shade Garden Layout
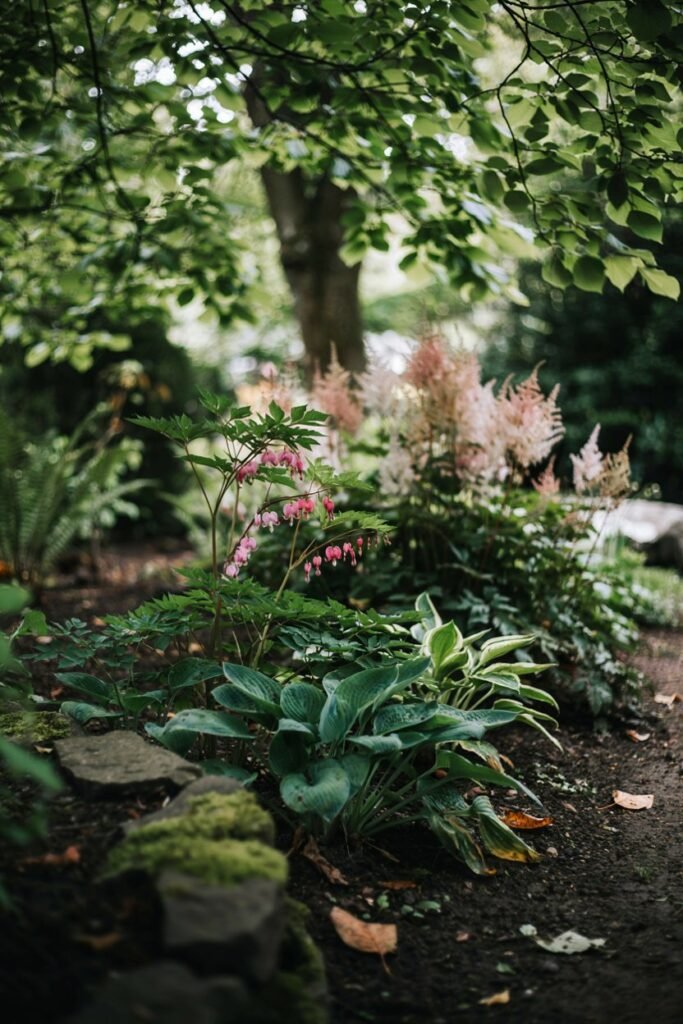
Not every yard gets six hours of sun, and this layout proves a shady spot can be just as colorful with the right plant choices.
What you’ll need: Shade-tolerant bloomers like impatiens, astilbe, bleeding heart, and hosta (for foliage contrast), plus well-draining, humus-rich soil.
How to achieve it: Layer for texture since bloom color will be more limited, mix broad hosta leaves with the airy plumes of astilbe and the delicate blooms of bleeding heart.
Water slightly less than a sun garden, shaded soil retains moisture much longer.
18. The Bulb Layering (“Lasagna”) Garden
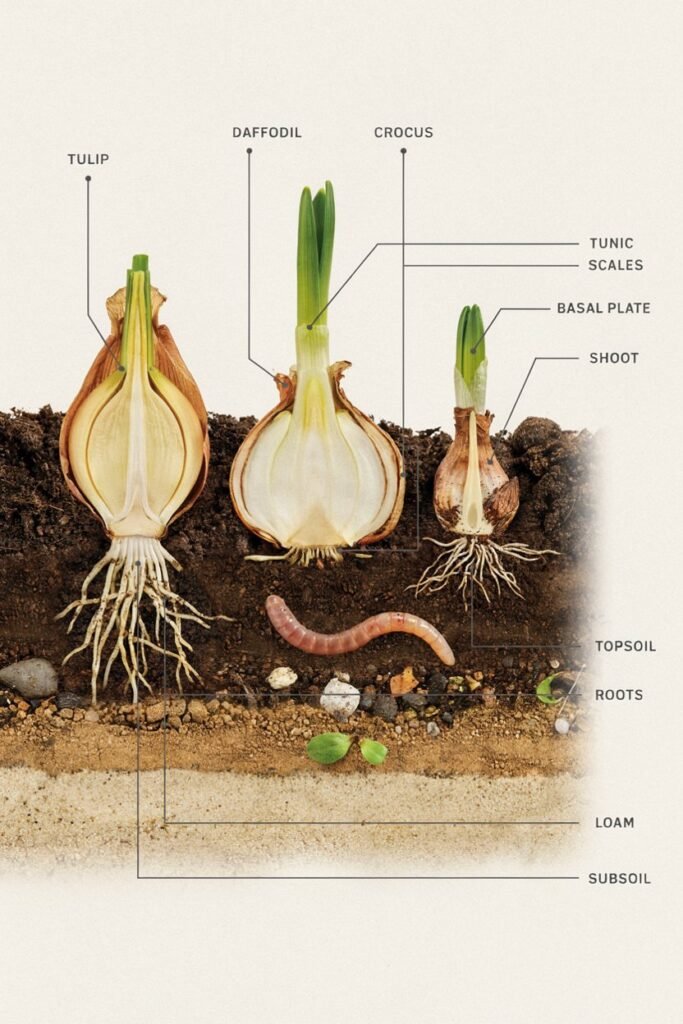
A clever technique that layers different spring bulbs at different depths in the same container or bed so they bloom in succession.
What you’ll need: A deep container or bed (at least 12 inches), and bulbs like tulips (planted deepest), daffodils (middle), and crocus (shallowest).
How to achieve it: Plant your largest, latest-blooming bulbs at the bottom of the hole, then add a layer of soil, then your mid-size bulbs, another soil layer, then your smallest, earliest bloomers near the surface.
Each layer emerges and fades in sequence, giving you weeks of continuous spring color from a single planting.
Pro tip: Plant your lasagna bulbs in fall, ideally after the first light frost, so they’ve had a proper cold period before spring growth kicks in. Bulbs planted too early can sprout prematurely and get damaged by an unexpected freeze.
19. The Wildflower Meadow Patch
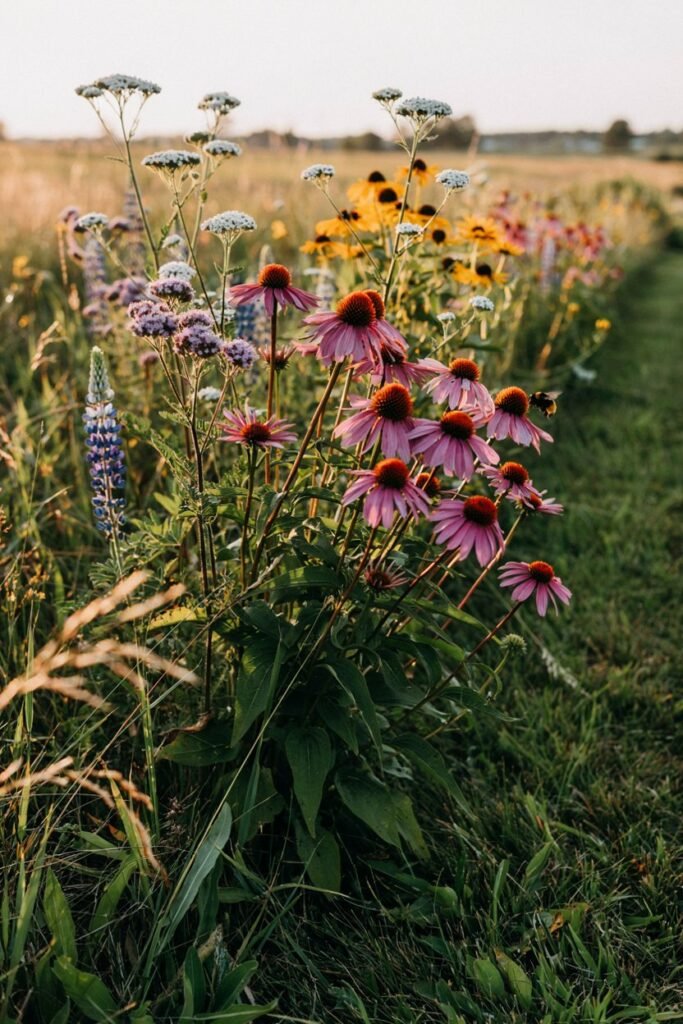
A relaxed, naturalized layout that mimics an untouched meadow, low maintenance once established and wonderful for biodiversity.
What you’ll need: A regional wildflower seed mix suited to your climate, an open sunny area, and patience through the first season.
How to achieve it: Clear existing grass and weeds before sowing, wildflowers struggle to compete with established turf. Scatter seed by hand for a natural, uneven distribution rather than sowing in rows.
Expect mostly foliage in year one, meadows typically hit their full colorful stride in their second season.
Pro tip: Mow your meadow patch down once in late fall after the growing season ends.
This mimics the natural grazing or fire cycles meadows evolved with, and it helps reseed the area for an even fuller bloom the following year.
20. The Rose Garden Layout
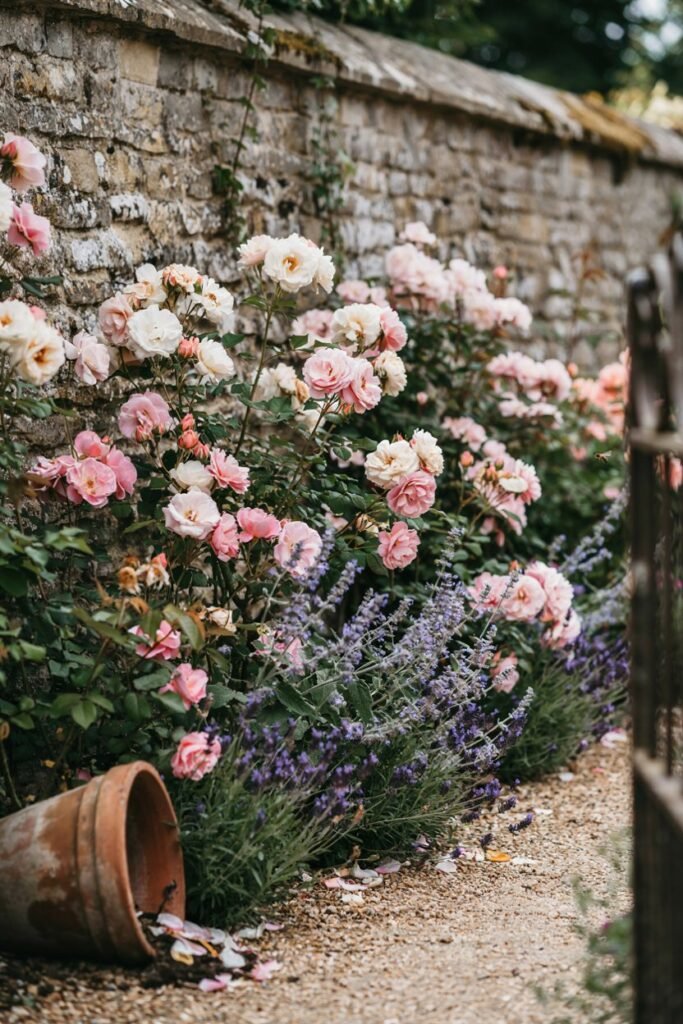
A timeless, elegant design built around roses as the star, with supporting plants that soften their sometimes-leggy lower stems.
What you’ll need: Disease-resistant rose varieties, companion plants like catmint, lavender, or salvia to hide bare rose stems, and well-draining, amended soil.
How to achieve it: Space roses at least 3 feet apart for airflow, which helps prevent fungal disease.
Plant lower companion flowers in a ring around the base of each rose bush, this hides woody lower growth and adds continuous color even when roses are between bloom cycles.
Pro tip: Water roses at the base rather than overhead.
Wet foliage sitting overnight is one of the biggest causes of black spot and other fungal issues, so a soaker hose or drip line will keep your roses noticeably healthier than a sprinkler.
21. The Front Yard Walkway Border
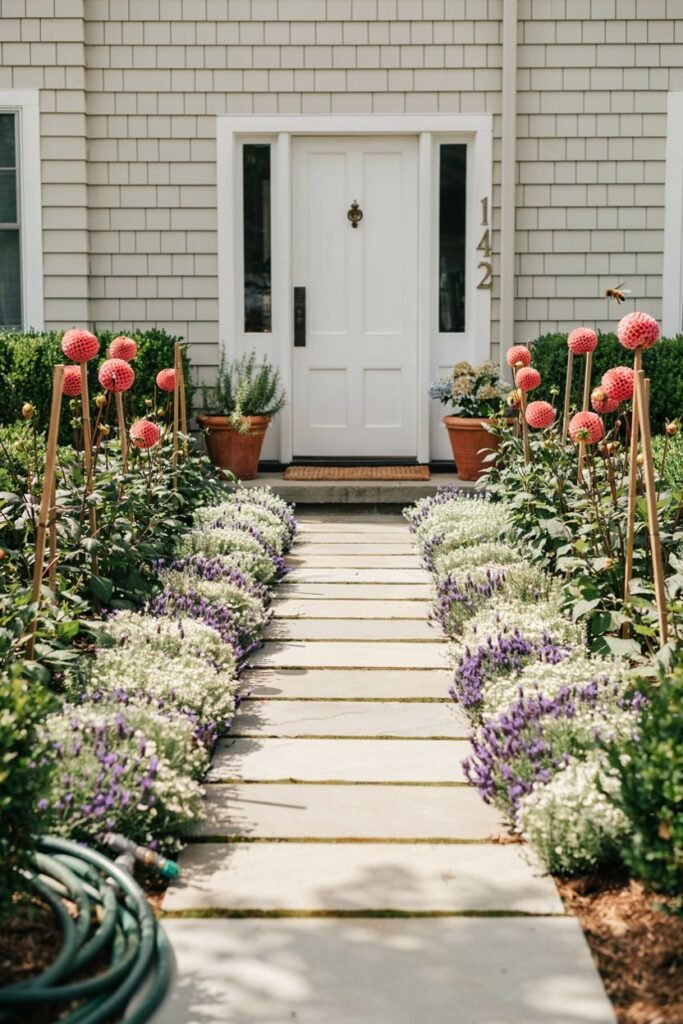
A layout designed to frame a path or driveway, guiding the eye (and your guests) toward your front door with color on either side.
What you’ll need: Two matching or mirrored beds flanking your walkway, low-growing edging flowers, and a repeated taller accent plant.
How to achieve it: Mirror your planting on both sides of the path for a formal, welcoming symmetry. Keep the tallest plants at least 18 inches back from the path edge so nothing brushes against passersby.
Repeating a single accent flower every few feet down the border creates a rhythm that leads the eye straight to your entrance.
22. The Flowering Privacy Screen
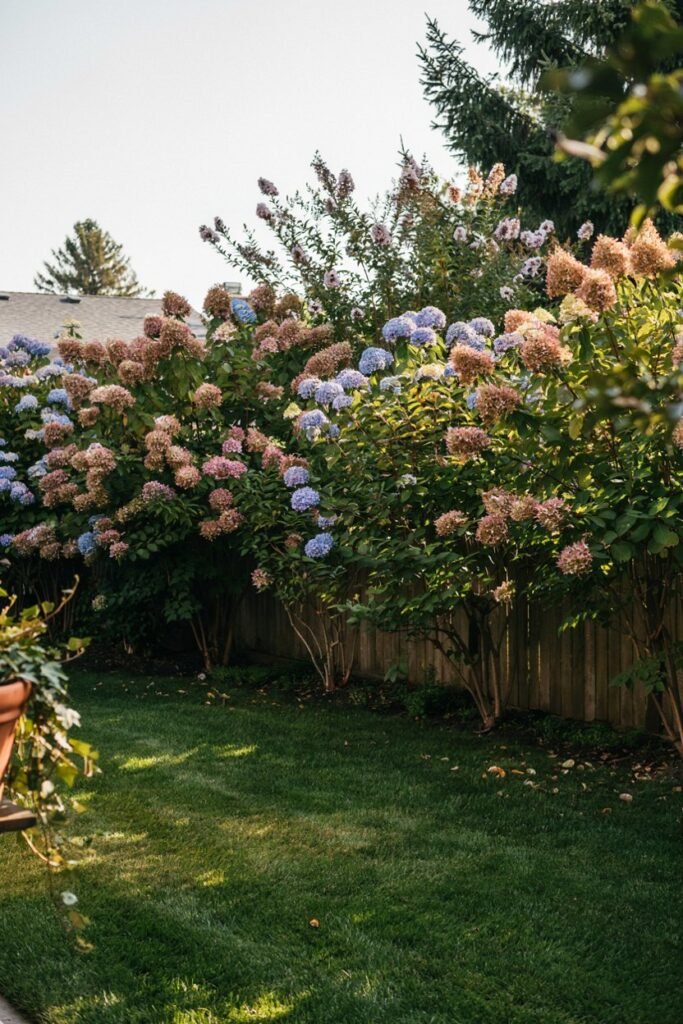
This layout doubles as function and beauty, using tall flowering shrubs and perennials to block a view while still bursting with color.
What you’ll need: Tall flowering shrubs like hydrangea, butterfly bush, or rose of sharon, planted in a staggered row.
How to achieve it: Stagger your plants in a zigzag rather than a single straight line, this closes visual gaps faster and creates denser coverage.
For more flowering and evergreen options suited to this exact purpose, our backyard privacy plants guide covers twenty varieties that create a natural screen.
23. The Fall-Blooming Transition Bed
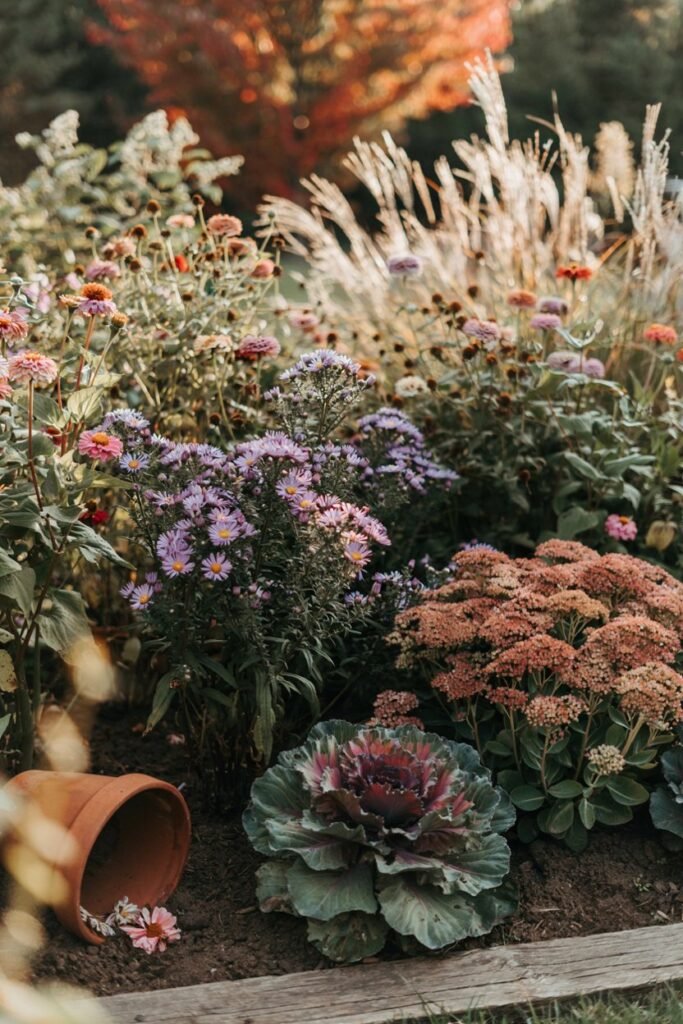
A layout built to keep color going long after summer annuals fade, so your garden doesn’t go quiet the moment the weather cools.
What you’ll need: Fall bloomers like aster, sedum, black-eyed Susan, and ornamental kale, plus mums for an instant color boost.
How to achieve it: Plant fall bloomers among your existing summer bed rather than in a separate area, they’ll fill in as earlier flowers fade, keeping the bed continuously full.
For a full list of reliable options, our fall flowers that bloom until frost post is worth bookmarking, and if you’d rather showcase autumn color in pots near your entryway, our fall container gardens guide is gorgeous inspiration.
24. The Rain Garden Flower Bed
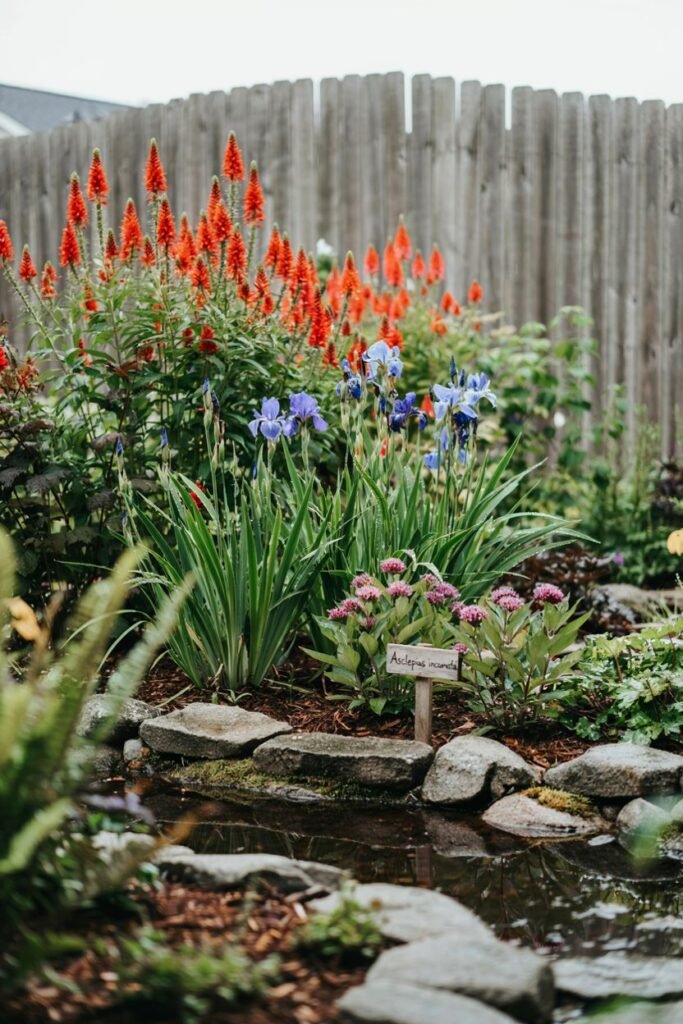
A layout that turns a soggy, hard-to-plant low spot into a beautiful, functional feature that manages stormwater naturally.
What you’ll need: A naturally low or slightly excavated basin, native moisture-loving flowers like swamp milkweed, cardinal flower, and blue flag iris, plus a layer of mulch.
How to achieve it: Shape the basin so it’s shallow in the center, no more than 6-8 inches deep, and gently sloped at the edges.
Plant moisture-loving flowers in the deepest, wettest zone and progressively more drought-tolerant varieties toward the drier rim.
For a full step-by-step build, our complete guide to building a rain garden covers percolation testing, digging, and planting in detail.
Bringing Your Layout to Life: A Few Final Tips
Whichever layout speaks to you, a few habits will help any of these designs thrive long-term:
- Start with soil, not plants. Amend with compost before you plant anything, healthy soil is the foundation every layout above depends on.
- Water deeply, not often. Deep, infrequent watering encourages roots to grow downward and makes your garden more resilient in dry spells.
- Prune to encourage fullness. A little pinching and deadheading throughout the season keeps most flowering plants bushier and blooming longer, our guide to making any plant grow bushier has simple techniques that work on flowers and foliage plants alike.
- Keep the right tools on hand. A good hand trowel, pruners, and a sturdy garden fork make every layout on this list far easier to install and maintain, our roundup of essential gardening tools covers the thirty we reach for the most.
- Work with the season, not against it. Knowing what to plant, prune, and prep each month keeps any layout looking its best year-round. Our July, August, and September gardening checklists will keep you a step ahead all summer and into fall.
And if you’re brand new to all of this, take a breath, every gardener starts somewhere.
Our new gardener checklist covers the honest, practical things I wish someone had told me when I started, and our list of easy garden hacks using everyday items is full of budget-friendly shortcuts for getting any of these layouts off the ground without overspending.
If space is tight, don’t count yourself out either, our 25 tiny garden ideas for small spaces and our favorite unexpected spots to tuck in a plant prove that even the smallest yard, balcony, or corner can hold a beautiful, colorful garden.
Your Questions, Answered
How much sun do most flower garden layouts need? Most of the layouts above, cottage borders, cutting gardens, color-block beds, and rainbow islands included, do best with at least six hours of direct sun daily.
If your space gets less, lean toward the shade garden layout or look for varieties specifically labeled for partial shade.
Can I combine more than one layout in the same yard? Absolutely, and honestly, most beautiful yards do.
A front walkway border, a pollinator patch near the back fence, and a few container clusters on the patio can all coexist without competing, as long as each area has its own clear boundary so the styles don’t blur into visual clutter.
How soon will a new flower bed look full? It depends on the layout, but as a general rule, annual-heavy beds (cutting gardens, color-block borders) fill in within a single season, while perennial-heavy layouts (English borders, rose gardens) take two to three years to reach their full, mature look.
Patience really does pay off here.
Do I need to redesign my layout every year? No, and you shouldn’t.
The whole point of a good layout is that the bones, the shape, the height tiers, the structural plants, stay consistent year to year while you simply swap out annuals or add new perennials as they mature.
Think of your layout as a frame you fill in, not something you rebuild from scratch each spring.
What’s the easiest layout for a total beginner? The container garden cluster and the window box trio are the most forgiving places to start.
They’re small in scale, easy to fix if something isn’t working, and don’t require any digging or bed-shaping, just soil, pots, and a bit of patience.
A Final Thought
There’s no single “right” layout here, the best one is simply the one that fits your space, your climate, and the way you actually want to use your yard.
Maybe that’s a cutting garden that fills your kitchen table with bouquets all summer, or a quiet fragrance bed tucked beside a favorite chair.
Pick one layout that excites you most, gather what you need, and get your hands in the soil this weekend.
You’ll be amazed at what a difference a thoughtful layout makes, and once you see the results, I promise you’ll be planning your next bed before the first one even finishes blooming.
