
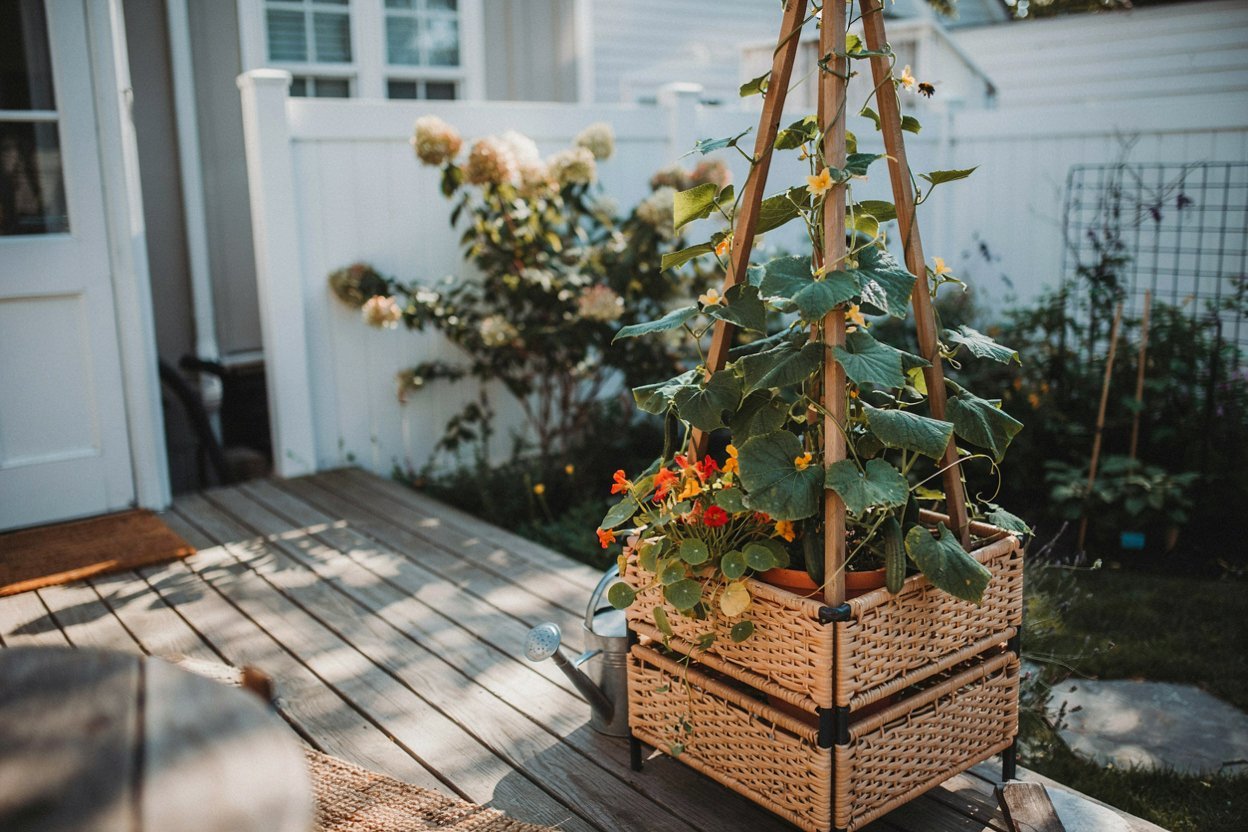

The first time I set one of these little obelisk-shaped planters on my patio, I honestly wasn’t expecting much.
I’d killed two tomato plants that same spring and I was tired of bending over flower beds that never quite drained right.
But within a few weeks, my cucumber vines had climbed halfway up the trellis, the water reservoir meant I wasn’t out there every single morning with a watering can, and for the first time I actually felt like a “real” gardener.
That little planter changed how I thought about small-space growing, and I want to walk you through everything I’ve learned so you can get the same win.
Why I Fell in Love With Raised Bed Planters That Have a Built-In Trellis
If you’ve been following along on my blog, you already know how much I adore raised bed gardening.
I’ve written before about the ultimate raised bed gardening checklist and even shared how to build DIY raised beds for under $50.
But sometimes you don’t want to build anything at all. Sometimes you want to open a box, snap a few pieces together, and be planting within the hour.
That’s exactly the gap this Garden Raised Bed Planter Box with Trellis fills.
What makes this particular planter special is that it’s not just a box you fill with dirt.
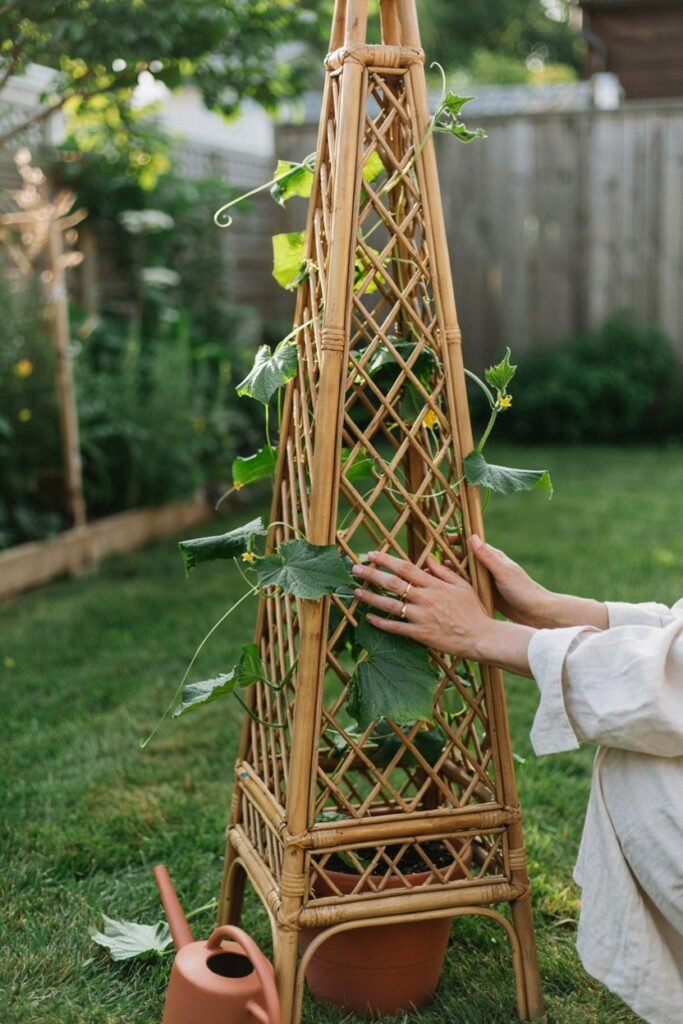
It’s a planter and a trellis in one obelisk-shaped tower, so climbing plants like cucumbers, peas, pole beans, mini pumpkins, morning glories, and clematis have somewhere to go right from the start.
No separate stakes, no chicken wire cages, no bamboo poles falling over in the wind.
The tower shape itself is the support system, and because it’s a tiered, multi-level structure, it actually gets sturdier as your plants climb higher and wrap themselves around it.
If you’re newer to gardening and still building out your space, I’d also point you toward my post on 20 garden trellis ideas that add height for inspiration on pairing this planter with other vertical elements in your yard.
First, Let’s Talk About What This Planter Actually Is
Before we get into the “how,” I want you to understand exactly what you’re working with, because knowing your materials always makes for a more confident gardener.
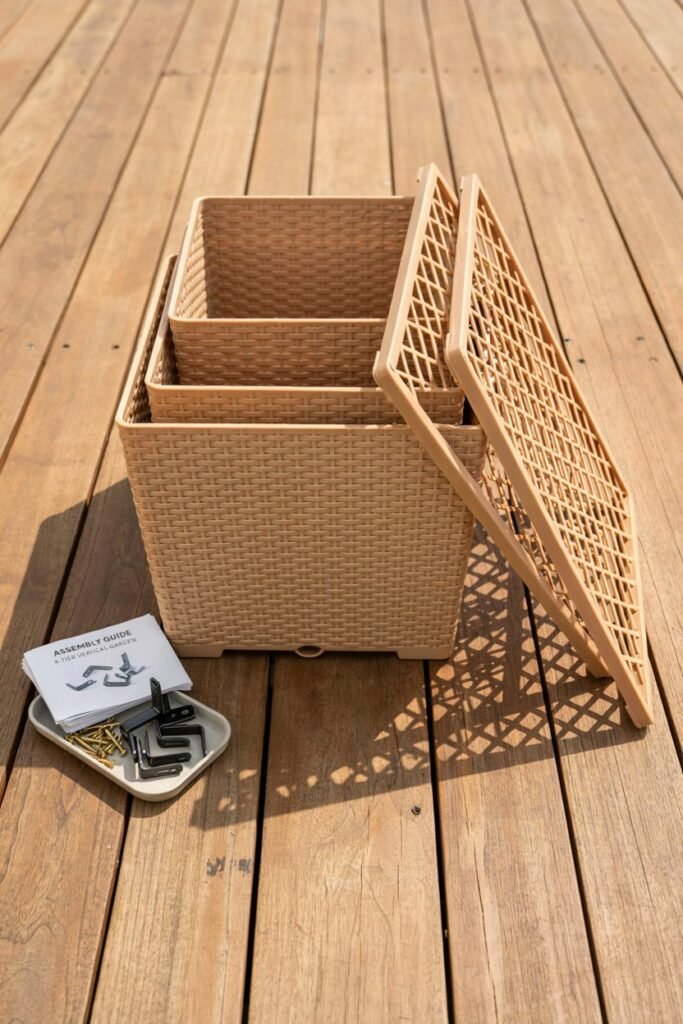
This is a Garden Raised Bed Planter Box with Trellis, built from a durable, weatherproof PP (polypropylene) plastic.
It comes in a rattan-style or wood-grain finish, so it actually looks like a woven planter or a timber structure, even though it’s lightweight, weatherproof plastic underneath.
That matters a lot if, like me, you’ve had wooden raised beds rot out on you after a couple of rainy seasons.
Here’s a rundown of the key details:
- Sizes available: 3-tier (28 x 28 x 114 cm) and 4-tier (28 x 28 x 118 cm), so you can choose based on how tall you want your climbing support to be
- Soil capacity: roughly 16 liters (about 4.2 gallons)
- Water reservoir capacity: about 2 liters (0.5 gallons)
- Assembly: tool-free, snap-together design
- Structure: an obelisk-shaped tower frame that supports vining plants as they grow upward
- Built-in self-watering reservoir at the base, which stores water and slowly feeds your plant’s roots
I really appreciate that this planter was designed with beginners in mind. If you’ve ever felt intimidated by garden construction, this is about as forgiving as it gets.
Why a Self-Watering Reservoir Is a Bigger Deal Than It Sounds
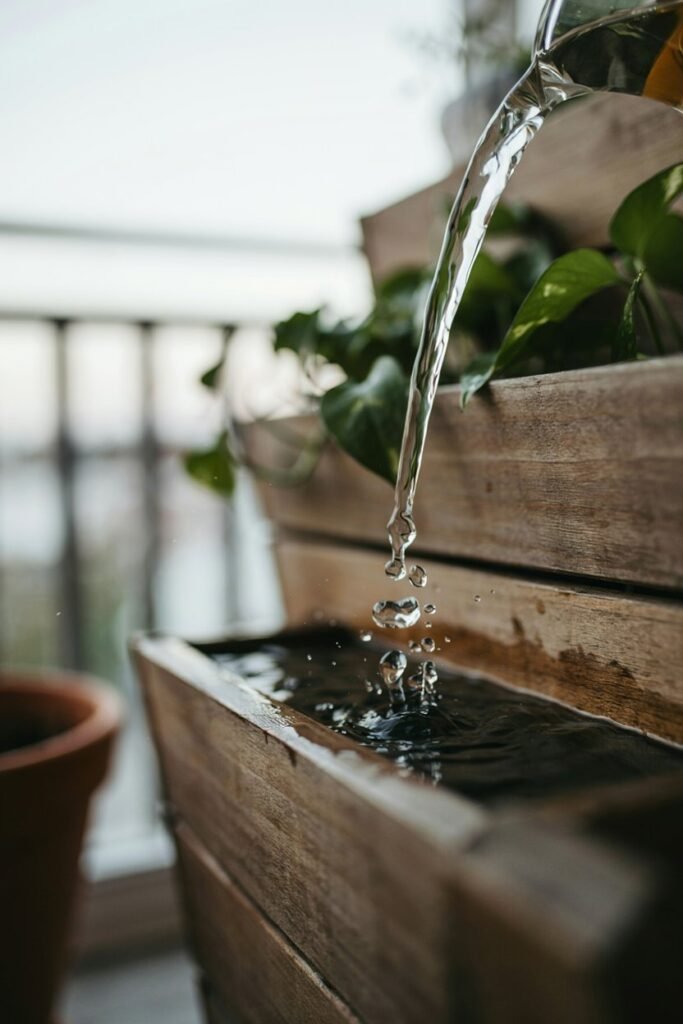
I want to spend a minute on this feature because I think it’s the sleeper star of the whole design. The reservoir at the base holds water and wicks moisture up into the soil as your plant needs it. That means:
- You water less often, which is a lifesaver during a busy week or a hot stretch of summer.
- Your plant gets a steadier, more consistent supply of moisture instead of the classic “drought, then flood” cycle that happens when we forget to water and then overcompensate.
- You reduce the risk of root rot from overwatering, because the roots are only pulling up what they actually need rather than sitting in soggy soil.
That said, don’t treat it as a “set it and forget it” system. I check my reservoir every few days, especially in the heat of summer, because it absolutely can run dry if you ignore it too long. A quick peek is all it takes.
Materials and Tools You’ll Need
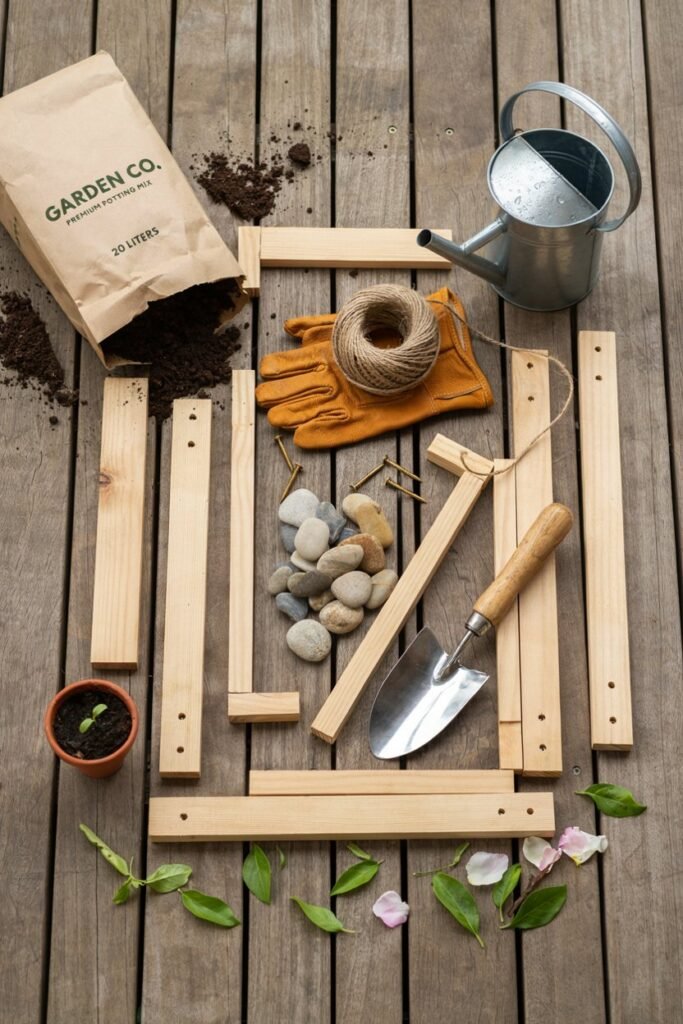
One of the things I love most about this project is how short this list is. You really don’t need a garage full of tools to get this planter up and thriving. Here’s exactly what I gather before I start.
The Planter Itself
- 1 x Garden Raised Bed Planter Box with Trellis set (comes complete with the tiered obelisk structure and the water reservoir base)
For Assembly
- Your two hands (seriously this is tool-free, snap-together assembly)
- A flat, level surface to assemble on, like a patio table or garage floor
- Optional: work gloves if you find the plastic pieces slippery
For Planting
- Quality potting mix or raised bed soil blend (not garden soil straight from the ground — it compacts too much in a contained space)
- Compost or organic slow-release fertilizer to enrich your mix
- A trowel for scooping and settling soil
- A watering can or hose with a gentle shower attachment
- Your seedlings or seeds of choice (I’ll get into good plant picks below)
- Small stones, gravel, or a few landscaping rocks (the product notes actually recommend this for anchoring tall or heavy plants — I toss a handful in the bottom before adding soil for extra stability)
- Plant ties, garden twine, or soft velcro plant tape to help guide young vines onto the trellis until they get the hang of climbing on their own
Nice-to-Haves
- A moisture meter, if you like to keep close tabs on soil dampness
- Mulch, like straw or shredded bark, to help the topsoil retain moisture between waterings
- A saucer or tray underneath if you’re placing it on a wood deck, to protect the surface
That’s genuinely the whole list. If you’ve ever tackled a full DIY raised bed build like the one I outline in my DIY raised beds under $50 post you’ll immediately notice how much simpler this is by comparison.
There’s no cutting lumber, no drilling pilot holes, no hardware cloth for pest-proofing the bottom. It’s about as plug-and-play as garden structures get.
Step-by-Step: How to Set Up Your Raised Bed Planter With Trellis
Grab a cup of tea, put on something you don’t mind getting a little dirty in, and let’s walk through this together.
Step 1: Choose Your Spot Before You Assemble Anything
I always say this and I’ll say it again: pick your location first. Once this planter is filled with 16 liters of moist soil, it gets heavy, and you don’t want to be dragging it across the yard afterward.
Look for a spot that gets at least 6 hours of direct sunlight if you’re growing vegetables like cucumbers or beans.
If you’re leaning more ornamental with something like clematis or morning glories, partial sun can work depending on the variety.
Also think about wind exposure while the obelisk shape is quite stable, very exposed, gusty spots aren’t ideal for a tall, top-heavy planter once it’s covered in vines.
If you’re still deciding where raised structures fit best in your overall yard design, my post on cottage garden makeover ideas has some layout inspiration that pairs beautifully with vertical planters like this one.
Step 2: Unbox and Lay Out Your Pieces
Before snapping anything together, lay all your pieces out where you can see them. This takes thirty seconds and saves you from that “wait, where does this piece go” moment halfway through. You’ll typically see:
- The base unit (this houses the water reservoir)
- The tiered wall sections that stack to build up the planter body
- The trellis/obelisk frame pieces that interlock to form the tower
Step 3: Snap the Base and Tiers Together
Starting from the base, snap each tier into place. This really is designed to be tool-free you’re pressing pieces together until you feel or hear them click.
Take your time here and make sure each connection is fully seated.
The product notes specifically call out that you should double-check every snap connection is secure for maximum stability, and I completely agree.
A wobbly base now becomes a real problem once the planter is full of soil and top-heavy with vines later in the season.
Step 4: Assemble the Trellis Tower
Next, build up the obelisk-shaped trellis frame on top of your tiered base.
Because it’s a tower structure rather than a flat panel, it naturally resists wind and gives climbing plants multiple points of contact as they grow, rather than just one flat surface to cling to.
This is honestly my favorite part of the whole design because it means plants like peas and pole beans, which love to wrap their tendrils around something, have plenty of real estate to explore in every direction.
Step 5: Add Weight to the Base if You’re Growing Something Heavy
If you already know you’re planting something vigorous or heavy, like a mini pumpkin vine or a very full cucumber plant, drop a layer of small stones or landscaping rocks into the bottom of the planter before you add soil.
This lowers the center of gravity and helps the whole unit stay grounded, especially once the top gets heavy with foliage and fruit.
Step 6: Fill With Soil
Now for the fun part. Fill your planter with a quality potting mix, ideally one formulated for raised beds or containers rather than dense garden soil.
I like blending in some compost right at this stage so my plants have nutrients available from day one. Fill to about an inch below the rim, leaving a little room so water doesn’t spill over the edges when you water.
If you want to go deeper on building great soil for containers and raised beds, I’ve got a whole section on this in my new gardener checklist that walks through what “quality soil” actually means in practice.
Step 7: Plant Your Seedlings or Seeds
Nestle your seedlings into the soil near the base of the trellis structure so their stems are close enough to reach the frame as they grow.
If you’re direct-sowing seeds like beans or peas, follow the seed packet’s spacing guidance, but generally you’ll want a small cluster of seeds around each side of the trellis base so the plants can climb from multiple directions.
Some of my favorite plants for this kind of vertical, tiered planter:
- Cucumbers — vigorous climbers that make great use of the tall frame
- Pole beans — quick to establish and very beginner-friendly
- Snap peas — cool-season climbers that love wrapping tendrils around a trellis
- Mini pumpkins or small winter squash — heavier, so definitely add that stone layer at the base first
- Morning glories or clematis — if you want a purely ornamental, flowering option
- Nasturtiums — trailing and climbing varieties look gorgeous cascading down the tiers too
Step 8: Gently Guide Young Vines Onto the Trellis
Here’s a step a lot of first-timers skip, and I really wish someone had told me about it early on: young vines often need a little help finding the trellis.
Once your seedlings have a few true leaves and start reaching out with tendrils, gently wrap the leading stem around the nearest part of the frame and secure it loosely with a soft plant tie or twine.
After that, most plants take over on their own, but that first nudge in the right direction makes a big difference in how quickly they establish good climbing habits.
Step 9: Water Thoroughly and Check the Reservoir
After planting, give your new planter a deep, thorough watering so the soil settles around the roots and the reservoir at the base gets a chance to fill.
From here on, check the reservoir every few days, especially during hot weather, and top it off as needed. This is genuinely one of the lowest-maintenance parts of the whole system once it’s dialed in.
Step 10: Feed and Maintain Through the Season
Even with great potting mix, container plants use up nutrients faster than plants in open ground because their root systems are more confined.
I like feeding mine with a diluted liquid fertilizer every couple of weeks once they’re actively growing, and topping up with a little compost mid-season if growth starts to slow.
If pests start showing interest in your new vertical garden, my garden pest prevention checklist covers exactly what I do to keep bugs and critters from undoing all this hard work.
Placement Ideas: Where This Planter Really Shines
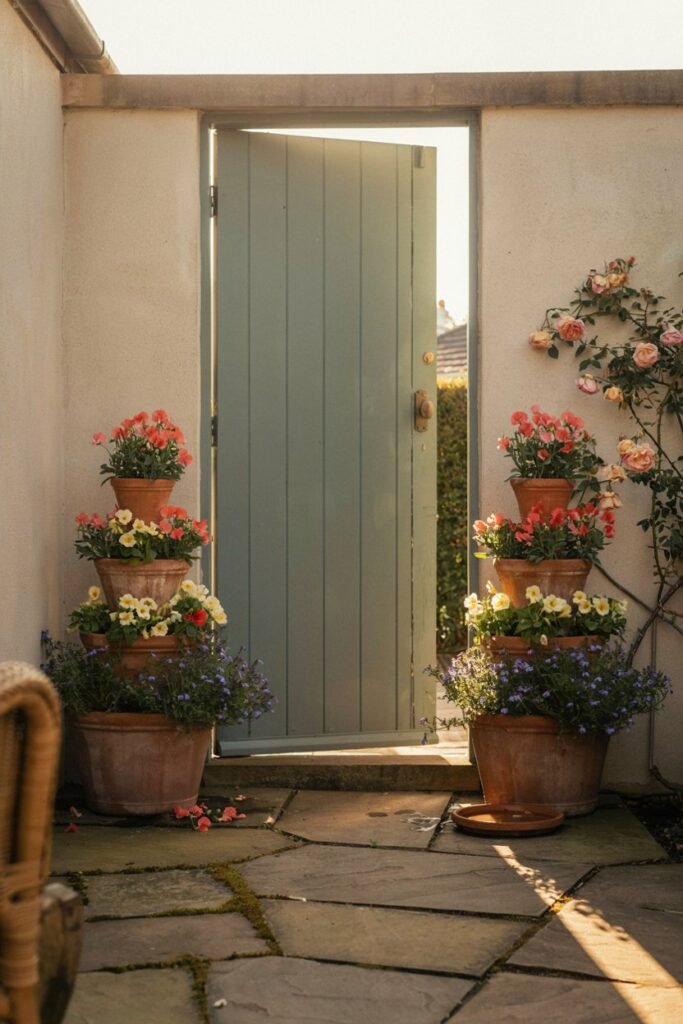
Because this planter has such a small footprint (roughly 28 x 28 cm at the base) but grows tall, it’s an absolute gift for anyone working with limited space. Here are some of my favorite spots to use one:
- Beside a sunny patio door, where climbing flowers create a little living privacy screen
- Flanking a front entrance in matching pairs for a polished, symmetrical look — similar to the layered plantings I cover in my garden entrance ideas post
- On an apartment balcony, where a full in-ground vegetable patch simply isn’t possible — this ties in nicely with what I share in my apartment vegetable garden ideas post
- Tucked into a corner of a small backyard, alongside other compact solutions from my vertical garden ideas for small spaces roundup
- Lining a fence line in a row, so the trellises create a soft, green wall of climbing foliage by midsummer
Seasonal Planting Suggestions
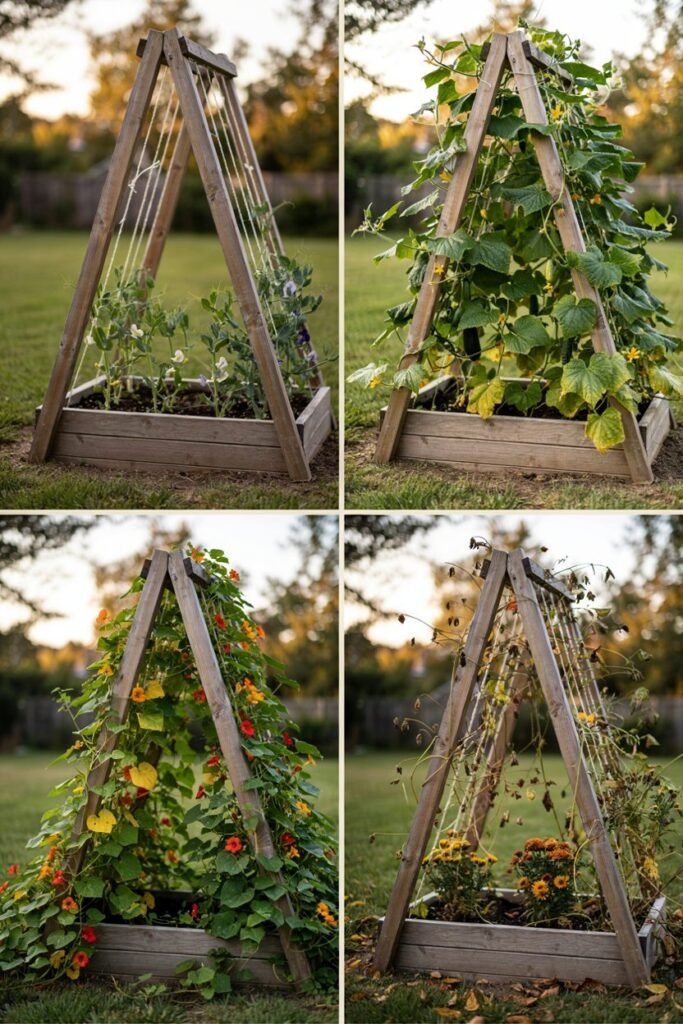
Because this planter works both indoors and outdoors and handles a range of climbing plants, you really can use it nearly year-round depending on your zone and what you’re growing.
In spring, I love starting with snap peas, since they thrive in cooler weather and get a head start climbing before the summer heat kicks in.
By early summer, I’ll often swap in cucumbers or pole beans, which take full advantage of the long, warm growing season.
If you’re gardening in August and wondering what still has time to produce, take a look at my vegetables to plant in August guide, since several fast-growing climbers can still give you a second harvest.
Come autumn, I like switching things up entirely and using mine for ornamental climbers or trailing fall flowers instead.
If that’s the direction you want to take yours, my post on fall hanging basket ideas has some gorgeous color-combination inspiration that translates beautifully to a tiered planter like this.
Common Beginner Questions I Get Asked About This Planter
Do I really not need any tools? Correct the whole point of this design is a snap-together assembly. No drill, no screws, no separate stakes for your climbing plants.
Can I use this indoors? Yes, as long as the spot gets enough light.
Just be mindful that indoor spots typically get less direct sun than an outdoor patio, so choose lower-light-tolerant climbers or supplement with a grow light if your vines start looking leggy.
How often do I need to refill the water reservoir? It depends heavily on your climate and the size of your plant, but as a starting habit, I check mine every two to three days during the growing season, more often in a heat wave.
Never let it sit bone-dry for extended periods, since that defeats the purpose of the self-watering design.
What if my plant outgrows the trellis? Many climbers, like cucumbers, will happily spill over the top and cascade back down once they reach the top tier, which honestly looks beautiful.
You can also gently pinch back the growing tip to encourage the plant to bush out sideways instead of continuing to climb.
Is the rattan or wood-grain finish real material? No, and that’s actually the beauty of it.
Both finishes are molded into the durable PP plastic, so you get the charming, natural look of woven rattan or timber without any of the rotting, splintering, or weathering that comes with the real thing.
A Few Honest Tips From My Own Trial and Error
I don’t like sugarcoating things, so here are a few lessons I learned the slightly hard way, in hopes you can skip straight past them.
First, don’t skip the stone layer at the bottom if you’re growing anything vigorous. I didn’t bother the first time, planted a mini pumpkin, and had a very wobbly, slightly tipsy planter by midsummer once the vines got heavy.
Second, resist the urge to overfill the reservoir “just in case.” Overwatering a self-watering system can actually work against you, encouraging shallow roots that don’t develop the resilience they need. Let the wicking system do its job.
Third, give your seedlings that little manual nudge toward the trellis early on. Plants that are guided toward support in their first couple of weeks climb far more confidently than ones left to figure it out entirely on their own.
And finally, don’t be afraid to mix your tiers. I’ve planted trailing nasturtiums in the lower tier and let cucumbers take over the trellis above, and the layered effect by midsummer is honestly one of my favorite things in my whole garden.
Bringing It All Together
What I love most about this Garden Raised Bed Planter Box with Trellis is how much it simplifies vertical gardening for someone just starting out.
You get a raised bed, a plant support system, and a self-watering reservoir all in one tidy, tool-free package.
Whether you’re working with a tiny balcony, a sunny patio corner, or a front entryway that could use a little green charm, this is one of those garden additions that earns its keep almost immediately.
If this is your first raised bed project ever, I’d really encourage you to bookmark my new gardener checklist and my essential gardening tools guide as companion reads.
Between those two posts and this one, you’ll have everything you need to start growing up, not just out, with real confidence.
Happy planting, friend. I can’t wait to hear what you decide to grow up yours.
