
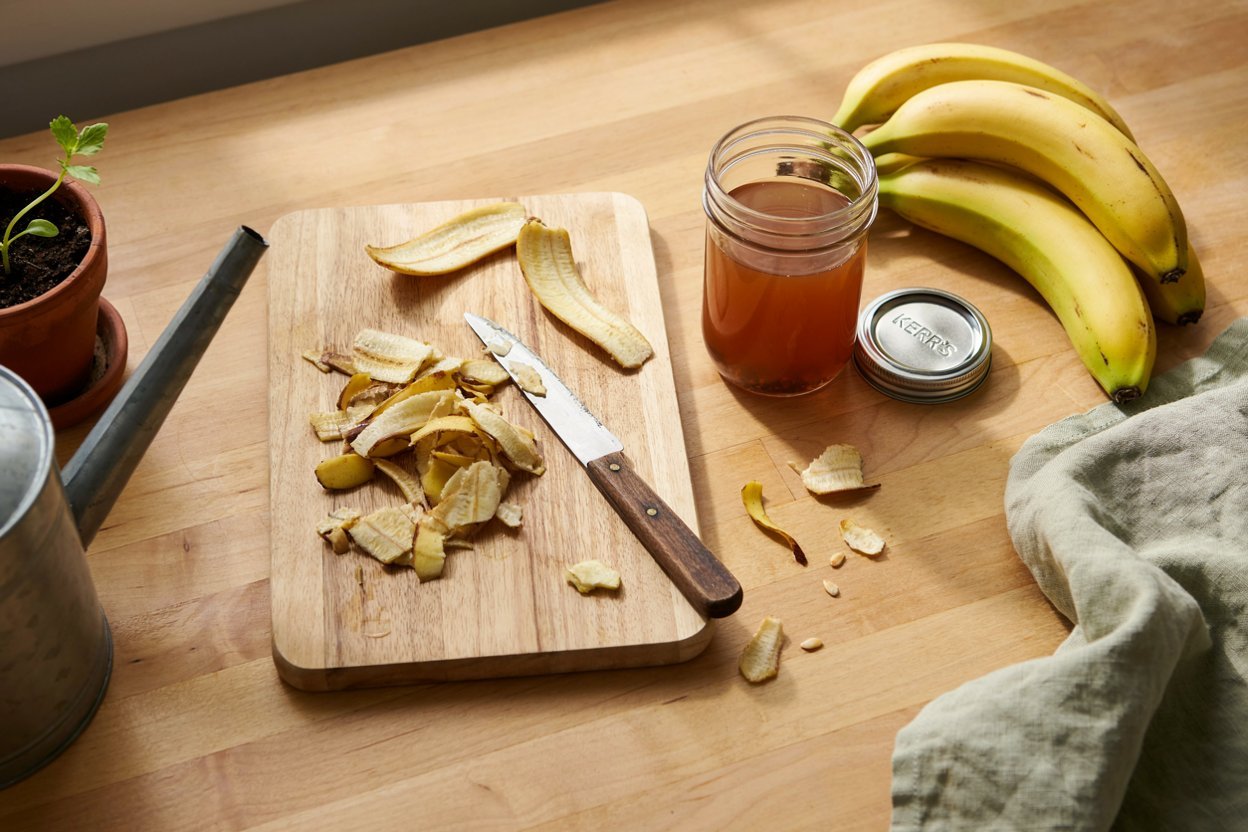

I used to toss my banana peels straight into the trash without a second thought, until the day I ran out of fertilizer right before my tomatoes started flowering.
A quick search turned into a full-blown experiment, and a few weeks later my plants were greener, my wallet was happier, and my kitchen scraps finally had a job to do.
If you’ve ever wondered whether that peel in your fruit bowl could be doing more for your garden than sitting in a landfill, you’re in exactly the right place.
Why Banana Peels Make Such Good Fertilizer

Before we get into jars and water ratios, it helps to understand exactly what makes banana peels worth saving in the first place.
Bananas are one of the most nutrient-dense fruits you can buy, and a surprising amount of that nutrition actually concentrates in the peel rather than the fruit itself.
Here’s what you’re really working with when you save a banana peel:
- Potassium – Banana peels are famous for their potassium content, and for good reason. Potassium helps plants build strong stems, regulate water movement, and produce better flowers and fruit. It’s one of the “big three” nutrients (alongside nitrogen and phosphorus) that every plant needs.
- Phosphorus – This supports root development and helps plants transfer energy for blooming and fruiting.
- Calcium – Important for cell wall strength, which can help prevent problems like blossom end rot in tomatoes and peppers.
- Magnesium – A key component of chlorophyll, meaning it directly affects how green and vigorous your plants look.
- Manganese and sulfur – Trace minerals that support overall plant metabolism and enzyme activity.
Unlike synthetic fertilizers, banana peel liquid fertilizer releases these nutrients gradually and gently, which makes it very difficult to “overdose” your plants the way you sometimes can with concentrated chemical feeds.
It’s also completely free, which is a nice bonus if you’re already buying bananas as a regular grocery item.
If you’re new to the idea of feeding your garden with things you’d normally throw away, this pairs nicely with other beginner-friendly habits worth building early on.
My complete new gardener checklist covers a lot of these foundational habits if you want a broader starting point.
What You’ll Need
One of the best things about this project is how little it actually requires. You almost certainly already have everything on this list.
- Banana peels (fresh or slightly overripe even browning peels work fine)
- A clean glass jar, mason jar, or plastic container with a lid
- Water (filtered or dechlorinated tap water works best; if you only have chlorinated tap water, let it sit out for 24 hours first)
- A knife or scissors (for chopping the peels)
- A fine mesh strainer or cheesecloth
- A spray bottle or watering can (for application)
- Optional: Epsom salt, molasses, or brown sugar for boosted versions
That’s genuinely the whole list. No special equipment, no trip to the garden center required.
Method 1: Simple Banana Peel Water
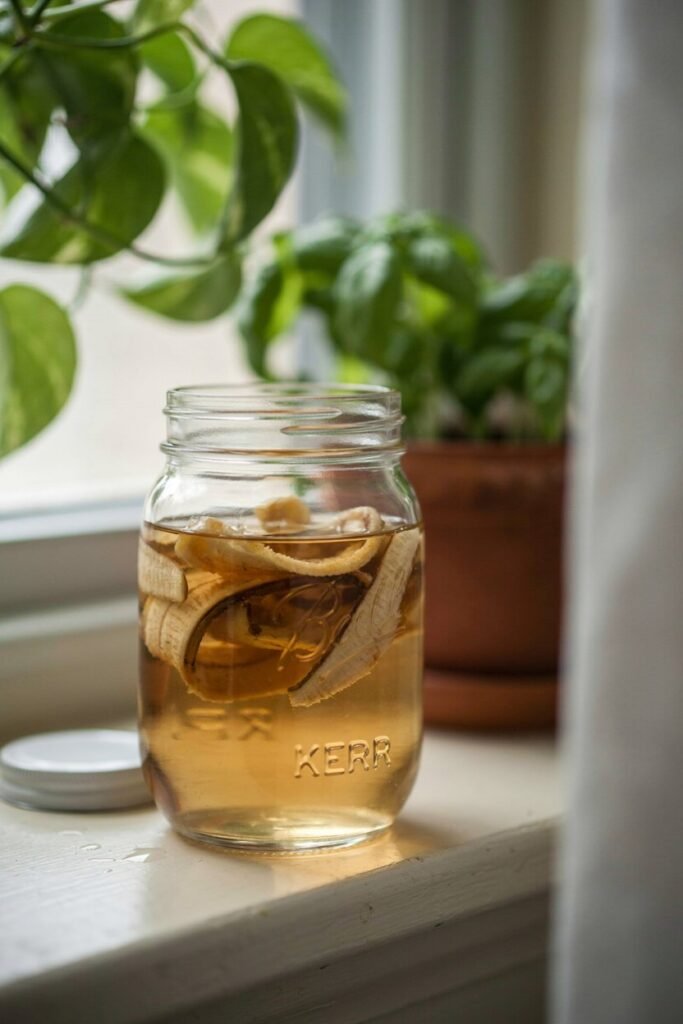
This is the easiest method and the one I’d recommend starting with if you’ve never made a homemade fertilizer before.
It takes almost no effort and produces a light, gentle liquid that’s safe for nearly every plant in your home or garden.
Step-by-Step Instructions
- Collect your peels. Save 2-3 banana peels. You can use fresh peels right after eating the banana, or peels you’ve frozen for later use.
- Chop them up. Cut the peels into small 1-2 inch pieces. Smaller pieces mean more surface area, which means the water pulls out nutrients faster.
- Add to a jar. Place the chopped peels into a clean jar or container.
- Cover with water. Fill the jar with water until the peels are fully submerged, leaving an inch or two of space at the top.
- Steep. Put a loose-fitting lid on top (don’t seal it airtight) and let it sit at room temperature for 24 to 48 hours. You’ll notice the water start to take on a light yellow-brown tint as the nutrients leach out.
- Strain. Pour the liquid through a fine mesh strainer or cheesecloth into a separate container, discarding the softened peels (or tossing them into your compost bin).
- Dilute before using. This banana water is mild but should still be diluted with plain water at a 1:1 ratio before applying to most plants.
This version won’t have a strong odor and is gentle enough to use fairly often, making it a great low-effort way to give container plants and houseplants a steady mineral boost.
Method 2: Fermented Banana Peel Fertilizer
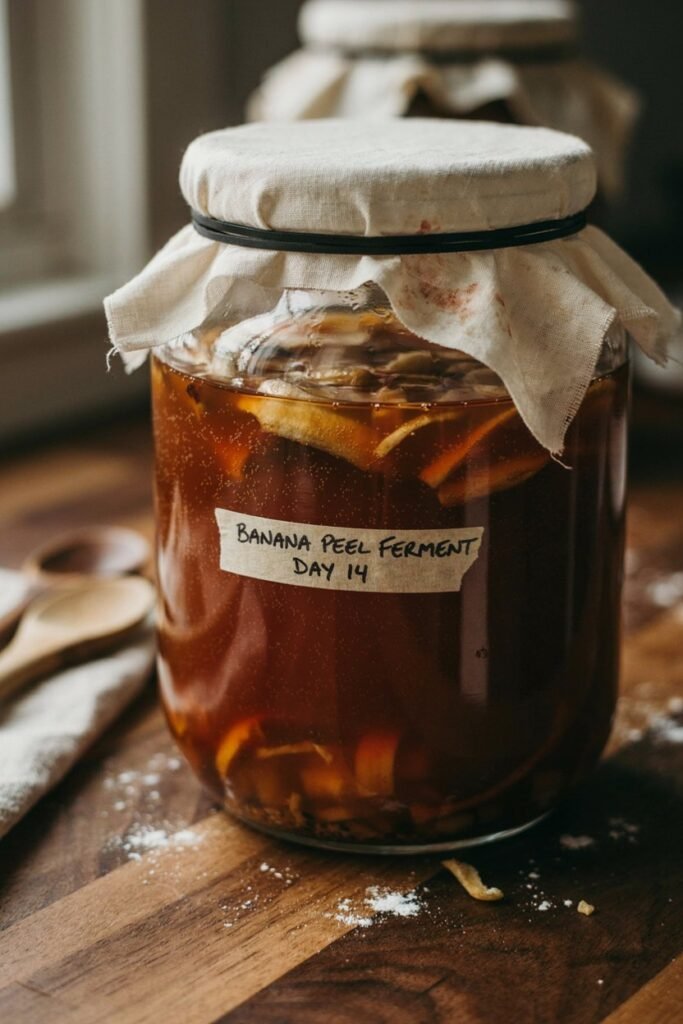
If you want something with more nutritional punch, fermenting the peels breaks them down further and creates a more concentrated liquid closer to what’s sometimes called “banana peel tea” or a variation on Korean natural farming techniques using fermented plant juice.
Step-by-Step Instructions
- Chop 4-5 banana peels into small pieces and place them in a large jar (a quart or half-gallon jar works well).
- Add sweetener. Mix in 1-2 tablespoons of brown sugar or unsulfured molasses. This feeds the beneficial microbes that drive the fermentation process and helps pull nutrients out of the plant tissue faster.
- Fill with water, leaving about 2 inches of headspace since the mixture may bubble slightly as it ferments.
- Cover loosely. Use a breathable cover like a coffee filter, paper towel, or cheesecloth secured with a rubber band. You want air exchange, not an airtight seal, or pressure can build up.
- Ferment for 5-7 days, stirring once a day. Keep the jar somewhere at room temperature out of direct sunlight.
- Watch for signs it’s ready. The liquid will turn a deeper brown and develop a mildly sweet, fermented (not rotten) smell. A little foam on top is normal.
- Strain thoroughly through cheesecloth or a fine strainer, pressing the peels gently to extract as much liquid as possible.
- Dilute before use. This version is stronger than simple banana water, so dilute it at a ratio of 1 part fertilizer to 10 parts water before applying to soil.
This fermented version behaves a bit like a natural liquid feed and is particularly good for flowering and fruiting plants that need an extra potassium boost during bloom season.
It pairs well with other DIY plant-boosting projects if you enjoy this kind of homemade approach, you might also like making your own organic rooting hormone for plant cuttings, which uses a similar low-cost, kitchen-scrap philosophy.
Method 3: Banana Peel and Epsom Salt Booster
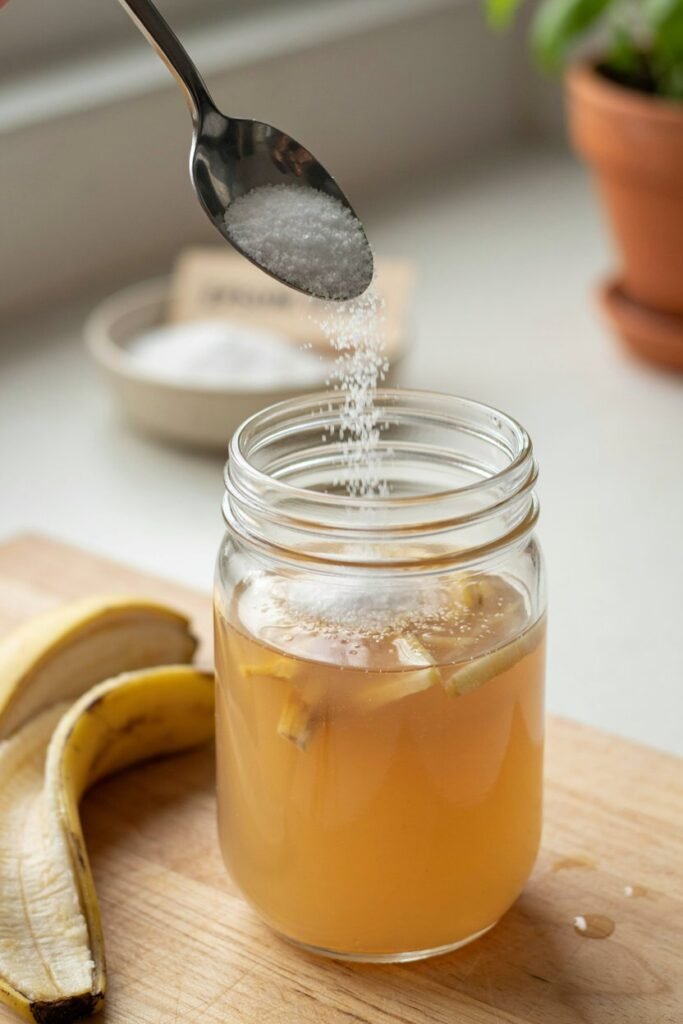
This version combines banana peels with Epsom salt to create a fertilizer that covers an even broader range of nutrients, adding magnesium and sulfur on top of the potassium and phosphorus already in the peels.
Step-by-Step Instructions
- Chop 3-4 banana peels and place them in a large jar.
- Add 1 tablespoon of Epsom salt directly to the jar.
- Fill with water until the peels are fully submerged.
- Steep for 48 hours, stirring occasionally to help the Epsom salt dissolve completely.
- Strain the liquid into a clean container.
- Dilute at a 1:2 ratio (1 part fertilizer to 2 parts water) before applying.
This combination is especially popular with tomato, pepper, and rose growers, since magnesium deficiency is a common issue in these plants and often shows up as yellowing between leaf veins.
If you want to understand more about how Epsom salt affects specific plants before combining it into your routine, this guide to plants that grow better with Epsom salt breaks it down in more detail.
How to Use Banana Peel Liquid Fertilizer
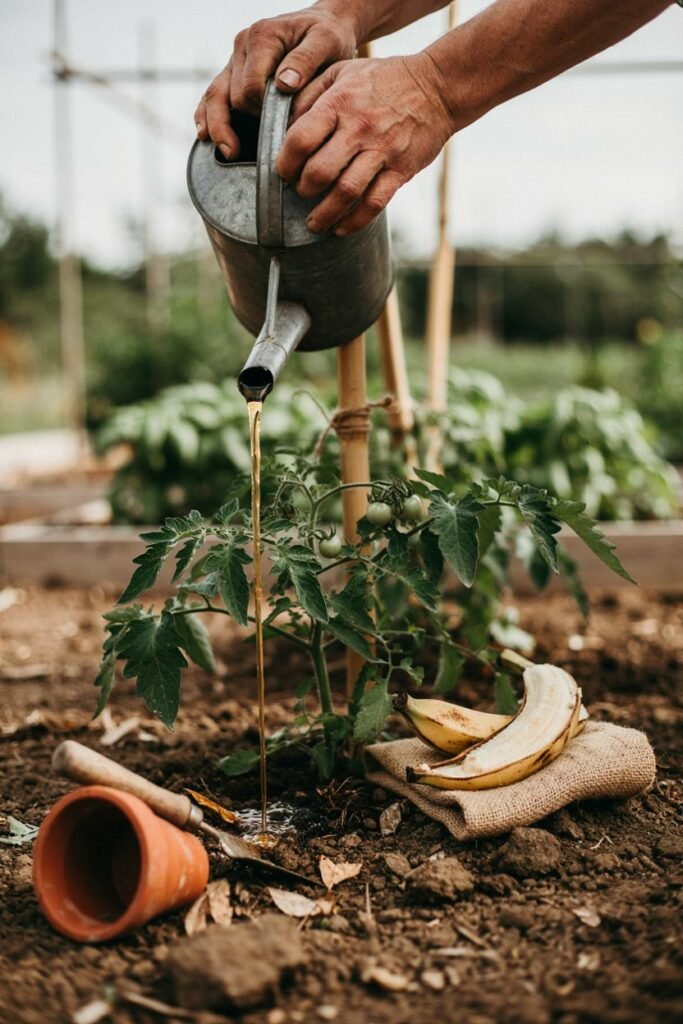
Making the fertilizer is only half the equation using it correctly is what actually gets you results. Here’s how to apply it effectively.
Soil drench (most common method): Pour the diluted liquid directly at the base of the plant, right where the soil meets the stem. This gets nutrients straight to the root zone where they’re absorbed.
Water your plant normally first if the soil is very dry, since applying fertilizer to bone-dry soil can sometimes stress roots.
Foliar spray: Pour the diluted liquid into a spray bottle and mist the leaves, focusing on the undersides where plants absorb nutrients most efficiently.
This method works quickly but should be done in the early morning or evening, never in direct midday sun, to avoid leaf burn.
Frequency: For the simple banana water method, you can apply every 1-2 weeks. For the fermented version, once every 2-3 weeks is plenty since it’s more concentrated.
Overdoing any fertilizer, even a mild homemade one, can lead to nutrient buildup in the soil over time.
Best timing: Apply during the active growing season (spring through late summer) when plants are putting out new growth, flowers, or fruit.
Feeding dormant plants in winter generally doesn’t offer much benefit since they aren’t actively taking up nutrients.
Which Plants Benefit Most

Banana peel fertilizer isn’t a one-size-fits-all solution, but certain plants respond especially well to the potassium and phosphorus boost it provides.
- Tomatoes and peppers – These heavy feeders benefit enormously from extra potassium during fruiting. Potassium deficiency is actually one of several factors that can contribute to leaf problems, so if you’ve noticed curling or discoloration, it’s worth reading through why tomato leaves curl and how to fix it alongside your feeding routine.
- Roses – Known for loving potassium-rich feeds that support stronger blooms and healthier stems.
- Flowering houseplants – African violets, orchids, and other bloomers respond well to the gentle mineral boost from diluted banana water.
- Root vegetables – Carrots, potatoes, and beets can benefit from the phosphorus content, which supports root development.
- Container and patio plants – Since potted plants can’t draw on the same nutrient reserves as in-ground plants, they often respond noticeably to periodic feeding. If you’re growing food in containers, this fits naturally into a setup like the ideas in this apartment vegetable garden guide.
Leafy greens and plants that need heavy nitrogen (like lettuce or spinach) will benefit less, since banana peels are much higher in potassium than nitrogen. For those, you’ll want to pair this with a nitrogen-rich amendment separately.
Common Mistakes to Avoid
A few small missteps can turn a great homemade fertilizer into a source of frustration. Here’s what to watch for.
Using it too concentrated. This is the single most common mistake. Undiluted banana peel liquid, especially the fermented version, can be too strong for delicate roots and may actually cause more harm than good. Always dilute according to the ratios above.
Sealing the jar completely airtight during fermentation. Gas builds up during fermentation, and a fully sealed lid can cause pressure to build until the jar pops open or even cracks. Always use a breathable cover for the fermented method.
Letting it sit too long. Banana peel water left for more than a week without straining can start to smell unpleasant and may attract fruit flies. If you’re not going to use it within a few days of straining, refrigerate it.
Using peels from bananas treated with heavy pesticide residue. If possible, wash conventionally grown bananas before using the peels, or use organic bananas when you can, since some pesticide residue can remain on the skin.
Ignoring pest attraction. Sweet, fermenting liquid can attract fruit flies and other insects if left uncovered outdoors. Keep containers covered and clean up any spills quickly.
If pests are already an ongoing issue in your garden, it’s worth cross-referencing with a broader plan like this garden pest prevention checklist so your fertilizing routine doesn’t work against your pest control efforts.
How to Store Banana Peel Fertilizer
Once strained, banana peel liquid fertilizer doesn’t have a particularly long shelf life since it’s an unpreserved organic liquid.
- Refrigerated: Store in a sealed container in the fridge for up to 1-2 weeks. Give it a shake before using since some settling is normal.
- Room temperature: Best used within 2-3 days if kept at room temperature, as it can continue to ferment and develop a stronger odor.
- Freezing: You can freeze diluted or undiluted fertilizer in ice cube trays for longer storage, then thaw individual portions as needed. This is a great option if you tend to save up banana peels in batches rather than making fertilizer every week.
- Labeling: Always label your container with the date it was made and which method you used (simple water, fermented, or Epsom booster), since the dilution ratios differ.
Banana Peel Fertilizer vs. Other Homemade Options
Banana peel liquid fertilizer is just one tool in a much bigger toolbox of kitchen-scrap gardening. It’s worth understanding how it compares to other common methods so you can decide what fits your routine best.
Versus composting whole peels: Composting breaks down peels more slowly and produces a soil amendment rather than a liquid feed, but it handles a much wider variety of scraps at once and improves soil structure over time in a way liquid fertilizer can’t.
If you’re interested in building a proper compost system alongside your liquid fertilizer routine, these backyard compost station ideas are a great next step.
Versus blender composting: Blending scraps (including banana peels) with water to create a slurry is a faster way to get nutrients into soil without waiting on fermentation, though it doesn’t concentrate the nutrients the way steeping does.
This guide to blender composting is worth reading if you want a faster, more direct alternative that uses the whole peel rather than just the liquid.
Versus synthetic liquid fertilizers: Store-bought liquid fertilizers offer precise, consistent nutrient ratios and are formulated for specific plant needs, but they cost money and some contain synthetic salts that can build up in soil over time with repeated use.
Banana peel fertilizer is milder, free, and gentler on soil biology, though less precise.
There’s no single “best” option here many experienced gardeners rotate between a few of these methods depending on the season and what scraps they have on hand.
Safety Tips and Precautions
While banana peel fertilizer is about as low-risk as homemade garden treatments get, a few precautions are still worth keeping in mind.
- Patch test on new plants. If you’re trying this on a plant for the first time, apply a small diluted amount and wait a few days before treating the whole plant, just to confirm there’s no adverse reaction.
- Avoid applying to seedlings. Very young seedlings have delicate root systems and generally do better with plain water until they’ve developed a few true leaves.
- Keep it away from pets curious about the smell. The fermented version especially can have a sweet smell that might attract dogs or cats. Store it somewhere they can’t easily knock over or get into.
- Don’t apply right before heavy rain. If you’re fertilizing outdoor plants, heavy rain shortly after application can wash the nutrients away before your plants have a chance to absorb them.
- Watch soil pH over time. While unlikely with occasional use, very frequent application of any potassium-heavy feed can gradually shift soil chemistry. If you’re fertilizing the same beds regularly across multiple methods, it’s worth testing your soil’s pH occasionally as part of general maintenance, similar to the seasonal checks outlined in this flower garden maintenance checklist.
Frequently Asked Questions
Can I use brown or overripe banana peels? Yes, and in some ways they work even better since the nutrients are already starting to break down, making them easier to extract into water.
Do I need to peel bananas a specific way to use this method? No, any peel works regardless of how it was removed. Just make sure to chop it into smaller pieces for faster nutrient extraction.
Can I use this fertilizer on indoor houseplants? Absolutely. The simple banana water method (Method 1) is gentle enough for most houseplants when properly diluted. Just be mindful of odor in fermented versions if you’re using them indoors.
How long does it take to see results? Most gardeners notice improvements in leaf color and overall vigor within 2-3 weeks of consistent use, though results vary depending on the plant and how nutrient-deficient the soil was to begin with.
Can I compost the leftover peel pieces after straining? Yes, definitely. The strained peels still have organic matter value even after most of the liquid nutrients have been extracted, so they’re perfect for the compost bin rather than the trash.
Is banana peel fertilizer a complete fertilizer? No. It’s high in potassium and phosphorus but relatively low in nitrogen, so it works best as a supplement alongside a more balanced feeding routine rather than as your only source of nutrients.
Will this attract animals to my garden? If applied as a soil drench and worked in slightly, the risk is low. Leaving strong-smelling fermented liquid sitting on top of soil or in open containers outdoors is more likely to attract curious animals or insects.
Final Thoughts
Turning banana peels into liquid fertilizer is one of those small habits that quietly pays off in a big way.
It costs nothing beyond a little patience, keeps organic waste out of the trash, and gives your plants a real, noticeable boost when used consistently.
Whether you stick with the simple soak method or work your way up to the fermented version, the process is forgiving enough for beginners and useful enough that even experienced gardeners keep coming back to it.
Start with whichever method fits your patience level right now, keep a jar going in the background, and let your garden tell you the rest.
